1. Introduction
This manual provides detailed instructions for the safe and proper installation, operation, and maintenance of your UNIKOO UKH07 Frameless Swing Shower Door. Please read all instructions carefully before beginning installation or use. Retain this manual for future reference.
For technical inquiries, please contact UNIKOO customer support.
2. Safety Information
- Professional Installation Recommended: Installation by two professional installers is recommended due to the weight and nature of glass components.
- Wear Safety Glasses: Always wear safety glasses during installation to protect your eyes from debris.
- Inspect Wall Condition: Before installation, carefully inspect the wall surface. Ensure it is even, smooth, and capable of supporting the shower door's weight.
- Handle Glass with Care: Tempered glass, while strong, can shatter if struck at the edges. Handle all glass panels with extreme care.
- Slow Drilling for Tiles: When drilling into porcelain or ceramic tiles, use a slow speed to prevent cracking.
- Allow Sealant to Cure: After applying caulk or sealant, allow at least 24 hours for it to fully dry and cure before using the shower. Refer to the sealant manufacturer's instructions for specific curing times.
3. Parts List
Verify all parts are present and undamaged before beginning installation. If any parts are missing or damaged, do not proceed with installation and contact customer support.
| Item | Part | Quantity |
|---|---|---|
| 1 | Door Glass | 1 |
| 2 | Wall Hinges | 2 |
| 3 | Handle | 1 |
| 4 | Plastic Seal (Door Bottom) | 1 |
| 5 | Plastic Seal (Fixed Panel Side) | 1 |
| 6 | Plastic Seal (Glass-to-Glass) | 1 |
| 7 | Wall Clamp | 1 |
| 8 | Fixed Glass Panel | 1 |
| 9 | U-Channel | 1 |
| 10 | Screws (St5x35) | 3 |
| 11 | Wall Plugs (Ø8) | 3 |
Note: The quantity of glass clamps for the fixed panel may vary based on the specific model and size to ensure adequate support.
4. Tools Required
- Spirit Level
- Power Drill
- Pencil
- Silicone Sealant
- Rubber Mallet
- Tape Measure
- Screwdriver (Phillips and Hex bit)
- Drill Bits (6mm or 1/4" for ceramic/porcelain tiles)
- Hacksaw (for trimming seals)
- Safety Glasses
- Masking Tape
- X-Acto Knife (for trimming seals)
5. Installation Instructions
Follow these steps carefully for proper installation. It is highly recommended that two people perform the installation.
5.1. Prepare for Installation
- Inspect Walls: Ensure wall surfaces are flat, smooth, and structurally sound.
- Safety First: Always wear safety glasses.
- Review Parts: Confirm all parts from the parts list are present.
5.2. Install Door Glass Hinges
Disassemble Hinges: Remove the hinge components from the main hinge body.
Video: Disassembling the hinge components for installation.
Attach Hinges to Glass: Securely attach the disassembled hinge components to the door glass using a screwdriver. Ensure they are firmly mounted.

Image: Close-up of hinges being attached to the glass panel.
Install Plastic Seal: Install the plastic seal (Item 4) at the bottom of the door glass to accurately gauge the gap between the glass and the floor.
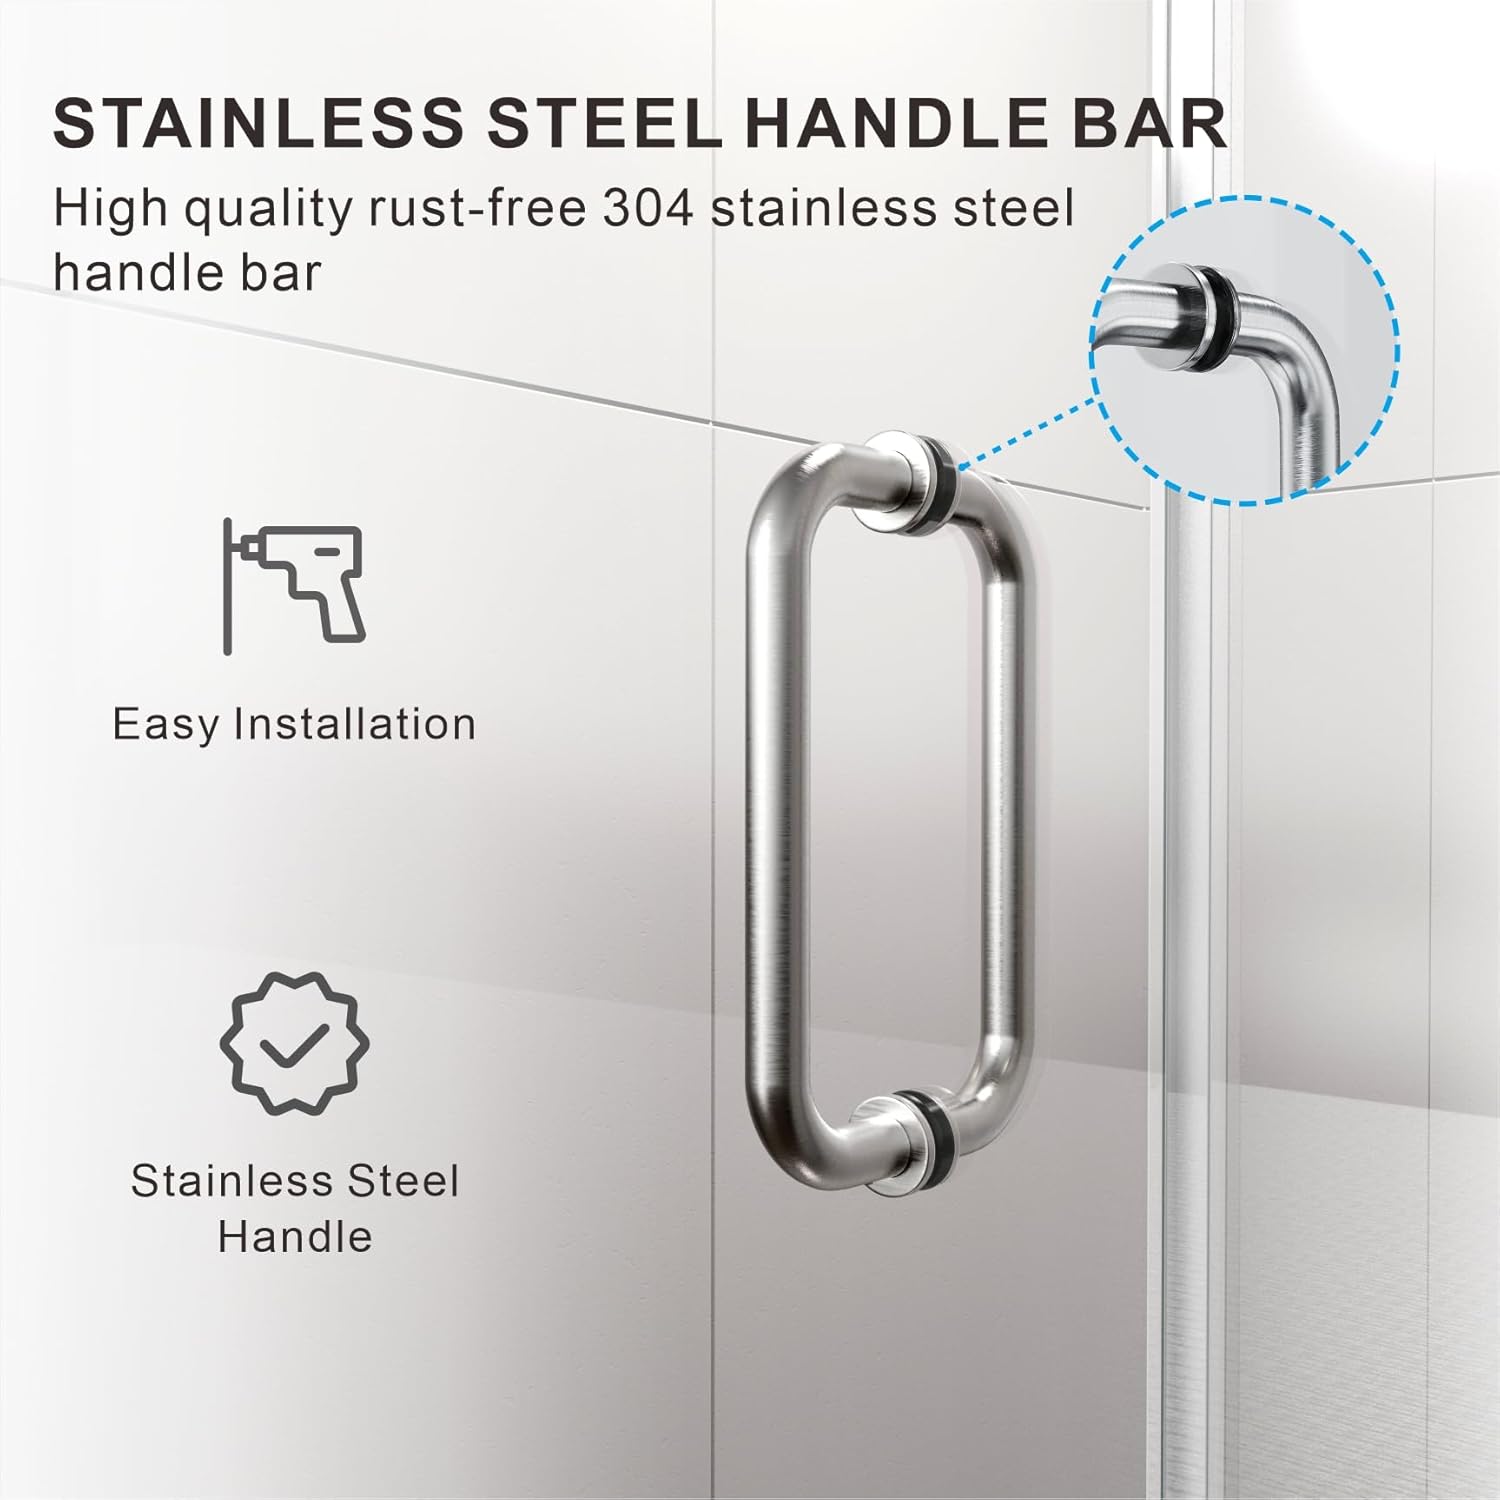
Image: The plastic seal being installed along the bottom edge of the shower door glass.
Mark Hinge Positions: With the door glass temporarily in place, use a pencil to mark the exact positions of the hinges on the wall. Ensure precise alignment.

Image: Overhead view showing the shower door in place and marks being made on the wall for hinge placement.
Drill Holes: Move the glass door aside. Drill holes at the marked spots using a 6mm (1/4") drill bit. For porcelain/ceramic tiles, drill slowly to prevent cracks. Insert wall plugs (Item 11) into the drilled holes.
Mount Hinges to Wall: Apply masking tape to the hinge surface to prevent scratches. Align the hinges with the drilled holes and secure them to the wall using screws (Item 10). Tighten each screw individually. Remove the masking tape once secured.

Image: Close-up of a hinge being screwed into the wall, with masking tape protecting the surface.
5.3. Install Fixed Glass Panel
Attach U-Channel to Fixed Glass: Attach the U-channel (Item 9) with the plastic seal strip (Item 5) to the fixed glass panel (Item 8).

Image: Overhead view of the fixed glass panel with the U-channel attached, positioned next to the door glass.
Adjust Fixed Glass Position: Adjust the fixed glass panel to ensure its top and bottom edges align evenly with the door glass. Use a spirit level to confirm the U-channel is level and perpendicular to the wall.
Mark U-Channel Positions: Mark the positions for drilling holes on the wall through the U-channel. Also, mark the position for the bottom glass clamp (Item 7) on the floor.
Drill Holes for U-Channel and Clamp: Remove the fixed glass panel. Drill holes at the marked spots on the wall and floor using a 6mm (1/4") drill bit. Insert wall plugs (Item 11) into the drilled holes.
Mount U-Channel and Bottom Clamp: Secure the U-channel to the wall using screws. Install the bottom glass clamp to the floor, ensuring it is securely tightened with a hex bit screwdriver.

Image: Close-up of the U-channel being screwed into the wall and the bottom clamp being secured to the floor.
Place Fixed Glass: Carefully place the fixed glass panel back into the U-channel and secure it with the bottom glass clamp. Tighten all screws.
Install Top Glass Clamp: Install the sleeve-over clamp at the top of the fixed glass panel to stabilize it and enhance overall shower stability. Use a screwdriver to secure it and make any necessary adjustments.

Image: Close-up of the top sleeve-over clamp securing the fixed glass panel.
5.4. Install Door Handle
Attach Handle: Remove the door handle components. Determine the correct installation position on the door glass and fasten it securely with the provided screws.
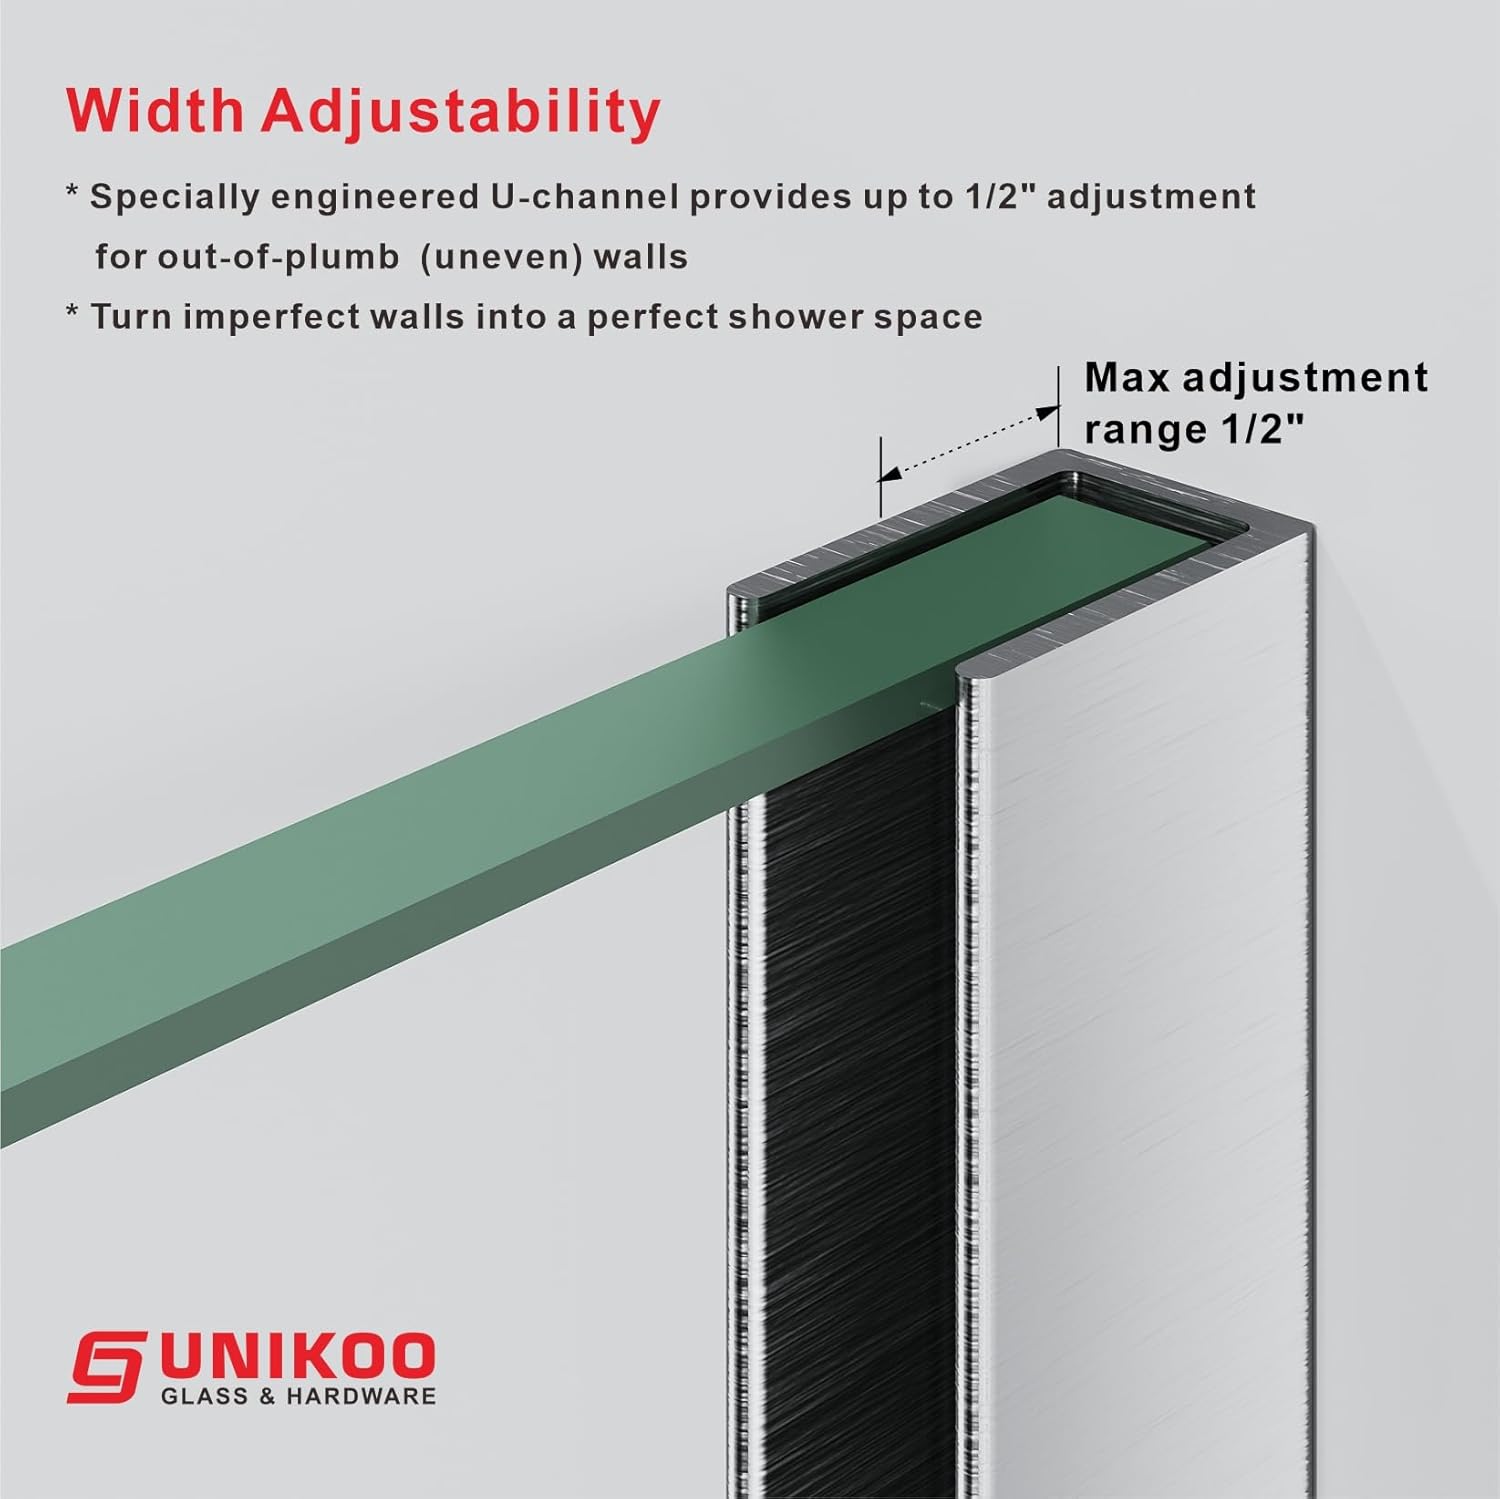
Image: Close-up of the door handle being installed on the glass panel.
5.5. Apply Seals and Caulk
Install Glass-to-Glass Seal: Install the plastic seal (Item 6) at the junction where the movable glass door meets the fixed glass panel. Ensure it is applied smoothly and fits perfectly. Trim any excess material with an X-acto knife.

Image: Close-up of the glass-to-glass seal being installed between the door and fixed panel.
Verify Door Movement: Open and close the door to verify smooth movement and effective sealing of all installed strips.
Apply Caulk: Apply silicone sealant along the edges of the U-channel and any other areas requiring waterproofing. Allow at least 24 hours for the sealant to fully dry and cure before using the shower.

Image: Illustration of applying silicone sealant along the base of the shower enclosure.
5.6. Installation Video Guide
For a visual guide to the installation process, please refer to the official UNIKOO installation video:
Video: Official UNIKOO UKH07 Frameless Swing Shower Door Installation and Introduction. This video provides a step-by-step visual guide to assist with the installation process.
6. Operation
The UNIKOO UKH07 Frameless Swing Shower Door is designed for smooth and quiet operation. The door can be installed for either right-hand or left-hand opening to suit your bathroom layout.
- Opening/Closing: Use the stainless steel handle to gently open and close the door.
- Self-Centering Hinges: The wall mount hinges are factory preset to 90 degrees for normal door closing applications, ensuring the door returns to a closed position.

Image: Diagram illustrating the reversible installation option for left or right-hand door opening.
7. Maintenance
Regular cleaning and maintenance will ensure the longevity and appearance of your shower door.
- Glass Cleaning: The 3/8" (10mm) thick tempered clear glass features an Easy-Cleaning coating (Enduro Shield) that repels water, soap scum, and grime. Clean with a soft cloth and mild, non-abrasive glass cleaner. Avoid harsh chemicals or abrasive pads.
- Hardware Cleaning: Clean brushed nickel hardware with a soft, damp cloth. Do not use abrasive cleaners or solvents, as these can damage the finish.
- Seal Inspection: Periodically inspect all seals and caulk for wear or damage. Replace as needed to prevent leaks.
- Hinge Lubrication: If hinges become stiff, apply a small amount of silicone-based lubricant to the moving parts.
8. Troubleshooting
| Problem | Possible Cause | Solution |
|---|---|---|
| Door does not close properly or is misaligned. | Hinges are loose or improperly adjusted. | Check and tighten hinge screws. Adjust hinge alignment if necessary. |
| Water leaks from the shower door. | Seals are damaged, improperly installed, or caulk is not cured. | Inspect all plastic seals and caulk. Replace damaged seals. Ensure caulk is fully cured (at least 24 hours). |
| Door is stiff or squeaks when opening/closing. | Hinges require lubrication or are dirty. | Clean hinges and apply a silicone-based lubricant. |
9. Product Specifications
- Model: UKH07
- Dimensions: 35-1/8" to 36" W x 80" H
- Door Width: 24"
- Glass Thickness: 3/8" (10mm) Certified Tempered Clear Glass
- Glass Certification: ANSI Z97.1 and SGCC safety standards
- Finish: Brushed Nickel
- Material: Glass, Stainless Steel, Brass
- Weight: Approximately 300 lbs
- Adjustability: 3/4" horizontal adjustability for out-of-plumb walls
- Features: Easy-Cleaning coating, Self-Centering Wall Mount Hinges, Reversible Installation

Image: Detailed diagram showing the overall dimensions and key specifications of the UKH07 shower door model.
10. Warranty and Support
For warranty information or customer support, please visit the official UNIKOO website or contact their customer service department. Keep your purchase receipt for warranty claims.
UNIKOO US Customer Service: www.unikoogroup.com