1. Introduction
This manual provides detailed instructions for the installation, operation, and maintenance of your MUSETEX GR3 Mid-Tower Gaming PC Case. Please read this manual thoroughly before beginning assembly to ensure proper setup and optimal performance of your system.
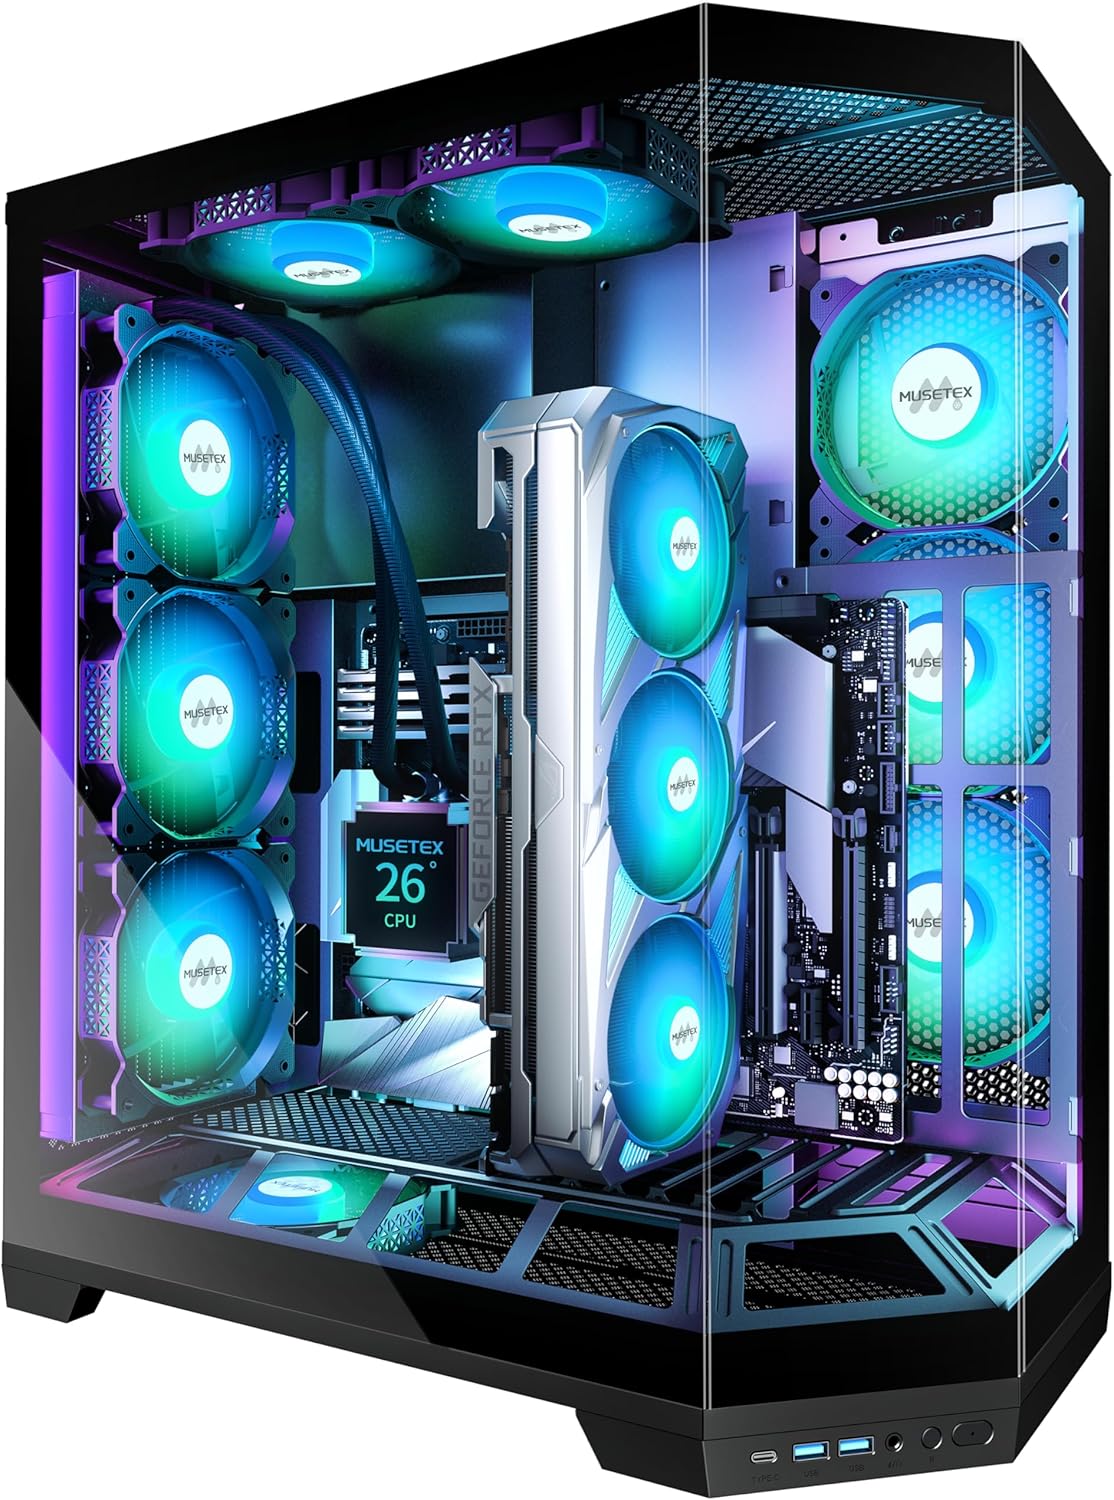
Image 1.1: The MUSETEX GR3 Mid-Tower Gaming PC Case, showcasing its tempered glass panels and pre-installed ARGB fans.
2. Product Features
2.1 Vertical GPU Mount Design
The GR3 case features a vertical direct-insert GPU installation design. This allows for the graphics card to be mounted vertically without the need for a riser cable, directly connecting to the motherboard's native PCIe slot. This design enhances the visual presentation of the GPU and contributes to improved airflow for cooling, while also providing stable support to prevent GPU sag and protect the motherboard's PCIe slot.

Image 2.1: Illustration comparing traditional horizontal GPU mounting with the vertical GPU mounting design of the MUSETEX GR3 case.
2.2 Removable ATX Extension Bracket
This PC case includes a pre-installed, removable ATX expansion bracket. If an ATX motherboard is not being used, this bracket can be removed to increase internal chassis space, allowing for a cleaner build and improved cable management. This is particularly beneficial when using Micro-ATX or Mini-ITX motherboards for a more spacious interior.

Image 2.2: Visual representation of the ATX bracket in both installed and removed configurations within the case.
2.3 270° Full View Tempered Glass Design
The MUSETEX GR3 case features a panoramic three-sided tempered glass panel, offering a 270-degree unobstructed view of the internal components. This design allows for a comprehensive display of your hardware and ARGB lighting effects.

Image 2.3: Illustration highlighting the expansive 270-degree full view provided by the tempered glass panels of the GR3 case.
2.4 Cooling System
The case comes with 5 pre-installed adjustable speed ARGB fans. These fans utilize anti-vortex blades to ensure efficient airflow. The fan speeds can be regulated via motherboard software for optimal cooling performance. The case supports various cooling configurations:
- Top: 2 x 120mm fans or 240mm liquid radiator
- Rear: 3 x 120mm fans or 240mm/360mm liquid radiator
- Side: 3 x 120mm fans
- Bottom: 2 x 120mm fans

Image 2.4: Detailed diagram illustrating the fan and radiator mounting options and sizes for the MUSETEX GR3 case.
2.5 Input/Output Ports
The front I/O panel provides convenient access to essential ports:
- 1 x Type-C port
- 2 x USB 3.0 ports
- Microphone & Audio jacks
- Power Button
- Restart Button

Image 2.5: The front I/O panel of the MUSETEX GR3 case, detailing the available ports and buttons.
2.6 Space Layout and Compatibility
The internal structure is designed for efficient space utilization and broad hardware compatibility. The case supports:
- GPU: Up to 410mm (16.14 inches)
- CPU Cooler Height: Up to 178mm
- PSU: Up to 160mm (6.3 inches)
- Motherboards: ATX, Micro-ATX, Mini-ITX

Image 2.6: Internal layout with maximum dimensions for various components, including GPU, CPU cooler, and PSU.
3. Setup and Installation
Before beginning installation, ensure you have all necessary components and tools. Refer to your motherboard and component manuals for specific installation steps.
3.1 Preparing the Case
- Carefully remove the tempered glass panels. These are typically secured with thumbscrews or a hinge mechanism.
- Identify the motherboard standoffs. Install additional standoffs if required by your motherboard form factor (ATX, Micro-ATX, Mini-ITX).
- Consider removing the ATX expansion bracket if you are using a Micro-ATX or Mini-ITX motherboard to optimize internal space.
3.2 Component Installation
- Motherboard: Align your motherboard with the standoffs and secure it with screws.
- CPU and CPU Cooler: Install your CPU and CPU cooler according to their respective manuals. Ensure the CPU cooler height does not exceed 178mm.
- Memory (RAM): Install RAM modules into the motherboard slots.
- Graphics Card (GPU): For vertical mounting, carefully insert the GPU directly into the motherboard's PCIe slot. Ensure it is securely seated. The case supports GPUs up to 410mm in length.
- Power Supply Unit (PSU): Install the PSU in its designated compartment. The case supports PSUs up to 160mm.
- Storage Drives: Install SSDs/HDDs into the available drive bays.
3.3 Cable Management
Utilize the cable routing cutouts and tie-down points behind the motherboard tray to manage cables. This improves airflow and maintains a clean aesthetic.
4. Operating Instructions
4.1 Powering On
After all components are installed and connected, press the Power Button on the front I/O panel to turn on your system.
4.2 ARGB Lighting Control
The pre-installed ARGB fans can be controlled via compatible motherboard software (e.g., ASUS Aura Sync, MSI Mystic Light, Gigabyte RGB Fusion, ASRock Polychrome Sync). Connect the ARGB cables from the fans to the 5V-D-G/LED header on your motherboard. Use the motherboard's software to customize lighting modes and colors.

Image 4.1: Illustration of connecting ARGB fans to a motherboard's 5V-D-G header for software-based lighting control.
4.3 Fan Speed Control
The PWM (Pulse Width Modulation) fans can have their speeds adjusted through your motherboard's BIOS settings or dedicated fan control software provided by your motherboard manufacturer. This allows for balancing cooling performance and noise levels.
5. Maintenance
Regular maintenance helps ensure optimal performance and longevity of your PC components.
5.1 Dust Filters
The MUSETEX GR3 case includes dust filters to prevent dust accumulation inside the system. Periodically remove and clean these filters. Gently brush off accumulated dust or rinse with water and allow to dry completely before reinstallation.
5.2 Cleaning the Case
- Use a soft, dry cloth to wipe down exterior surfaces, including tempered glass panels.
- For stubborn smudges on tempered glass, a mild glass cleaner can be applied to the cloth (not directly to the glass).
- Use compressed air to clear dust from internal components and fan blades. Ensure the system is powered off before cleaning internal areas.
6. Troubleshooting
If you encounter issues with your PC build, consider the following general troubleshooting steps:
- No Power: Double-check all power connections from the PSU to the motherboard, CPU, and GPU. Ensure the PSU switch is in the 'ON' position.
- No Display: Verify that the monitor cable is securely connected to the graphics card (or motherboard if using integrated graphics). Ensure the GPU is properly seated in its PCIe slot.
- Fan Issues: Check fan connections to the motherboard. Ensure ARGB cables are connected to the correct 5V-D-G header for lighting control.
- Component Compatibility: Review the specifications to ensure all components (GPU length, CPU cooler height, PSU length) are within the case's supported dimensions.
For more specific issues, consult the manuals for your individual components (motherboard, GPU, PSU, etc.) or contact MUSETEX support.
7. Specifications
| Feature | Specification |
|---|---|
| Brand | MUSETEX |
| Model | GR3 |
| Case Type | Mid Tower |
| Dimensions (LxWxH) | 9.37 x 17.48 x 19.48 inches |
| Item Weight | 18.91 pounds |
| Material | Metal, Plastic, Tempered Glass |
| Color | Black |
| Motherboard Support | ATX, Micro ATX, Mini ITX |
| GPU Length Support | Up to 410mm (16.14") |
| CPU Cooler Height Support | Up to 178mm |
| PSU Length Support | Up to 160mm (6.3") |
| Pre-installed Fans | 5 x PWM ARGB Fans |
| Cooling Method | Air, Water |
| I/O Ports | 1 x Type-C, 2 x USB 3.0, Microphone & Audio, Power, Reset |
| Special Features | Built-In Fan, Dust Filter, RGB Lighting, Type C, Vertical GPU Mount |
8. Warranty and Support
MUSETEX is committed to providing support for its products. If you encounter any problems with your MUSETEX GR3 Mid-Tower ATX case, please contact MUSETEX customer service. You can typically find contact information by visiting the 'Sold by MUSETEX' section on the product's purchase page or through the official MUSETEX website.


