
1. Introduction
Thank you for choosing the VIKIO HOME VKH-RP31-30B 30-Inch Wall Mount Range Hood. This appliance is designed to effectively remove smoke, grease, and odors from your kitchen, ensuring a cleaner and more pleasant cooking environment. Featuring a powerful 900 CFM dual intake motor, convertible ducting options, and intuitive gesture and touch controls, this range hood combines performance with modern convenience. Please read this manual thoroughly before installation and operation to ensure proper use and maintenance.
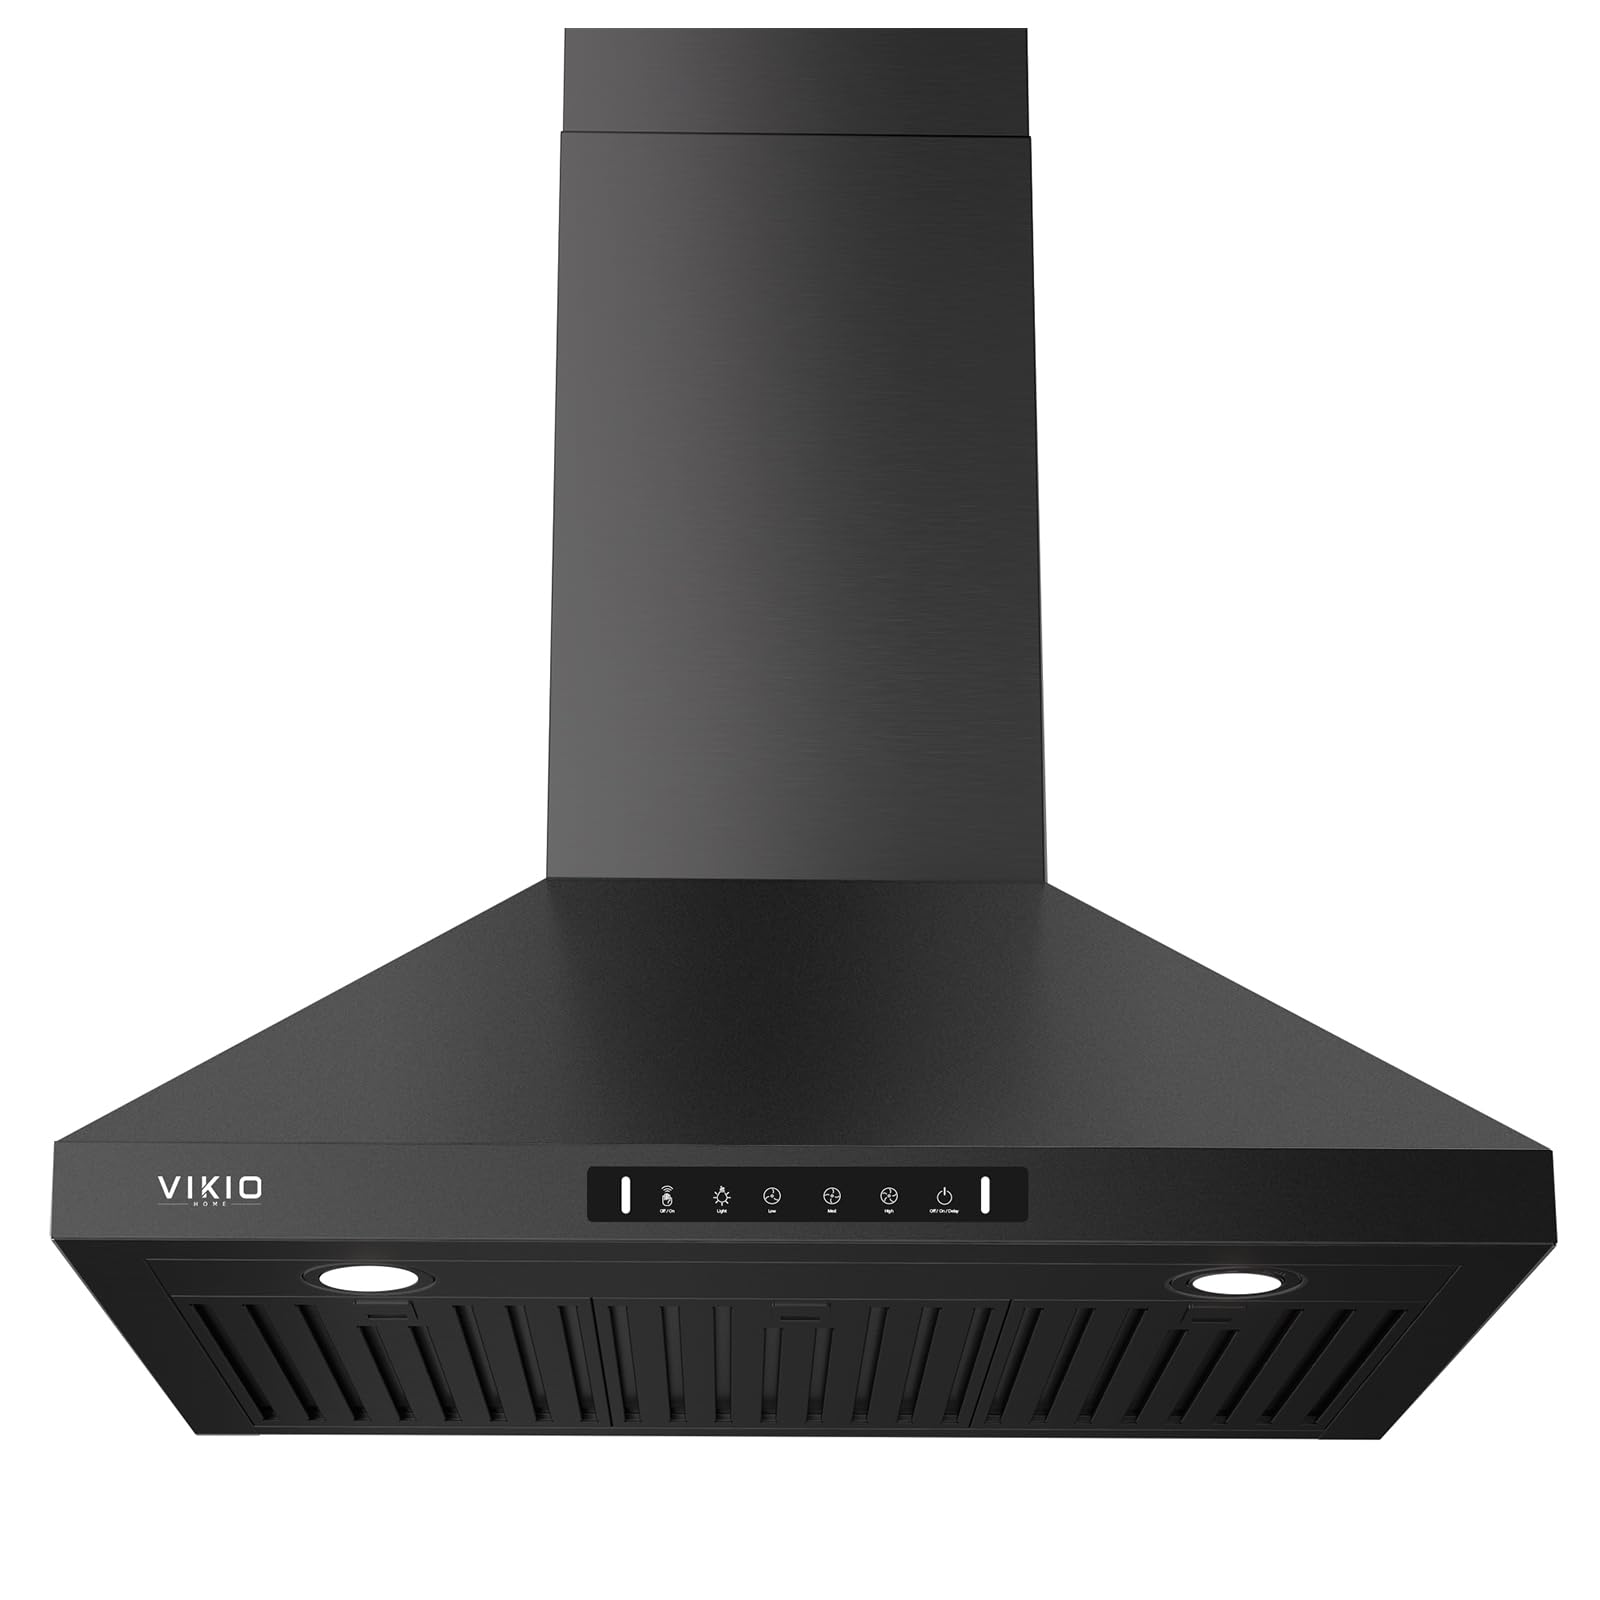
Figure 1.1: VIKIO HOME 30-Inch Wall Mount Range Hood (Black Painted Stainless Steel)
2. Important Safety Information
To reduce the risk of fire, electric shock, or injury, observe the following:
- Read all instructions before using this appliance.
- Installation work and electrical wiring must be done by qualified person(s) in accordance with all applicable codes and standards, including fire-rated construction.
- Do not operate any fan with a damaged cord or plug. Discard fan or return to an authorized service facility for examination and/or repair.
- Sufficient air is needed for proper combustion and exhausting of gases through the flue (chimney) of fuel-burning equipment to prevent back-drafting. Follow the heating equipment manufacturer’s guideline and safety standards such as those published by the National Fire Protection Association (NFPA), and the American Society for Heating, Refrigeration and Air Conditioning Engineers (ASHRAE), and the local code authorities.
- When cutting or drilling into wall or ceiling, do not damage electrical wiring and other hidden utilities.
- Ducted fans must always be vented to the outdoors.
- Always turn off power to the unit at the service panel and lock the service disconnecting means to prevent power from being switched on accidentally before servicing or cleaning.
- Clean grease filters frequently. Grease should not be allowed to accumulate on fan or filter.
- Never ignite foods under the range hood.
- Use this unit only in the manner intended by the manufacturer. If you have questions, contact the manufacturer.
3. Package Contents
Verify that all components are present and undamaged before beginning installation.

Figure 3.1: Included components and hardware.
- Main Product (Range Hood)
- Lower Chimney
- Upper Chimney
- Mounting Bracket
- Baffle Filters (x3)
- 6" Round Aluminum Duct (for ducted installation)
- Charcoal Filters (x2) (for ductless installation)
- User Manual
- Mounting Screws (M5x40mm) (x2)
- Washer (Ø5.5x16mm) (x2)
- Wall Bracket Mounting Screws (M4x16mm) (x2)
- Anchor (Ø6mm) (x2)
- Chimney Mounting Screws (M4x8mm) (x4)
Note: Before installing, remove any protective white film from the components.
4. Specifications
| Feature | Specification |
|---|---|
| Model Number | VKH-RP31-30B |
| Air Flow Capacity | 900 CFM (Cubic Feet Per Minute) |
| Material | Black Painted Stainless Steel |
| Noise Level | 40 dBA (low speed) to <65 dBA (high speed) |
| Mounting Type | Wall Mount |
| Controls Type | Gesture Sensing & Touch Control |
| Voltage | 120 Volts |
| Number of Speeds | 3 |
| Item Weight | 21 Pounds |
| Light Source Type | LED (2 x 3W GU10) |
| Filter Type | Permanent Baffle Filters |
| Ventilation Type | Convertible (Ductless/Ducted) |
| Product Dimensions | 19.65"D x 29.48"W x 51.09"H |
| Certification | ETL |

Figure 4.1: Product dimensions for installation planning.
5. Installation and Setup
Proper installation is crucial for the performance and safety of your range hood. Due to the size and weight, installation typically requires 1-2 people.
5.1 Pre-Installation Checklist
- Ensure you have all necessary tools and hardware as listed in Section 3.
- Confirm the mounting location is suitable and can support the weight of the range hood.
- Verify electrical supply meets the product specifications (120V).
- Decide between ducted or ductless installation and prepare accordingly.
5.2 Ducted vs. Ductless Installation
This range hood is convertible and can be installed in either ducted or ductless (recirculating) configuration.

Figure 5.1: Illustration of ducted (left) and ductless (right) installation methods.
- Ducted Installation: Vents air directly outside using the 6" round aluminum duct. This method offers faster smoke removal and does not require charcoal filter replacements.
- Ductless Installation: Recirculates filtered air back into the kitchen. This method requires the installation of charcoal filters (included) which need regular replacement.
5.3 General Installation Steps
- Mark Mounting Points: Use the provided template or measure carefully to mark the drilling points for the mounting bracket and chimney support.
- Drill Holes: Drill pilot holes and insert anchors as required for your wall type.
- Mount Bracket: Secure the mounting bracket to the wall using the appropriate screws.
- Hang Range Hood: Carefully lift and hang the main range hood unit onto the mounting bracket. Ensure it is securely seated.
- Connect Ducting (Ducted): Attach the aluminum duct to the range hood exhaust and route it to the exterior vent. Seal all connections with duct tape.
- Install Charcoal Filters (Ductless): If using ductless mode, install the charcoal filters onto the motor housing as per instructions.
- Install Chimney Sections: Attach the upper and lower chimney sections, securing them with the chimney mounting screws.
- Electrical Connection: Connect the range hood to a grounded electrical outlet or hardwire it according to local electrical codes.
- Install Baffle Filters: Insert the stainless steel baffle filters into their slots.
6. Operating Instructions
Your VIKIO HOME range hood features both touch controls and gesture sensing for convenient operation.

Figure 6.1: Control panel with touch and gesture sensing points.
6.1 Control Panel Functions
- On/Off: Powers the unit on or off.
- Light: Toggles the LED lights on/off.
- Low Speed: Activates the fan at low speed for light cooking.
- Med Speed: Activates the fan at medium speed for moderate cooking.
- High Speed: Activates the fan at high speed for heavy smoke and odors.
- Delayed Shutdown: Press this button to activate a 3-minute delayed shutdown. The fan will continue to operate for 3 minutes and then turn off automatically.
6.2 Gesture Control
The range hood can be operated by waving your hand in front of the gesture sensing points located on the control panel.

Figure 6.2: Wave hand to control functions.
- Turn On/Off: Wave your hand across the left sensing point to turn the fan on or off.
- Adjust Speed: Wave your hand across the control panel from left to right to increase fan speed (Low > Med > High). Wave from right to left to decrease fan speed.
- Delayed Shutdown: Wave your hand across the right sensing point to activate the delayed shutdown function.
Note: Gesture control can be disabled if preferred. Refer to the full user manual for detailed instructions on disabling this feature.
Video 6.1: Demonstration of the VIKIO HOME range hood's gesture control and features.
7. Maintenance
Regular maintenance ensures optimal performance and longevity of your range hood.
7.1 Cleaning Baffle Filters
The permanent stainless steel baffle filters are designed to capture grease and are dishwasher-safe for easy cleaning.

Figure 7.1: Baffle filters are dishwasher safe for convenient cleaning.
- Remove Filters: Gently pull the latch on each baffle filter and slide it out.
- Clean: Place the filters in a dishwasher or wash them by hand with hot water and a degreasing detergent.
- Dry and Reinstall: Ensure filters are completely dry before reinstalling them.
7.2 Replacing Charcoal Filters (Ductless Mode Only)
If your range hood is installed in ductless mode, the charcoal filters need to be replaced periodically, typically every 3-6 months depending on usage.
- Remove Baffle Filters: Follow the steps above to remove the baffle filters.
- Remove Old Charcoal Filters: Locate the charcoal filters attached to the motor housing and twist or unclip them to remove.
- Install New Charcoal Filters: Attach new charcoal filters (VIKIO HOME genuine replacement filters recommended) by twisting or clipping them into place.
- Reinstall Baffle Filters: Place the baffle filters back into their slots.
7.3 General Cleaning
- Wipe the exterior surfaces of the range hood with a soft cloth and a mild, non-abrasive cleaner.
- Do not use abrasive pads or cleaners that could scratch the stainless steel finish.
- Clean the LED lights with a soft, damp cloth.
8. Troubleshooting
Before contacting customer service, refer to the following table for common issues and solutions.
| Problem | Possible Cause | Solution |
|---|---|---|
| Range hood does not turn on | No power supply; circuit breaker tripped; loose wiring. | Check power connection, reset circuit breaker, ensure all wiring is secure. |
| Poor suction performance | Clogged grease filters; incorrect ducting size; blocked ductwork; charcoal filters saturated (ductless). | Clean or replace filters. Check ductwork for obstructions or proper installation. Replace charcoal filters if in ductless mode. |
| Excessive noise | Loose fan blades; foreign object in fan; improper installation; ductwork issues. | Inspect fan for obstructions. Ensure all mounting screws are tightened. Check ductwork for kinks or restrictions. |
| Lights not working | Bulb burnt out; loose connection. | Replace LED bulb (GU10 type). Check light connections. |
| Gesture control not responding | Gesture control disabled; obstruction near sensors; incorrect gesture. | Ensure gesture control is enabled. Clear any objects near the sensors. Practice gestures as described in Section 6.2. |
9. Warranty and Customer Support
VIKIO HOME stands behind the quality of its products. Your range hood comes with a 2-year confidence warranty.
- Warranty Coverage: This warranty covers defects in materials and workmanship under normal use for a period of two (2) years from the date of purchase.
- Customer Service: For any questions, assistance, or warranty claims, please contact our professional customer service team. We aim to provide a response within 24 hours.
- Replacement Parts: We offer free replacement of accessories such as filters and lights as needed during the warranty period.
Please retain your proof of purchase for warranty service.


