1. Introduction
This manual provides detailed instructions for the setup, operation, and maintenance of your Zivron Wireless Indoor Outdoor Weather Station. This device features a 7.5-inch VA display, a remote sensor for outdoor readings, and functions including weather forecast, temperature, humidity, atomic clock synchronization, and moon phase display. Please read this manual thoroughly before using the product to ensure proper function and longevity.
2. Package Contents
- Zivron Weather Station Main Unit
- Wireless Remote Sensor (1 unit included)
- AC Power Adapter
- User Manual
3. Product Overview
The Zivron Weather Station consists of a main display unit and a wireless remote sensor. The main unit provides a comprehensive display of weather data, while the remote sensor collects outdoor temperature and humidity.

Image 3.1: Zivron Weather Station Main Unit and Remote Sensor. The main unit features a large color display, while the smaller white unit is the wireless remote sensor.
3.1 Main Unit Features
- 7.5-inch VA Display with adjustable brightness
- Indoor temperature and humidity display
- Outdoor temperature and humidity display (from remote sensor)
- Weather forecast icons
- Atomic clock with auto DST adjustment
- Moon phase display
- Sunrise and Sunset times
- Barometric pressure trend
- Alarm function
- USB charging port for external devices

Image 3.2: Detailed diagram showing the main unit's display sections and physical buttons, along with the remote sensor. Key display areas include time, date, indoor/outdoor temperature and humidity, weather forecast, moon phase, and barometric pressure trend. Side buttons control settings and brightness.
3.2 Remote Sensor Features
- Measures outdoor temperature and humidity
- Wireless transmission to the main unit (up to 328 feet in open areas)
- Supports up to 3 channels (one sensor included)
4. Setup
4.1 Powering the Main Unit
The main unit can be powered by the included AC adapter or by 2 x AA batteries (not included).
- Using AC Adapter: Connect the AC adapter to the power input socket on the back of the main unit and plug it into a wall outlet. The screen will remain constantly lit, and brightness can be adjusted.
- Using Batteries: Open the battery compartment on the back of the main unit and insert 2 x AA batteries, observing polarity. When powered by batteries, the screen backlight will activate for 15 seconds when the top button is pressed, then auto-shutoff to conserve power.

Image 4.1: Illustration of the dual power mode for the main unit, showing connection for the AC adapter and the battery compartment for 2 AA batteries (not included).
4.2 Installing Batteries in Remote Sensor
The wireless remote sensor requires 2 x AA batteries (not included).
- Open the battery compartment on the back of the remote sensor.
- Insert 2 x AA batteries, ensuring correct polarity (+/-).
- Close the battery compartment securely.
4.3 Pairing Sensors
After powering both the main unit and the remote sensor, they should automatically attempt to pair. If pairing does not occur automatically:
- Ensure both units are within range and have fresh batteries/power.
- On the main unit, press and hold the 'CH' button (or similar pairing button, refer to specific button labels on your device) to initiate a search for remote sensors.
- On the remote sensor, press the 'TX' button (transmit) to send a signal to the main unit.
- The main unit will display the remote sensor's readings once successfully paired.
4.4 Initial Time and Date Setup
The weather station features an atomic clock for precise timekeeping. Upon initial power-up, it will attempt to synchronize with the official atomic clock signal (WWVB in North America).
- Place the main unit near a window for better signal reception.
- The device will automatically detect your time zone (supports 7 major North American time zones) and adjust for Daylight Saving Time (DST).
- If the atomic clock signal is weak or unavailable in your area, manual time setup is possible via the unit's settings buttons. Refer to the 'Operating Instructions' for manual time adjustment.

Image 4.2: The weather station displaying atomic clock synchronization (WWVB) and automatic Daylight Saving Time (DST) adjustment, with a map indicating coverage areas.
4.5 Remote Sensor Placement
For accurate outdoor readings, consider the following when placing the remote sensor:
- Place the sensor in a shaded area to avoid direct sunlight, which can cause inaccurate temperature readings.
- Ensure it is protected from direct rain and snow.
- Mount it securely on a vertical surface, away from heat sources or vents.
- Keep it within the wireless transmission range (up to 328 feet) of the main unit.
5. Operating Instructions
5.1 Display and Brightness Adjustment
The 7.5-inch VA display offers wide viewing angles and clear visibility. When powered by the AC adapter, the screen remains constantly lit. You can adjust the brightness to one of 5 levels using the dedicated brightness control buttons (usually located on the side or back of the unit).
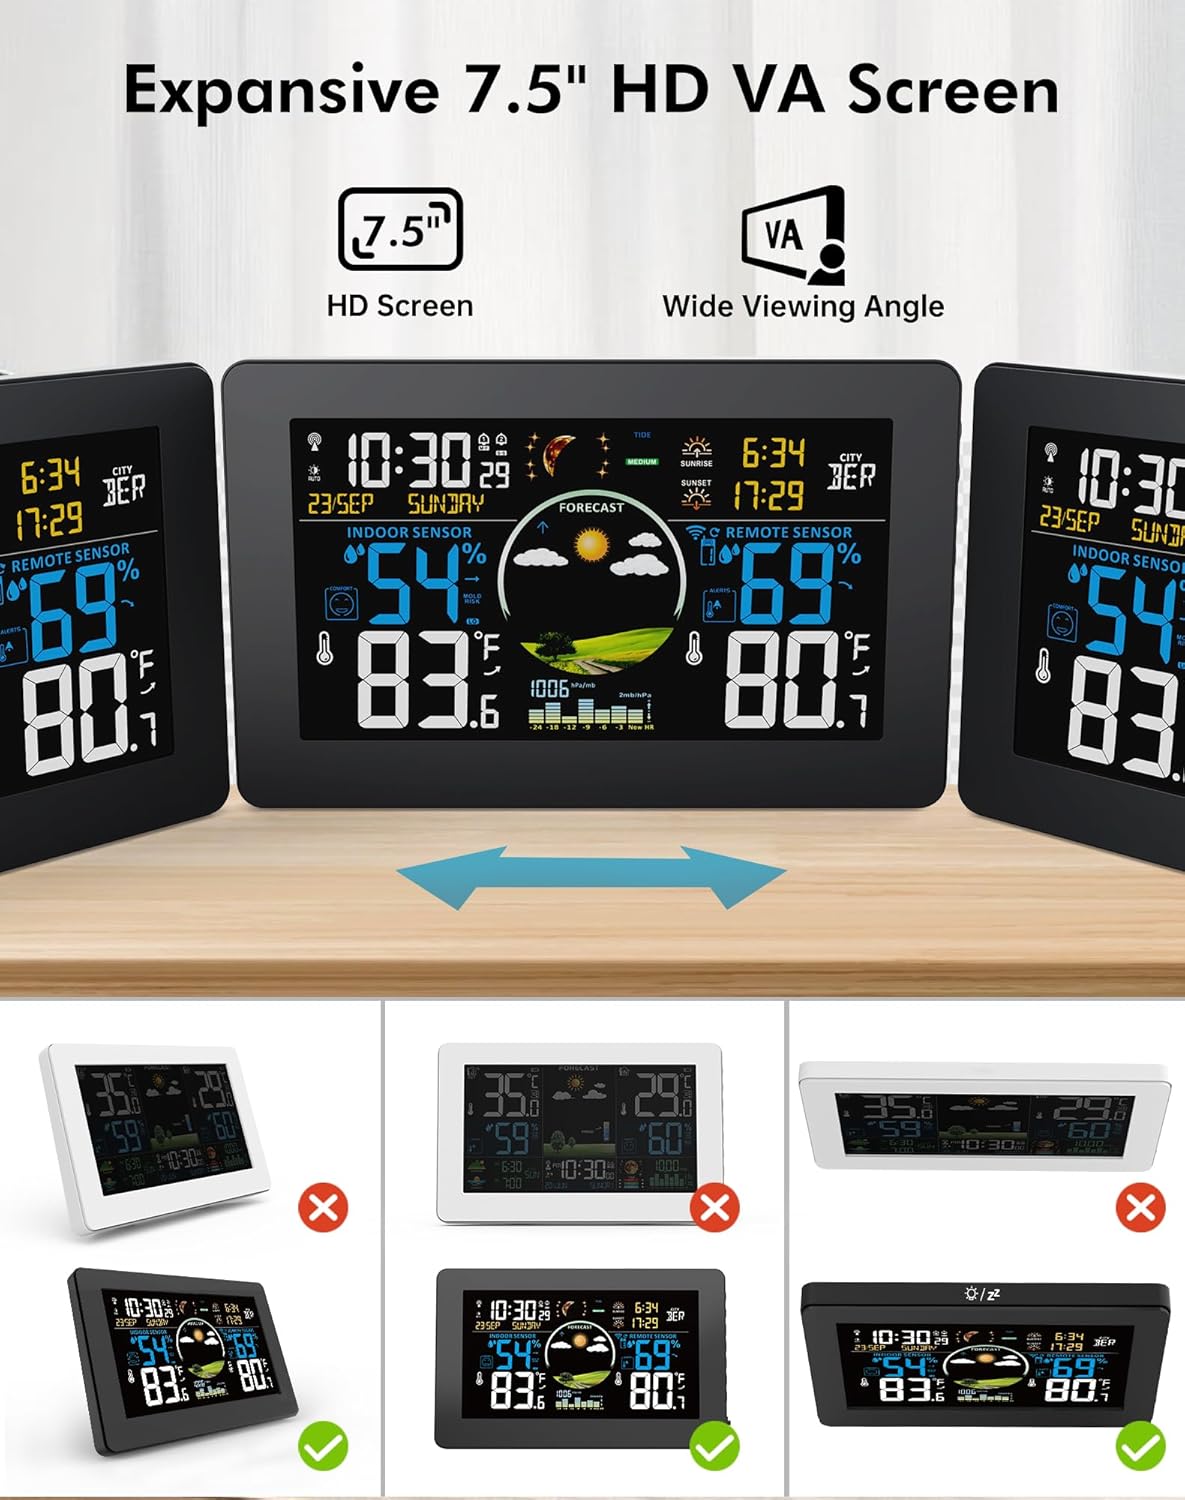
Image 5.1: The weather station's 7.5-inch VA display demonstrating wide viewing angles and various brightness settings, from 100% to 0% (off).
5.2 Personal Weather Forecast
The weather station analyzes barometric pressure trends to predict weather conditions for the next 12 hours. After a 7-10 day calibration period, it provides localized forecasts for your microclimate.

Image 5.2: The weather station's display showing different weather forecast icons, including sunny, slightly cloudy, cloudy, rainy, stormy, and snowy conditions.
5.3 Multi-Channel Wireless Sensors
The main unit can monitor conditions from up to 3 remote sensors simultaneously. The included package contains one sensor. Additional sensors can be purchased separately.
- Press the 'CH' button on the main unit to cycle through the channels (CH1, CH2, CH3).
- If only one sensor is connected, the display may cycle through channels, showing readings for the active channel and potentially flickering for inactive ones. Press 'CH' to return to a static display of the active channel.

Image 5.3: An illustration showing the weather station's capability to connect with up to three remote sensors, placed in different rooms like a nursery, kitchen, and bedroom, for multi-location monitoring.
5.4 Alarm Clocks with Snooze
The weather station includes two independent alarm clocks with a snooze function. Set alarms via the unit's menu buttons (refer to specific button functions in your device's quick start guide or on-screen prompts).

Image 5.4: The weather station displaying two alarm clock icons, indicating the presence of dual alarm functionality with snooze.
5.5 Indoor Comfort Indicator and Outdoor Temperature Alert
The main unit displays an indoor comfort indicator based on temperature and humidity levels. It also allows you to set high/low temperature alerts for the outdoor sensor, notifying you of sudden changes.

Image 5.5: The weather station's display showing a comfort indicator icon for indoor conditions and an alert icon for outdoor temperature, indicating a customizable temperature range alert.
5.6 Moon Phase, Sunrise, Sunset, and Tide Level
The weather station displays 12 different moon phases, sunrise and sunset times, and 3 kinds of tide phases based on its internal calendar and location settings.

Image 5.6: The weather station's display showing various moon phases, along with dedicated sections for sunrise and sunset times.
5.7 USB Output Charging
The main unit includes a USB output port (5V, 1A) for charging small electronic devices.

Image 5.7: The weather station connected via its USB output port to charge a smartphone, illustrating its charging capability.
6. Maintenance
- Cleaning: Wipe the main unit and remote sensor with a soft, damp cloth. Do not use abrasive cleaners or solvents.
- Battery Replacement: Replace batteries in both the main unit (if battery-powered) and the remote sensor when the low battery indicator appears on the display. Use only AA batteries.
- Sensor Placement: Periodically check the remote sensor's placement to ensure it remains protected from direct weather elements and is securely mounted.
7. Troubleshooting
| Problem | Possible Cause | Solution |
|---|---|---|
| No display on main unit | No power or dead batteries. | Ensure AC adapter is securely plugged in or replace AA batteries. |
| Outdoor readings not displayed or inaccurate | Remote sensor out of range, dead batteries, or interference. | Move sensor closer to main unit, replace sensor batteries, or re-pair sensor (see Section 4.3). Avoid placing near large metal objects or electronics. |
| Atomic clock not syncing | Weak signal or interference. | Move main unit near a window, away from electronic devices. Allow up to 24 hours for synchronization. If unsuccessful, set time manually. |
| Weather forecast inaccurate | Initial calibration period not complete. | Allow 7-10 days for the unit to calibrate to local barometric pressure trends. |
8. Specifications
- Model: B0FMFFYWW3
- Brand: Zivron
- Product Dimensions (Main Unit): 8 x 5.1 x 1.1 inches
- Item Weight: 0.54 Kilograms (1.19 Pounds)
- Display Type: 7.5-inch VA Display
- Power Source: AC/DC Power Adapter or 2 x AA Batteries (Main Unit), 2 x AA Batteries (Remote Sensor)
- Wireless Range: Up to 328 feet (open areas)
- USB Output: 5V, 1A
- Special Features: Adjustable Brightness, Alarm, Atomic Clock, Customizable Alert, Large Display, Weather Forecast, Moon Phase, Sunrise/Sunset, Tide Level, Indoor Comfort Indicator.
9. Warranty and Support
Zivron is committed to providing quality products and customer satisfaction.
- Warranty: This product comes with a 24-month free replacement/repair warranty from the date of purchase.
- Customer Support: For any questions, technical assistance, or warranty claims, please contact Zivron customer support. Support is available 24 hours a day, 7 days a week. Refer to the product packaging or Zivron's official website for contact details.