1. Introduction
This manual provides detailed instructions for the setup, operation, and maintenance of your COOAU 5MP Smart Bird Feeder G04. Please read this manual thoroughly before using the product to ensure proper functionality and longevity.

Image: The COOAU 5MP Smart Bird Feeder G04, featuring a solar panel and a camera, positioned outdoors with festive decorations.
2. Package Contents
Verify that all items listed below are included in your package:
- Bird Feeder Unit
- Feeder Cover
- Perch Kit
- Wall & Pole Mount Bracket
- Solar Panel Mounting Kit
- Strap
- Drill Positioning Sticker
- User Manual
- Charging Cable
- Solar Panel
- Jelly Box
- Suet Feeder
- HoneyFeeder
- Fruit Holder
- Thumb Screws
- Wall Bracket Screw Set
- Bracket Screws
- Bracket Screw Drive
- Cigarette Cap Bracket
3. Product Overview
The COOAU 5MP Smart Bird Feeder G04 combines a high-resolution camera with a solar-powered feeding station, offering an interactive bird-watching experience.
Key Features:
- 5MP HD Camera: Captures clear photos and videos of visiting birds.
- Solar Powered: Equipped with an upgraded BC-grade solar panel for efficient charging, even on cloudy days.
- AI Bird Recognition: Identifies over 11,000 bird species and adds them to your personal bird guide.
- Instant Notifications: Receive real-time alerts on your phone when birds approach the feeder.
- User-Friendly Design: Easy to set up, clean, and features squirrel-proof construction.
- Multiple Feeding Options: Includes various attachments for different types of bird food.

Image: Visual comparison highlighting the superior 5MP camera resolution for detailed bird observation.
4. Setup & Installation
4.1 Initial Camera Charging
Before first use, fully charge the camera for approximately 10 hours using the provided charging cable. The charging port is located under a rubber cover on the camera unit.
4.2 Memory Card Installation
To enable local video recording, insert a Micro SD card (up to 128GB, not included) into the camera unit.
- Open the rubber cover on top of the camera.
- Insert the memory card with the metal side facing back, ensuring correct orientation.
- Press firmly until you hear a click, indicating the card is securely in place.
- Close the rubber cover to protect the port from moisture.
4.3 Mounting Options
The COOAU Smart Bird Feeder G04 offers versatile mounting options:
A. Wall-Mounted Installation
- Use the drill template sticker and an electric drill (5/16", 8mm) to drill two holes.
- Drive the provided plastic anchors into the holes. Skip this step if mounting on wood.
- Fix the wall mount bracket to the wall using the screws.
- Line up one of the holes on the feeder's base with the tabs on the wall mount bracket.
- Attach the feeder to the wall mount bracket using the thumb screw (from the bottom).
B. Tree-Mounted Installation
- Slide the strap through the wall mount bracket slots.
- Wrap the strap around the tree and tie it tight.
- Line up one of the holes on the feeder's base with the tabs on the wall mount bracket.
- Attach the feeder to the wall mount bracket using the thumb screw (from the bottom).
C. Pole-Mounted Installation
Note: This feeder only fits standard-sized bird house poles with a 1"/2.5 cm diameter. The pole itself is not included.
- Align the feeder to the wall mount bracket and then twist the pole mount bracket into the base of the bird feeder to secure them.
- Insert a bird house pole (not included) firmly into the ground first, then put the pole mount bracket onto it.
- Secure the pole mount bracket to the pole using the thumb screw.

Image: Illustration of the bird feeder installed using wall, pole, and tree mounting methods.
4.4 Solar Panel Installation
The solar panel can be installed directly on top of the feeder cover or separately for optimal sunlight exposure.
A. Install on top of the smart bird feeder cover
- Screw the "Chimney Cap Bracket" into the threaded hole on the back of the solar panel.
- Replace the "Chimney Cap" on the bird feeder cover with the "Chimney Cap Bracket".
- After adjusting the right angle (ensuring the panel faces the sun), tighten the "locking knob" on the bracket to secure the solar panel's orientation.
B. Install it somewhere else with most sunlight
- Use the solar bracket positioning sticker and a power drill to drill three holes.
- Drive the provided plastic anchors into the holes. Skip this step if you are mounting on a wooden stand.
- Secure the solar bracket to the wall with screws.
- Screw the solar bracket into the threaded hole on the back of the solar panel.
- After adjusting the right angle (ensuring the panel faces the sun), tighten the "locking knob" on the bracket to secure the solar panel's orientation.
C. Install it on the bird feeder wall mount bracket (Only applicable when the smart bird feeder is Pole-mounted)
- Align the solar bracket with the three holes on the wall mount bracket and then secure them with screws.
- Screw the solar bracket into the threaded hole on the back of the solar panel.
- After adjusting the right angle (ensuring the panel faces the sun), tighten the "locking knob" on the bracket to secure the solar panel's orientation.

Image: The 4W adjustable solar panel, designed for effortless setup and maximum efficiency.
4.5 App Installation & Connection
Download the "VicoHome" app from your device's app store (App Store or Google Play). Follow the in-app instructions to register an account and add your camera.
Video: Step-by-step guide on how to connect the bird feeder to the VicoHome app.
5. Operating Instructions
5.1 Live View & Notifications
Once connected, you can access a live stream of your bird feeder anytime, anywhere via the VicoHome app. The app will send real-time alerts to your phone when motion is detected at the feeder.
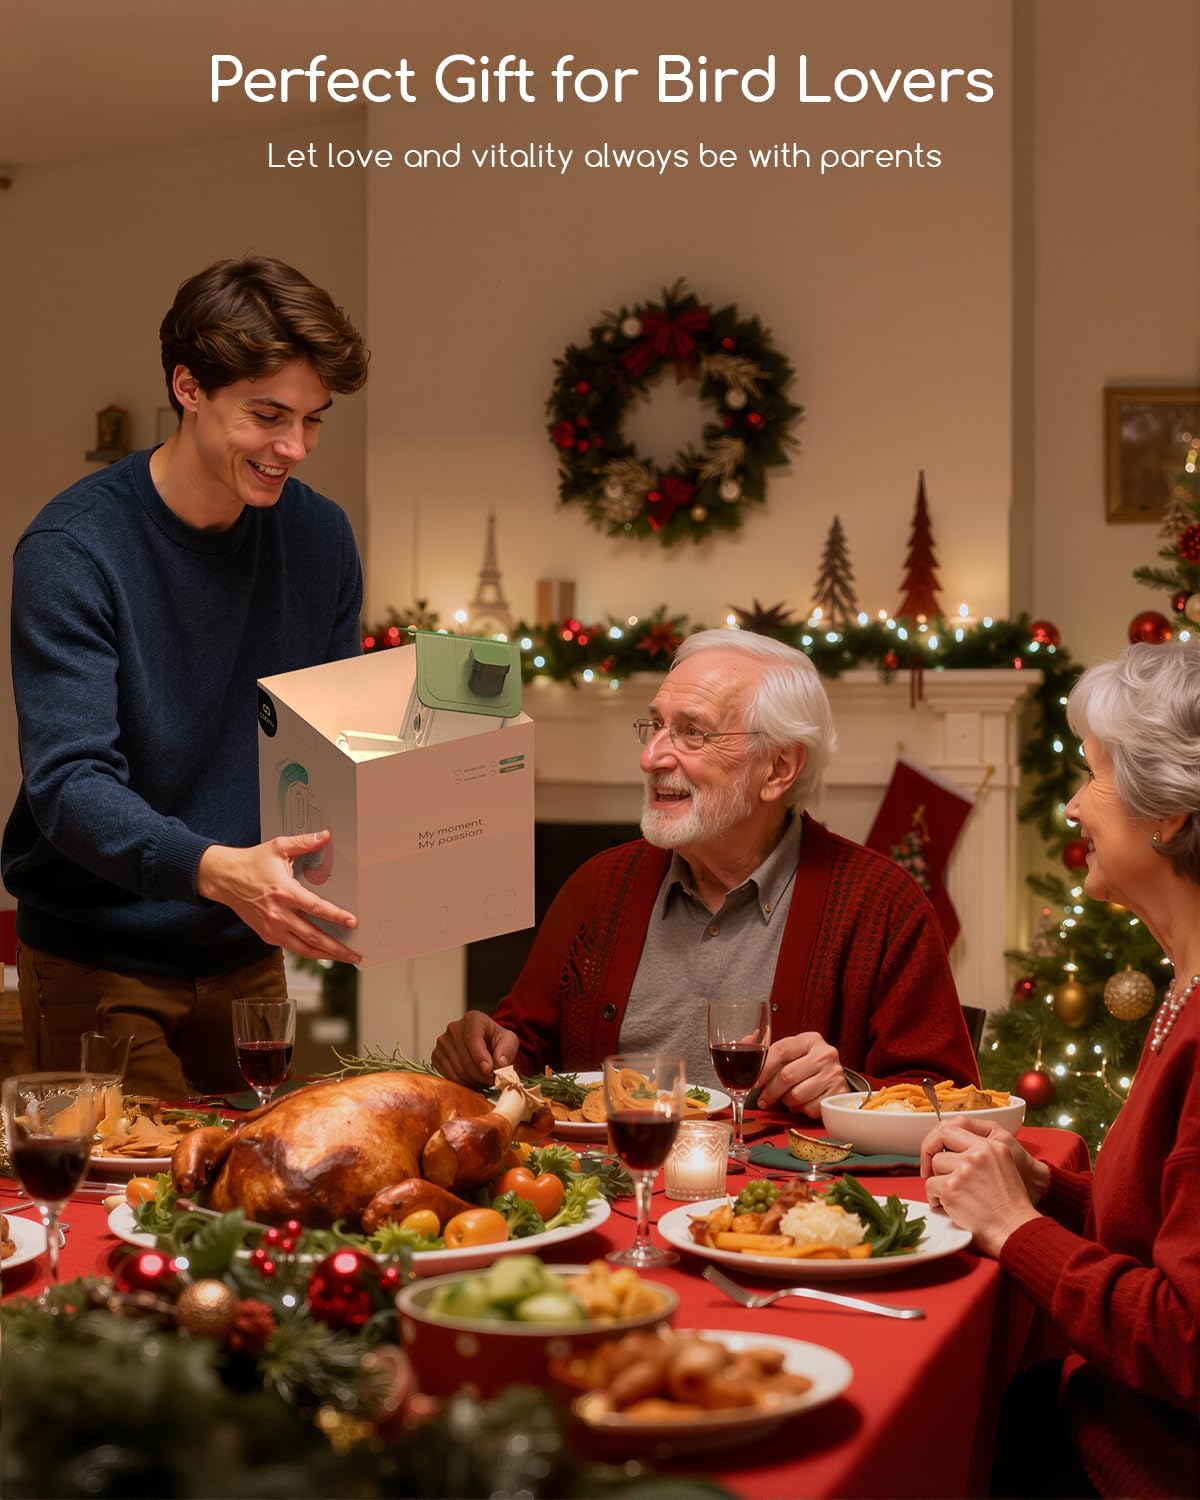
Image: Instant phone notifications alert users to bird activity at the feeder.
5.2 AI Bird Recognition
The feeder's AI technology identifies over 11,000 bird species. Identified birds are added to your personal bird guide within the app, which also includes a built-in bird encyclopedia.
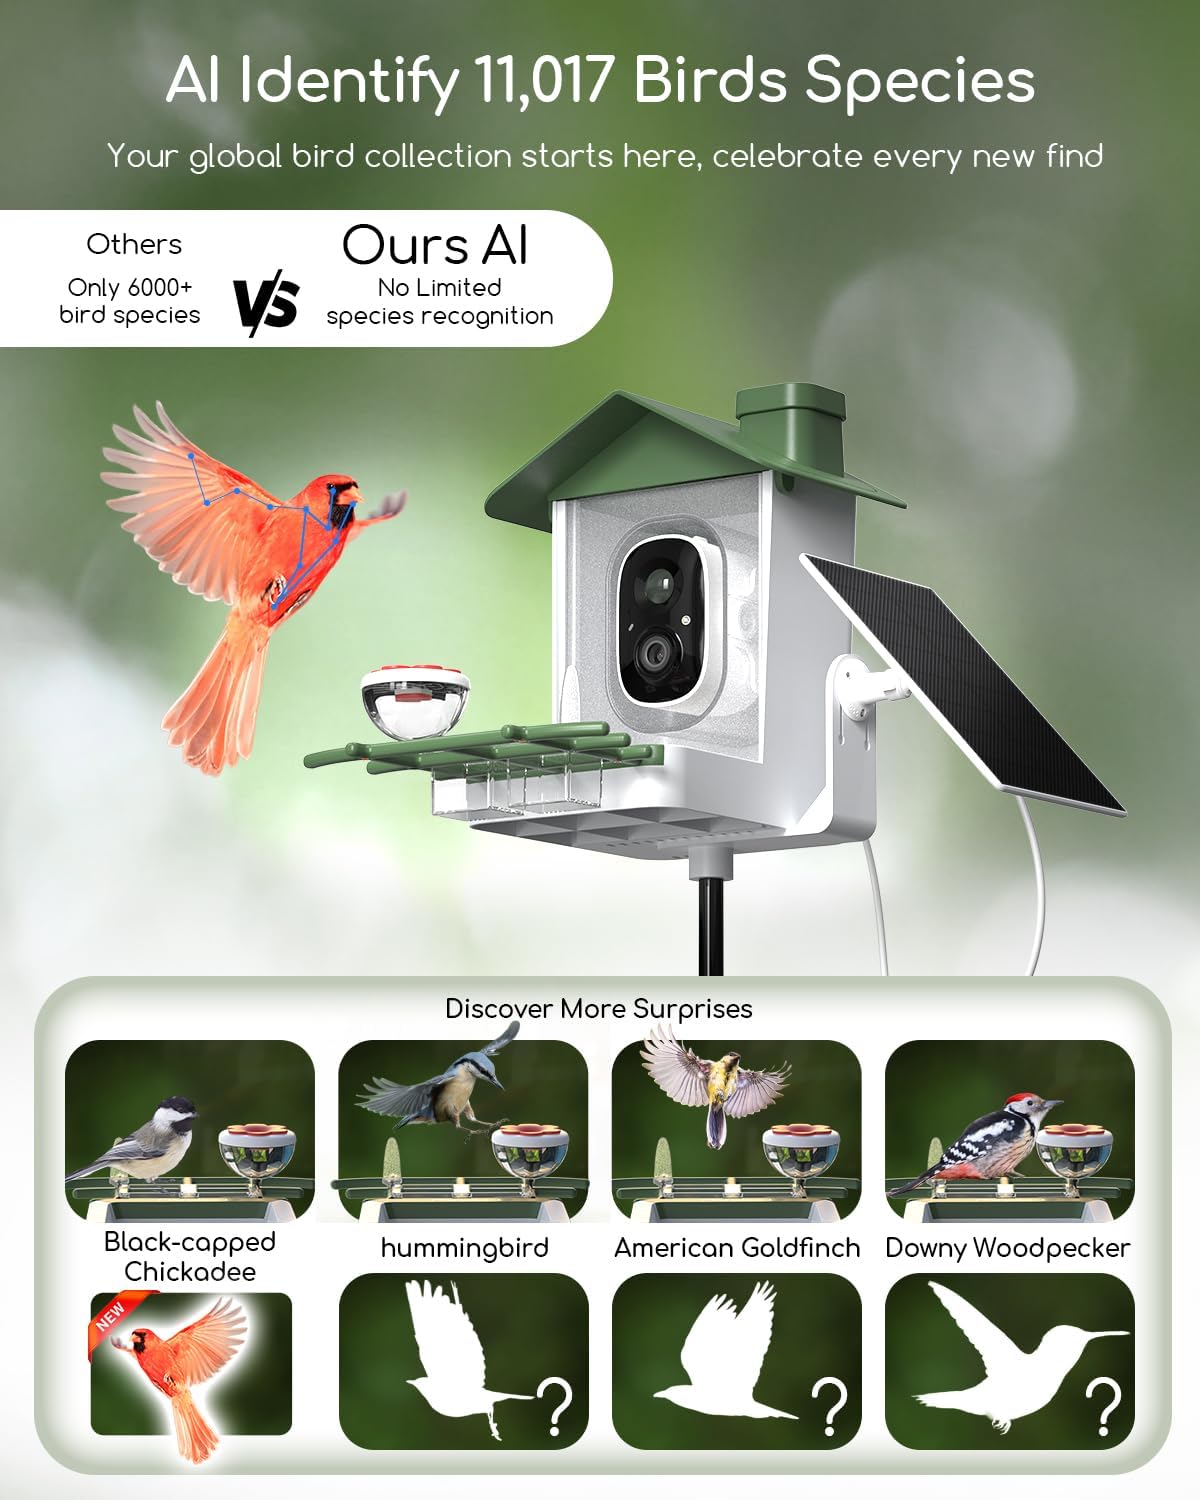
Image: The AI system identifies over 11,000 bird species, building a global bird collection.
5.3 Video Recording & Storage
The camera supports local storage via a Micro SD card (up to 128GB) and offers cloud storage options (30-day free trial available, subscription required thereafter).
5.4 Sharing Feature
Share access to your bird feeder's live feed and recordings with family and friends through the VicoHome app.
Video: Instructions on how to share access to your bird feeder with others via the app.
5.5 Squirrel Deterrence
The feeder includes features to deter squirrels, such as light alarms, sound alarms, and two-way talk functionality.

Image: The bird feeder's light and sound alarms, along with two-way talk, can help deter squirrels.
6. Maintenance
6.1 Cleaning the Feeder
Regular cleaning is essential to prevent the spread of disease among birds. The user-friendly design allows for easy disassembly and cleaning.
- Remove the feeder cover and any feeding attachments.
- Discard old seeds and debris.
- Wash all parts with warm, soapy water. Rinse thoroughly and dry completely before reassembling.
6.2 Solar Panel Optimization
Ensure the solar panel is positioned to receive maximum direct sunlight throughout the day for optimal charging efficiency. Periodically clean the solar panel surface to remove dust or debris that may obstruct sunlight.
6.3 Firmware Updates
Check the VicoHome app regularly for firmware updates to ensure your device has the latest features and performance improvements.
7. Troubleshooting
If you encounter issues with your COOAU Smart Bird Feeder G04, refer to the following common solutions:
- No Power/Not Charging: Ensure the solar panel is clean and receiving direct sunlight. Verify the charging cable is securely connected.
- Connectivity Issues: Confirm your Wi-Fi network is 2.4GHz. Check the Wi-Fi signal strength at the feeder's location. Restart the camera and your router.
- No Notifications: Check app notification settings on your phone and within the VicoHome app. Ensure motion detection is enabled.
- Poor Video Quality: Clean the camera lens. Ensure the recording resolution is set to 5MP (3K) in the app settings.
- AI Recognition Inaccurate: Ensure the camera lens is clean and clear. High-resolution images improve AI accuracy.
8. Specifications
| Feature | Detail |
|---|---|
| Brand | COOAU |
| Model Number | G04 |
| Camera Resolution | 5MP HD |
| Power Source | Solar Powered |
| Solar Panel | 4W Adjustable, BC-grade components |
| AI Recognition | 11,000+ Bird Species |
| Material | Acrylonitrile Butadiene Styrene (ABS), Polycarbonate (PC) |
| Product Dimensions | 10.7"L x 7.6"W x 7.6"H |
| Item Weight | 4.11 pounds |
| Capacity | 1.5 Liters |
| Battery | 1 C battery required (included) |
9. Warranty & Support
COOAU provides a 2-year warranty with a "Replacement Only, No Repairs" policy. To activate your warranty, please refer to the warranty card included in the package.
For technical support or product replacement, please contact us:
Email: support-us@cooau.com
Our support team aims for a 24-hour fast email response.