1. Introduction
This manual provides detailed instructions for the setup, operation, and maintenance of your THINKYA Mini DVD Player, Model B0FMRRN8M4. Please read this manual thoroughly before using the device to ensure proper functionality and to prevent damage.
The THINKYA Mini DVD Player is a compact, all-region free device designed for versatile media playback. It supports various disc formats and offers both HDMI and AV outputs for broad compatibility with televisions and projectors. Key features include 1080P HD output, a last memory function, and USB playback capability.
2. Package Contents
Verify that all items listed below are included in your package:
- 1 x THINKYA Mini DVD Player
- 1 x Remote Control
- 1 x HDMI Cable
- 1 x AV Cable (RCA)
- 1 x DC Adapter
- 1 x Charging Cable (USB)
- 1 x User Manual (this document)

Image: The THINKYA Mini DVD Player shown with its remote control, HDMI cable, AV cable, USB charging cable, and power adapter.
3. Safety Information
- Do not expose the device to rain, moisture, or extreme temperatures.
- Ensure proper ventilation around the player to prevent overheating.
- Use only the provided power adapter and cables.
- Do not attempt to open or repair the device yourself. Refer all servicing to qualified personnel.
- Keep the device away from strong magnetic fields.
4. Product Overview
4.1 Device Layout
The THINKYA Mini DVD Player features a compact design with essential controls and ports for ease of use.
Image: A close-up view of the DVD player, highlighting its compact size and top-loading disc mechanism.
4.2 Dimensions
- Length: Approximately 8.7 inches
- Width: Approximately 5.9 inches
- Height: Approximately 1.2 inches
- Weight: Approximately 1.79 pounds

Image: The compact DVD player positioned on a media console, demonstrating its small footprint next to a television.
5. Setup
5.1 Connecting to a Display Device
The DVD player offers two primary connection methods: HDMI and AV (RCA).
5.1.1 HDMI Connection (Recommended for Smart TVs, 4K TVs, Projectors)
- Connect one end of the provided HDMI cable to the HDMI OUT port on the DVD player.
- Connect the other end of the HDMI cable to an available HDMI input port on your TV, projector, or monitor.
- Select the corresponding HDMI input on your display device using its remote control.
5.1.2 AV (RCA) Connection (For older TVs or alternative connections)
- Connect the red, white, and yellow plugs of the provided AV cable to the corresponding color-coded AV OUT ports on the DVD player.
- Connect the other end of the AV cable to the matching color-coded AV IN ports on your TV.
- Select the AV input on your display device using its remote control.

Image: Visual guide demonstrating how to connect the DVD player to a display using either HDMI or AV cables.
5.2 Powering the Device
- Connect the USB charging cable to the DC IN port on the DVD player.
- Connect the other end of the USB charging cable to the provided DC adapter.
- Plug the DC adapter into a standard wall outlet.
The player can also be powered via a power bank or car charger using the USB charging cable (not included).

Image: The DVD player connected to various power sources, including a wall outlet, a power bank, and a car charger.
5.3 Remote Control Setup
The remote control requires two AAA batteries (not included). Insert them according to the polarity markings inside the battery compartment.
6. Operating Instructions
6.1 Disc Playback
- Press the POWER button on the player or remote to turn on the device.
- Gently lift the disc cover.
- Place a compatible disc (CD, DVD, DVD-R/+R, DVD-/+RW, CD-R/-RW, VCD, SVCD, Discs recorded by DVD Recorder) onto the spindle, ensuring it is seated correctly.
- Close the disc cover. The player will automatically begin reading the disc.
- Use the remote control for playback functions such as PLAY/PAUSE, STOP, FAST FORWARD/REWIND, and NEXT/PREVIOUS TRACK.
Important: Blu-ray discs are NOT supported by this player.
This player is All Region Free, allowing playback of DVDs from any region worldwide.

Image: The DVD player with a disc inserted, showing text indicating its 'All Region Free' capability and a list of supported formats including CD, DVD, VCD, SVCD, and MP3.
6.2 USB Playback
- Insert a USB flash drive (up to 32GB, formatted as FAT) into the USB port on the side of the DVD player.
- Press the DVD/USB button on the player or remote to switch to USB input.
- Use the remote control's navigation buttons to browse and select media files (e.g., .MP3, .WAV, .AVI) from the USB drive.
- Press PLAY/PAUSE to start playback.
6.3 Last Memory Function
The player features a 'Last Memory' function. If the player is powered off or playback is stopped, it will resume from the exact point where it left off when powered on again. This applies to both disc and USB playback.

Image: A visual representation of the 'Last Memory Function', depicting a scene playing, then the device powering off, and finally resuming playback from the same point when powered back on.
6.4 Audio/Video Settings
The player outputs video in 1080P HD resolution via HDMI. It supports both PAL and NTSC video systems, automatically adjusting to the disc's format.
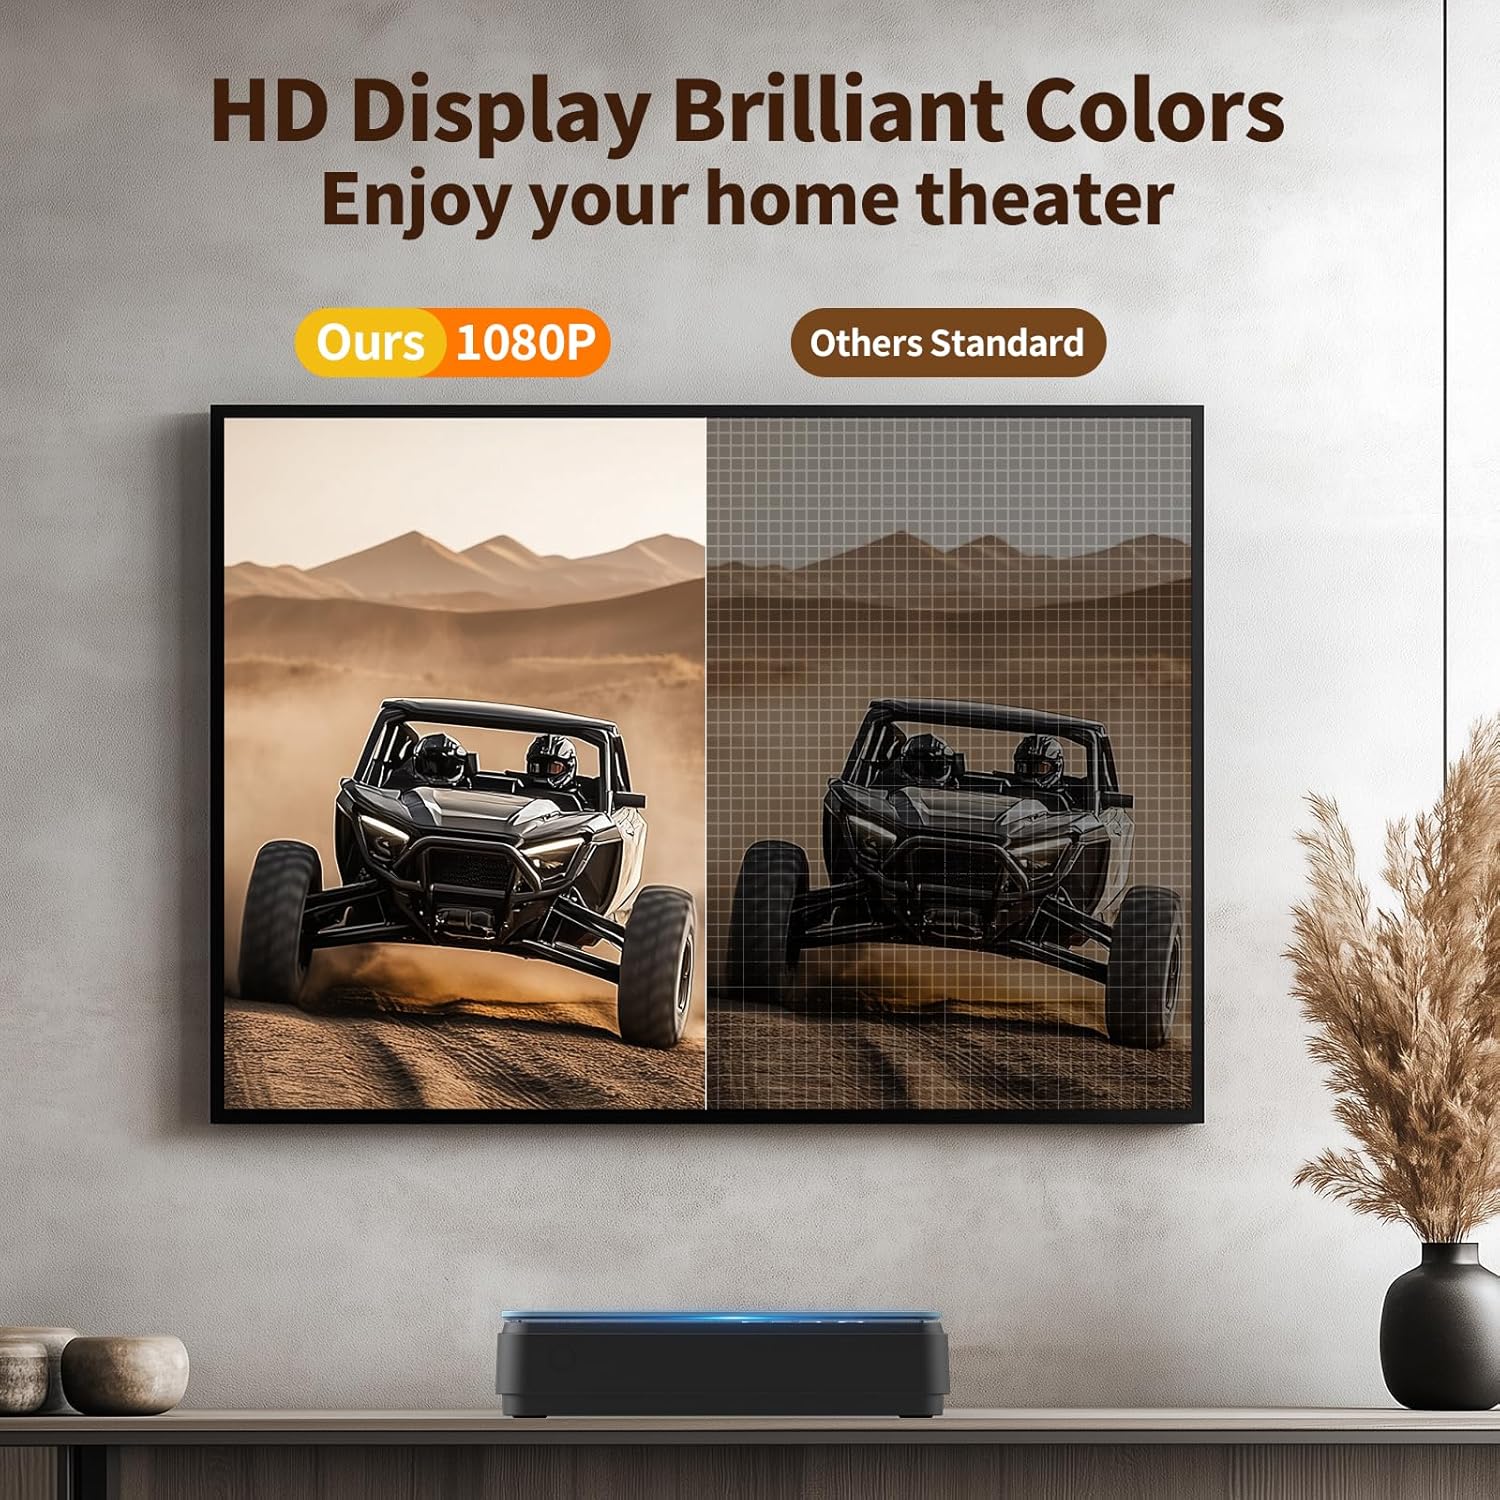
Image: A side-by-side comparison showing the enhanced clarity and vibrant colors of a 1080P HD display compared to a standard definition display.
7. Maintenance
7.1 Cleaning the Player
- Wipe the exterior of the player with a soft, dry cloth.
- Do not use liquid cleaners or abrasive materials, as they may damage the surface.
- For the disc lens, use a specialized DVD/CD lens cleaning disc if necessary.
7.2 Disc Care
- Handle discs by their edges to avoid fingerprints and scratches.
- Store discs in their cases when not in use.
- Clean discs with a soft, lint-free cloth, wiping from the center outwards.
8. Troubleshooting
If you encounter issues with your DVD player, refer to the following common problems and solutions:
| Problem | Possible Cause | Solution |
|---|---|---|
| No power | Power cable not connected; power outlet faulty | Ensure power cable is securely connected; try a different outlet. |
| No picture/sound | Incorrect input selected on TV; loose HDMI/AV cables | Select correct input on TV; check cable connections. |
| Disc not playing | Disc is dirty/scratched; unsupported disc format; disc inserted incorrectly | Clean disc; ensure disc is compatible (no Blu-ray); reinsert disc correctly. The player features Error Correction for minor disc imperfections. |
| Remote control not working | Batteries low/incorrectly inserted; obstruction between remote and player | Replace batteries (AAA); ensure clear line of sight to the player's front panel. |
| Playback skipping/freezing | Disc is damaged; player is unstable | Try a different disc; ensure player is on a stable surface. The player has Anti-shock Protection. |
The player's Noise Cancellation feature helps ensure quiet operation during disc loading.
9. Specifications
| Feature | Specification |
|---|---|
| Brand | THINKYA |
| Model Number | B0FMRRN8M4 |
| Media Type Supported | CD, DVD, DVD-R/+R, DVD-/+RW, CD-R/-RW, VCD, SVCD, Discs recorded by DVD Recorder (Blu-ray NOT supported) |
| Resolution | 1920x1080 (1080P HD) |
| Connector Type | HDMI, RCA (AV) |
| Connectivity Technology | HDMI |
| Special Features | Compact, All Region Free, Last Memory Function, USB Playback, Anti-shock, Error Correction, Noise Cancellation |
| Item Weight | 1.79 pounds |
| Package Dimensions | 11.97 x 11.22 x 4.53 inches |
| UPC | 653998773199 |
| Manufacturer | THINKYA |
10. Warranty and Support
For information regarding the product warranty, please refer to the warranty card included with your purchase or contact the seller directly. Specific warranty terms and conditions may vary.
If you require further assistance or have questions not covered in this manual, please contact THINKYA customer support through the retailer's platform or the official THINKYA website, if available.
