1. Introduction
This instruction manual provides comprehensive guidance for the installation, operation, and maintenance of the SUMGUYZYKN LED Backlight Strip kit. This product is designed as a replacement part for specific Hisense TV models, including H55N6600, H55M6600, H55MEC5650, and LED55M5600UC. The kit includes two 84-LED strips, each measuring approximately 598mm in length, intended for one television unit.
These LED backlight strips are engineered for energy efficiency and durability, offering a reliable solution for restoring your television's display. Please read this manual thoroughly before proceeding with installation to ensure proper handling and safe operation.

Image 1.1: Overview of the SUMGUYZYKN LED Backlight Strips with a measurement ruler.
2. Safety Information
Warning: Television repair and component replacement should only be performed by individuals with appropriate technical knowledge and experience. Improper installation can lead to electric shock, damage to the television, or personal injury.
- Always disconnect the television from the main power supply before beginning any repair or installation work.
- Wear appropriate personal protective equipment, such as anti-static gloves, to prevent electrostatic discharge (ESD) damage to sensitive electronic components.
- Handle the TV screen and internal components with extreme care to avoid breakage or damage.
- Ensure all connections are secure and correctly aligned before reassembling the television and restoring power.
- If you are unsure about any step, consult a qualified technician.
3. Package Contents
The SUMGUYZYKN LED Backlight Strip kit for one TV typically includes the following items:
- 2 x LED Backlight Strips (84 LEDs each, approximately 598mm in length)
Please inspect the package contents upon receipt to ensure all items are present and undamaged.

Image 3.1: Two LED backlight strips, showing their length and protective film.
4. Specifications
| Feature | Detail |
|---|---|
| Product Type | LED Backlight Strip |
| Brand | SUMGUYZYKN |
| Compatible TV Models | Hisense H55N6600, H55M6600, H55MEC5650, LED55M5600UC |
| Number of LEDs per strip | 84 LEDs |
| Strip Length | Approximately 598mm (23.5 inches) |
| Kit Quantity | 2 pieces for 1 TV |
| Model Numbers | 55_HE550IUC_B52_84+84_4014M, LT-1163576-B |
| Item Weight | 1.76 ounces (total for kit) |
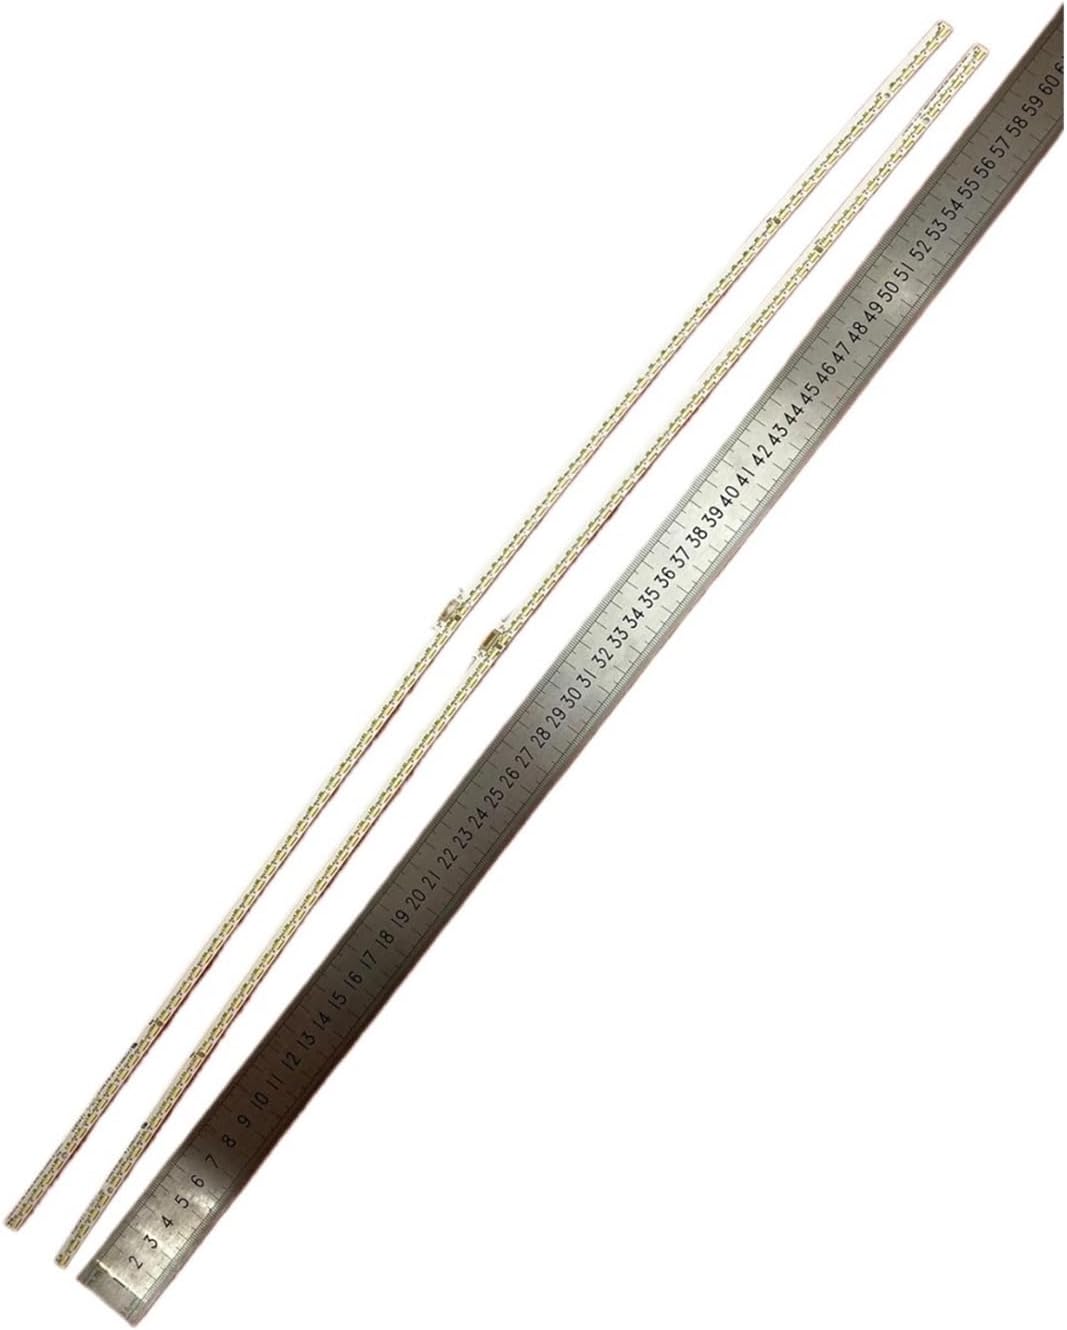
Image 4.1: Detailed view of a single LED strip with precise length measurement.

Image 4.2: Close-up of the LED components and identification markings on the strip.
5. Setup and Preparation
Before beginning the installation process, ensure you have the necessary tools and a suitable workspace.
5.1 Required Tools:
- Screwdriver set (Phillips and flathead)
- Pry tools or plastic opening tools (to safely separate TV panels)
- Anti-static wrist strap or gloves
- Clean, soft cloth or mat (to protect the TV screen)
- Small containers for screws
5.2 Workspace Preparation:
- Choose a clean, well-lit, and spacious area.
- Lay a soft, protective mat or blanket on a flat surface to place the TV screen face down.
- Ensure the area is free from static electricity.
6. Installation Guide
Follow these steps carefully to replace the LED backlight strips in your Hisense TV. Refer to your specific TV model's service manual for detailed disassembly instructions if available.
- Disconnect Power: Ensure the television is completely powered off and unplugged from the electrical outlet.
- Prepare TV: Place the TV face down on the prepared soft, clean surface to protect the screen.
- Remove Back Cover: Carefully remove all screws securing the TV's back cover. Use pry tools if necessary to gently separate the cover from the chassis. Store screws in a labeled container.
- Access Internal Components: Once the back cover is removed, you will see the internal circuit boards. Disconnect any cables that obstruct access to the display panel.
- Remove Display Panel Layers: This is the most delicate step. You will need to carefully remove the bezel, then the LCD panel, and subsequently the diffuser sheets. These layers are fragile and can be easily damaged. Note the order and orientation of all layers. It is highly recommended to have assistance for this step.
- Locate and Remove Old Strips: The old LED backlight strips are typically located at the bottom or sides of the TV panel, often secured with adhesive or small clips. Disconnect their power connectors and gently peel or unclip them.
- Install New Strips: Carefully place the new SUMGUYZYKN LED backlight strips into position. Ensure they align correctly with the mounting points and connectors. Connect the power cables. If the strips have adhesive backing, remove the protective film and press firmly.
- Test Functionality (Optional but Recommended): Before full reassembly, you may temporarily connect the TV to power (with extreme caution) to verify the new backlight strips illuminate correctly. Disconnect power immediately after testing.
- Reassemble TV: Carefully reassemble the display panel layers in reverse order, ensuring each component is correctly seated and free of dust or debris. Reconnect all cables. Replace the back cover and secure it with all screws.
- Final Power On: Plug the TV back into the power outlet and power it on to confirm successful installation.
Note: If you encounter any difficulties or are uncomfortable performing these steps, it is advisable to seek professional assistance to prevent damage to your television.
7. Operation
The SUMGUYZYKN LED Backlight Strips are replacement components that restore the original backlight functionality of your compatible Hisense television. Once correctly installed, the strips operate automatically as part of the TV's display system. There are no user-adjustable settings directly on the backlight strips themselves.
Upon successful installation, your television's display should illuminate as expected. Any brightness or picture settings will continue to be controlled via your TV's remote control and on-screen menu, as before the replacement.
8. Maintenance
The LED backlight strips themselves require no specific maintenance after installation. To ensure the longevity of your television and its components:
- Keep the television in a clean, dust-free environment.
- Avoid exposing the television to excessive moisture or extreme temperatures.
- Ensure adequate ventilation around the TV to prevent overheating.
- Do not attempt to clean the internal components of the TV with liquids.
9. Troubleshooting
If you encounter issues after installing the LED backlight strips, consider the following troubleshooting steps:
- No Backlight / Dark Screen:
- Ensure all power connectors to the LED strips are securely attached.
- Verify that the TV's power supply board is functioning correctly.
- Check for any visible damage to the new LED strips or their connections.
- Uneven Brightness / Dark Spots:
- Confirm that the diffuser sheets and LCD panel were reassembled correctly and are seated without gaps or misalignment.
- Inspect the LED strips for any damaged or non-illuminating individual LEDs.
- Flickering Backlight:
- Check all cable connections for looseness.
- This could indicate an issue with the TV's power supply board or LED driver circuit.
If these steps do not resolve the issue, it is recommended to consult a professional TV repair technician.
10. Warranty and Support
For warranty information regarding your SUMGUYZYKN LED Backlight Strip kit, please refer to the purchase documentation or contact the seller directly. Specific warranty terms and conditions may vary.
For technical support or further assistance, please reach out to the manufacturer or the point of purchase. Keep your purchase receipt and product details readily available when contacting support.


