
Introduction
This manual provides detailed instructions for the UGREEN 40Gbps Dual-Bay M.2 NVMe SSD Cloner with RAID. This device allows for high-speed data transfer, offline cloning of M.2 NVMe SSDs, and supports various RAID modes for flexible storage solutions. It features a tool-free design and an integrated cooling fan for stable performance.
What's in the Box
- UGREEN 40Gbps Dual-Bay M.2 NVMe SSD Cloner Enclosure
- USB-C to USB-C Cable
- Power Adapter (12V/2A)
- Screwdriver (for optional use)
- Thermal Pads
- User Manual
Specifications
| Feature | Detail |
|---|---|
| Memory Storage Capacity | Up to 16 TB (8TB per single drive) |
| Compatible Devices | Desktop, Laptop (MacBook M4/Pro/Max, Mac mini, XPS, etc.) |
| Max Number of Supported Devices | 1 (for direct connection) |
| Data Transfer Rate | 40 Gigabits Per Second |
| Hardware Interface | USB Type C |
| Supported SSD Sizes | 2230, 2242, 2260, 2280 (M.2 NVMe PCIe) |
| RAID Modes Supported | RAID 0, RAID 1, PM, Union |
| Cooling System | Aluminum alloy shell, 40mm direct-flow cooling fan |
| Operating System Compatibility | Windows, macOS, Linux, ChromeOS |
| Material | Aluminum |
| Item Model Number | 65733US |
Setup and Installation
- Open the Enclosure: Remove the screws and open the case. Remove the fixing screws inside the case.

Image: Steps to open the enclosure and remove internal screws.
- Insert M.2 NVMe SSD: Insert your M.2 NVMe SSD into the M.2 slot and secure it by tightening the screw at the base. The enclosure supports various M.2 SSD sizes (2230/2242/2260/2280).

Image: Illustration of inserting different M.2 SSD sizes into the enclosure.
- Apply Thermal Pad: Remove the protective film from the thermal pad and stick it onto the SSD, then remove the protective film from the other side. This helps with heat dissipation.
- Close the Enclosure: Close the case and tighten the screws. (Do not install the case during cloning if performing an offline clone).
- Connect Power and Data: Insert the supplied power adapter and connect the USB-C cable to your computer or other device.

Image: Connecting the enclosure to a laptop with the USB-C cable and power adapter.
Operating Instructions
Offline Cloning (No PC Required)
- Insert SSDs: Insert the source SSD into the slot marked "Source" and the target SSD into the slot marked "Target".
Note: The target disk needs to be larger than or equal to the source data disk. During offline clone, the target SSD will be formatted. Please backup your important files before cloning.

Image: Illustration of inserting source and target SSDs for offline cloning.
- Start Cloning: Turn on the device, then press and hold the "Clone" button for approximately 3 seconds. Then press the "Clone" button again to enter copy confirmation mode and start copying.
Video: Demonstration of the offline cloning process with the NVMe M.2 Duplicator.
- Monitor Progress: The LED light strip will display the clone status (25%, 50%, 75%, 100%).
Data Transfer (PC Required)
- Connect to PC: Connect the enclosure to your computer using the provided USB-C cable.
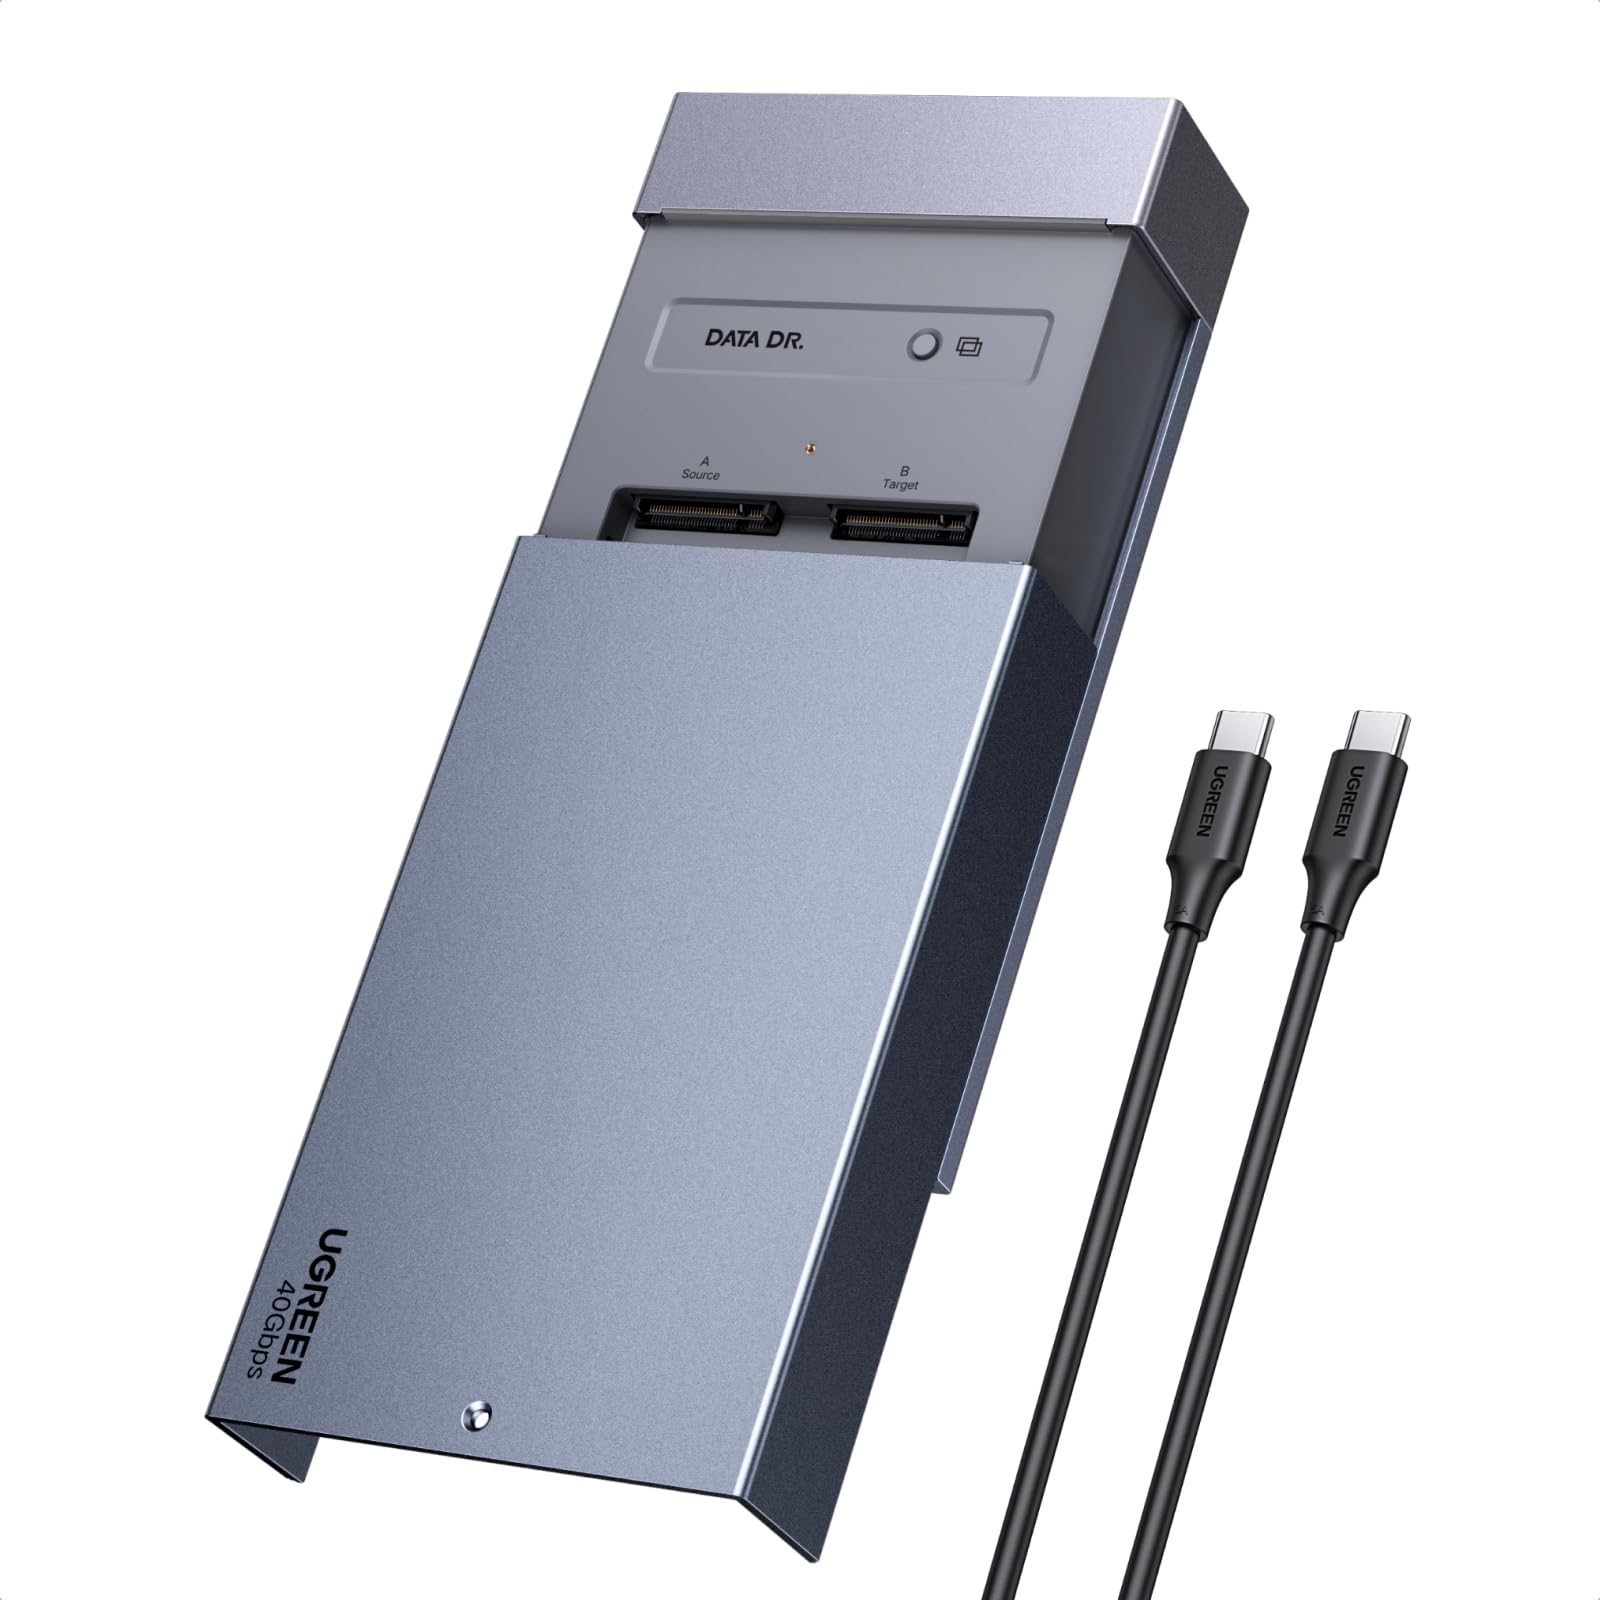
Image: The enclosure connected to a laptop with the USB-C cable and power adapter, illustrating 40Gbps data transmission.
- Access Drives: Your computer should recognize the inserted SSDs as external drives. You may need to initialize and format new SSDs via Disk Management (Windows) or Disk Utility (macOS) before use.
Video: Demonstration of connecting the enclosure to a PC and accessing drives, including initializing a new drive.
- Transfer Files: Drag and drop files between your computer and the SSDs for high-speed data transfer.
RAID Modes
This product supports various RAID modes to meet diverse content needs:
- RAID 0 (Rapid Mode): Offers ultra-fast transmission, ideal for professional video editing and large-scale video games.
- RAID 1 (Safety Mode): Provides a secure environment with multiple backups to ensure secure data storage.
- PM Mode (Normal Mode): Easy to use, allowing flexible expansion by adding or removing SSDs.
- Union Mode: Combines hard disk capacities for capacity expansion, allowing you to freely store large amounts of data.

Image: Overview of different RAID modes and their benefits.
Advanced Cooling System
The enclosure is designed with an aluminum alloy top shell and a 40mm direct-flow cooling fan. This ensures efficient heat dissipation and low-noise airflow, maintaining stable performance and protecting against overheating during prolonged use.

Image: Diagram illustrating the heat dissipation process with the cooling fan and thermal pad.
Extensive Compatibility
This device offers broad compatibility with various operating systems and devices:
- Operating Systems: Seamlessly works with Windows, macOS, Linux, and ChromeOS.
- Devices: Equipped with a USB-C port, it supports fast cloning and transfer on MacBook M4/Pro/Max, Mac mini, XPS, and other devices.

Image: Visual representation of the enclosure's compatibility with various operating systems and devices.
LED Indicators
The LED light strip on the enclosure provides visual feedback on the device's status:
- White light flashing: Device read/write is normal or reading in progress.
- Red light flashing: Read exception or fault status.
- Clone Status: Individual LEDs indicate cloning progress (25%, 50%, 75%, 100%).

Image: Explanation of LED indicator lights for various device statuses.
Troubleshooting
- Issue: Target drive not recognized or not showing full capacity after cloning.
Solution: After an offline clone, the target drive will be an exact duplicate of the source drive's partition size. To utilize the full capacity of a larger target drive, you may need to extend the volume using Disk Management (Windows) or Disk Utility (macOS).
- Issue: Cloning process fails or red light flashes.
Solution: Ensure the target disk's capacity is larger than or equal to the source disk's capacity. Verify both SSDs are properly seated in their respective slots. Ensure the power adapter is securely connected and providing stable power.
- Issue: Slow data transfer speeds.
Solution: Ensure your computer's USB-C port supports 40Gbps (USB4 or Thunderbolt). Use the provided high-speed USB-C cable. Check that your SSDs are M.2 NVMe PCIe and not SATA, as SATA SSDs are not compatible and will not function.
Warranty and Support
For warranty information, technical support, or further assistance, please refer to the official UGREEN website or contact their customer service directly. Keep your purchase receipt for warranty claims.