
1. Introduction
This manual provides detailed instructions for the installation, operation, and maintenance of your REVODATA 5MP Mini POE IP Camera (Model I706-P-A-HS-S). Please read this manual thoroughly before using the product to ensure proper functionality and safety.

Figure 1: REVODATA 5MP Mini POE IP Camera (I706-P-A-HS-S) with key features highlighted.
2. Product Overview and Package Contents
The REVODATA I706-P-A-HS-S is a compact 5MP indoor security camera featuring Power over Ethernet (POE) for simplified installation, a built-in microphone for audio recording, and H.265 video compression for efficient storage. It supports remote viewing via mobile applications and VMS software.
2.1 Key Features
- 5MP HD Resolution: Captures clear and smooth high-resolution images/videos at up to 25 frames per second.
- Built-in Microphone: Supports one-way audio recording to capture sounds around the camera.
- POE Support: Integrated 48V 802.3af POE module for power and data transmission over a single Ethernet cable. Also supports 12V 2A auxiliary power.
- H.265/H.264 Dual Encoding: Reduces bandwidth and storage requirements by up to 50% compared to H.264.
- Remote Viewing: Access surveillance images remotely via the "Linklemo" mobile app (iOS, Android) and VMS software for Windows.
- Motion Detection: Provides alerts upon detecting human movement.
2.2 Package Contents
Verify that all items are present in your package:
- 1 x REVODATA 5MP Mini POE IP Camera (I706-P-A-HS-S)
- 1 x User Manual
- 1 x Screw Set for mounting

Figure 2: Detailed view of the camera, its ports, and included accessories.
3. Setup and Installation
3.1 Physical Installation
The camera is designed for indoor use and can be mounted on a ceiling or wall using the included screw set. Ensure the mounting surface is stable and can support the camera's weight.
- Choose a suitable indoor location for optimal viewing coverage.
- Use the camera's mounting bracket as a template to mark screw holes on the desired surface.
- Drill pilot holes if necessary.
- Secure the camera's mounting bracket to the surface using the provided screws.
- Adjust the camera angle as needed.

Figure 3: Example of camera placement near a doorway for indoor surveillance.
3.2 Power and Network Connection
The camera supports Power over Ethernet (POE) or a standard 12V DC power supply.
- POE Connection: Connect an Ethernet cable from a POE-enabled switch or NVR directly to the camera's RJ45 port. This provides both power and data.
- Auxiliary Power: If POE is not available, connect a 12V 2A DC power adapter (not included) to the camera's DC power port and an Ethernet cable to the RJ45 port for network connectivity.

Figure 4: Illustrates the POE cable connection for power and data.

Figure 5: Connection diagram showing the camera, Ethernet cable, and NVR.
3.3 Software Setup (Linklemo App / VMS)
To view and manage your camera, download the "Linklemo" app for mobile devices or use the VMS software for Windows computers.
- For Mobile Devices:
- Download the "Linklemo" app from the App Store (iOS) or Google Play Store (Android).
- Register an account and log in.
- Follow the in-app instructions to add your camera using its unique ID or QR code.
- For Windows Computers:
- Install the VMS software (available from the manufacturer's website or included CD, if any).
- Launch the VMS software and follow the instructions to discover and add your camera to the system.
Note: This device does not support Cloud Storage. Do not purchase Cloud Storage from the "Linklemo" app.

Figure 6: Remote viewing interfaces for Linklemo mobile app and VMS desktop software.
4. Operation
4.1 Live View and Remote Access
Once the camera is connected and configured, you can access the live video feed from anywhere using the Linklemo app or VMS software.
- Open the Linklemo app or VMS software.
- Select your camera from the device list to view the live feed.
- Utilize the on-screen controls for digital zoom, snapshot, and video recording.
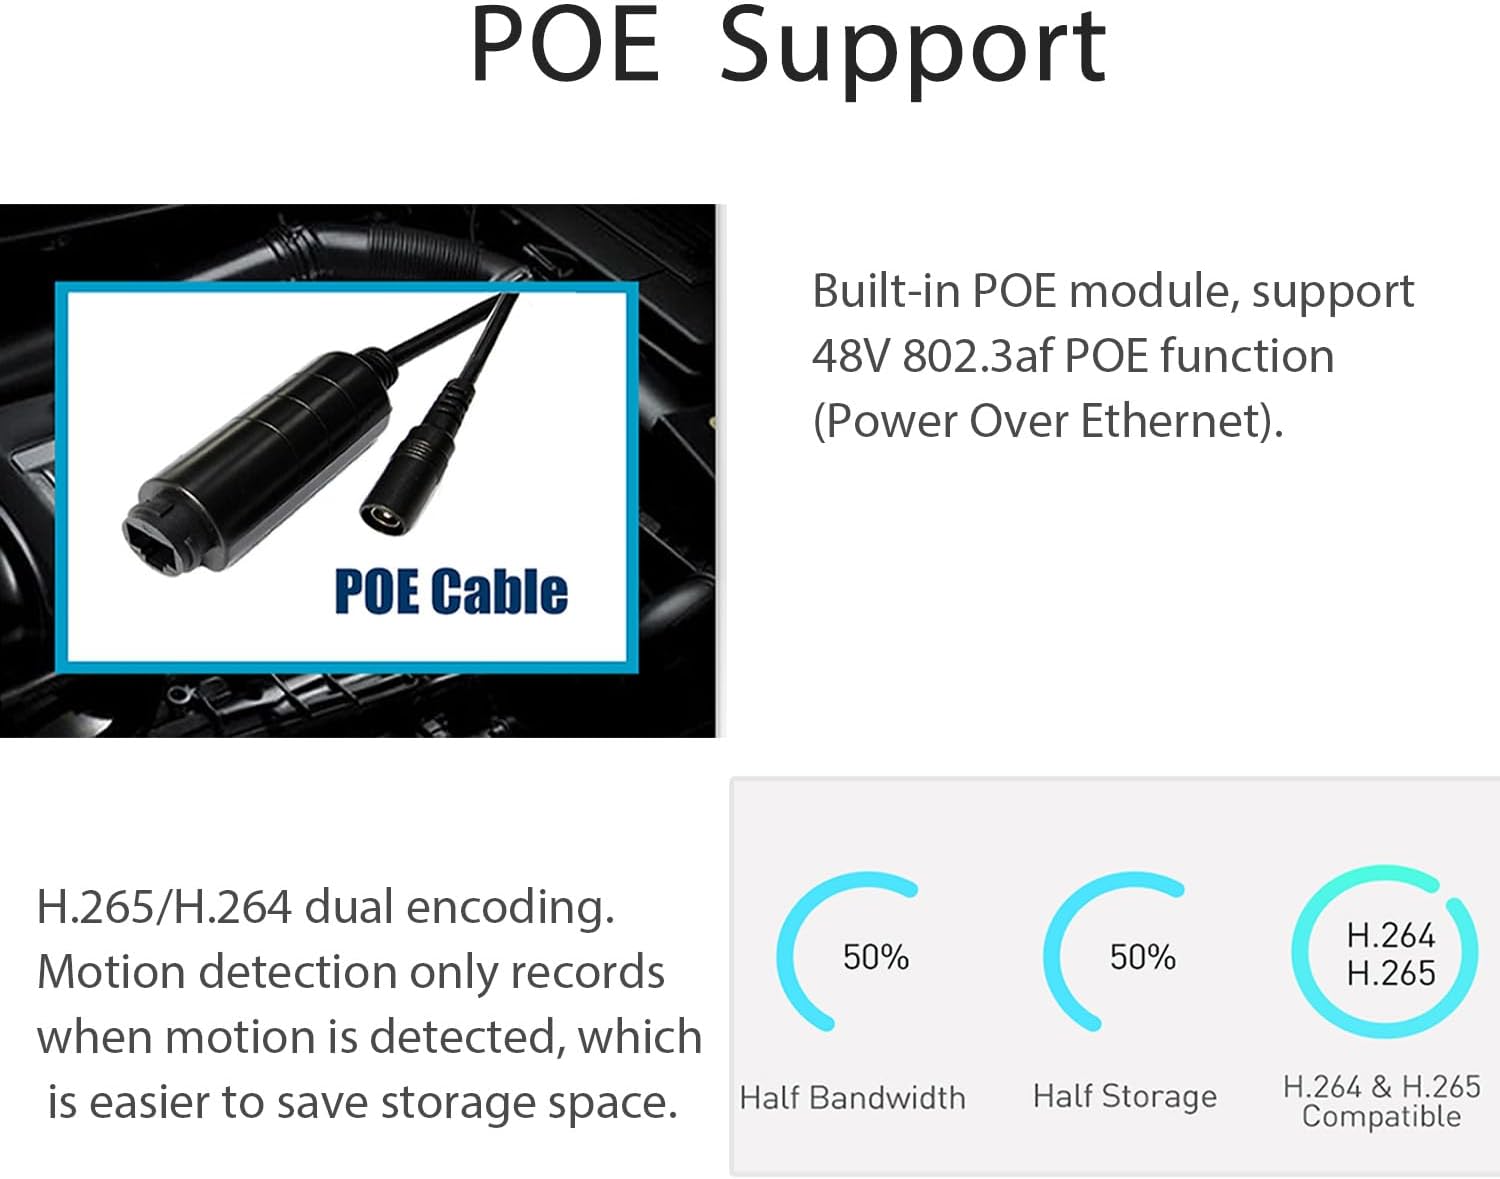
Figure 7: Remote viewing of the camera feed on mobile and desktop devices.
4.2 Motion Detection and Alerts
The camera features motion detection to alert you to activity in its field of view.
- Access the camera settings in the Linklemo app or VMS software.
- Navigate to the "Motion Detection" or "Alarm" settings.
- Enable motion detection and configure sensitivity levels.
- Set up notification preferences to receive alerts on your mobile device.

Figure 8: Motion detection in action, showing a human detected and a mobile alert.
4.3 Audio Recording
The built-in microphone allows for one-way audio recording, providing additional context to your video surveillance.
- Audio recording is typically enabled by default.
- Review recorded footage to access the audio.
- Ensure local regulations regarding audio recording are followed.

Figure 9: Illustrates the camera's one-way audio capability, capturing sound from the monitored area.
5. Maintenance
Regular maintenance ensures optimal performance and longevity of your camera.
- Cleaning: Gently wipe the camera lens and body with a soft, dry cloth. Avoid using harsh chemicals or abrasive materials.
- Firmware Updates: Periodically check the manufacturer's website or the Linklemo app for available firmware updates to improve performance and security.
- Cable Inspection: Ensure all cables (Ethernet, power) are securely connected and free from damage.
6. Troubleshooting
| Problem | Possible Cause | Solution |
|---|---|---|
| No video feed |
|
|
| Poor image quality |
|
|
| Motion detection not working |
|
|
| Cannot rotate image 90° | Camera firmware limitation | The camera's internal web interface does not support 90° image rotation. If vertical orientation is required, this functionality may need to be handled by your NVR software. |
7. Specifications
| Feature | Detail |
|---|---|
| Model Name | I706-P-A-HS-S |
| Effective Still Resolution | 5 MP |
| Video Capture Resolution | 5MP |
| Frame Rate | 25fps |
| Connectivity Technology | Ethernet (POE) |
| Power Source | Corded Electric (48V POE or 12V 2A DC) |
| Indoor/Outdoor Usage | Indoor |
| Special Feature | HD Resolution, Built-in Microphone, Motion Detection |
| Video Encoding | H.265/H.264 |
| Compatible Devices | Android, iOS, Windows |
| Mount Type | Ceiling Mount |
| Enclosure Material | Metal |
| Item Dimensions | 2.08 x 1.77 x 1.57 inches |

Figure 10: Physical dimensions of the REVODATA I706-P-A-HS-S camera.

Figure 11: Visual comparison of 5MP HD resolution versus 1080P resolution.
8. Warranty and Support
For warranty information and technical support, please refer to the documentation provided with your purchase or visit the official REVODATA website. Keep your purchase receipt for warranty claims.


