
1. Important Safety Information
Please read and understand all instructions before beginning installation and use. Failure to follow these instructions could result in electric shock, fire, or serious personal injury.
- Electrical Safety: Always disconnect power at the main circuit breaker before installing, cleaning, or servicing the fan. Ensure all electrical connections comply with local codes and ordinances.
- Mounting: The ceiling fan must be mounted to a structurally sound ceiling joist or outlet box capable of supporting the fan's weight (approximately 15 lbs). Use only the hardware provided.
- Blade Clearance: Ensure there is at least 7 feet (2.13 meters) of clearance from the floor to the bottom edge of the fan blades. Maintain adequate clearance from walls and other obstructions.
- Motor: This fan uses a DC motor. Do not attempt to connect it to an AC-only power source without proper conversion.
- Damp Rating: This fan is rated for DRY Indoor and DAMP Covered Outdoor use. Do not expose to direct water spray or rain.
2. Package Contents
Verify that all components are present before installation. If any parts are missing or damaged, contact Ohniyou customer support.
- Ceiling Fan Motor Housing
- 8 Aluminum Fan Blades
- Remote Control with Wall Bracket (2x AAA batteries not included)
- Downrods (8-inch and 16-inch)
- Mounting Bracket and Hardware
- Canopy and Canopy Ring
- Instruction Manual
3. Specifications
| Brand | Ohniyou |
| Model Name | GLX107 |
| Size | 72 inches |
| Number of Blades | 8 |
| Blade Material | Aluminum |
| Motor Type | Brushless DC Motor |
| Air Flow Capacity | 6616 Cubic Feet Per Minute (CFM) |
| Noise Level | Less than 30 dB (Quiet DC Motor) |
| Control Method | Remote Control, Smartphone App |
| Number of Speeds | 6 |
| Special Features | Reversible Function, Timer (1H/2H/4H), Natural Wind Mode |
| Room Type | Garage, Living Room, Shop, Workshop |
| Indoor/Outdoor Usage | Indoor, Covered Outdoor (Damp Rated) |
| Product Dimensions | 30.5"D x 11.8"W x 9.45"H (Fan body only, without blades) |
| Item Weight | 15 Pounds |
| Voltage | 120 Volts (AC) |
| Wattage | 65 watts |
4. Setup and Installation
This section provides general guidance. Refer to the detailed installation instructions included in your package for specific steps and diagrams.
4.1 Mounting Options
The fan comes with two down-rods (8-inch and 16-inch) to accommodate various ceiling heights. It can be installed on flat ceilings or slanted ceilings with an angle of up to 15 degrees.

Figure 4.1: Fan Dimensions and Mounting Options (Flat and Sloped Ceilings)
4.2 General Installation Steps
- Turn Off Power: Before starting, ensure the power supply to the installation location is turned off at the circuit breaker.
- Install Mounting Bracket: Securely attach the mounting bracket to a ceiling joist or an approved outlet box.
- Assemble Downrod: Attach the chosen downrod (8-inch or 16-inch) to the fan motor housing.
- Hang Fan: Carefully lift the fan assembly and hang it from the mounting bracket.
- Wire Connections: Connect the electrical wires according to the wiring diagram in the detailed manual.
- Attach Blades: Securely attach the 8 aluminum blades to the motor housing.
- Install Canopy: Slide the canopy up and secure it to cover the wiring and mounting bracket.
- Restore Power: Once installation is complete and all connections are secure, restore power at the circuit breaker.
5. Operating Instructions
Your Ohniyou ceiling fan can be controlled using the included remote control or a smartphone application.
5.1 Remote Control Operation
The remote control allows for easy adjustment of fan settings. Install 2x AAA batteries (not included) into the remote before use. A wall-fixed bracket is provided for convenient storage.

Figure 5.1: Multifunctional Remote Control Layout
- Fan ON/OFF: Press the 'FAN ON/OFF' button to turn the fan on or off.
- Speed Adjustment: Use buttons '1' through '6' to select desired fan speed. '1' is the lowest speed, '6' is the highest.
- Natural Wind: Activates a mode that randomly changes fan speed to simulate natural breezes.
- Reversible Motor (Forward/Reverse): Press 'F' for forward rotation (summer mode, downward airflow for cooling) or 'R' for reverse rotation (winter mode, upward airflow for circulating warm air).
- Timer Setting: Press '1H', '2H', or '4H' to set the fan to automatically turn off after 1, 2, or 4 hours, respectively.
- Turn Off The Beep: Press the speaker icon button to mute the fan's operational beeps.
- Pairing: If the remote is not responding, press the 'Pairing & Fan Off' button to re-pair the remote with the fan.
5.2 Smartphone App Control
The fan can be controlled via a smartphone app, offering additional smart features and convenience.

Figure 5.2: Smartphone App Interface for Fan Control
- Download App: Scan the QR code provided in the detailed manual or visit https://www.jasonghost.com/tinysmart/ to download the 'Tiny Smart' app.
- Enable Bluetooth: Turn on your phone's Bluetooth.
- Open App: Return to the app interface.
- Power Cycle Fan: Turn off the wall switch connected to the fan, wait 5 seconds, then turn it on again.
- Pair: Within the app, follow the prompts to 'Hit the Pair button' to connect your fan.
5.3 Reversible Function
The fan features a reversible motor for year-round comfort.

Figure 5.3: Reversible 6-Speed Function for Summer and Winter
- Summer Mode (Forward): Blades rotate counter-clockwise, pushing air downwards to create a cooling breeze.
- Winter Mode (Reverse): Blades rotate clockwise, drawing air upwards to circulate warm air trapped near the ceiling.
6. Maintenance
Regular maintenance ensures optimal performance and extends the life of your ceiling fan.
- Cleaning: Use a soft, damp cloth to clean the fan blades and motor housing. Do not use abrasive cleaners or solvents. Ensure power is off before cleaning.
- Blade Inspection: Periodically check that all blade screws are tight. Loose blades can cause wobbling and noise.
- Mounting Check: Annually inspect the mounting hardware to ensure it remains secure.
- No Lubrication Needed: The DC motor is permanently lubricated and does not require additional oiling.
7. Troubleshooting
If you experience issues with your fan, refer to the following common problems and solutions.
| Problem | Possible Cause | Solution |
|---|---|---|
| Fan does not start | No power to the fan; Loose wire connections; Remote not paired; Dead remote batteries | Check circuit breaker; Verify all wire connections are secure; Re-pair remote (see Section 5.1); Replace remote batteries. |
| Fan makes noise | Loose blade screws; Loose mounting hardware; Fan not balanced | Tighten all blade screws; Ensure mounting bracket is secure; Check for proper blade balance (refer to detailed manual for balancing kit instructions if needed). |
| Remote control not working | Dead batteries; Remote not paired; Obstruction between remote and fan receiver | Replace remote batteries; Re-pair remote (see Section 5.1); Ensure clear line of sight to fan receiver. |
| App control not working | Bluetooth off; Fan not paired with app; Incorrect app usage | Ensure phone's Bluetooth is on; Follow app pairing instructions (see Section 5.2); Refer to app's help section. |
If problems persist after attempting these solutions, please contact Ohniyou customer support.
8. Warranty and Support
For warranty information, technical support, or replacement parts, please contact Ohniyou customer service through the retailer where the product was purchased or visit the official Ohniyou website. Please have your model number (GLX107) and purchase date available when contacting support.
9. Product Overview
The Ohniyou 72-inch industrial ceiling fan is designed for large spaces, offering powerful airflow with quiet operation and smart control options.
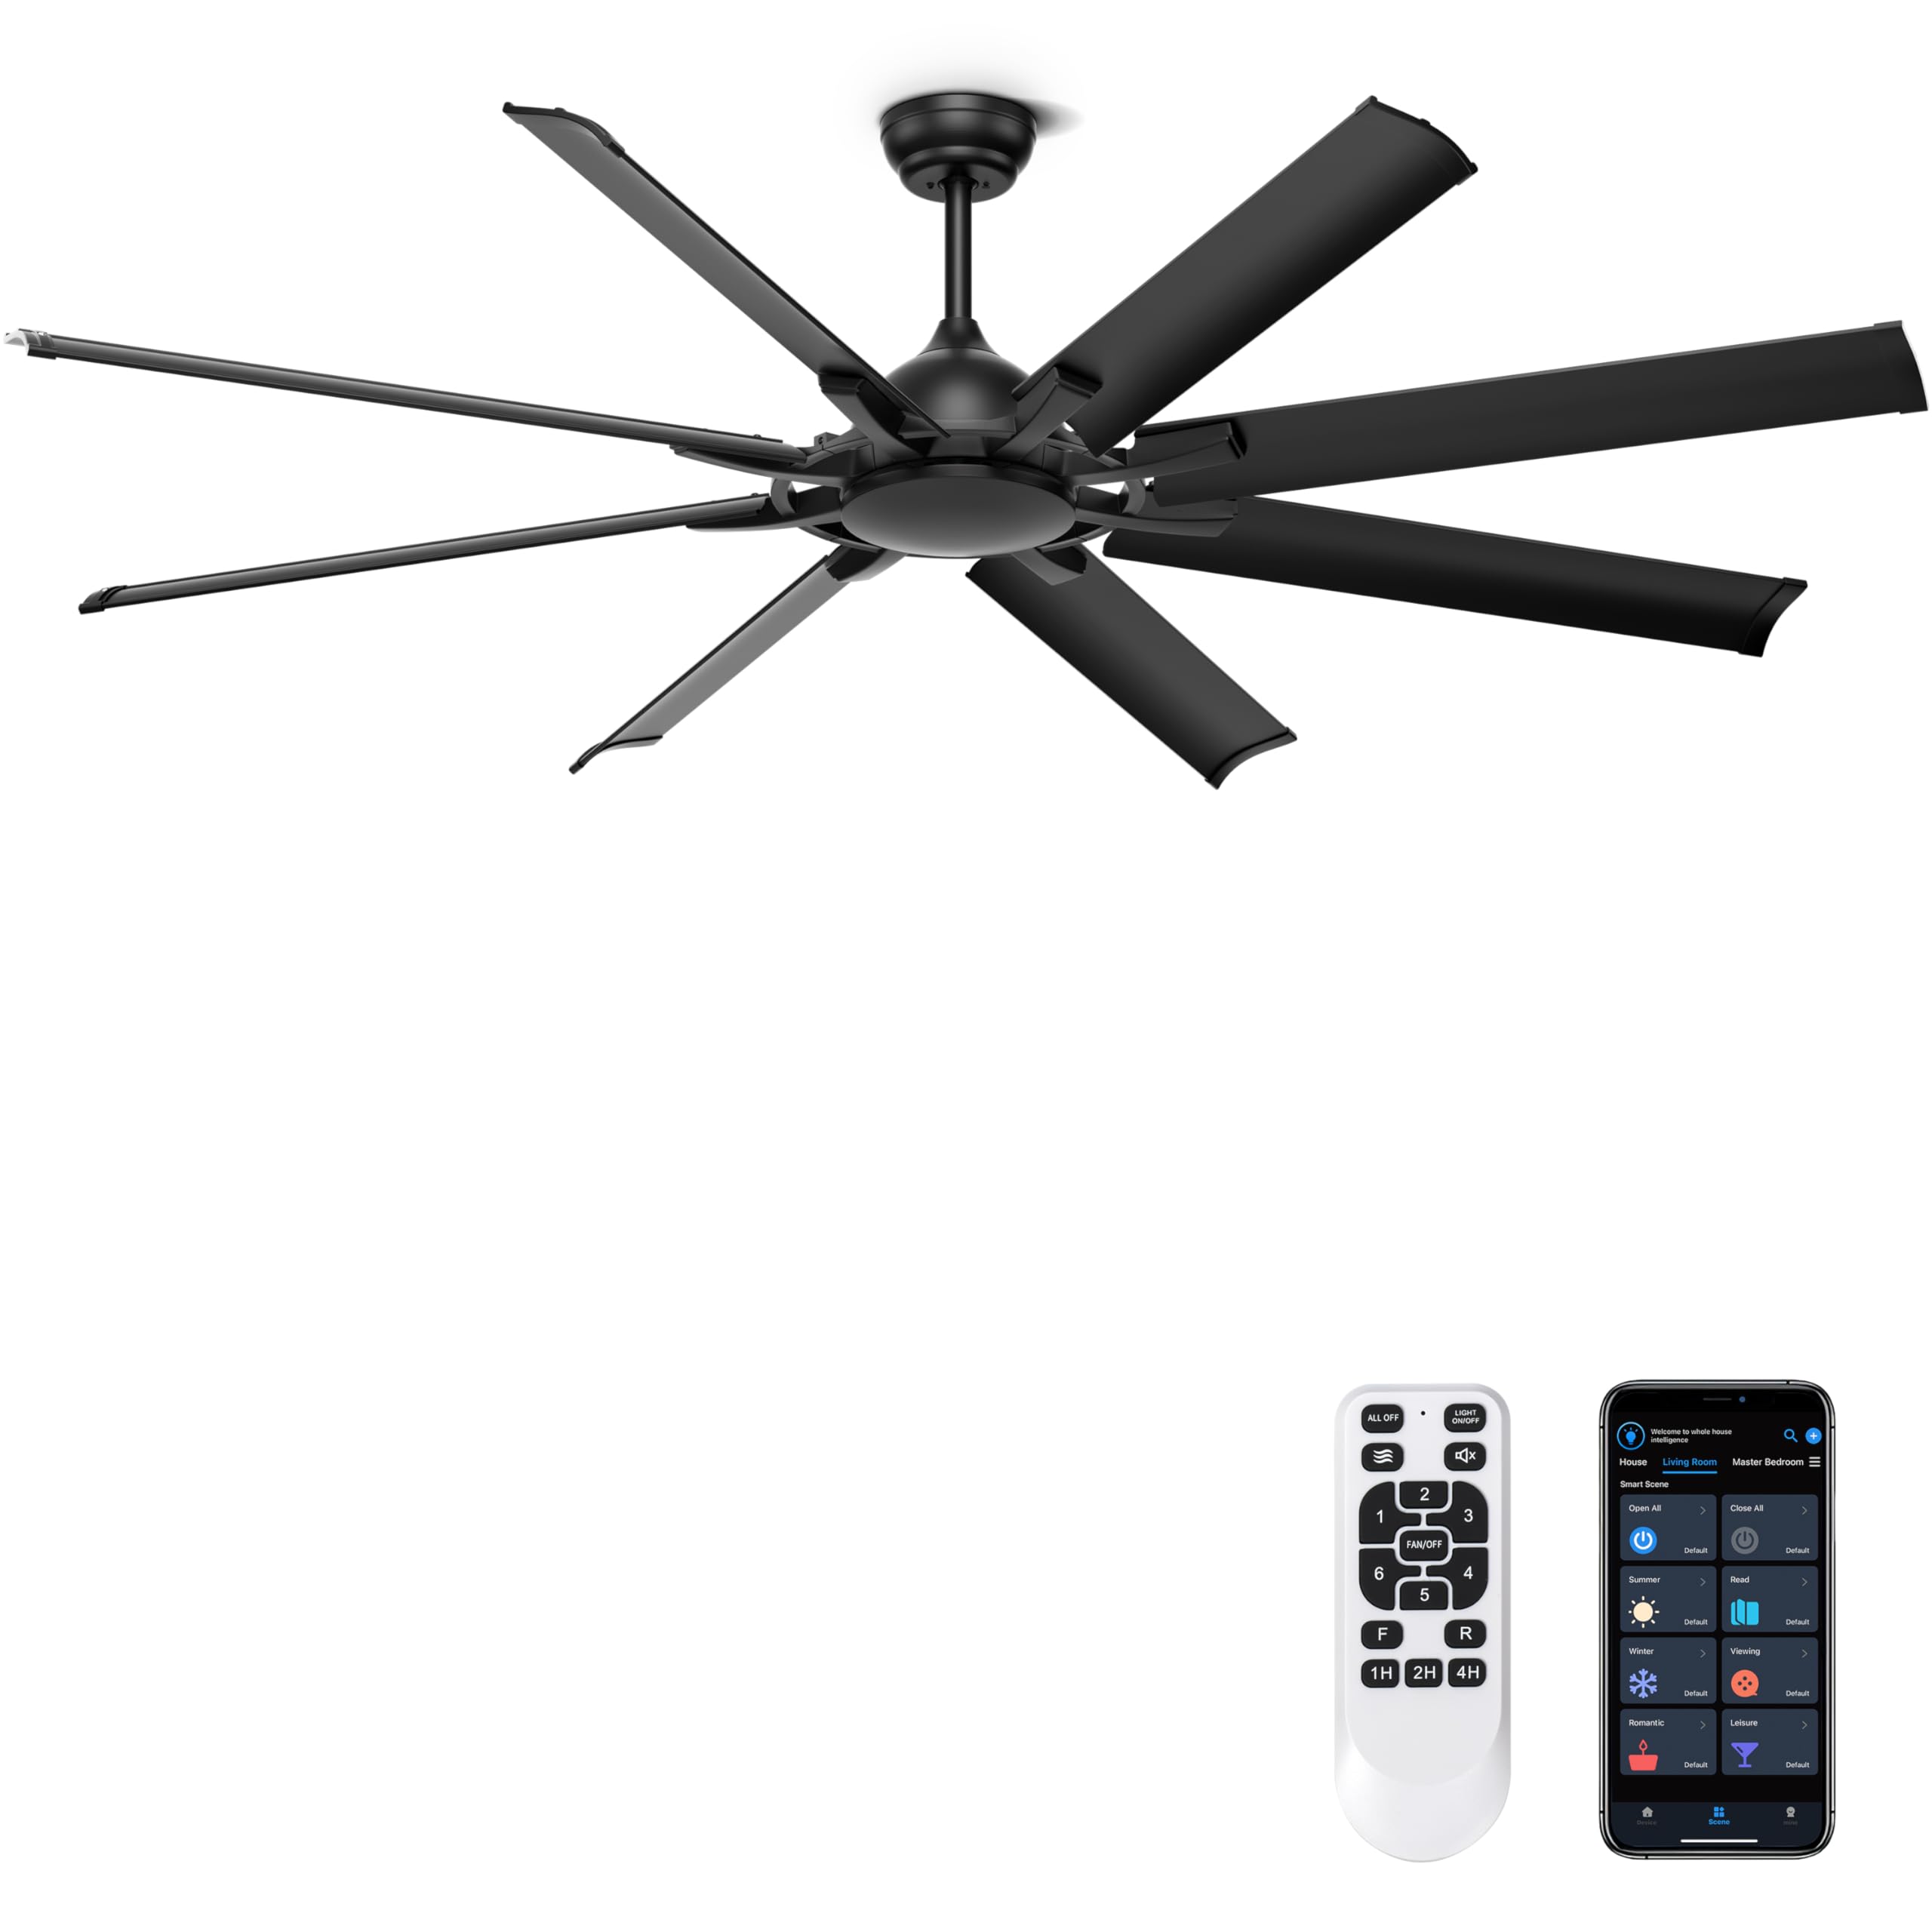
Figure 9.1: Ohniyou 72-Inch Industrial Ceiling Fan
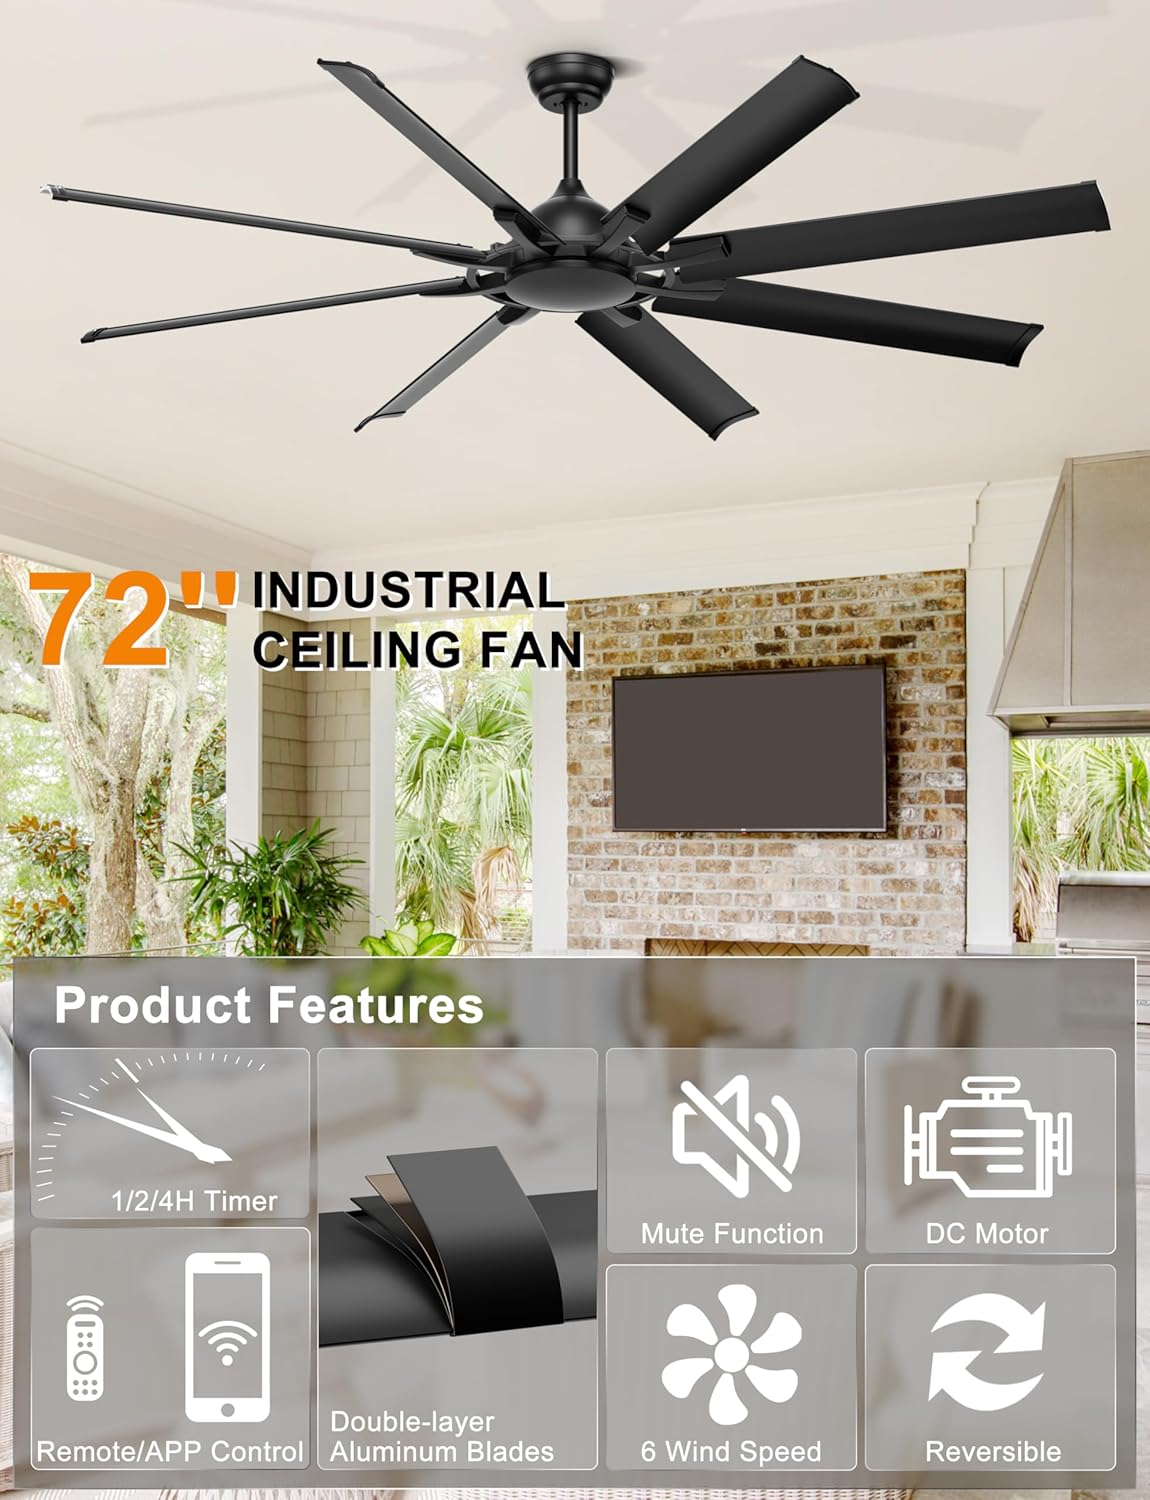
Figure 9.2: Key Product Features
9.1 Quiet and Energy-Saving DC Motor
The fan features a quiet DC motor, operating at less than 30 dB, ensuring a peaceful environment while being highly energy-efficient.
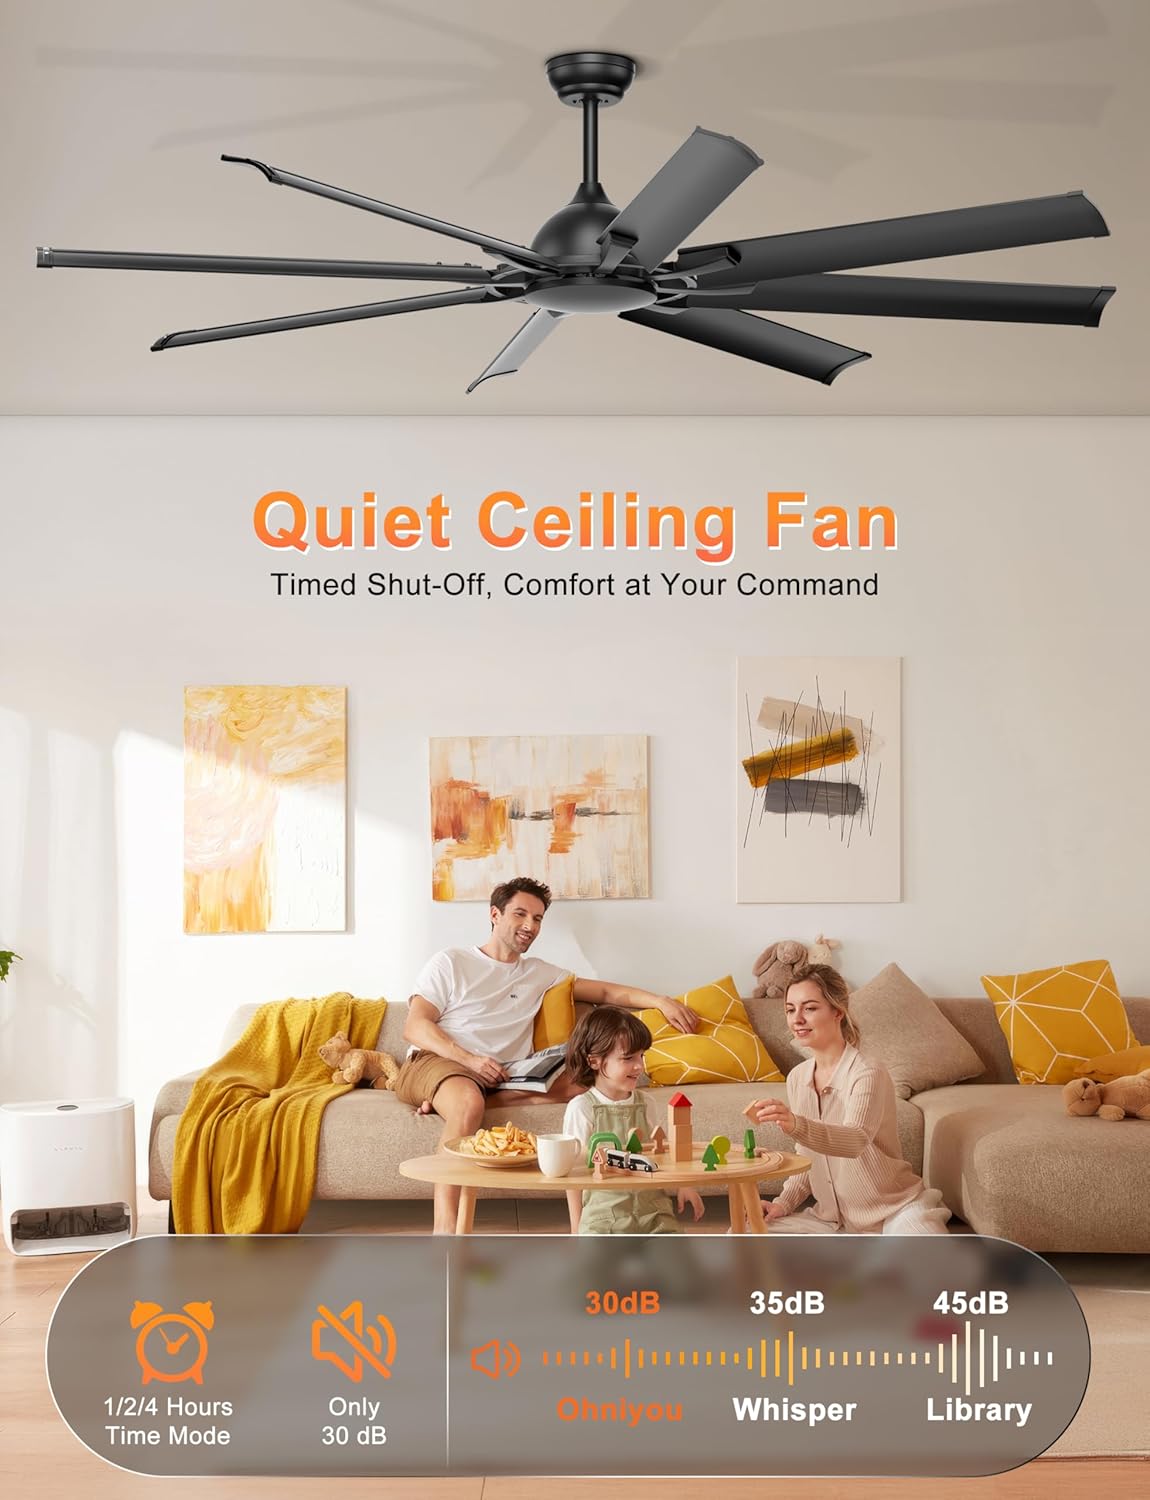
Figure 9.3: Quiet Operation of the Ceiling Fan

Figure 9.4: Energy-Saving DC Motor Benefits
9.2 Durable Aluminum Blades
Equipped with 8 premium metal fan blades, designed for durability and efficient air movement.

Figure 9.5: High-Quality Aluminum Blades
9.3 Versatile Application
This large industrial fan is suitable for various environments, including living rooms, covered outdoor patios, shops, and garages.

Figure 9.6: Fan in a Living Room Setting

Figure 9.7: Fan in a Covered Outdoor Patio Setting

Figure 9.8: Fan in a Garage Setting


