
BAOFENG UV-5R Mini
Contents

BAOFENG UV-5R Mini Two Way Radio User Manual
Model: UV-5R Mini / BF-5R Mini
1. Introduction
This manual provides comprehensive instructions for the operation, maintenance, and troubleshooting of your BAOFENG UV-5R Mini Two Way Radio. Please read this manual thoroughly before using the device to ensure proper functionality and safety.
The BAOFENG UV-5R Mini is a compact and versatile two-way radio designed for reliable communication. It features dual-band reception and transmission, wireless programming capabilities, and a convenient Type-C charging port.
2. Package Contents
Verify that all items listed below are present in your package:
- BAOFENG UV-5R Mini Radio Unit
- Antenna
- Li-ion Battery
- Type-C Charger Cable
- Lanyard
- Belt Clip
- User Manual (this document)

Image: Contents of the BAOFENG UV-5R Mini package, including the radio, battery, antenna, and charging accessories.
3. Product Overview
3.1. Key Features
- Dual PTT, Dual Display, Dual Watch functionality.
- Wireless APP Programming for easy frequency management.
- Type-C Charging Port for versatile power options.
- Wireless Copy Frequency for quick channel alignment.
- Multi-band Transmit and Receive capabilities.
- Integrated Flashlight for utility in low-light conditions.
3.2. Radio Components
Familiarize yourself with the main components of the UV-5R Mini radio:

Image: Front and side views of the BAOFENG UV-5R Mini, illustrating its compact size and key external features like the antenna, display, keypad, and side buttons.
- Antenna: For transmitting and receiving signals.
- PTT (Push-to-Talk) Button: Activates transmission.
- Display Screen: Shows frequency, channel, battery status, and other indicators.
- Keypad: For manual frequency input, menu navigation, and function activation.
- Volume/Power Knob: Turns the radio on/off and adjusts volume.
- Type-C Port: For charging the battery.
4. Setup
4.1. Battery Installation
- Align the battery pack with the grooves on the back of the radio.
- Slide the battery upwards until it clicks into place.
- To remove, press the battery release latch (if present) and slide the battery downwards.
4.2. Antenna Attachment
- Screw the antenna clockwise into the connector on top of the radio until it is finger-tight. Do not overtighten.
4.3. Charging the Battery
The UV-5R Mini uses a Type-C charging port for convenience.
- Connect the Type-C charging cable to the radio's Type-C port.
- Connect the other end of the cable to a compatible USB power source (e.g., USB wall adapter, computer USB port, power bank, car charger).
- The charging indicator on the radio will illuminate (color may vary) during charging and turn off or change color when fully charged.

Image: Demonstrates different charging methods for the UV-5R Mini, including USB wall charging, computer charging, power bank charging, and car charging.
5. Operating Instructions
5.1. Power On/Off and Volume Adjustment
Rotate the Volume/Power knob clockwise to turn the radio on. Continue rotating to increase the volume. Rotate counter-clockwise to decrease volume and turn off the radio.
5.2. Frequency and Channel Selection
The UV-5R Mini supports both Frequency Mode (VFO) and Channel Mode (MR).
- Press the V/M button to switch between Frequency Mode and Channel Mode.
- In Frequency Mode, use the keypad to directly input desired frequencies.
- In Channel Mode, use the UP/DOWN arrow keys to scroll through programmed channels.
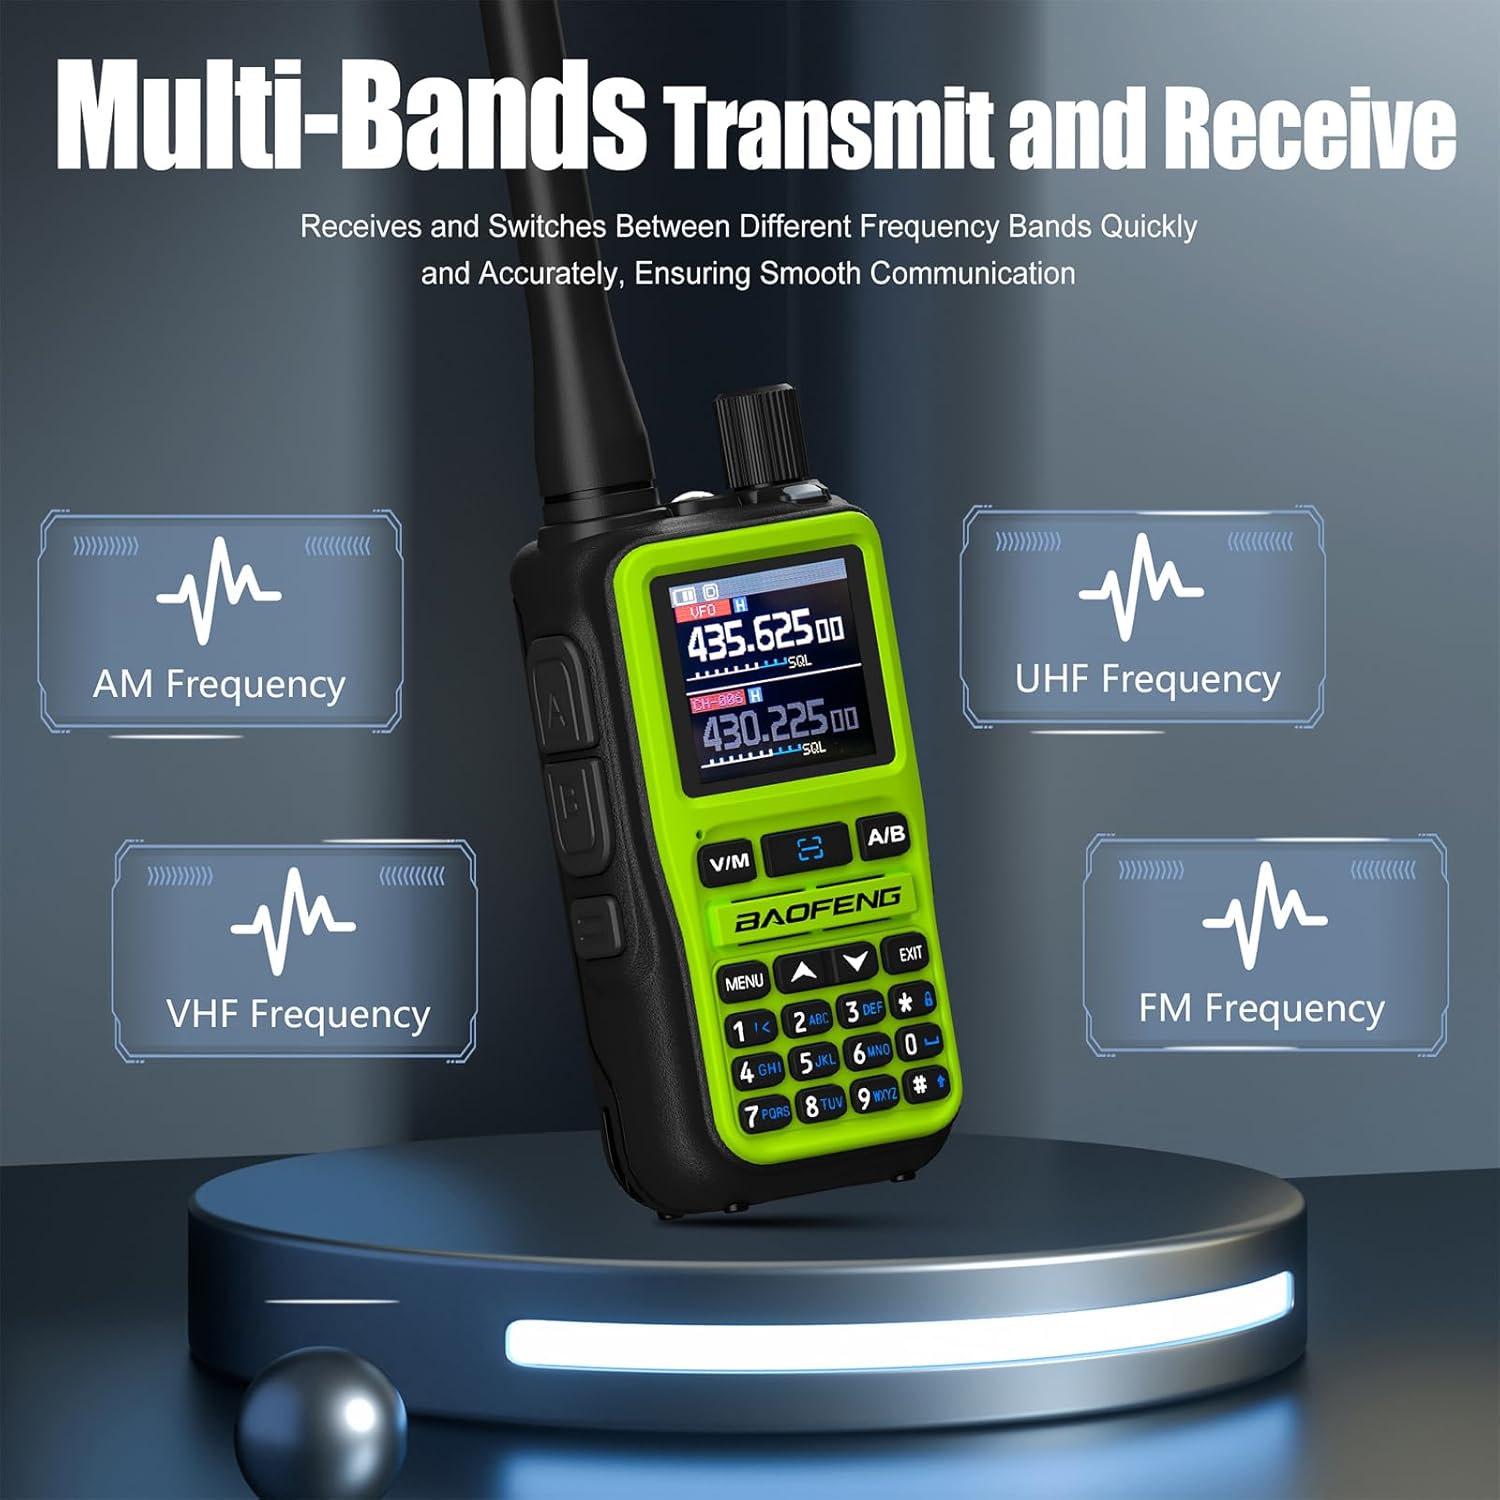
Image: Illustrates the multi-band transmit and receive capabilities of the UV-5R Mini, showing AM, VHF, UHF, and FM frequency ranges.
5.3. Transmitting and Receiving
- Ensure you are on the desired frequency or channel.
- To transmit, press and hold the PTT button on the side of the radio. Speak clearly into the microphone.
- Release the PTT button to stop transmitting and return to receive mode.
- When receiving a signal, the display will show activity, and audio will be heard through the speaker.
5.4. Wireless APP Programming
The UV-5R Mini supports wireless programming via a dedicated application.
- Download and install the official BAOFENG programming application on your smartphone.
- Enable Bluetooth on your smartphone and the radio.
- Open the application and follow the on-screen instructions to connect to your UV-5R Mini.
- Once connected, you can read current frequencies, program new channels, and adjust settings wirelessly.

Image: Depicts the Bluetooth connectivity feature for wireless frequency reading and writing, simplifying the programming process via a smartphone application.
5.5. Wireless Copy Frequency
This feature allows the radio to quickly search for and copy transmission frequencies and security codes from another radio.
- Press the designated button (refer to your radio's keypad layout, often labeled "Search" or similar) to enter the frequency copy interface.
- Press the button again to initiate the search. The radio will scan for active transmissions.
- Once a frequency is detected and copied, it will be stored or displayed for use.

Image: Shows two UV-5R Mini radios demonstrating the one-touch frequency copy function, allowing for quick frequency alignment between devices.
5.6. Flashlight Function
The UV-5R Mini includes a built-in flashlight for convenience in dark environments.
- Locate the flashlight button (often on the side of the radio).
- Press the button once to turn the flashlight on.
- Press it again to turn it off.
Image: Highlights the strong flashlight feature of the UV-5R Mini, useful for camping, basements, or night patrol.
6. Maintenance
6.1. Cleaning
- Wipe the radio's surface with a soft, damp cloth.
- Do not use harsh chemicals, solvents, or abrasive cleaners.
- Ensure the Type-C port cover is securely closed when not charging to prevent dust and moisture ingress.
6.2. Battery Care
- Charge the battery fully before first use.
- Avoid overcharging or completely draining the battery.
- Store the radio and battery in a cool, dry place when not in use for extended periods.
6.3. Storage
When storing the radio for long periods, remove the battery and store it separately. Keep the radio in a dry, dust-free environment away from direct sunlight and extreme temperatures.
7. Troubleshooting
| Problem | Possible Cause | Solution |
|---|---|---|
| Radio does not power on. | Battery not installed correctly or discharged. | Ensure battery is securely attached. Charge the battery fully. |
| Cannot transmit or receive. | Incorrect frequency/channel; antenna loose; out of range. | Verify frequency/channel settings. Check antenna connection. Move closer to the other radio. |
| Poor audio quality. | Low battery; antenna issue; interference. | Charge battery. Re-attach antenna. Move away from sources of interference. |
| Wireless programming fails. | Bluetooth not enabled; app issue; radio not in pairing mode. | Ensure Bluetooth is on for both devices. Restart app/radio. Consult app instructions for pairing. |
8. Specifications
| Feature | Detail |
|---|---|
| Brand | BAOFENG |
| Model | UV-5R Mini / BF-5R Mini |
| Receiver Frequency | FM 76-108 MHz |
| Transmission Frequency | VHF 136-174MHz, UHF 400-520MHz, 350-390MHz |
| Amateur Band Frequencies | VHF 144-148MHz, UHF 420-450MHz |
| Number of Channels | 999 |
| Special Features | Digital Display, Dual Band, Wireless APP Programming, Wireless Copy Frequency, Type-C Charging |
| Talking Range Maximum | 5 Kilometer (approx. 3.1 miles) |
| Tuner Technology | VHF/UHF |
| Water Resistance Level | Water Repellent |
| Product Dimensions (H x W x D) | 4.25" x 1.89" x 1.38" (10.8cm x 4.8cm x 3.5cm) |
| Impedance | 50 Ohm |
9. Warranty and Support
For warranty information and technical support, please refer to the official BAOFENG website or contact their customer service directly. Keep your purchase receipt as proof of purchase for warranty claims.
Online Resources:
- Official BAOFENG Website: www.baofengradio.com
- Customer Support Email: support@baofengradio.com
Documents and downloads
Ask a question about this manual
Ask about setup, troubleshooting, compatibility, parts, safety, or missing instructions. Manuals+ will review the question and use this page’s manual context to help answer it.