
Important Safety Information
Please read all instructions carefully before using the ScrubWiz Cordless Electric Spin Mop. Retain this manual for future reference.
- Ensure the product is fully assembled before use.
- Do not immerse the main unit in water.
- Use only the provided charging adapter.
- Keep out of reach of children and pets.
- Do not use on wet electrical outlets or near flammable liquids.
- Always unplug the charger when not in use or before cleaning.
- Use only recommended cleaning solutions.
What's in the Box
Verify that all components are present before assembly.

Image: All components of the ScrubWiz Electric Spin Mop, including the handle, extendable poles, spin mop head, soft touch pads, scrubby pads, measuring cup, charging adapter, and user manual.
- Handle (requires 2 x AAA batteries, not included)
- Extendable Pole
- Extension Pole
- Spin Mop Head
- Soft Touch Pads (x2)
- Scrubby Pads (x2)
- Measuring Cup
- Charging Adapter
- User Manual
Setup Guide
- Attach Mop Pads: Securely attach the desired mop pads (soft touch for daily cleaning, scrubby for deep cleaning) to the bottom of the spin mop head. The pads are machine-washable and removable.

Image: Attaching the soft touch mop pads to the base of the ScrubWiz Electric Spin Mop.
- Assemble Handle: Connect the extendable pole and extension pole to the spin mop head. Ensure the telescopic button aligns with the groove for a secure fit. Attach the handle to the top of the assembled pole.

Image: The adjustable handle of the ScrubWiz Electric Spin Mop, demonstrating its extendable length for comfortable use.
- Install AAA Batteries: Open the battery compartment on the handle and insert 2 AAA batteries (not included). These power the infrared controller for spray and spin functions.
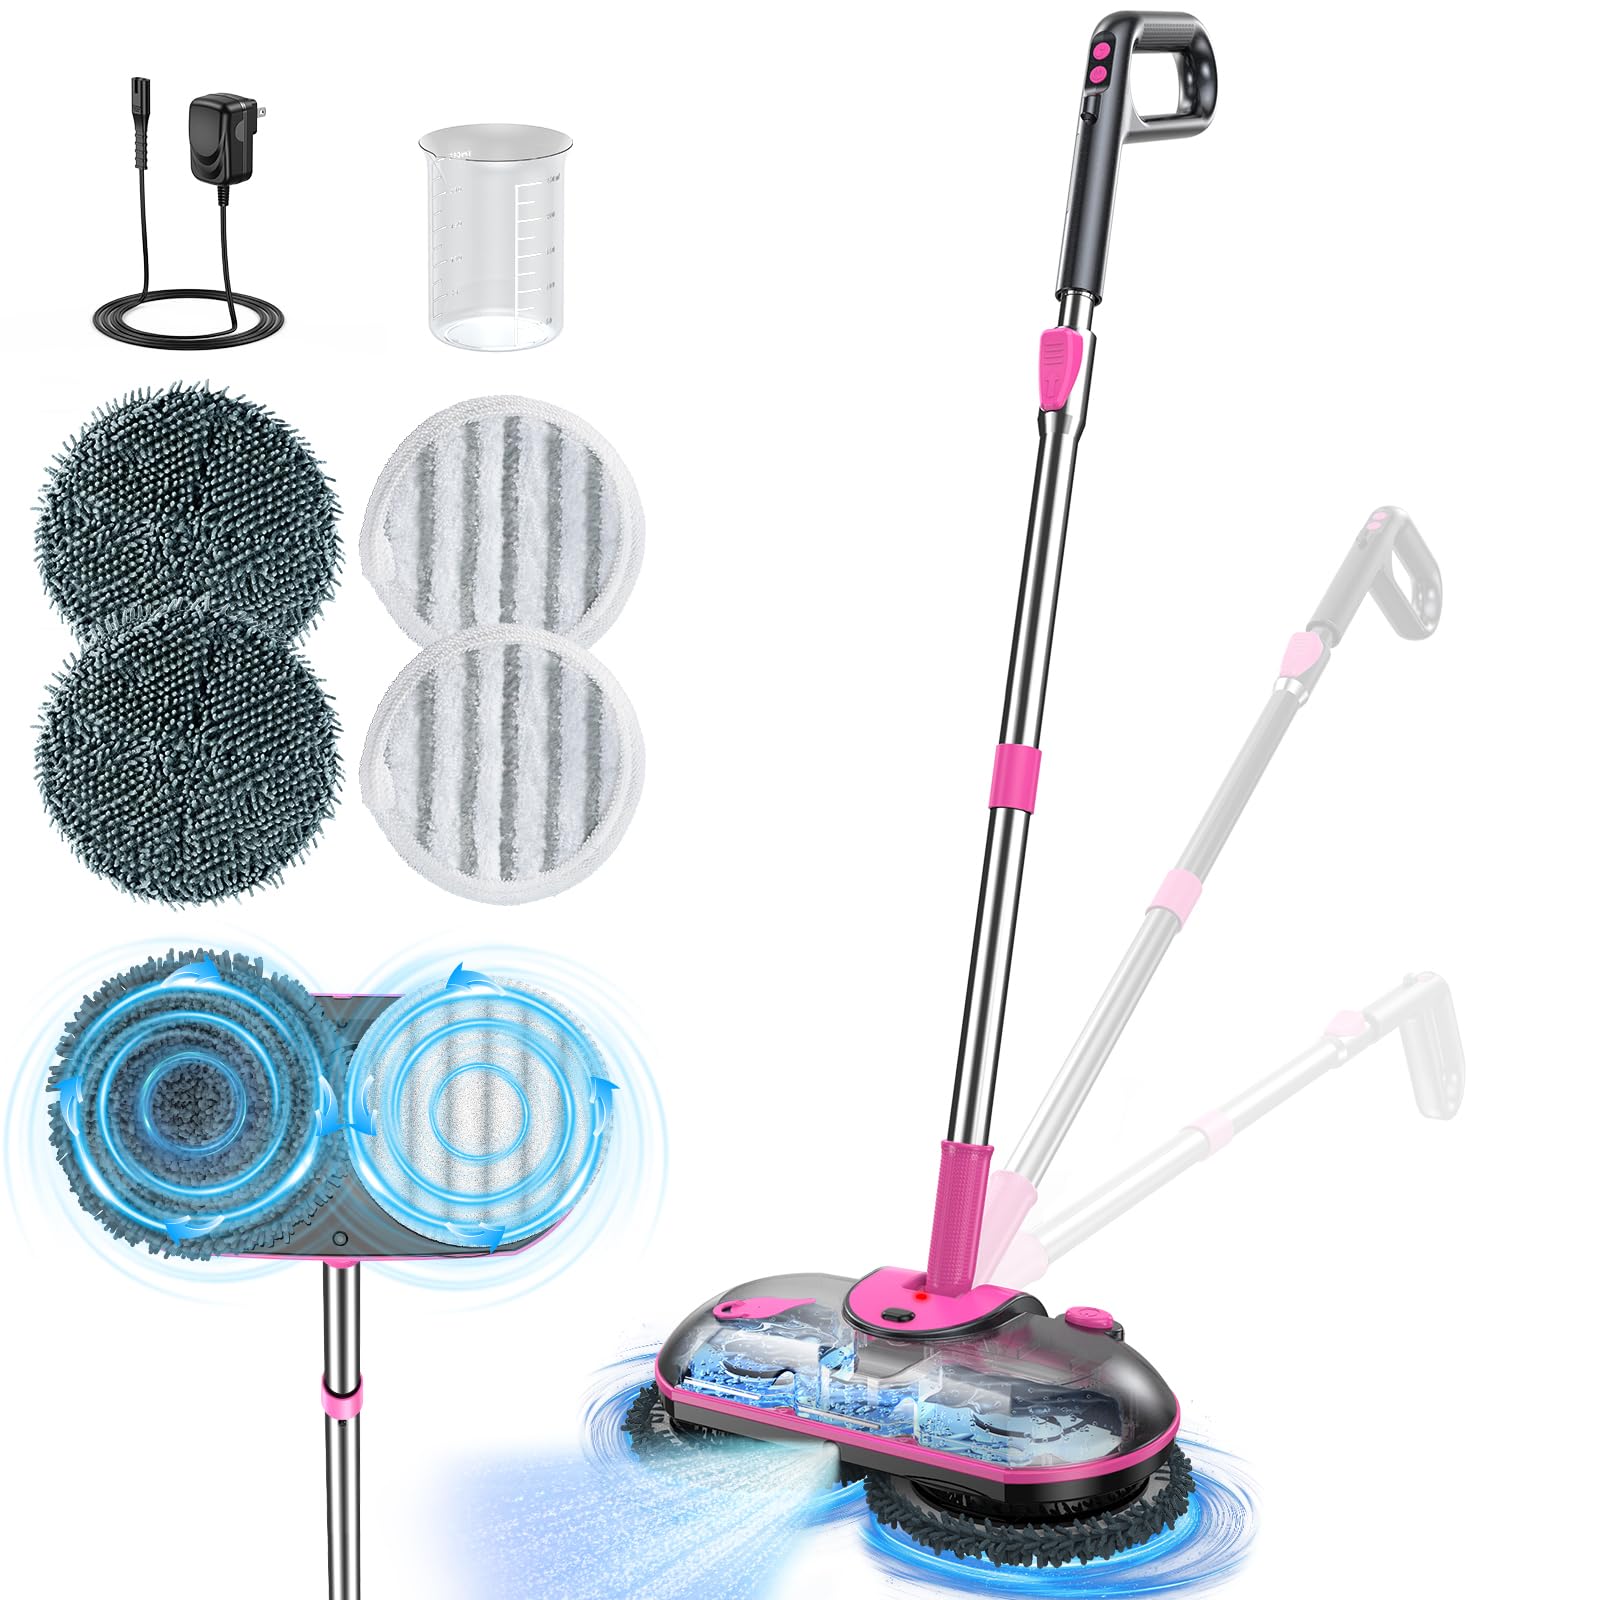
Image: The infrared controller handle with its battery compartment open, illustrating where to insert the 2 AAA batteries.
- Charge the Mop: Connect the charging adapter to the charging port on the mop head. The indicator light will show red while charging and turn green when fully charged.

Image: The ScrubWiz Electric Spin Mop connected to its charger, with a red light indicating it is charging.
Operating Instructions
- Fill Water Tank: Open the water tank cap on the mop head. Use the measuring cup to fill the 300ml tank with water or a suitable cleaning solution. Close the cap securely.

Image: A hand pouring water into the 300ml water tank located on the mop head.
- Power On: Press the power button on the mop head to turn it on. The indicator light will illuminate.
Video: Demonstrates turning on the ScrubWiz Cordless Electric Spin Mop and its spraying function on a hard floor.
- Start Cleaning: Align the handle's infrared transmitter with the receiver on the mop head. Press the power button on the handle to activate the spinning mop pads. Press the spray button to dispense water or cleaning solution. The self-propelled design assists in effortless cleaning.

Image: The ScrubWiz Electric Spin Mop in action, showing its dual spinning pads and water spray function on a floor.
Video: Provides tips for using the ScrubWiz Cordless Electric Spin Mop, including assembly and operation.
- Adjust Handle: The telescopic handle can be adjusted from 40" to 52" for comfortable use and to reach under furniture.
Maintenance
- Clean Mop Pads: The mop pads are reusable and machine-washable. Remove them from the mop head after use and wash with water or in a washing machine.

Image: Two types of mop pads (scrubby and soft touch) shown, highlighting their reusability and washability.
- Empty Water Tank: After each use, empty any remaining water or cleaning solution from the tank.
- Store Properly: Store the mop in a dry place. The adjustable handle allows for compact storage.
Troubleshooting
| Problem | Possible Cause | Solution |
|---|---|---|
| Mop not spinning. | Low battery; Mop not powered on; Handle not aligned with receiver. | Charge the mop; Press the power button on the mop head; Ensure handle is aligned with the mop head. |
| No water spray. | Empty water tank; Clogged nozzle; Handle batteries low/missing. | Refill water tank; Clean nozzle; Replace/install AAA batteries in handle. |
| Mop pads not cleaning effectively. | Pads are dirty or worn out. | Clean or replace mop pads. |
| Red light flashes (30s). | OCP/OVP Protection activated. | This indicates overcurrent or overvoltage protection. Disconnect from power, wait a few minutes, and try again. If the issue persists, contact customer support. |
Specifications
| Feature | Detail |
|---|---|
| Brand | ScrubWiz |
| Model Name | KS-7212B |
| Special Feature | Electric Spin Mop with Sprayer, 300ml Water Tank, Infrared Controller, 2500mAh Battery×2, Adjustable Handle, 4 Replaceable Mop Pads |
| Surface Recommendation | Hardwood, Laminate, Tile, Vinyl, Marble, and Ceramic Floor |
| Item Weight | 2.41 Kilograms (5.3 pounds) |
| Color | Pink |
| Water Tank Capacity | 300 Milliliters |
| Battery | 2 x 2500mAh rechargeable batteries |
| Running Time | 40-50 minutes on a single charge |
| Spin Speed | 160 RPM |
| Adjustable Handle Length | 40” to 52” |
Warranty and Support
For warranty information, technical support, or to purchase replacement parts, please refer to the contact information provided on the product packaging or visit the official ScrubWiz website. Keep your purchase receipt as proof of purchase.