
1. Introduction
This manual provides comprehensive instructions for the VSDISPLAY 8.8 Inch 1920x480 IPS LCD Monitor (Model VS088UJ01-W). This compact display is designed for use as a secondary monitor or for monitoring system data within a PC case. Please read this manual thoroughly before use to ensure proper setup and operation.
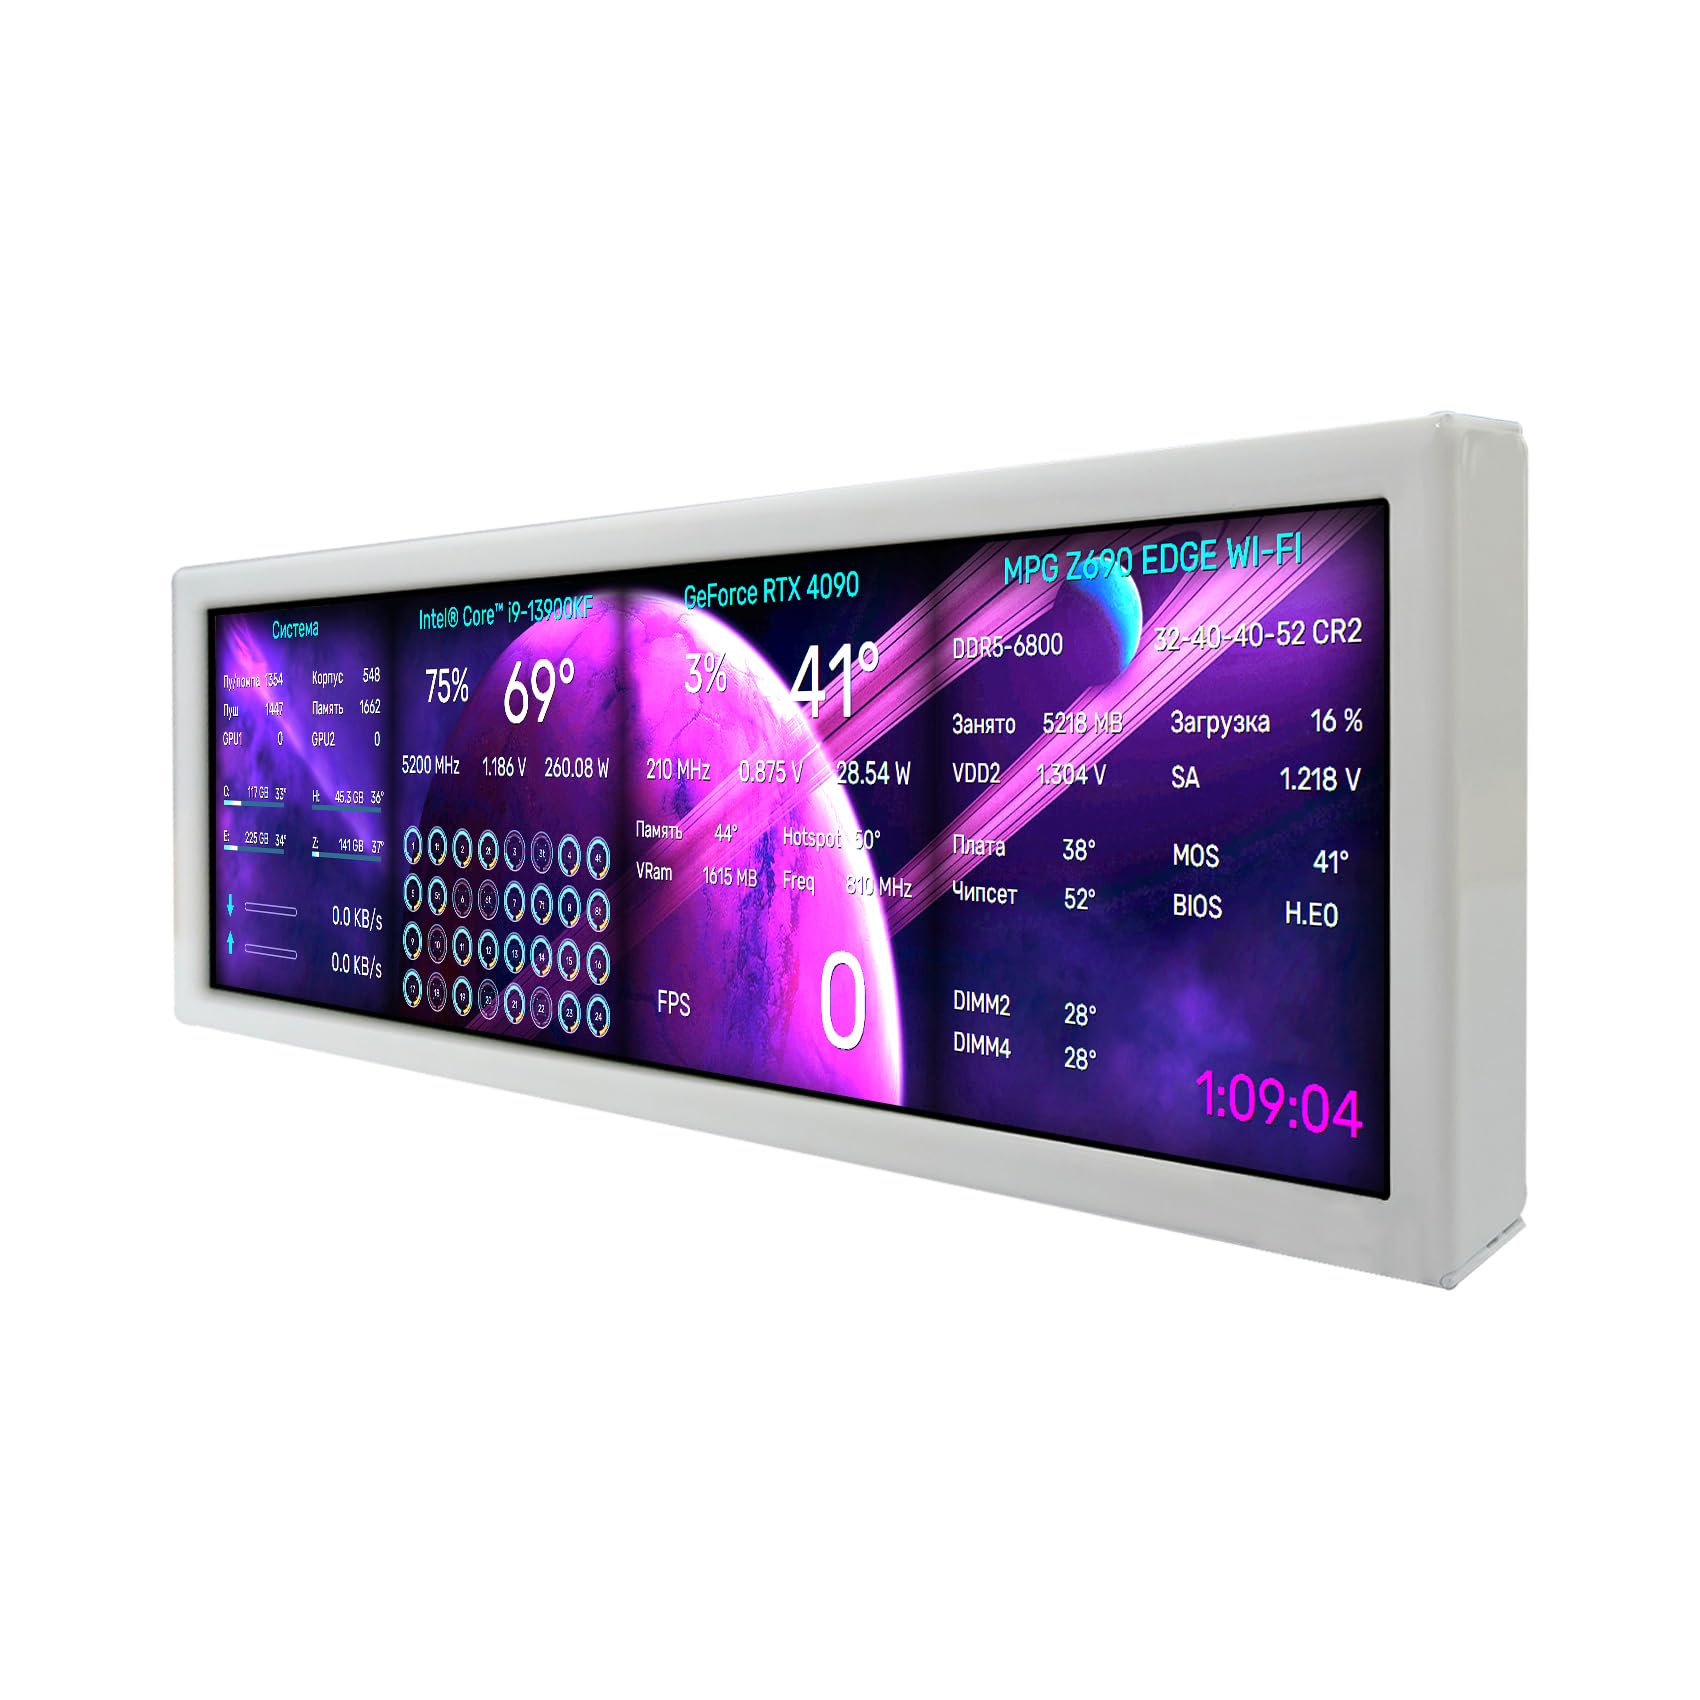
Image: The VSDISPLAY 8.8 Inch IPS LCD Monitor, showcasing its compact design.
2. Package Contents
Verify that all items listed below are included in your package:
- 1x VSDISPLAY 8.8 inch 480x1920 LCD Monitor (Model VS088UJ01-W)
- 1x 9 Pin Signal Cable
- 1x USB Cable
- 1x Bracket

Image: The VSDISPLAY 8.8 inch LCD monitor along with its included 9-pin signal cable, USB cable, and mounting bracket.
3. Product Features
- Display Size: 8.8 inches
- Resolution: 1920x480 pixels
- Panel Type: IPS with 178° full viewing angle
- Brightness: 600 cd/m²
- Orientation: Supports horizontal and vertical display modes
- Connectivity: USB-C for power and signal, 9-pin signal cable option
- Applications: Secondary display for computers/laptops, PC case monitoring for CPU/GPU/RAM temperature data.

Image: The 8.8-inch stretched bar LCD display showcasing its high resolution and IPS panel.

Image: The monitor displaying content, highlighting its wide IPS viewing angle.
4. Specifications
| Feature | Detail |
|---|---|
| Product Dimensions | 0.59 x 9.25 x 2.68 inches (15 x 235 x 68 mm) |
| Item Weight | 1.19 pounds |
| Model Number | VS088UJ01-W |
| Screen Display Size | 8.8 Inches |
| Aspect Ratio | 16:9 (native, but supports 1920x480) |
| Resolution | 1920x480 Pixels |
| Image Brightness | 600 candela/square meter |
| Total USB Ports | 1 (USB-C for power/signal) |
| Screen Surface Description | Glossy |

Image: Detailed view of the monitor's dimensions and the product label on the back.
5. Setup and Installation
5.1. Connecting the Monitor
The monitor can be connected to your host device using either a USB-C cable or a 9-pin signal cable.
5.1.1. USB-C Connection
Connect the monitor to a USB port on your host device using the provided USB-C cable. This single cable can provide both power and video signal.

Image: Step-by-step illustration of connecting the monitor to a host device using a USB-C cable.

Image: Diagram showing the monitor receiving input via its USB-C interface.
5.1.2. 9-Pin Cable Connection
Alternatively, connect the monitor to the 9-pin header on your host device using the provided 9-pin signal cable. Ensure proper orientation when connecting.
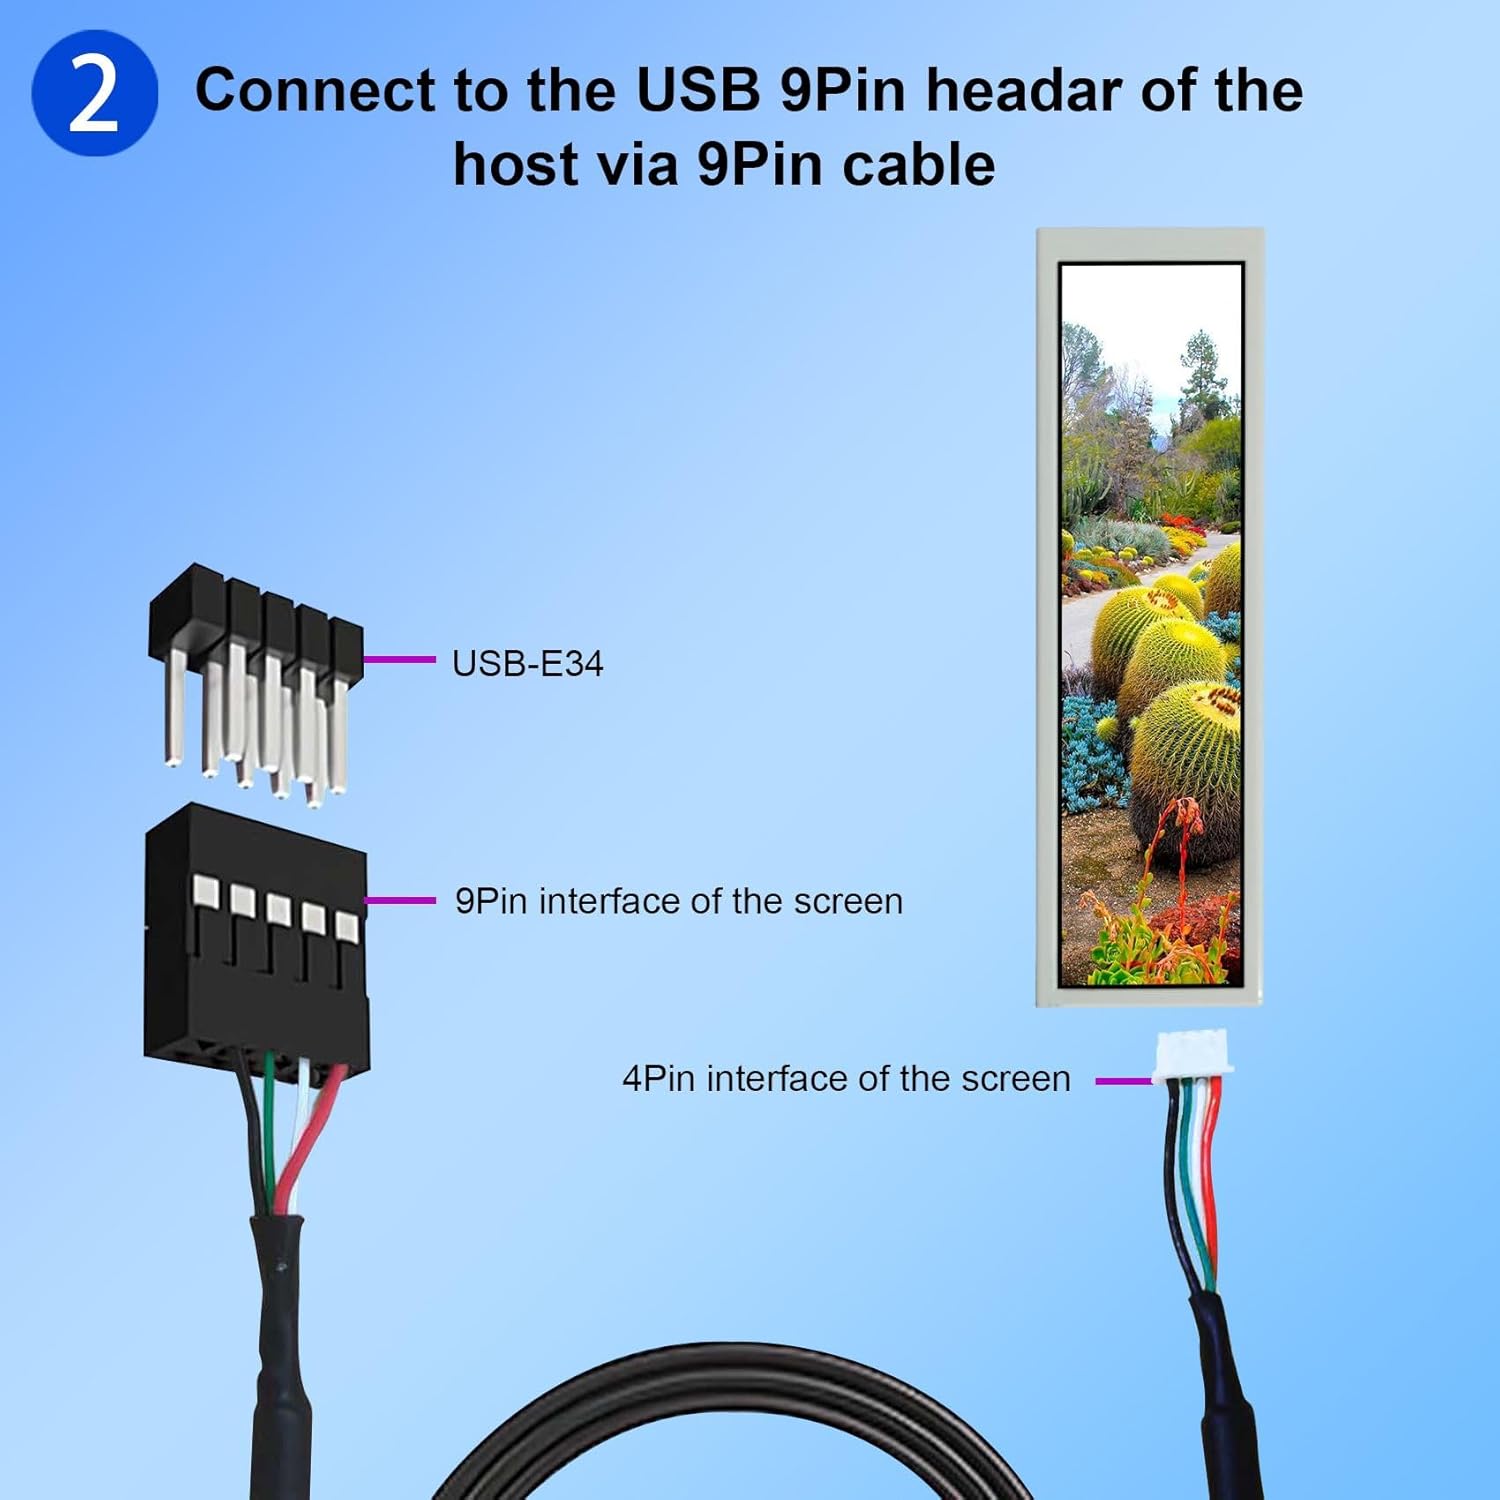
Image: Instructions for connecting the monitor to a 9-pin header on a host device.

Image: Illustration of the 9-pin USB input for the monitor.

Image: Close-up view of the USB and USB-C ports on the side of the monitor for connection.
5.2. Software Installation
Upon connecting the monitor, software may automatically prompt for installation. Follow the on-screen instructions. For system monitoring (CPU/GPU/RAM temperature data), you will need to download and install third-party software such as Aida64 or Wallpaper Engine separately.
Video: Demonstrates the setup process for the 8.8-inch secondary display, including driver installation and initial display configuration.
5.3. Bracket Installation
The included bracket allows for flexible mounting options. You can install the monitor inside a PC case or use it as a standalone auxiliary display.
- Identify the fixed hole positions on the monitor and bracket.
- Unscrew the existing screws on the monitor (if any) and align the bracket.
- Secure the bracket to the monitor using appropriate screws (not always included, refer to product packaging).

Image: Visual guide for installing the mounting bracket onto the monitor, showing fixed hole positions and screw points.

Image: Example of the monitor installed inside a PC case.
6. Operating Instructions
6.1. Display Orientation
The monitor supports both horizontal (landscape) and vertical (portrait) display modes. You can adjust the orientation through your operating system's display settings.
Video: Shows how to switch between vertical and landscape display modes for the stretched bar LCD.
6.2. Using as a Secondary Display
Once connected and drivers are installed, your operating system should detect the VSDISPLAY monitor as an additional display. You can configure it to extend your desktop, duplicate your main display, or use it as the sole display.

Image: The monitor functioning as an extended display for a laptop via USB-C and integrated into a PC case for system monitoring.

Image: The 8.8-inch monitor serving as a secondary display for a computer or laptop.
6.3. System Data Monitoring
For monitoring CPU, GPU, and RAM temperature and usage data, dedicated software is required. Popular choices include Aida64 and Wallpaper Engine. Install your preferred software on your host device and configure it to display information on the VSDISPLAY monitor.
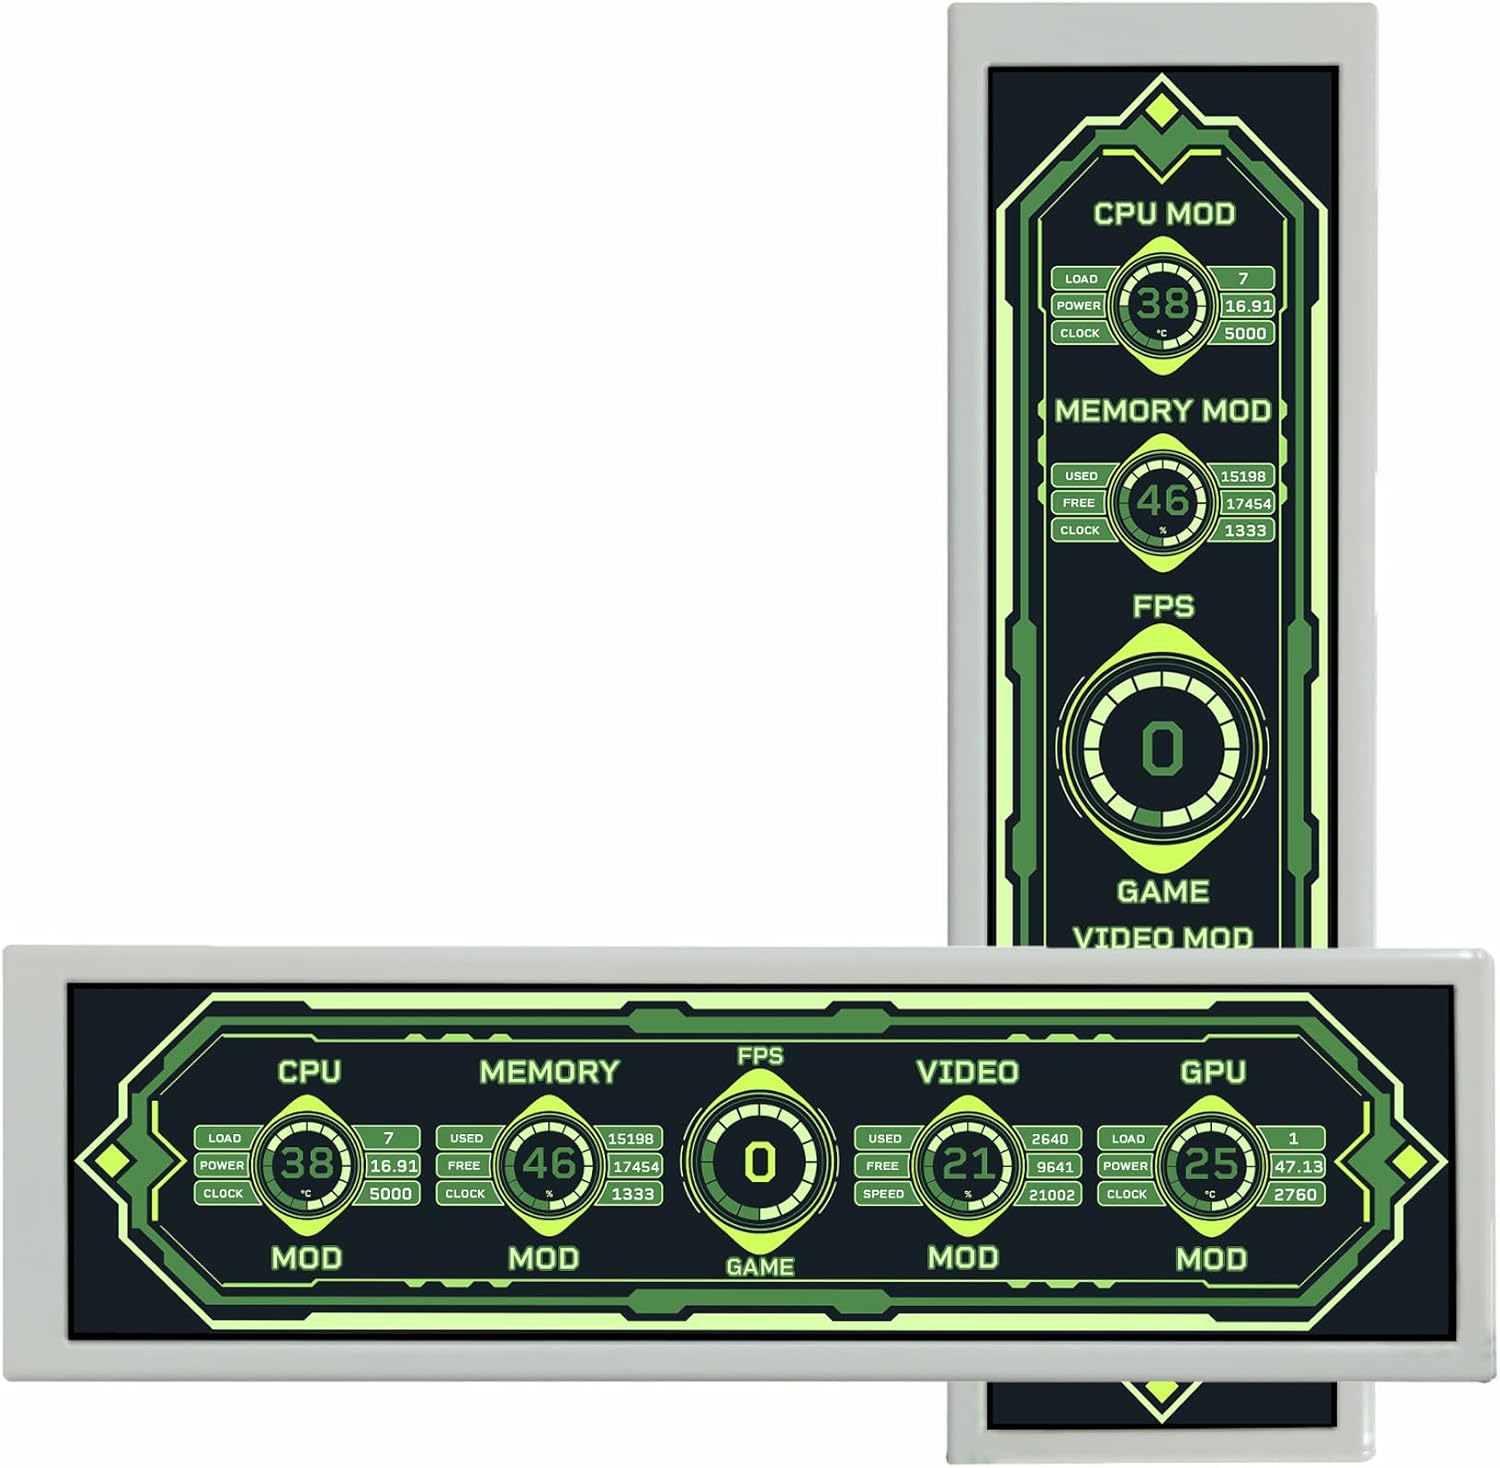
Image: The monitor displaying real-time system data such as CPU load, memory usage, FPS, and GPU statistics.

Image: The monitor configured as a DIY extra display or a PC case monitoring screen, showing system performance metrics.
7. System Compatibility
- Windows 7: Requires driver download and installation.
- Windows 8 - Windows 11: Compatible without additional driver installation (plug-and-play for basic display functionality).
- macOS: Not compatible.
8. Troubleshooting
- No Display/Black Screen:
- Ensure both the USB-C cable (for power and signal) or the 9-pin signal cable and a separate power source (if needed) are securely connected.
- Verify that the host device is powered on and outputting a video signal.
- Check your computer's display settings to ensure the monitor is detected and configured correctly (e.g., extended display, duplicate display).
- If using Windows 7, confirm that the necessary drivers have been installed.
- Incorrect Resolution/Orientation:
- Adjust the display resolution and orientation (landscape/portrait) through your operating system's display settings. The optimal resolution is 1920x480.
- Flickering or Glitching Display:
- Ensure all cables are firmly connected.
- Try connecting the monitor to a different USB port or using a different cable.
- Update your graphics card drivers on your host device.
- Reduce the refresh rate in display settings if applicable.
- No System Monitoring Data:
- Confirm that Aida64, Wallpaper Engine, or similar monitoring software is correctly installed and configured on your host device.
- Ensure the software is set to output to the VSDISPLAY monitor.
9. Maintenance
- Cleaning: Use a soft, lint-free cloth to gently wipe the screen and casing. Avoid abrasive cleaners or solvents.
- Storage: Store the monitor in a cool, dry place away from direct sunlight and extreme temperatures when not in use.
- Handling: Handle the monitor with care to prevent physical damage.
10. Warranty and Support
For warranty information and technical support, please refer to the VSDISPLAY official website or contact your retailer. Keep your purchase receipt for warranty claims.
