Introduction
This manual provides detailed instructions for the installation, operation, and maintenance of your 10L0L Golf Cart GPS Speedometer, Model ELE-00026-J. This device is designed to provide accurate speed, direction, and other essential driving data for various golf cart models, including Yamaha, EZGO, and Club Car. Please read this manual thoroughly before use to ensure proper functionality and safety.

Image: The 10L0L Golf Cart GPS Speedometer mounted on a golf cart dashboard, showing its integration into the vehicle's interior.
Package Contents
Verify that all items are present in the package:
- 1 x 10L0L Golf Cart GPS Speedometer Unit
- 1 x Suction Cup Mount
- 1 x USB Power Cable
- 2 x Traceless Adhesive Stickers
- 1 x User Manual (this document)
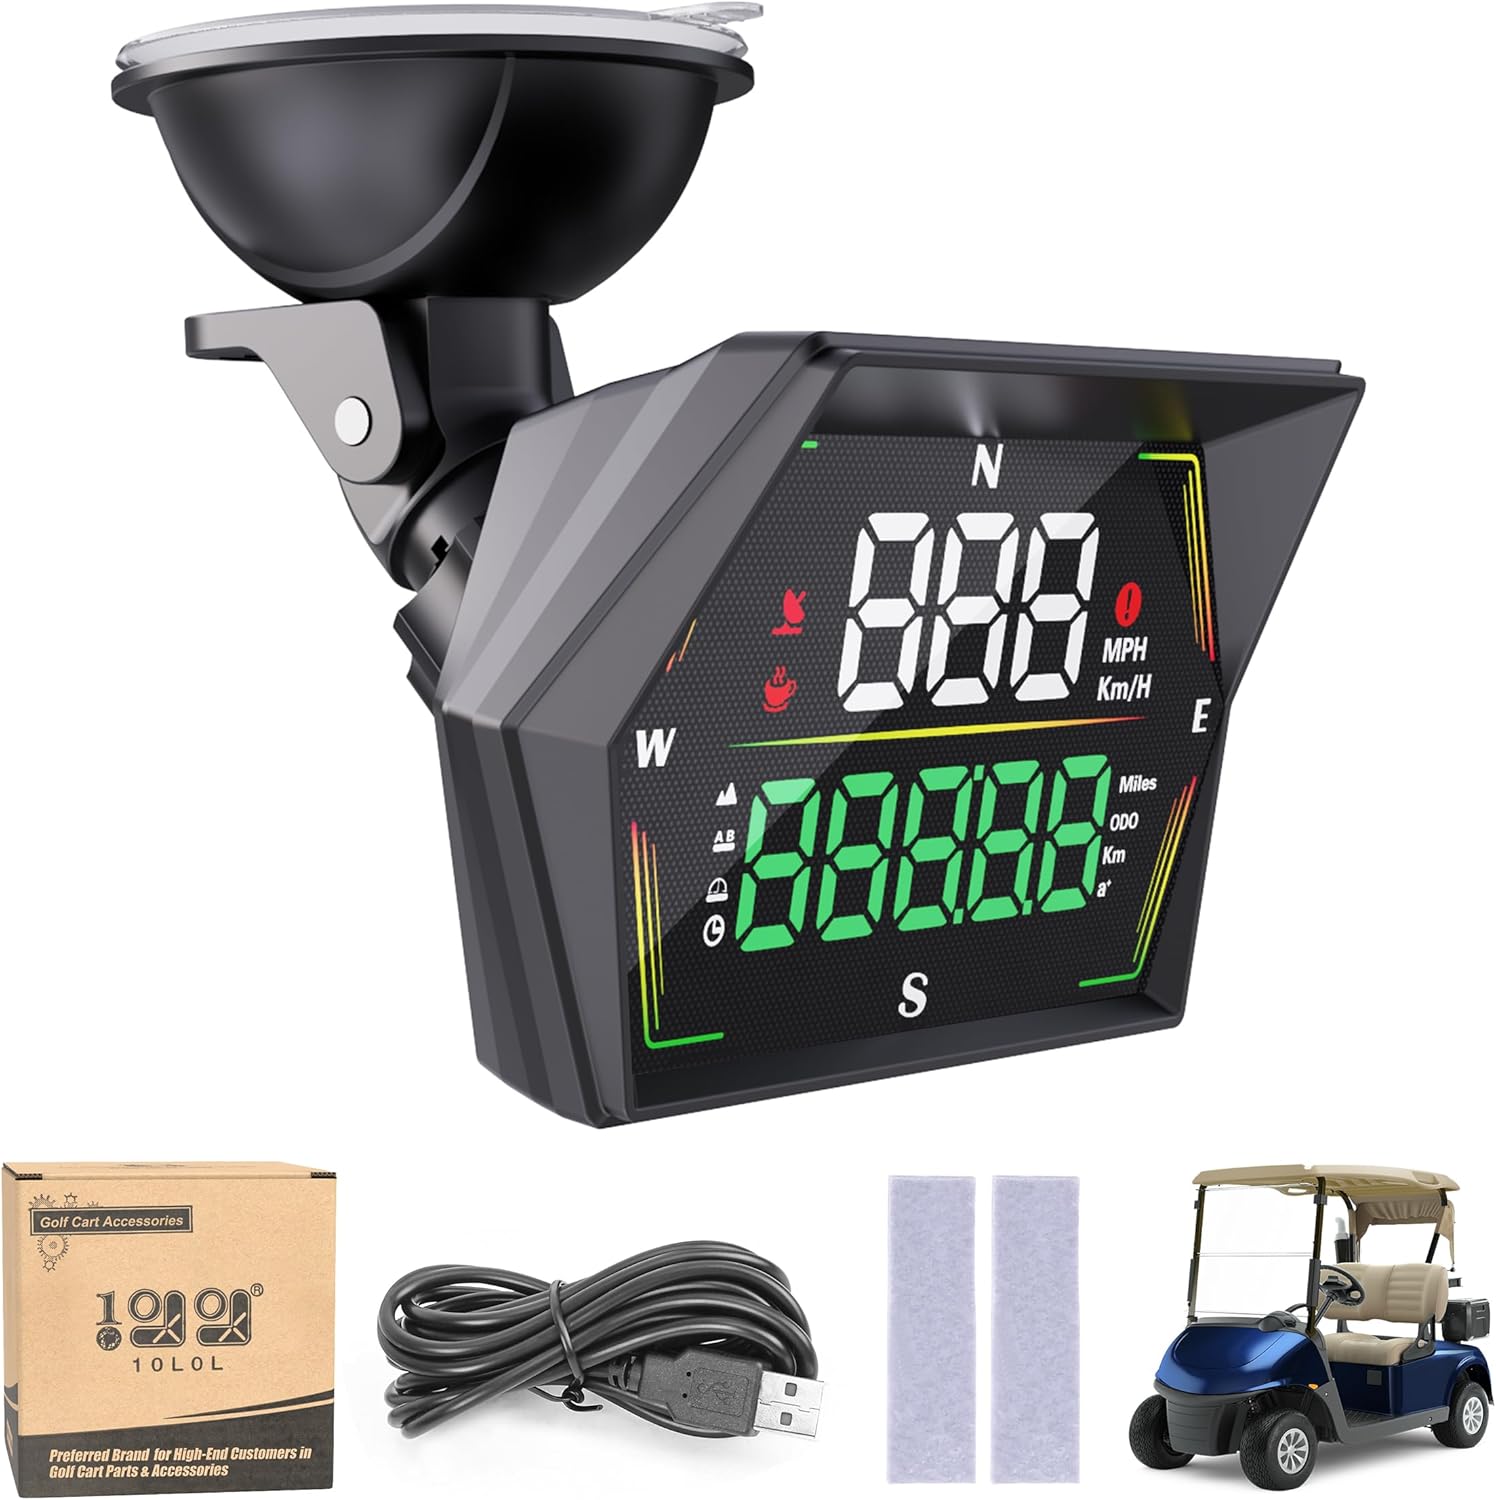
Image: The main speedometer unit, USB cable, and adhesive pads, representing the typical package contents.
Product Features
- Pinpoint GPS Accuracy: Utilizes GPS and BDS satellites for precise speed, direction, and distance tracking.
- Smart Safety Alarms: Includes overspeed and fatigue driving alerts for enhanced safety.
- Durable & Multi-Functional: Constructed from robust ABS material, tracking trip time, distance, and ODO mileage.
- Tool-free Installation: Equipped with sturdy suction cups and traceless stickers for easy plug-and-play setup.
- Sun-Readable Display: Anti-glare screen with automatic brightness adjustment for clear visibility in various lighting conditions.
Setup and Installation
The 10L0L Golf Cart GPS Speedometer offers two primary installation methods: suction cup mounting or direct adhesive application.
1. Suction Cup Mounting
- Clean the desired mounting surface (e.g., windshield, dashboard) to ensure it is free of dust and grease.
- Attach the suction cup mount to the back of the speedometer unit.
- Press the suction cup firmly onto the clean surface and engage the locking mechanism (if present) to secure it.
- Adjust the angle of the speedometer for optimal viewing.
2. Direct Adhesive Application
- Clean the desired mounting surface thoroughly.
- Peel the protective backing from the traceless adhesive stickers.
- Apply the stickers to the back of the speedometer unit or directly to the dashboard.
- Press the speedometer firmly onto the surface for several seconds to ensure a strong bond.

Image: Illustration showing two mounting options: direct adhesive application and suction cup mounting, with the suction cup offering 360-degree rotation.
Power Connection
Connect the provided USB power cable to the speedometer and plug the other end into a suitable USB power source (e.g., a USB port on your golf cart, a USB adapter). The device will power on automatically.
GPS Signal Acquisition
Upon powering on, the speedometer will begin searching for GPS and BDS satellite signals. This process typically takes a few seconds. Once a stable signal is acquired, the satellite icon will illuminate, and the speed display will show "0" (or your current speed if moving). Ensure the device has a clear view of the sky for optimal signal reception.
Operating Instructions
The 10L0L GPS Speedometer provides various data points and alerts.

Image: A detailed breakdown of the G21 display, indicating the location of speed, compass, satellite icon, overspeed alarm, fatigue driving icon, speed unit, altitude, travel distance, travel time, mileage, and acceleration time.
Display Functions
- Speed Display Area: Shows current speed in MPH or KM/H.
- Compass: Indicates driving direction (N, S, E, W).
- Satellite Icon: Illuminates when a GPS signal is acquired.
- Multi-function Display Area: Displays various metrics such as:
- Altitude
- Distance Traveled (Trip Distance)
- Total Mileage (ODO)
- Travel Time
- Acceleration Time (0-100km/h or 0-60mph)
- Speed Unit: Indicates whether speed is displayed in MPH or KM/H.
- Ambient Lighting: Automatic adjustment for display brightness.
Setting Speed Units (MPH/KMH)
The device allows switching between Miles Per Hour (MPH) and Kilometers Per Hour (KM/H). Refer to the device's physical buttons for unit selection. Typically, a short press of a specific button (often labeled 'M' or 'Unit') cycles through available units.
Safety Alarms
- Overspeed Alert:
You can set a custom speed limit. If your golf cart exceeds this limit, the overspeed alarm icon will illuminate, and an audible alert may sound (if equipped) to remind you to reduce speed.
- Fatigue Driving Alert:
The device is programmed to remind you to take a break after approximately 4 hours of continuous driving. The fatigue driving icon will appear to prompt a rest period.

Image: Visual representation of the overspeed alarm (speedometer icon) and fatigue driving alarm (coffee cup icon) as they appear on the display.
Automatic Brightness Adjustment
The display features an automatic light-sensitive function that adjusts brightness based on ambient light conditions. This ensures optimal visibility whether driving in bright sunlight or at night.

Image: A split image illustrating the speedometer's display clarity in both auto-darkened night mode and clearly visible daylight mode, due to automatic sensitivity adjustment.

Image: A visual representation of the speedometer's multi-functional display, showcasing travel distance, compass, and acceleration time features.
Maintenance
- Cleaning: Use a soft, dry cloth to clean the display and exterior. Avoid abrasive cleaners or solvents.
- Storage: If storing the golf cart for an extended period, disconnect the speedometer from its power source.
- Water Resistance: The device is IP65 waterproof, offering protection against splashes and rain. However, avoid submerging the unit in water.

Image: The speedometer displayed outdoors in rainy conditions, emphasizing its IP65 waterproof protection against rain and water.
Troubleshooting
| Problem | Possible Cause | Solution |
|---|---|---|
| Device does not power on. | No power supply or faulty cable. | Check USB cable connection. Ensure power source is active. Try a different USB port or cable. |
| No GPS signal / Speed display shows "---". | Obstructed view of the sky, initial signal acquisition in progress, or device interference. | Ensure the device has a clear view of the sky. Wait a few minutes for signal acquisition. Move away from tall buildings or dense foliage. Restart the device. |
| Inaccurate speed reading. | Weak GPS signal or temporary interference. | Ensure a strong GPS signal (satellite icon illuminated). Drive in an open area. |
| Display is too dim or too bright. | Automatic brightness adjustment is not functioning optimally. | Ensure the light sensor is not obstructed. The device automatically adjusts brightness; manual adjustment is not typically available. |
| Overspeed or Fatigue alert not working. | Settings not configured or temporary software glitch. | Verify alert settings (if configurable via buttons). Restart the device. |
Specifications
| Feature | Detail |
|---|---|
| Model Number | ELE-00026-J |
| Brand | 10L0L |
| Item Weight | 6.7 ounces (0.19 Kilograms) |
| Package Dimensions | 4.45 x 4.02 x 2.91 inches |
| Display Type | Digital |
| Human Interface Input | Buttons |
| Mounting Type | Dashboard Mount, Panel Mount (Suction Cup, Adhesive) |
| Vehicle Service Type | Golf Cart |
| Waterproof Rating | IP65 |

Image: Detailed product dimensions for the speedometer unit and its suction cup mount.
Warranty and Support
The 10L0L Golf Cart GPS Speedometer comes with a 2-Year Warranty. For technical support, warranty claims, or any inquiries regarding your product, please contact 10L0L customer service through the retailer where the product was purchased or visit the official 10L0L website for contact information.


