1. Introduction
Thank you for choosing the Jocca Espresso Coffee Maker Model 2713. This manual provides essential information for the safe and efficient operation, maintenance, and care of your new coffee machine. Please read it thoroughly before first use and keep it for future reference.

Image 1: Jocca Espresso Coffee Maker Model 2713. This image shows the complete coffee maker from the front-right angle, highlighting its compact design and the portafilter with a wooden handle.
2. Safety Instructions
- Always ensure the appliance is unplugged before cleaning or when not in use.
- Do not immerse the appliance, power cord, or plug in water or any other liquid.
- Keep the appliance out of reach of children.
- Use only grounded power outlets.
- Do not operate the appliance if the power cord or plug is damaged.
- Avoid touching hot surfaces, such as the cup warmer, steam wand, or portafilter, during and immediately after operation. Use handles or knobs.
- Ensure the water tank is filled to the appropriate level before brewing.
- Only use the appliance for its intended purpose of making coffee and frothing milk.
3. Product Components
Familiarize yourself with the parts of your Jocca Espresso Coffee Maker:
- Main Unit: Houses the heating system and pump.
- Water Tank (1L): Removable for easy filling and cleaning.
- Cup Warmer: Located on top to keep cups warm.
- Control Panel: Illuminated touch buttons for operation.
- Portafilter: Holds ground coffee or ESE pods. Features a wooden handle.
- Filter Baskets: For single or double espresso shots.
- Steam Wand/Frother: For frothing milk and dispensing hot water.
- Drip Tray: Removable for easy cleaning.
- Measuring Spoon with Tamper: For measuring and compacting coffee grounds.

Image 2: Portafilter, measuring spoon, and filter basket. This image displays the portafilter with its wooden handle, a black measuring spoon, and a separate filter basket, which are included accessories.
4. Setup and First Use
4.1 Unpacking
Carefully remove all packaging materials. Check that all components listed in Section 3 are present and undamaged. Keep packaging for future storage or transport.
4.2 Initial Cleaning
Before first use, wash the water tank, portafilter, filter baskets, and drip tray with warm soapy water. Rinse thoroughly and dry. Wipe the main unit with a damp cloth.
4.3 Filling the Water Tank
Remove the 1-liter water tank from the back of the machine. Fill it with fresh, cold water up to the MAX line. Replace the tank securely.
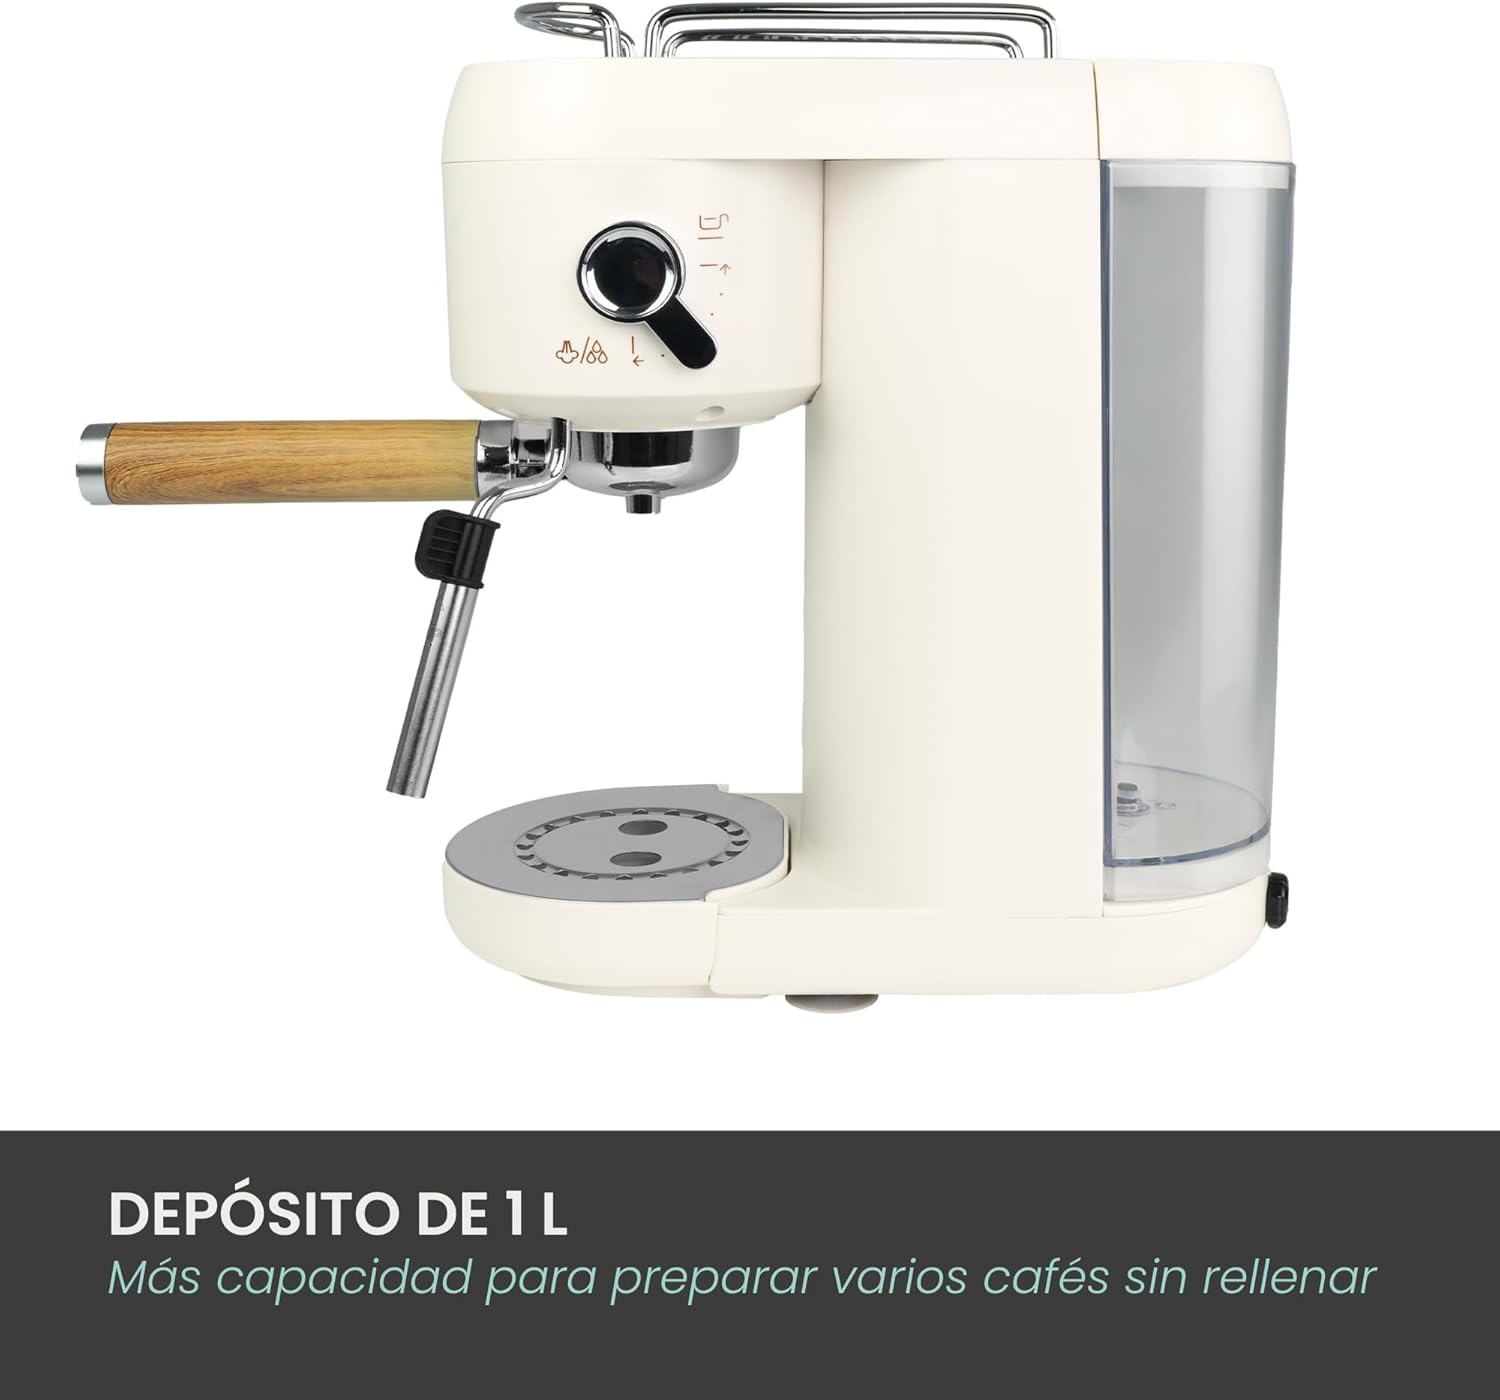
Image 3: Removable 1-liter water tank. This image shows the transparent water tank attached to the side of the coffee maker, indicating its capacity and ease of removal.
4.4 Priming the Machine
Plug in the coffee maker. Place a cup under the portafilter and another under the steam wand. Turn the machine on. Once the indicator light stops flashing (indicating preheating is complete), press the single espresso button to run water through the system. Repeat for the steam wand by turning the steam knob. This primes the pump and removes any air from the system.
5. Operating Instructions
5.1 Preheating Cups
Place your espresso cups on the cup warmer located on top of the machine. This helps maintain the coffee's temperature.
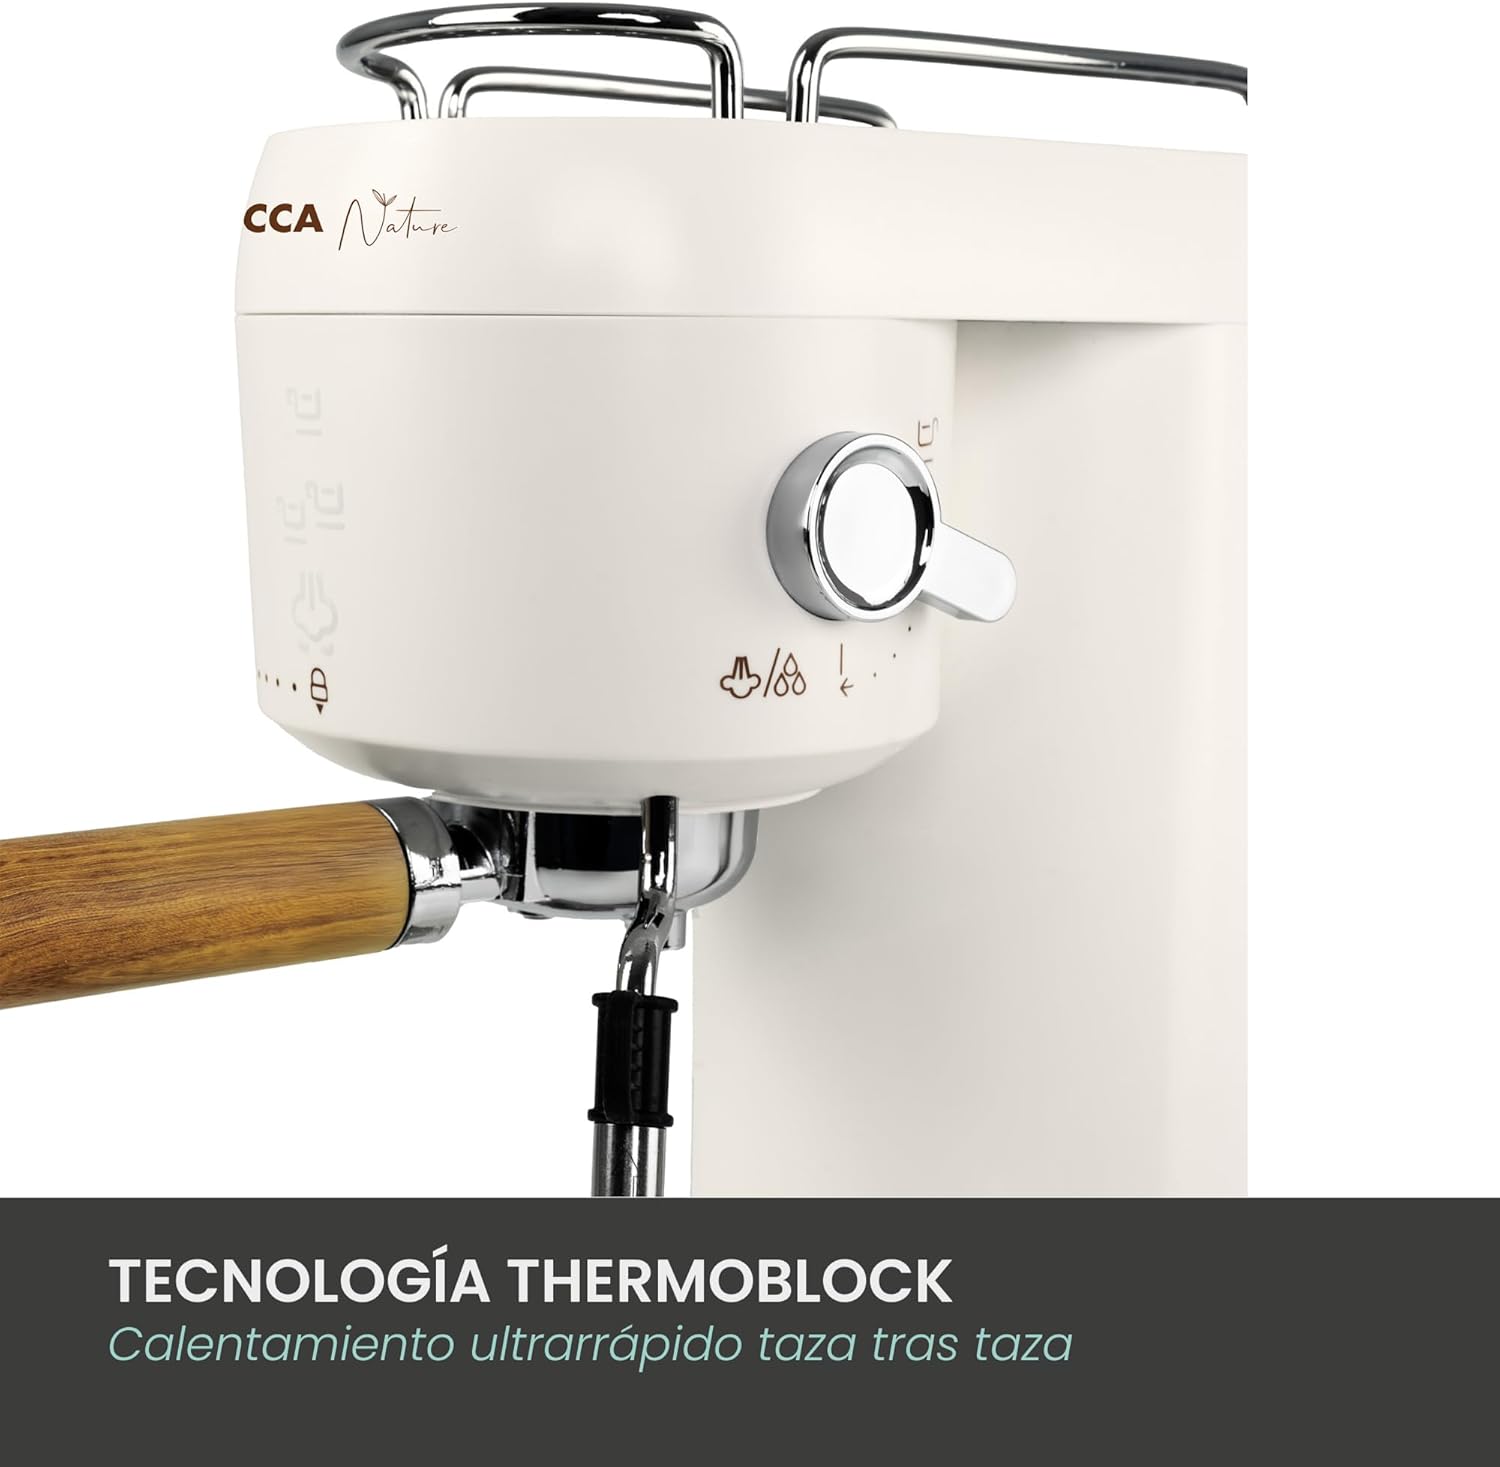
Image 4: Cup warmer feature. This close-up shows the top of the coffee maker with two glass cups placed on the integrated cup warmer, ready for use.
5.2 Making Espresso
- Prepare Coffee: Use the measuring spoon to add ground coffee to the appropriate filter basket (single or double). Tamp the coffee firmly with the tamper end of the spoon.
- Insert Portafilter: Place the filter basket into the portafilter. Attach the portafilter to the brewing head by aligning it and twisting it firmly to the right.
- Select Brew: Ensure the machine is preheated (indicator light solid). Place your preheated cup(s) under the portafilter. Press the illuminated touch button for a single or double espresso. The machine will automatically brew and stop.

Image 5: Espresso brewing. This image captures the coffee maker actively brewing espresso into a white cup, showcasing the rich crema.
5.3 Using the Steam Wand (Milk Frother)
- Prepare Milk: Fill a stainless steel frothing pitcher with cold milk (dairy or non-dairy) to about one-third full.
- Activate Steam: Press the steam button on the control panel. Wait for the indicator light to become solid, indicating the machine has reached steaming temperature.
- Froth Milk: Submerge the tip of the steam wand just below the surface of the milk. Turn the steam knob to release steam. Move the pitcher up and down to create foam. Once desired texture is achieved, turn off the steam knob and remove the pitcher.
- Clean Wand: Immediately wipe the steam wand with a damp cloth to prevent milk residue from drying. Briefly turn on the steam again to clear any internal milk.

Image 6: Illuminated touch controls. A close-up of the coffee maker's control panel, showing the illuminated touch buttons for single espresso, double espresso, and steam functions.
5.4 Official Product Video
Video 1: Jocca Espresso Coffee Maker in action. This video demonstrates the key features of the coffee maker, including cup warming, coffee preparation, milk frothing, and highlights its easy-to-clean design.
6. Maintenance and Cleaning
Regular cleaning ensures optimal performance and longevity of your coffee maker.
6.1 Cleaning the Drip Tray
The drip tray should be emptied and cleaned regularly. Simply slide it out, discard the contents, wash with warm soapy water, rinse, and dry.

Image 7: Removable drip tray. This image shows a close-up of the coffee maker's base with the drip tray removed, emphasizing its easy-to-clean design.
6.2 Cleaning the Portafilter and Filter Baskets
After each use, remove the portafilter and discard the used coffee grounds. Rinse the portafilter and filter basket under running water. For thorough cleaning, use a small brush to remove any coffee residue.
6.3 Cleaning the Water Tank
The water tank should be cleaned weekly. Remove it from the machine, wash with warm soapy water, rinse thoroughly, and dry before refilling.
6.4 Descaling
Depending on water hardness, descaling should be performed every 2-3 months. Use a commercial descaling solution suitable for coffee machines and follow the manufacturer's instructions. This process removes mineral buildup and ensures optimal machine performance.
7. Troubleshooting
| Problem | Possible Cause | Solution |
|---|---|---|
| No coffee dispenses | No water in tank; Clogged filter; Machine not primed. | Fill water tank; Clean filter; Prime the machine as per setup instructions. |
| Coffee is too weak | Insufficient coffee grounds; Coarse grind; Not tamped enough. | Add more coffee; Use finer grind; Tamp firmly. |
| No steam from wand | Steam button not activated; Wand clogged. | Press steam button and wait for preheat; Clean steam wand. |
| Water leaking from machine | Water tank not seated correctly; Drip tray full. | Ensure water tank is secure; Empty and clean drip tray. |
8. Specifications
- Brand: Jocca
- Model Number: 2713
- Color: White Wood
- Product Dimensions: 32 x 26.5 x 33.6 cm
- Weight: 2.95 kg
- Special Features: Cup warmer, Removable tank, Milk frother
- Capacity: 1 Liter
- Coffee Maker Type: Espresso Machine
- Material: Acrylonitrile Butadiene Styrene, Stainless Steel
- Style: Modern
- Specific Uses: Latte, Cappuccino, Espresso
9. Warranty and Support
For warranty information, technical support, or service inquiries, please refer to the warranty card included with your product or contact Jocca customer service directly. Keep your proof of purchase for warranty claims.


