1. Product Overview
This manual provides instructions for the ZWP HJH82 Replacement Remote Control, designed for use with specific adjustable bed models. It covers essential information regarding setup, operation, and maintenance to ensure proper functionality and longevity of your remote control.
1.1 Compatibility
The ZWP HJH82 Replacement Remote Control is compatible with the following adjustable bed models:
- RICHMAT Doctor Sleep LB4000
- MLILY MS300
- MUUEGM Adjustable Bed
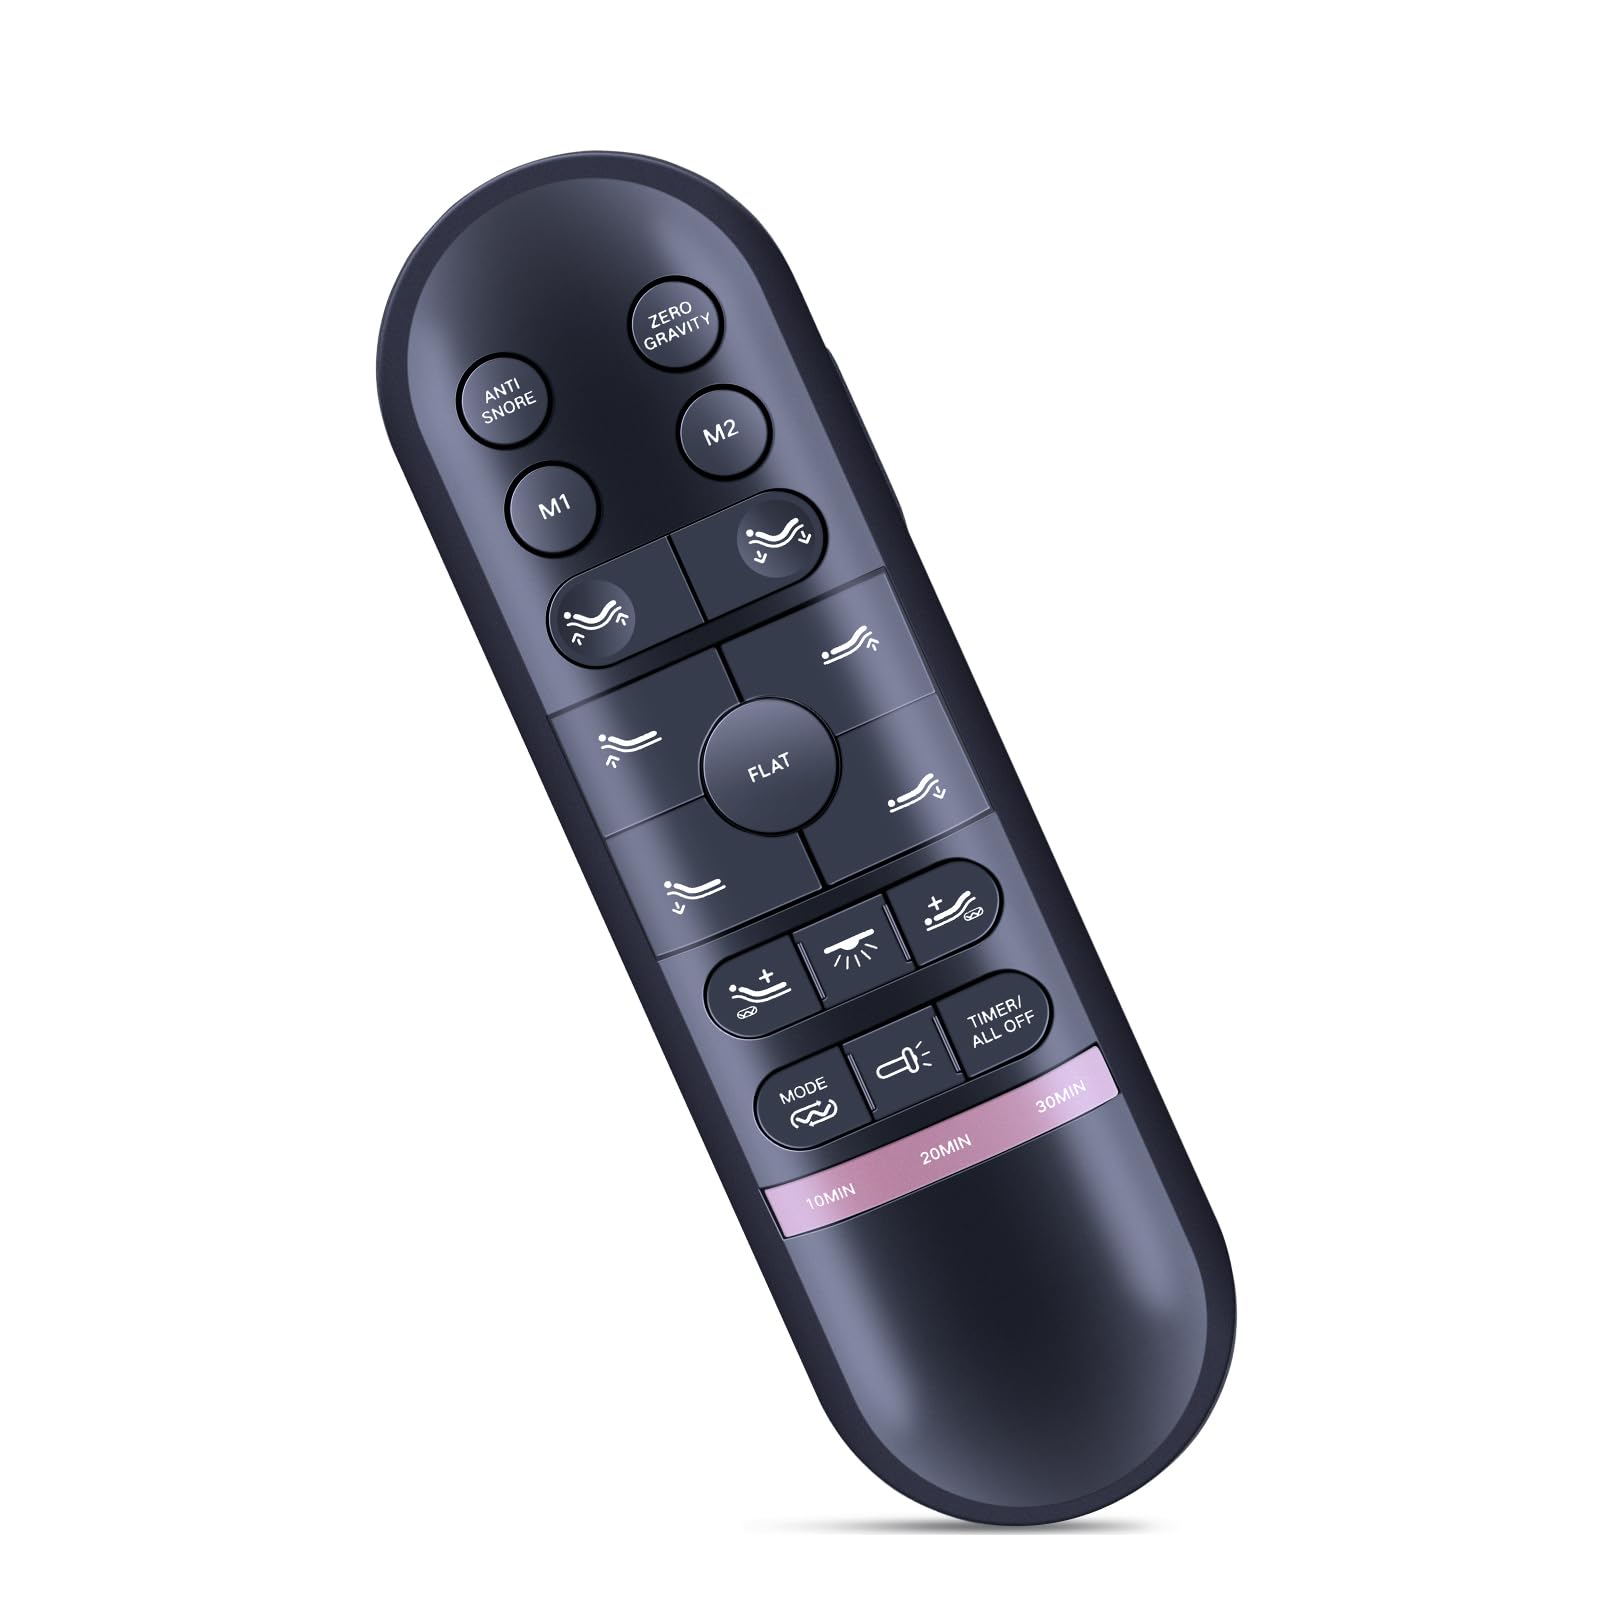
Image: The ZWP HJH82 remote control shown in hand, interacting with an adjustable bed frame. The image illustrates the remote's ergonomic design and the bed's head and foot articulation capabilities, ranging from 0-60 degrees for the head and 0-45 degrees for the foot.
2. Setup
2.1 Battery Installation
The remote control requires three AAA batteries (not included). Ensure correct polarity when inserting the batteries.
- Locate the battery compartment on the back of the remote control.
- Slide the battery cover downwards to open.
- Insert three AAA batteries, matching the (+) and (-) terminals as indicated inside the compartment.
- Replace the battery cover by sliding it upwards until it clicks into place.

Image: The back of the ZWP HJH82 remote control with the battery cover removed, showing the compartment for three AAA batteries. Two AAA batteries are depicted separately, indicating they are required but not included.
2.2 Remote Pairing
To establish communication between the remote control and your adjustable bed, follow these pairing steps:
- Ensure the adjustable bed is plugged into a power outlet.
- Locate the pairing button on the cord of the bed's control box.
- Press and hold the Head Up (∆) button, the Foot Up (∆) button, and the pairing button on the control box cord simultaneously for 3 seconds.
- Once you hear a beep, the remote is successfully synced with the bed.

Image: The ZWP HJH82 remote control with highlighted 'Head Up' and 'Foot Up' buttons, alongside an illustration of a control box cord with a 'pair flat' button. Text provides a two-step guide for pairing the remote: simultaneously pressing the head up, foot up, and control box pairing buttons for 3 seconds until a beep confirms synchronization.
2.3 Syncing Two Split Bases (Optional)
If you have two split adjustable bed bases and wish to control them with a single remote, use one of the following options:
Option 1: Remote Synchronization
- Plug in both bed 'A' and bed 'B'. Ensure that the remote for bed 'A' is already synced to bed 'A'.
- Take the remote for bed 'A' and sync it to bed 'B' using the remote pairing instructions provided in Section 2.2.
- Both bases should now be controlled by the single remote.
Option 2: Sync Cable (if included with split bases)
- Plug in both bed 'A' and bed 'B'. Ensure each bed is synced to its own remote.
- Plug the Sync Cable (typically included with split bases) into the "SYNC" input on each of the control boxes.
- Both bases should now be controlled by either of the remotes.
3. Operating Instructions
The ZWP HJH82 remote control features an intuitive button layout for adjusting your bed's position and accessing various comfort functions.
3.1 Button Functions

Image: The ZWP HJH82 remote control displaying its full button layout. Surrounding the remote are illustrations of various adjustable bed positions, each with a descriptive label and corresponding head/foot angles, such as Zero Gravity, Elevision, Pregnancy Relaxation, Sleeping, Prevent Snoring, and Nursing Mode.
- Head Up (∆) / Head Down (∇): Adjusts the head section of the bed upwards or downwards.
- Foot Up (∆) / Foot Down (∇): Adjusts the foot section of the bed upwards or downwards.
- Flat: Returns the bed to a completely flat position.
- Anti Snore: Activates a pre-set position designed to reduce snoring.
- Zero Gravity: Activates a pre-set position that elevates the head and foot to create a feeling of weightlessness, promoting circulation and reducing pressure.
- M1 / M2: Memory buttons to save and recall your preferred bed positions. To save a position, adjust the bed to your desired setting, then press and hold M1 or M2 until the bed briefly moves or beeps. To recall, simply press M1 or M2.
- Massage On/Off (Wave icon): Activates or deactivates the massage function (if available on your bed model).
- Massage Intensity (+/-): Adjusts the intensity of the massage function.
- Under-bed Light (Lightbulb icon): Turns the under-bed lighting on or off (if available on your bed model).
- Mode (Wave icon with lines): Cycles through different massage modes.
- Timer/All Off (Clock icon): Activates a timer for the bed's functions or turns off all active functions.
- 10 MIN / 20 MIN / 30 MIN: Pre-set timer options for various functions.
3.2 Pre-set Adjustable Bed Positions
The remote offers several pre-programmed positions for enhanced comfort:
- Zero Gravity: Head at approximately 40°, Foot at approximately 15°.
- Elevision: Head at approximately 45°, Foot at approximately 15°.
- Pregnancy Relaxation: Head at approximately 15°, Foot at approximately 20°.
- Sleeping: Head at 0°, Foot at 0° (Flat position).
- Prevent Snoring: Head at approximately 15°, Foot at 0°.
- Nursing Mode: Head at approximately 50°, Foot at approximately 15°.
4. Maintenance
4.1 Battery Replacement
When the remote control's performance diminishes or it stops responding, it is likely time to replace the batteries. Refer to Section 2.1 for detailed battery installation instructions.
4.2 Cleaning
To clean the remote control, use a soft, dry cloth. For stubborn dirt, a slightly damp cloth with mild soap can be used, ensuring no liquid enters the remote. Avoid abrasive cleaners or solvents.
5. Troubleshooting
- Remote not responding:
- Check if the batteries are correctly installed and not depleted. Replace if necessary.
- Ensure the adjustable bed is properly plugged into a working power outlet.
- Re-attempt the pairing process as described in Section 2.2.
- Bed not moving smoothly:
- Check for any obstructions under or around the bed frame that might impede movement.
- Ensure the bed's power cord is securely connected.
- Split bases not syncing:
- Review the syncing instructions for split bases in Section 2.3.
- If using a sync cable, ensure it is securely connected to both control boxes.
6. Specifications
| Brand | ZWP |
| Model | HJH82 |
| Compatible Devices | RICHMAT Doctor Sleep LB4000, MLILY MS300, MUUEGM Adjustable Bed |
| Special Features | Ergonomic design |
| Batteries Required | Yes (3 x AAA, not included) |
| Connectivity Technology | Infrared |
| Human Interface Input | Buttons |
| Maximum Range | 10 Meters |
| Color | Black |
| Package Dimensions | 18.8 x 6.35 x 2.79 cm |
| Item Weight | 58.97 g |
7. Support
For any questions, technical assistance, or issues not covered in this manual, please contact the manufacturer or your retailer for support. Provide your product model number (HJH82) and details of your adjustable bed model when seeking assistance.


