1. Product Overview
The VEVOR Mailbox Post (Model YTG-3-H) is a durable aluminum in-ground mounting solution designed to securely hold most standard-sized mailboxes. This heavy-duty metal post sleeve kit is suitable for both residential curbside and rural delivery applications, offering stability and weather resistance. Its powder-coated black finish ensures longevity and aesthetic appeal.
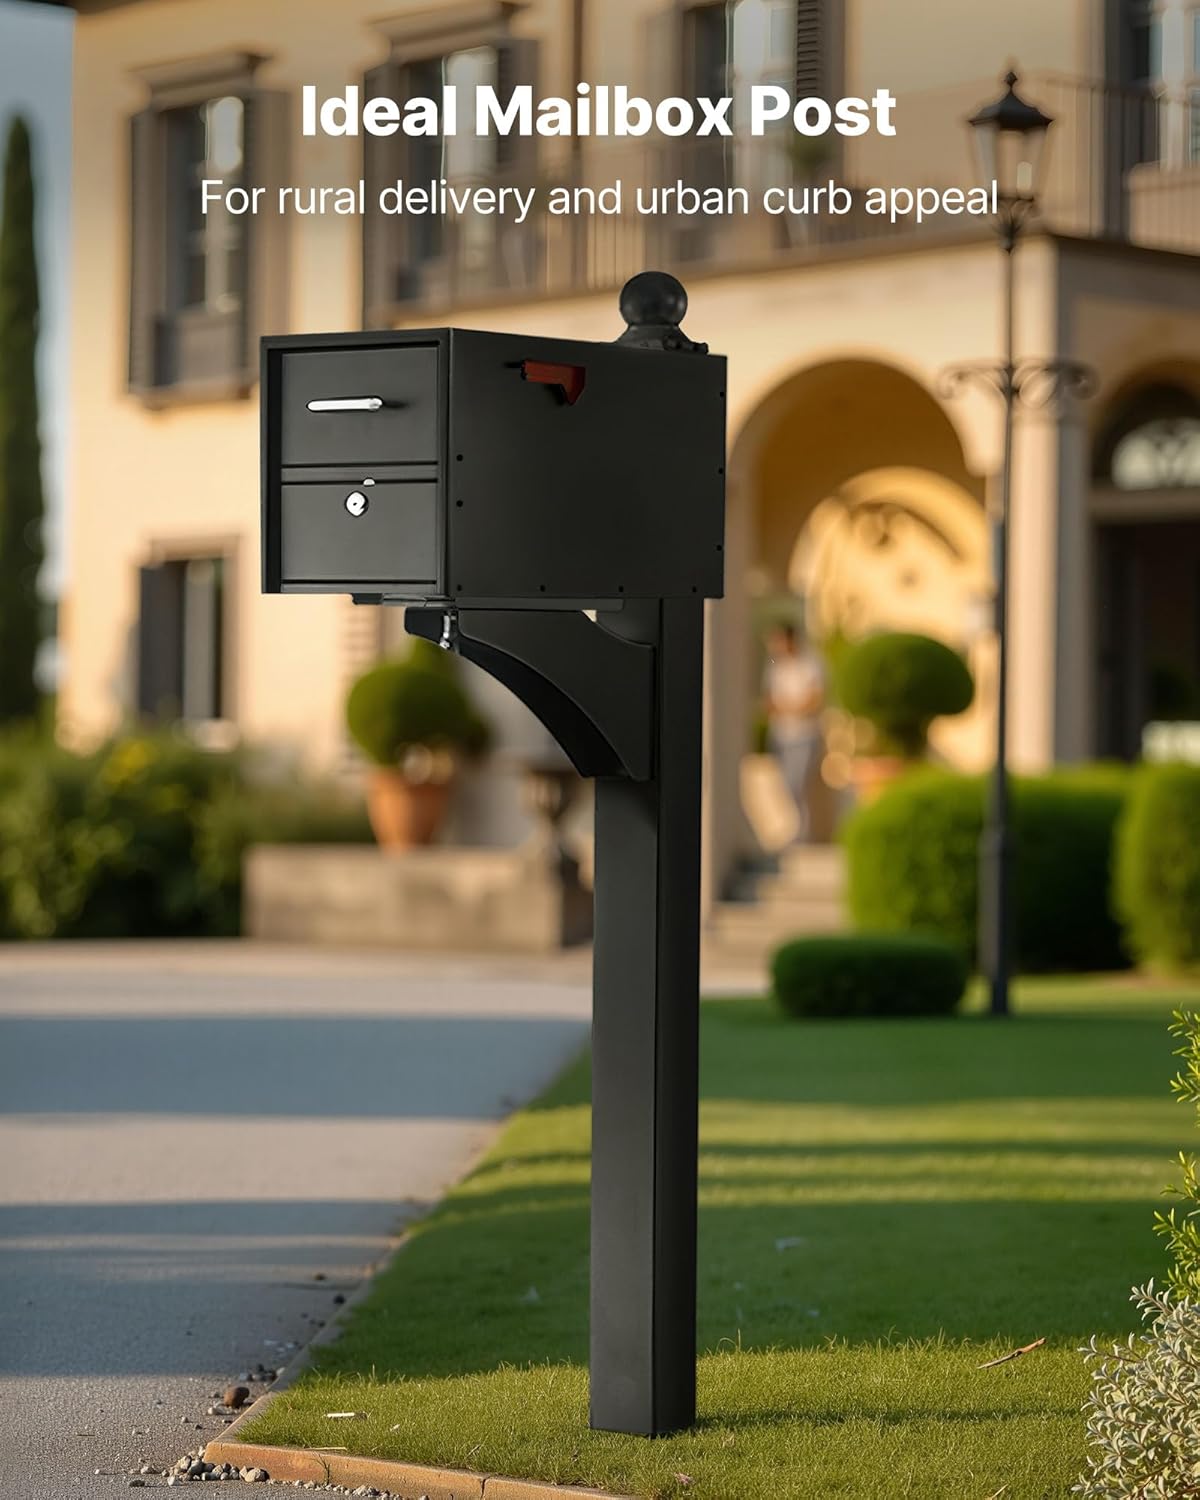
Figure 1.1: VEVOR Mailbox Post with a mounted mailbox, showcasing its design and application.
2. Safety Information
Please read and understand all instructions before installation and use. Failure to follow these instructions may result in property damage or injury.
- Always wear appropriate personal protective equipment (PPE) such as gloves and eye protection during installation.
- Ensure the installation area is clear of underground utilities (e.g., water, gas, electrical lines) before digging. Contact your local utility companies for marking services.
- Verify local regulations and postal service requirements for mailbox height and placement before installation.
- Keep children and pets away from the work area during installation.
3. Package Contents
Verify that all components are present before beginning installation.

Figure 3.1: Included components and dimensions of the mailbox post.
- 1 x Mailbox Post (Model YTG-3-H)
- 8 x Black Wood Screws (M6 x 40)
- 8 x Flat Head Hex Socket Screws (5 x 16)
- 18 x Button Head Screws (M6 x 20)
- 1 x Open-End Wrench
- 12 x Black Lock Nuts (M6)
- 1 x 4 mm Hex Key
- 1 x User Manual
4. Specifications
| Material | Aluminum |
| Color | Black |
| Mounting Type | Post Mount (In-Ground) |
| Overall Height | 56.31 inches (1430 mm) |
| Post Dimensions | 56 x 4 x 4 inches (approximate) |
| Wall Thickness | 0.08 inches (2.0 mm) |
| Product Weight | 13.45 lbs (6.1 kg) |
| Compatibility | Universal plate bracket fits most standard mailboxes |

Figure 4.1: Universal mounting plate dimensions for compatibility with various mailboxes.

Figure 4.2: Detail of the aluminum post construction and wall thickness.
5. Installation Instructions
This mailbox post is designed for in-ground installation, often over an existing or new 4x4 wooden post for added stability.
5.1 Site Preparation
- Choose Location: Select a suitable location for your mailbox post, adhering to local postal regulations regarding height and distance from the road.
- Check Utilities: Before digging, contact local utility services to mark any underground lines.
- Prepare Hole: Dig a hole appropriate for a 4x4 wooden post (not included) to be embedded in the ground. The depth should allow the top of the wooden post to be slightly below ground level once installed, with the VEVOR post extending to the desired height.
5.2 Post Installation

Figure 5.1: Step-by-step diagram for in-ground post installation.
- Install Wooden Post: Place a treated 4x4 wooden post into the prepared hole. Ensure it is plumb (vertically straight) using a level.
- Secure Wooden Post: Fill the hole with concrete mix, following the manufacturer's instructions for mixing and curing. Alternatively, use coarse gravel for drainage and stability, compacting it thoroughly. Allow concrete to cure completely if used.
- Mount Metal Post Sleeve: Slide the VEVOR Mailbox Post sleeve over the top of the installed 4x4 wooden post. The metal post is designed to fit snugly over a standard 4x4 post.
- Fasten Post Sleeve: Align the pre-drilled holes in the metal post with the wooden post. Use the provided screws (e.g., Black Wood Screws M6 x 40) to secure the metal sleeve to the wooden post. Ensure all screws are tightened securely.
5.3 Mailbox Attachment
- Position Mailbox: Place your mailbox onto the universal mounting plate at the top of the VEVOR post.
- Align and Secure: Align the mounting holes of your mailbox with the slots or holes on the universal plate. Use the appropriate screws, nuts, and washers (some may be included with your mailbox, or use the provided Flat Head Hex Socket Screws 5 x 16, Button Head Screws M6 x 20, and Black Lock Nuts M6) to firmly attach the mailbox to the post.
- Final Check: Ensure the mailbox is level and securely fastened to prevent wobbling.
6. Maintenance
The VEVOR Mailbox Post is constructed from durable, powder-coated aluminum designed for all-weather performance. Minimal maintenance is required.
- Cleaning: Periodically wipe down the post with a damp cloth to remove dirt and debris. Avoid abrasive cleaners that could damage the powder-coated finish.
- Inspection: Annually inspect the post and its connections for any signs of loosening, damage, or wear. Tighten any loose fasteners.
- Rust Prevention: While aluminum is rust-resistant, the steel mounting plate is powder-coated for protection. If the coating is scratched, touch up with appropriate outdoor metal paint to prevent rust.

Figure 6.1: The mailbox post is designed to withstand diverse weather conditions.
7. Troubleshooting
- Wobbly Post: If the post feels unstable, check the tightness of all screws securing the metal sleeve to the wooden post. Ensure the wooden post is firmly set in the ground with adequate concrete or compacted gravel.
- Mailbox Not Level: Adjust the position of the mailbox on the mounting plate and re-tighten the fasteners. Ensure the main post itself is plumb during installation.
- Difficulty Attaching Mailbox: The universal plate is designed for broad compatibility. If your mailbox does not align perfectly, minor adjustments or drilling new holes in the mailbox base may be necessary.
8. Warranty and Support
VEVOR products are designed for quality and durability. For specific warranty information, please refer to the warranty card included with your product or visit the official VEVOR website. For technical support, replacement parts, or any questions regarding your VEVOR Mailbox Post, please contact VEVOR customer service through the contact information provided in your product packaging or on the VEVOR website.
You can find more information and support at the VEVOR Store on Amazon.