
NEWFAST NF-B912
NEWFAST NF-B912 Outdoor WiFi Bridge User Manual
Model: NF-B912
1. Introduction
The NEWFAST NF-B912 Outdoor WiFi Bridge is designed to provide stable and long-distance wireless network transmission for outdoor environments. This device supports point-to-point and point-to-multipoint configurations, extending network coverage up to 3 kilometers (1.8 miles) using 5GHz Wi-Fi 5 technology. It is suitable for various applications such as outdoor farms, scenic spots, residential areas, and industrial settings, offering robust performance and resistance to harsh weather conditions.
2. Product Overview
2.1 Key Features
- Long-Range Transmission: Supports stable point-to-point transmission up to 3 km (1.8 miles).
- High Performance: 300Mbps data transfer rate on the 5GHz band (Wi-Fi 5, 802.11n).
- Outdoor Durability: Waterproof, dustproof, freeze-proof, shockproof, oxidation-resistant, and resistant to high and low temperatures.
- Power over Ethernet (PoE): Supports 48V PoE power supply for simplified installation.
- Automatic Pairing: Facilitates easy setup for bridge configurations.
- Enhanced Security: Features like SSID hiding, anti-hijack, anti-hacker, anti-Trojan, and encryption protocols (WPA-PSK, WPA2-PSK).
- Signal Strength Indicators: Intuitive 4-bar LED indicators for easy alignment and optimal signal reception.
- Integrated Antenna: Equipped with an 11dBi directional antenna for strong and focused signal.
2.2 Package Contents
The standard package typically includes:
- NEWFAST NF-B912 Outdoor WiFi Bridge Unit(s)
- PoE Power Adapter(s)
- Mounting Straps/Hardware
- User Manual
Note: The number of units (single or pair) may vary based on the specific product kit purchased. For point-to-point bridging, two units are required.
2.3 Physical Interface and Indicators
Familiarize yourself with the device's ports and LED indicators for proper installation and operation.

Image: Signal Strength Indicators and Device Dimensions. This image illustrates the LED indicators on the side of the NF-B912 unit, showing Power, LAN, WAN, WiFi, and 4-bar signal strength lights. It also provides dimensions (165mm height, 85mm width, 43.5mm depth).
- Power Indicator: Indicates the device is powered on.
- LAN Indicator: Indicates activity on the LAN port.
- WAN Indicator: Indicates activity on the WAN port.
- WiFi Indicator: Indicates wireless network activity.
- Signal Strength Indicators (4 bars): Provide visual feedback on the strength of the wireless link, aiding in optimal alignment.

Image: Bottom view of the NEWFAST NF-B912 showing WAN, RESET, and LAN ports, along with the STA/AP mode switch. This image also depicts the device mounted outdoors, extending Wi-Fi to a remote location.
- WAN Port: Connects to the network source (e.g., router) and typically supports PoE input.
- LAN Port: Connects to local devices (e.g., PC, IP camera) or another network segment.
- RESET Button: Used to restore factory default settings. Press and hold for approximately 5-10 seconds while the device is powered on.
- Mode Switch (STA/AP): Selects the operating mode of the device.
3. Setup Instructions
This section outlines the general steps for setting up the NEWFAST NF-B912 for a point-to-point wireless bridge configuration. Two units are typically used for this setup: one as the Master (AP mode) and one as the Slave (STA mode).
3.1 Pre-installation Considerations
- Line of Sight: Ensure a clear line of sight between the two bridge units for optimal performance. Obstructions like trees or buildings can degrade signal quality.
- Mounting Location: Choose a high and stable location for mounting, such as a pole or wall, to minimize interference.
- Power Source: Plan for power supply using the provided PoE adapters.
3.2 Hardware Connection
- Mount the Devices: Securely mount both NF-B912 units at their intended locations using the provided mounting hardware. Ensure they are facing each other for point-to-point communication.
- Connect PoE:
- Connect an Ethernet cable from the LAN port of the PoE adapter to the WAN port of the NF-B912 unit.
- Connect the power cord from the PoE adapter to a power outlet.
- The Power LED on the NF-B912 should illuminate.
- Initial Network Connection (for configuration):
- For the unit designated as the Master (AP), connect an Ethernet cable from your main router's LAN port to the WAN port of the NF-B912 (via the PoE injector).
- For the unit designated as the Slave (STA), connect an Ethernet cable from its LAN port to a computer for initial configuration.
3.3 Configuration Steps (Point-to-Point Bridge)

Image: Illustration of a Master Bridge and Slave Bridge setup, demonstrating how two NF-B912 units create a wireless link to extend network coverage, for example, to a security camera.
- Set Mode Switch:
- For the Master Bridge unit, set the mode switch to AP (Access Point).
- For the Slave Bridge unit, set the mode switch to STA (Station).
- Access Web Interface:
- Connect your computer directly to the LAN port of one NF-B912 unit (or through your router if the unit is already connected to it).
- Open a web browser and enter the default IP address (refer to the device label or manual for the specific IP, commonly 192.168.1.1 or similar).
- Enter the default username and password (e.g., admin/admin).
- Configure Master (AP) Unit:
- Navigate to the Wireless Settings.
- Set the operating mode to "Access Point" or "Master".
- Configure the SSID (network name) and a strong WPA2-PSK password.
- Select an appropriate 5GHz channel.
- Save settings and reboot the device if prompted.
- Configure Slave (STA) Unit:
- Access its web interface.
- Set the operating mode to "Station" or "Slave".
- Scan for available wireless networks and select the SSID of your Master Bridge unit.
- Enter the WPA2-PSK password configured on the Master unit.
- Save settings and reboot the device if prompted.
- Align Devices: Use the signal strength indicators on both units to fine-tune their alignment. Adjust the direction and angle until the maximum number of signal bars are lit, indicating the strongest connection.
- Verify Connection: Once both units are configured and aligned, check for network connectivity at the Slave Bridge location.
4. Operating Instructions
4.1 Basic Operation
Once configured, the NEWFAST NF-B912 operates automatically to maintain the wireless bridge link. The Master unit broadcasts the network, and the Slave unit receives it, extending network access to the remote location.
- Network Access: Devices connected to the LAN port of the Slave unit, or wirelessly to an access point connected to the Slave unit, will have internet access.
- Monitoring: Periodically check the LED indicators on both units to ensure stable operation. A full set of signal strength bars indicates optimal performance.
4.2 Network Security
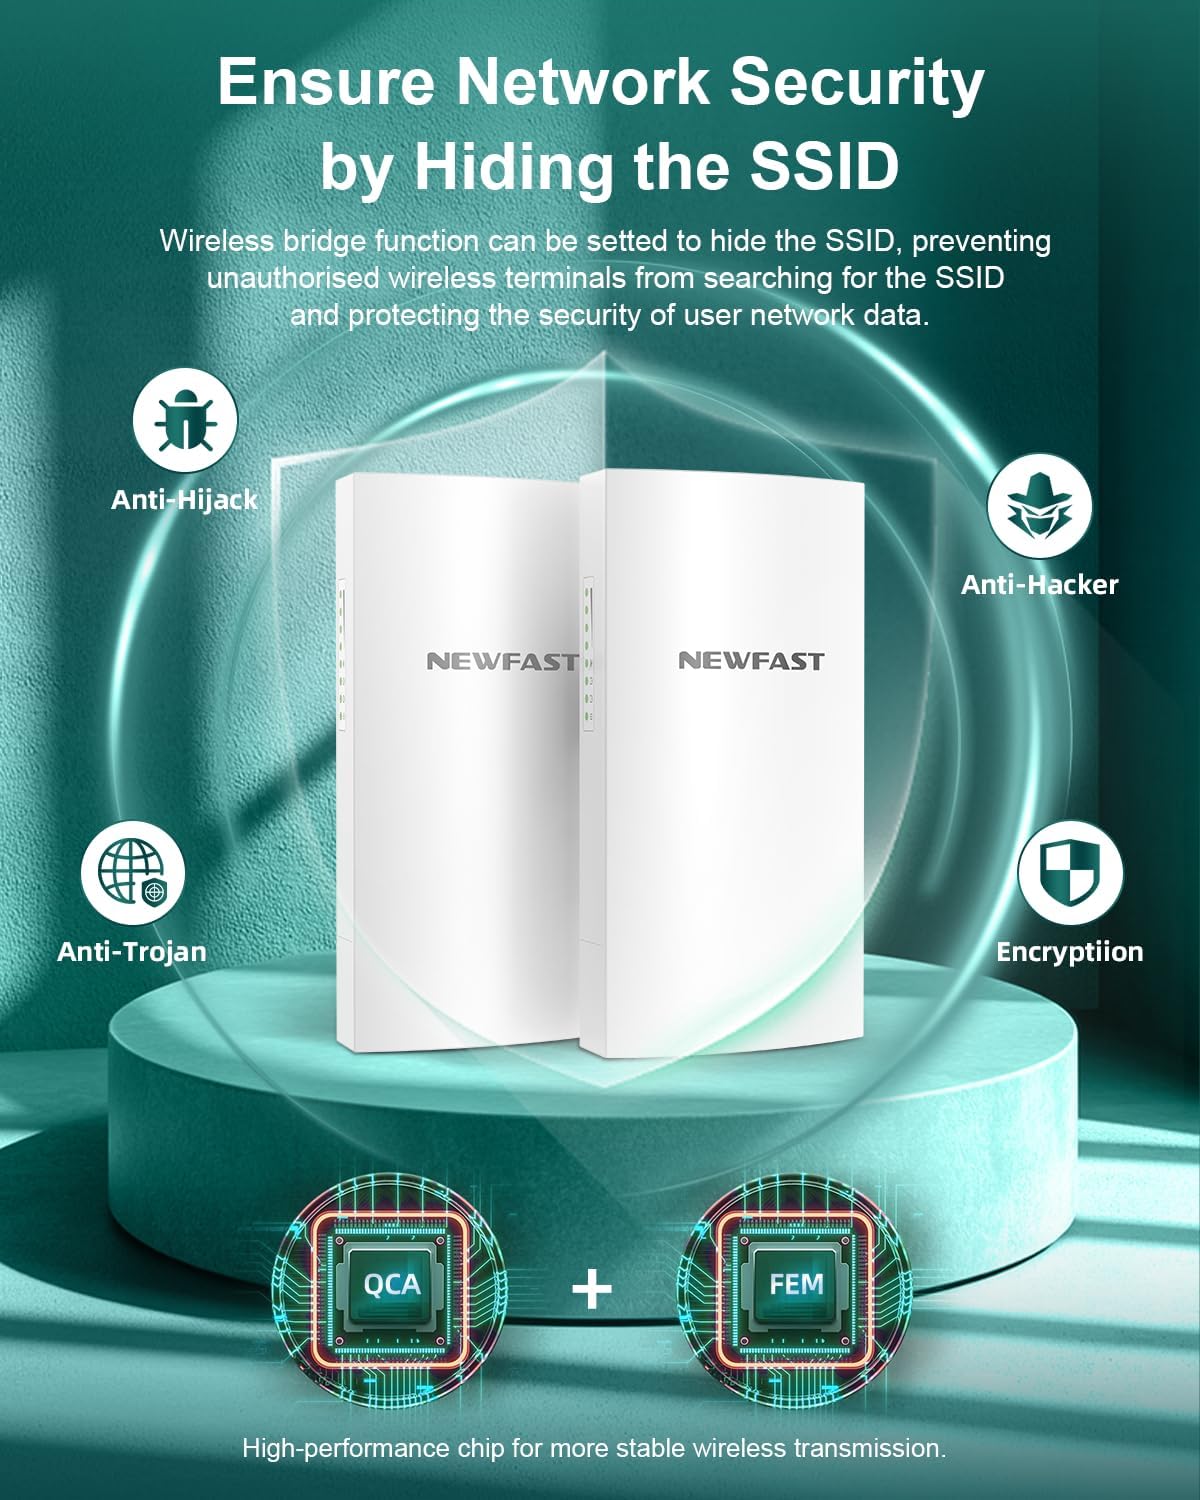
Image: Diagram illustrating the network security features of the NEWFAST NF-B912, including SSID hiding, anti-hijack, anti-hacker, anti-Trojan, and encryption, powered by QCA and FEM chips.
The NF-B912 includes features to secure your wireless network:
- SSID Hiding: You can configure the Master unit to hide its SSID, preventing unauthorized wireless terminals from easily discovering your network.
- Encryption: Always use strong WPA2-PSK encryption for your wireless link.
- Firewall: The device may include basic firewall functionalities to protect against common threats.
5. Maintenance
Regular maintenance ensures the longevity and optimal performance of your NEWFAST NF-B912.
- Physical Inspection: Periodically check the units and mounting hardware for any signs of damage, corrosion, or loose connections.
- Cleaning: Gently clean the exterior of the units with a soft, dry cloth. Do not use liquid cleaners or solvents.
- Firmware Updates: Check the manufacturer's website for available firmware updates. Keeping the firmware updated can improve performance, stability, and security.
- Environmental Protection: While the device is designed for outdoor use, ensure it is not exposed to extreme conditions beyond its specified operating range.
6. Troubleshooting
This section addresses common issues you might encounter with your NEWFAST NF-B912.
| Problem | Possible Cause | Solution |
|---|---|---|
| No Power LED | No power supply or faulty PoE adapter/cable. | Check power connections, PoE adapter, and Ethernet cable. Ensure the power outlet is functional. |
| No wireless link (Signal LEDs off or low) | Poor alignment, obstructions, incorrect configuration, or interference. | Re-align units using signal strength indicators. Check for obstructions. Verify AP/STA mode settings and SSID/password. Try changing the 5GHz channel. |
| Slow network speed | Poor signal quality, interference, or network congestion. | Optimize alignment. Check for sources of 5GHz interference. Ensure your main internet connection is not the bottleneck. |
| Cannot access web interface | Incorrect IP address, network configuration issues, or device malfunction. | Ensure your computer's IP address is in the same subnet as the device. Try the default IP address. Reset the device to factory defaults if necessary (see Resetting to Factory Defaults). |
| Intermittent connection | Environmental factors, loose connections, or firmware issues. | Check physical connections. Ensure units are securely mounted. Consider updating firmware. |
6.1 Resetting to Factory Defaults
If you forget your login credentials or encounter persistent issues, you can reset the device to its factory default settings:
- Ensure the NF-B912 unit is powered on.
- Locate the RESET button on the bottom of the device.
- Using a paperclip or a thin object, press and hold the RESET button for approximately 5-10 seconds.
- Release the button. The device will reboot with factory default settings. You will need to reconfigure it.
7. Specifications

Image: The NEWFAST NF-B912 highlighting its 11dBi antenna and various outdoor resistance features (waterproof, dustproof, freeze-proof, shockproof, oxidation-resistant, high/low temperature resistant). It also shows example application scenarios like farms, residential areas, and industrial sites.
| Feature | Detail |
|---|---|
| Brand | NEWFAST |
| Model Name | NF-B912 |
| Wireless Standard | 802.11n (Wi-Fi 5) |
| Frequency Band | 5 GHz (Single-band) |
| Data Transfer Rate | Up to 300 Mbps |
| LAN Port Bandwidth | 100 Mbps |
| Coverage | Up to 3 km (1.8 miles) |
| Antenna | Integrated 11dBi Directional Antenna |
| Security Protocols | WPA-PSK, WPA2-PSK |
| Connectivity Technology | Wi-Fi |
| Ports | 1x WAN (PoE), 1x LAN |
| Power Supply | 48V PoE |
| Environmental Resistance | Waterproof, Dustproof, Freeze-proof, Shockproof, Oxidation-resistant, High/Low Temperature Resistant |
| Recommended Use | Industrial/Outdoor |
| Color | Silver |
8. Warranty Information
The NEWFAST NF-B912 Outdoor WiFi Bridge comes with a 1-year manufacturer's warranty. This warranty covers defects in materials and workmanship under normal use. Please retain your proof of purchase for warranty claims. The warranty does not cover damage caused by misuse, accidents, unauthorized modifications, or natural disasters.
For warranty service, please contact NEWFAST customer support with your product model, serial number, and a detailed description of the issue.
9. Support
For technical assistance, troubleshooting, or further inquiries regarding your NEWFAST NF-B912, please refer to the following resources:
- Online Support: Visit the official NEWFAST website for FAQs, updated manuals, and support contact information.
- Customer Service: Contact NEWFAST customer service directly for personalized support. Contact details are usually available on the product packaging or the official website.
When contacting support, please have your product model (NF-B912) and a description of your issue ready.
Related documentsNF-B912


Ask a question about this manual
Ask about setup, troubleshooting, compatibility, parts, safety, or missing instructions. Manuals+ will review the question and use this page’s manual context to help answer it.