1. Introduction
The RODEDIO V520 OBD2 Scanner is an advanced diagnostic tool designed for comprehensive vehicle health monitoring. This device supports all OBDII/EOBD protocols for vehicles manufactured since 1996, providing accurate error code readings and extensive diagnostic capabilities. It is suitable for both professional mechanics and automotive enthusiasts.
Key features include a user-friendly interface, a 2.8-inch color display, multi-language support, and a built-in library of over 35,901 Diagnostic Trouble Codes (DTCs). The V520 scanner assists in identifying and troubleshooting engine issues, performing battery voltage tests, and preparing for emissions testing with its I/M readiness function.
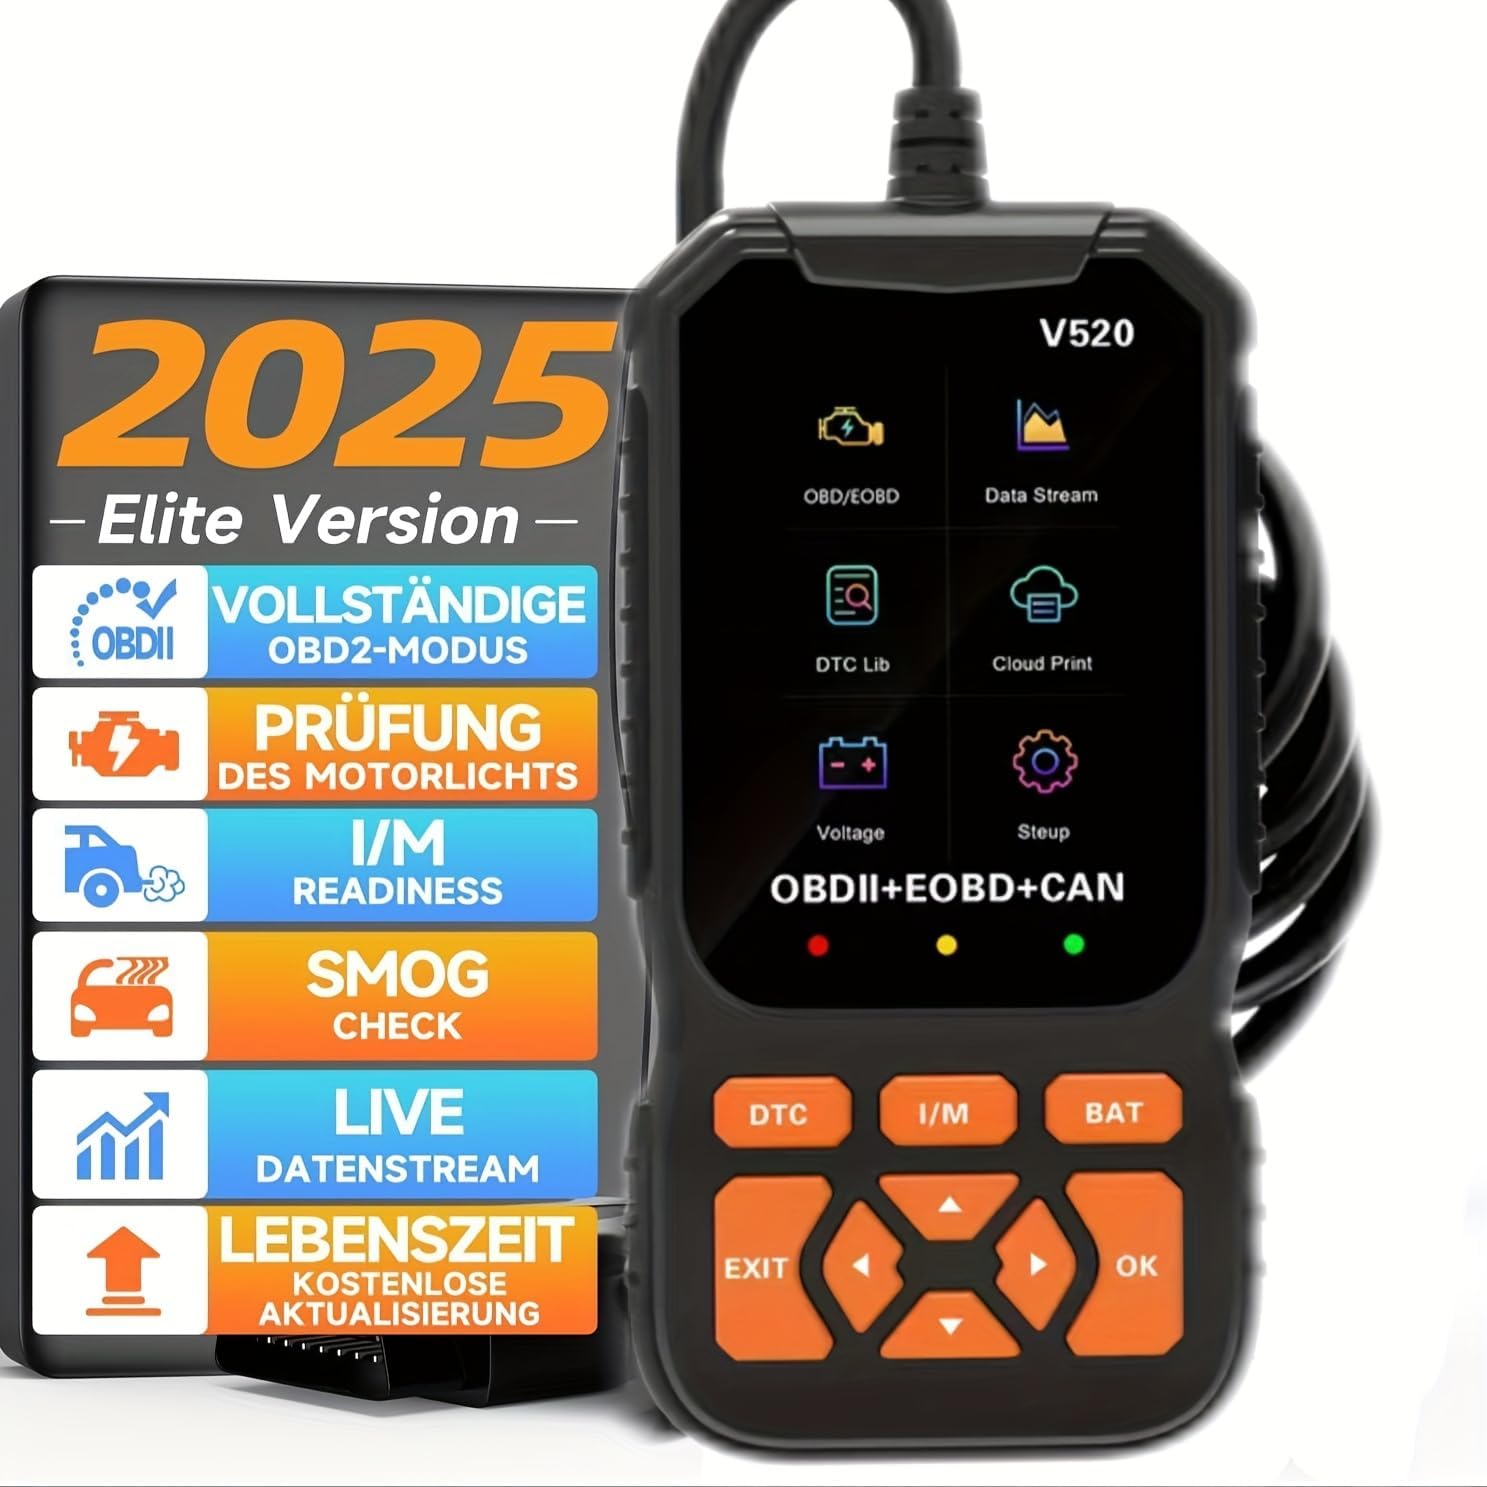
Image 1.1: The RODEDIO V520 OBD2 Scanner main unit, displaying its screen and control buttons.
2. Setup and First Use
The RODEDIO V520 OBD2 Scanner is designed for plug-and-play operation. Follow these steps to begin using your device:
- Locate the OBD-II Port: The OBD-II port is typically located under the dashboard on the driver's side of the vehicle. Refer to your vehicle's owner's manual if you cannot find it.
- Connect the Scanner: With the vehicle's ignition off, firmly plug the scanner's OBD-II connector into the vehicle's OBD-II port.
- Turn On Ignition: Turn the vehicle's ignition to the "ON" position (do not start the engine). The scanner will power on automatically.
- Select Language: Upon first use, you may be prompted to select your preferred language. Use the navigation buttons to select and confirm. The scanner supports 11 languages including English, German, French, Italian, and Spanish.

Image 2.1: Overview of the V520 scanner, highlighting the power cable, 2.8-inch color screen, I/M button, DTC shortcut keys, universal OBD connector, and navigation buttons.
3. Operating Instructions
The V520 scanner provides various diagnostic functions accessible through its intuitive menu system.
3.1. Reading and Clearing Diagnostic Trouble Codes (DTCs)
- From the main menu, select "OBD/EOBD" or press the "DTC" shortcut button.
- The scanner will establish communication with the vehicle's ECU.
- Select "Read Codes" to display current, pending, and permanent DTCs.
- To clear codes, select "Erase Codes" from the menu. Confirm the action when prompted. Clearing codes will turn off the Check Engine Light (CEL).

Image 3.1: The V520 scanner in use, demonstrating the process of reading and clearing engine error codes, with a visual representation of the dashboard indicator before and after clearing.

Image 3.2: A visual comparison of the engine failure light status on a vehicle's dashboard before and after using the V520 scanner to clear fault codes.
3.2. Live Data Stream
This function allows you to view real-time operational parameters of the vehicle's engine. This data can help in diagnosing intermittent problems or verifying repairs.
- From the "OBD/EOBD" menu, select "Data Stream".
- Choose the parameters you wish to monitor.
- The scanner will display the data in numerical or graphical format.
3.3. I/M Readiness
The I/M Readiness function checks the status of the vehicle's emission-related monitoring systems to determine if they are ready for an emissions test.
- From the main menu, select "I/M Readiness" or press the "I/M" shortcut button.
- The scanner will display the status of various monitors (e.g., O2 Sensor Monitor, Catalyst Monitor). "OK" or "Complete" indicates the monitor has run and passed. "INC" or "Incomplete" means the monitor has not yet run its diagnostic cycle.

Image 3.3: The V520 scanner's user-friendly interface with green, yellow, and red visual indicators for I/M readiness status: green for "Passing in good", yellow for "Code pending needs erase", and red for "Need repair in trouble".
3.4. Oxygen Sensor Test
This function allows retrieval and viewing of O2 sensor monitor test results for the most recently completed tests from the vehicle's on-board computer.
3.5. Battery Test
The V520 can perform a battery voltage test to assess the vehicle's battery condition.
- From the main menu, select "Battery Test" or press the "BAT" shortcut button.
- The scanner will display the current battery voltage.
3.6. Mode 6 & Mode 8
The scanner supports advanced diagnostic modes:
- Mode 6 (On-Board Monitoring Test Results): Accesses the results for on-board diagnostic monitoring tests of specific components/systems that are not continuously monitored.
- Mode 8 (Component/System Control): Allows the scan tool to control the operation of an on-board test, component, or system.
3.7. DTC Library Lookup
The V520 has a built-in library of over 35,901 DTCs, providing detailed definitions for fault codes.
- From the main menu, select "DTC Lib" or use the "DTC" shortcut button and navigate to the DTC lookup option.
- Enter the DTC code manually or select a code from the "Read Codes" list to view its definition.
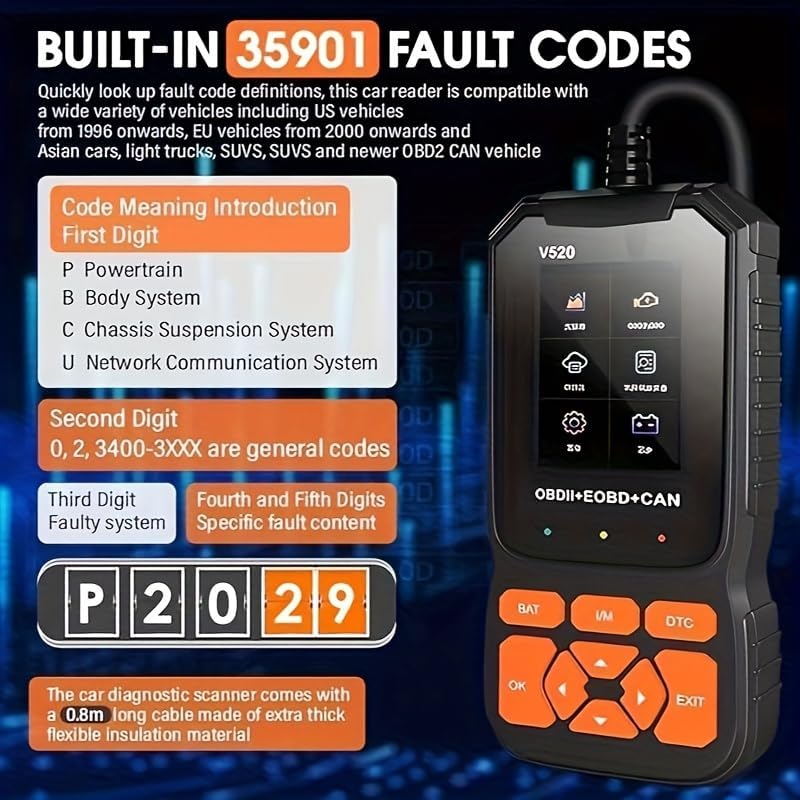
Image 3.4: The V520 scanner displaying the "Code Meaning Introduction" for fault codes, explaining the structure of DTCs (e.g., P for Powertrain, B for Body System, C for Chassis Suspension System, U for Network Communication System).
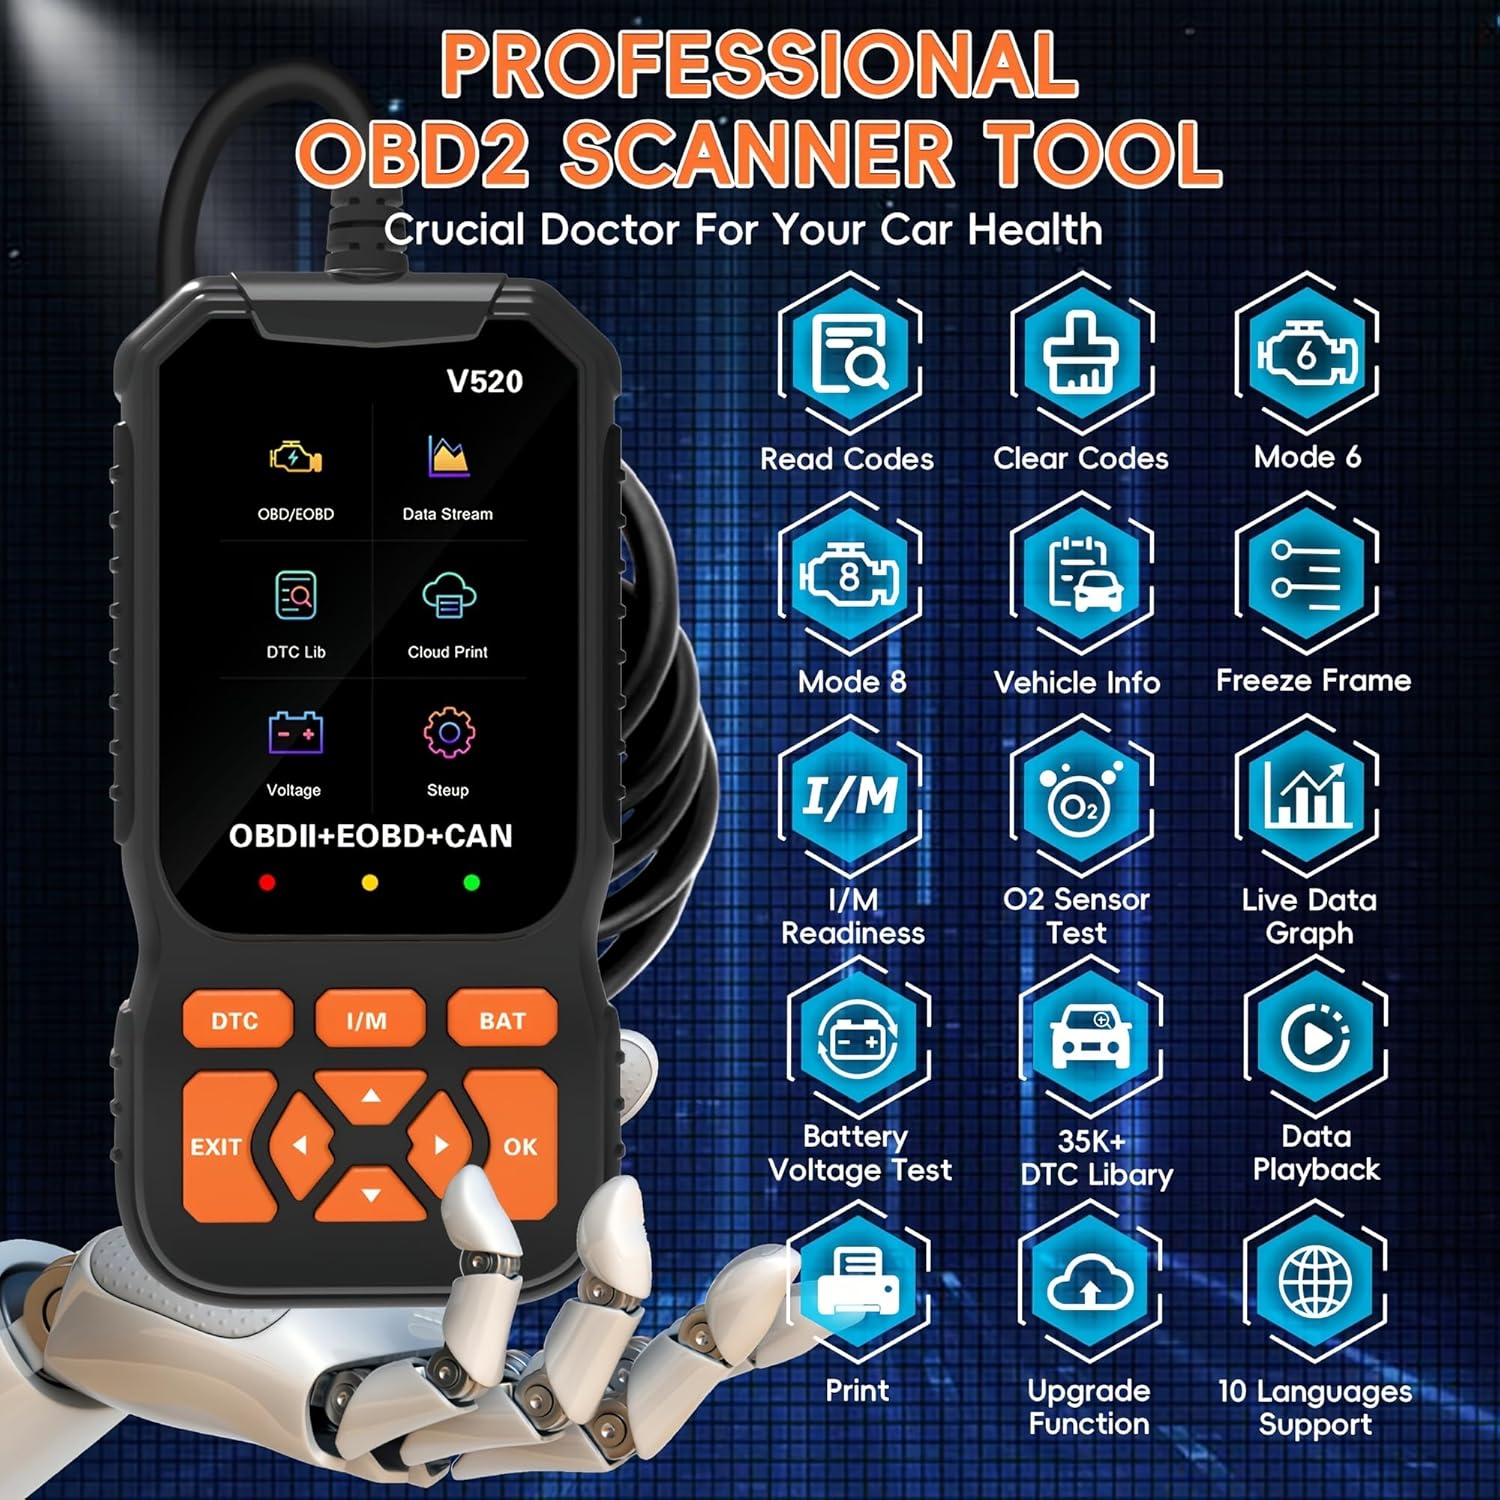
Image 3.5: A visual representation of the RODEDIO V520's extensive capabilities, including Read Codes, Clear Codes, Mode 6, Mode 8, Vehicle Info, Freeze Frame, I/M Readiness, O2 Sensor Test, Live Data Graph, Battery Voltage Test, 35K+ DTC Library, Data Playback, Print function, Upgrade Function, and 10 Languages Support.
4. Maintenance
To ensure the longevity and optimal performance of your RODEDIO V520 OBD2 Scanner, follow these maintenance guidelines:
- Cleaning: Use a soft, dry cloth to clean the scanner's screen and body. Avoid using abrasive cleaners or solvents.
- Storage: Store the scanner in a cool, dry place, away from direct sunlight and extreme temperatures.
- Cable Care: Do not pull the cable forcefully when disconnecting from the vehicle. Always grasp the connector itself. Avoid bending or kinking the cable excessively.
- Software Updates: Periodically check the manufacturer's website for available software updates to ensure your scanner has the latest vehicle compatibility and features.
5. Troubleshooting
If you encounter issues while using your RODEDIO V520 OBD2 Scanner, consider the following common solutions:
- Scanner Does Not Power On:
- Ensure the OBD-II connector is firmly plugged into the vehicle's port.
- Verify the vehicle's ignition is in the "ON" position (engine off).
- Check the vehicle's fuse for the OBD-II port (usually labeled "Cigar Lighter" or "Accessory").
- Communication Error:
- Confirm the vehicle is OBD-II compliant (most vehicles 1996 and newer).
- Ensure the ignition is on and the engine is off.
- Try connecting to a different OBD-II compliant vehicle to rule out scanner malfunction.
- Check for any loose connections or damaged cables.
- Incorrect Data Display:
- Ensure the correct vehicle protocol is automatically detected.
- Perform a software update if available.
For persistent issues, refer to the manufacturer's support resources or contact customer service.

Image 5.1: The V520 scanner's interface showing the "Erase Codes" prompt, illustrating the ease of clearing trouble codes after diagnosis.
6. Specifications
| Feature | Detail |
|---|---|
| Model | V520 |
| Brand | RODEDIO |
| Display | 2.8-inch Color Screen |
| OBD-II Compatibility | All OBDII/EOBD compliant vehicles (1996 & newer) |
| Supported Protocols | OBDII, EOBD, CAN |
| DTC Library | Built-in 35,901+ codes |
| Operating System | Windows XP (for software updates/PC connection) |
| Product Dimensions | 3.4"L x 1.5"W x 6.5"H (approx. 85mm x 38mm x 165mm) |
| Cable Length | 0.8m (integrated) |
| Power Source | Vehicle OBD-II port |
| Languages Supported | 11 (including English, German, French, Italian, Spanish) |
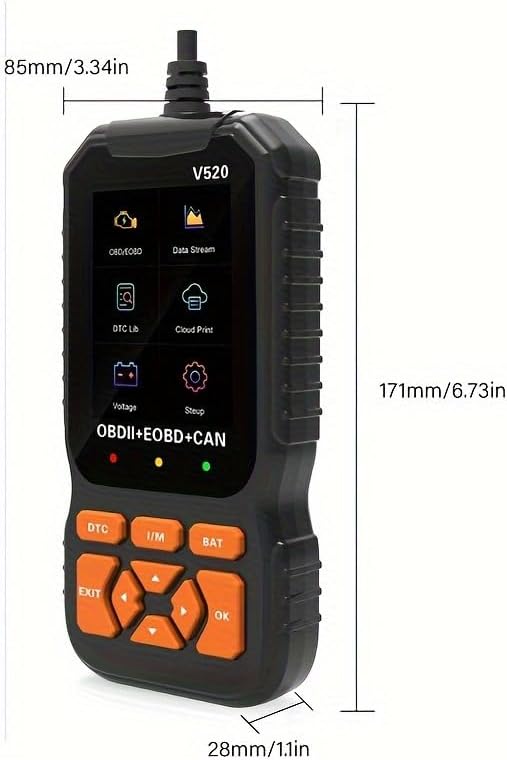
Image 6.1: Detailed dimensions of the RODEDIO V520 OBD2 Scanner, showing its compact and ergonomic design.
7. Warranty and Support
For information regarding the product warranty, please refer to the documentation included with your purchase or contact the seller directly. RODEDIO is committed to providing reliable diagnostic solutions.
For technical support, software updates, or any inquiries, please visit the official RODEDIO website or contact their customer service department. Contact details are typically available on the product packaging or the manufacturer's website.


