1. Introduction
This manual provides essential information for the safe and effective operation of your ACMER S1-3.5W Laser Engraver. This device is designed for high-precision engraving and cutting on a variety of materials, including wood, bamboo, leather, plastic, PCB, aluminum oxide, ceramics, and glass. Please read these instructions thoroughly before use to ensure optimal performance and safety.
2. Safety Information
The ACMER S1-3.5W Laser Engraver is a Class 4 laser product. Adherence to safety precautions is critical to prevent injury.
- Eye Protection: Always wear the provided safety glasses when operating the laser engraver. Direct exposure to the laser beam can cause severe eye damage.
- Ventilation: Operate the device in a well-ventilated area to dissipate fumes and smoke produced during engraving and cutting.
- Material Safety: Ensure materials are suitable for laser processing. Some materials may produce toxic fumes or catch fire.
- Supervision: Never leave the machine unattended during operation.
- Children and Pets: Keep children and pets away from the operating area.
- Emergency Stop: Familiarize yourself with the location and function of the emergency stop button.
3. Package Contents
Verify that all items are present in your package:
- ACMER S1-3.5W Laser Engraver Unit
- Power Adapter
- USB Cable
- Safety Glasses
- User Manual (this document)
- Sample Materials (e.g., wood pieces)
- Adjusting Tools
4. Setup
Follow these steps for initial setup:
- Unpacking: Carefully remove all components from the packaging.
- Laser Head Installation: The device arrives 99% preassembled. Install the laser head by following the quick guide. This typically takes less than one minute.
- Power Connection: Connect the power adapter to the engraver and a suitable power outlet.
- USB Connection: Connect the engraver to your computer using the provided USB cable.
- Software Installation: Install the recommended engraving software. The engraver is optimized for AcmerTool, a free, self-developed software. It also supports LightBurn and LaserGRBL. Refer to the software-specific instructions for installation on macOS, Windows, or Linux.
- Focus Adjustment: Adjust the laser height using the provided screws to achieve optimal focus for your material.
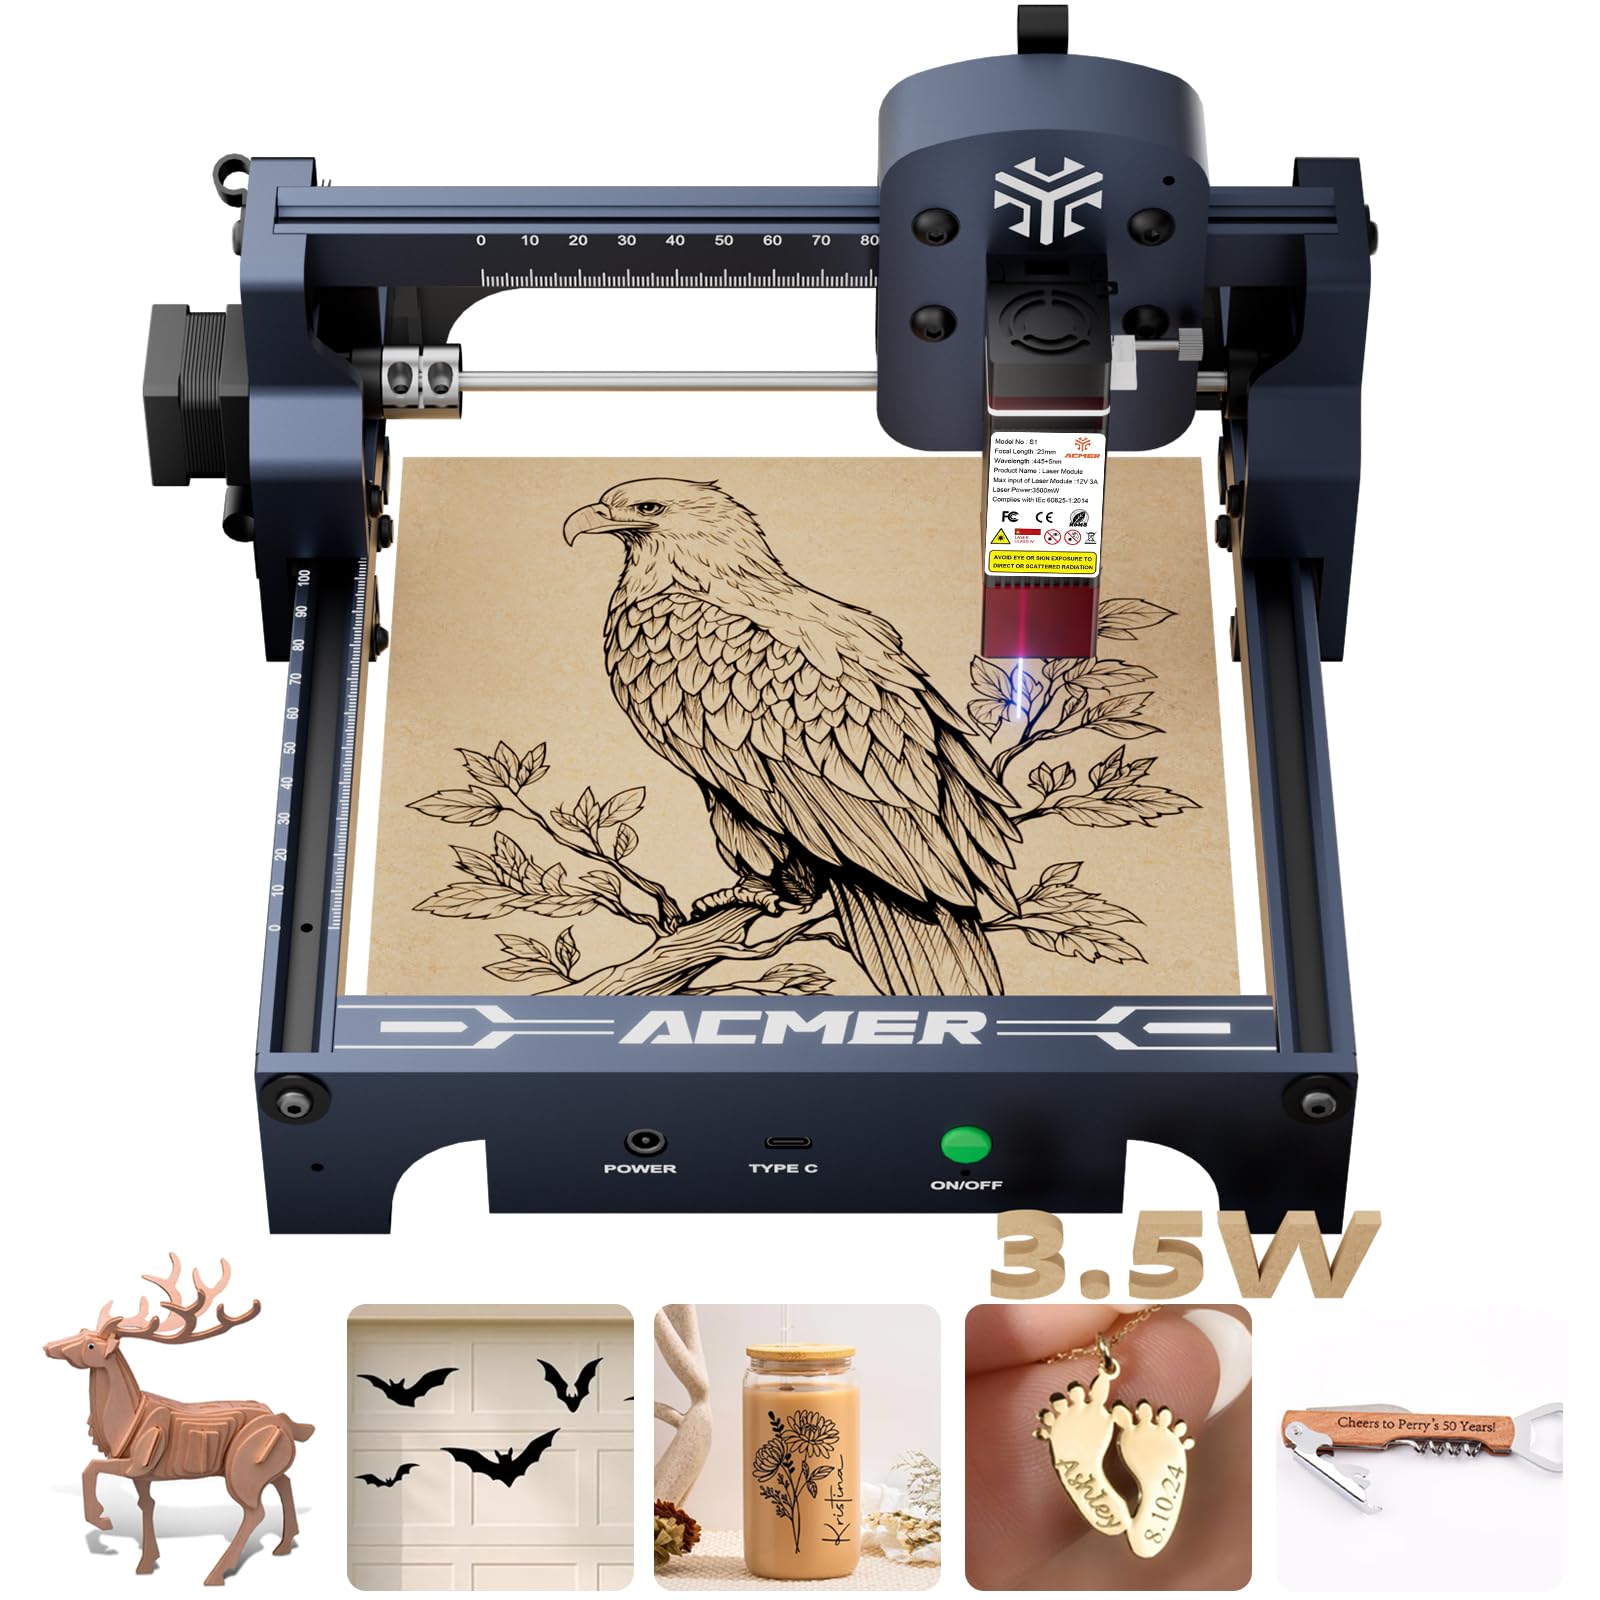
Figure 4.1: The ACMER S1-3.5W Laser Engraver unit.

Figure 4.2: Wide compatibility with various operating systems and software.
5. Operating
This section outlines the general operating procedure for your laser engraver.
- Prepare Material: Place the material to be engraved or cut within the 130x130mm working area. Ensure it is flat and securely positioned.
- Software Interface: Open your chosen engraving software (AcmerTool, LightBurn, or LaserGRBL).
- Load Design: Import your design file (NC, DXF, BMP, JPG, PNG formats are supported).
- Set Parameters: Adjust engraving or cutting parameters such as speed (up to 10,000mm/min for engraving) and power according to the material and desired effect. The device offers 0.01mm repeatable positioning accuracy for detailed work.
- Preview and Position: Use the software's preview function to confirm the design's position on the material.
- Start Operation: Initiate the engraving or cutting process from the software. Always wear safety glasses during operation.
- Monitor Progress: Observe the process to ensure proper function and material response.
Video 5.1: Demonstration of making skull earrings with the ACMER Laser Engraver. This video illustrates the cutting capabilities of the machine on wood.
Video 5.2: Example of laser-cut items created with the ACMER engraver, showcasing precision.
Video 5.3: Tutorial on how to make a magic card box using the ACMER Laser Engraver, demonstrating intricate cutting.

Figure 5.1: Illustration of 0.01mm precision engraving.

Figure 5.2: Speed comparison highlighting the 10,000mm/min engraving speed.
6. Maintenance
Regular maintenance ensures the longevity and performance of your engraver.
- Clean Laser Lens: After each use, clean the laser lens to maintain optimal beam quality and prevent residue buildup.
- General Cleaning: Periodically clean the machine's frame and rails to remove dust and debris.
- Storage: Store the engraver in a dry, dust-free environment when not in use.
7. Troubleshooting
Refer to this section for solutions to common issues.
| Problem | Possible Cause | Solution |
|---|---|---|
| Machine not connecting to software | Incorrect USB connection, driver issues, software settings. | Check USB cable, reinstall drivers, verify software port settings. |
| Poor engraving quality | Incorrect focus, wrong power/speed settings, dirty lens, unsuitable material. | Adjust laser focus, optimize power/speed, clean lens, use recommended materials. |
| Laser not firing | Power issue, software command error, laser module malfunction. | Check power connections, restart software, contact customer support if persistent. |
8. Specifications
Key technical specifications for the ACMER S1-3.5W Laser Engraver:
- Model: S1-3.5W
- Laser Power: 3500mW Diode Laser
- Machine Output: 36W
- Wavelength: 455±5nm
- Focal Length: 2mm
- Engraving Speed: Up to 10,000mm/min
- Repeatable Positioning Accuracy: 0.01mm
- Working Area: 130x130mm
- Product Dimensions: 9.84 x 9.84 x 6.38 inches
- Item Weight: 4.11 pounds
- Compatibility: macOS, Windows, Linux
- Supported File Formats: NC, DXF, BMP, JPG, PNG
- Laser Class: Class 4
- Compliance: IEC 60825-1
- Manufacturer: ACMER

Figure 8.1: One-pass laser cutting depth capabilities.
9. Warranty and Support
ACMER provides comprehensive support for your laser engraver.
- Warranty: The ACMER S1-3.5W Laser Engraver comes with a 12-month warranty from the date of purchase. Please retain your proof of purchase for warranty claims.
- Customer Support: 24/7 customer support is available for any technical assistance or inquiries.
- Contact: For support, please visit the official ACMER website or refer to the contact information provided in your product packaging.


