1. Introduction
This manual provides detailed instructions for the installation, operation, and maintenance of your new Rimoody 4+128G Android Car Stereo. This unit is specifically designed for Mitsubishi Pajero 4 V80 V90 models manufactured between 2006 and 2014. Please read this manual thoroughly before using the product to ensure proper functionality and safety.
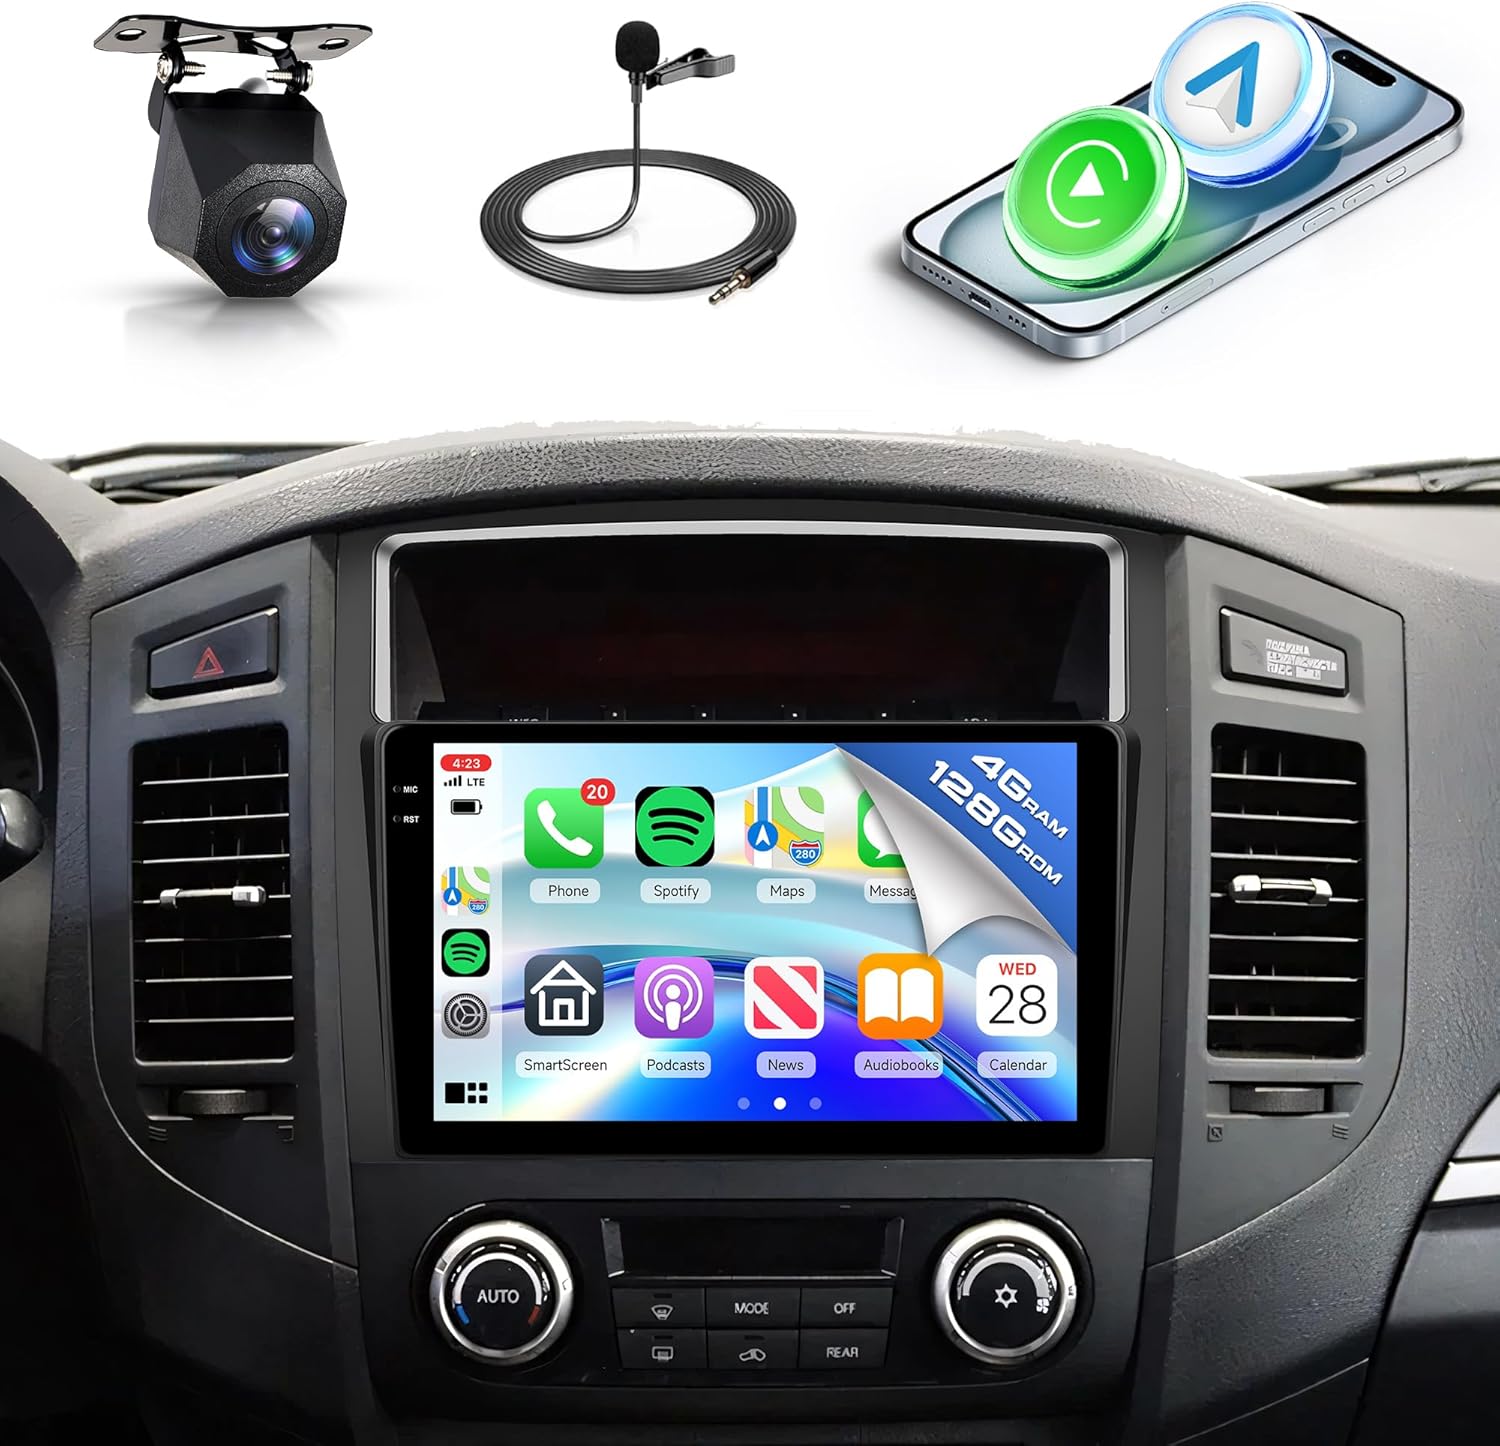
Figure 1: Rimoody Android Car Stereo with included accessories.
2. Package Contents
Verify that all items are present in the package:
- Car Stereo Unit
- GPS Antenna
- Radio Antenna
- Canbus Decoder
- RCA Cables
- USB Cables (2)
- Backup Camera
- External Microphone
- Installation Tool
- Power Cable
- Reverse Line Cable
- User Manual (this document)

Figure 2: Package contents and product dimensions.
3. Installation Guide
Professional installation is recommended. Ensure the vehicle's power is disconnected before beginning installation.
- Carefully remove the original car stereo unit from the dashboard.
- Connect the provided wiring harness to the car's existing wiring. Ensure all connections are secure.
- Connect the GPS antenna, radio antenna, USB cables, and external microphone to the new Android car stereo.
- If installing the backup camera, route the camera cable to the rear of the vehicle and connect it to the reverse line input on the stereo.
- Mount the new Android car stereo into the dashboard opening.
- Secure the unit and reassemble the dashboard trim.
- Reconnect the vehicle's power and test all functions.
Important Compatibility Note: Rockford Fosgate Systems
If your Mitsubishi Pajero is equipped with a 'Rockford Fosgate' sound system (indicated by branding on the car horn or original radio), this standard stereo unit may not be directly compatible. In such cases, a specialized power cord and protocol box are required. Please contact customer support for assistance in obtaining the correct components.

Figure 3: Identification of Rockford Fosgate audio system.
4. Operating Instructions
4.1. Wireless Carplay Connection
To connect your iPhone wirelessly via Carplay:
- Open the 'S-Play' application on the car stereo.
- On your iPhone, go to Settings > Bluetooth and ensure Bluetooth is enabled.
- Pair your iPhone with the car stereo's Bluetooth (named 'BLINK_UNW2652' or similar). Confirm the pairing request on both devices.
- Once paired, a prompt to connect to Carplay may appear on your iPhone. Confirm the connection.
- Carplay will launch on the car stereo display, allowing access to phone, music, maps, and other compatible applications.
Video 1: Demonstrates the process of connecting an iPhone to the car stereo for Wireless Carplay functionality, including Bluetooth pairing and accessing Carplay features like navigation and music playback.
4.2. Wireless Android Auto Connection
To connect your Android phone wirelessly via Android Auto:
- Open the 'S-Play' application on the car stereo.
- On your Android phone, go to Settings > Connected devices > Bluetooth and ensure Bluetooth is enabled.
- Pair your Android phone with the car stereo's Bluetooth (named 'BLINK_UNW2652' or similar). Confirm the pairing request on both devices.
- Once paired, Android Auto should automatically launch or prompt you to connect.
- Android Auto will display on the car stereo, providing access to navigation, communication, and media apps.
Video 2: Illustrates the steps for connecting an Android smartphone to the car stereo for Wireless Android Auto, including Bluetooth pairing and accessing the Android Auto interface.
4.3. Wireless Jlink (Mirror Link) Connection
To mirror your smartphone screen to the car stereo using Jlink:
- Open the 'Jlink' application on the car stereo.
- Connect the car stereo to your mobile phone's personal hotspot via Wi-Fi. Go to Settings > Wi-Fi on the stereo, find your phone's hotspot, and enter the password.
- For first-time connection, you may need to download the Jlink client app on your phone by scanning a QR code displayed on the stereo screen.
- On your mobile phone, open the Jlink app and initiate screen casting or mirroring.
- Your phone's screen will then be displayed on the car stereo, allowing you to view apps and media.
Video 3: Demonstrates how to establish a Wireless Jlink (Mirror Link) connection, including connecting to a mobile hotspot and casting the phone screen to the car stereo.
4.4. GPS Navigation
The unit features built-in GPS for navigation. You can use pre-installed offline maps or connect to Wi-Fi to use online navigation applications like Google Maps. Real-time traffic updates and voice guidance are available with online services.

Figure 4: GPS Navigation interface on the car stereo.
4.5. FM/RDS Radio & Bluetooth 5.0
Access high-quality FM radio with RDS (Radio Data System) for station information. Save your favorite stations for quick access. Bluetooth 5.0 enables hands-free calling, phonebook synchronization, and wireless audio streaming from your connected smartphone.

Figure 5: Bluetooth, FM/RDS Radio, and Equalizer interfaces.
4.6. AHD Backup Camera & Steering Wheel Control
The included AHD backup camera provides a clear view of the area behind your vehicle when reversing, aiding in safe parking and obstacle avoidance. The unit supports existing steering wheel controls, allowing you to manage audio, calls, and other functions without taking your hands off the wheel.

Figure 6: Backup Camera view and Steering Wheel Controls.
5. Maintenance
To ensure the longevity and optimal performance of your car stereo:
- Clean the screen regularly with a soft, lint-free cloth. Avoid abrasive cleaners.
- Keep the unit free from dust and debris.
- Avoid exposing the unit to extreme temperatures or direct sunlight for extended periods.
- Ensure all cables are securely connected and not pinched.
6. Troubleshooting
If you encounter issues, refer to the following common solutions:
- No Power: Check all power connections and the vehicle's fuse box.
- No Sound: Verify speaker connections, volume settings, and audio source selection.
- Bluetooth Connection Issues: Ensure Bluetooth is enabled on both devices and try re-pairing. Clear previous pairings if necessary.
- GPS Signal Loss: Ensure the GPS antenna is properly installed and has a clear view of the sky.
- Touchscreen Unresponsive: Try restarting the unit. If the issue persists, contact customer support.
- Carplay/Android Auto Not Connecting: Ensure the 'S-Play' app is open on the stereo and your phone's Bluetooth is connected. Check for any prompts on your phone.
7. Specifications
| Feature | Specification |
|---|---|
| Display Size | 9 Inches |
| RAM | 4GB |
| ROM | 128GB |
| Operating System | Android 15 |
| Connectivity Technology | Bluetooth 5.0, Wi-Fi |
| Special Features | Touchscreen, Wireless Carplay, Android Auto, Mirror Link, GPS Navigation, FM/RDS Radio, AHD Backup Camera Support, Steering Wheel Control Support |
| Compatible Devices | Smartphone |
| Output Wattage | 45 Watts |
| Item Weight | 3.72 pounds |
| Package Dimensions | 13.58 x 8.66 x 3.35 inches |
8. Warranty and Support
Rimoody offers a 30-day money-back guarantee, a 12-month replacement warranty, and lifetime technical support for this product. For any installation or usage inquiries, please contact our professional technical team. We aim to respond to all queries within 24 hours.
To access support, please refer to the seller information on your purchase platform or visit the official Rimoody website.

Figure 7: How to contact Rimoody Technical Support.


