
1. Introduction
This manual provides instructions for the ASHATA Business IP Phone, model ASHATA8pti045g3g. This device is designed for professional office environments, offering advanced communication features such as a 2.4-inch color LCD display, Power over Ethernet (PoE) support, noise cancellation technology, and compatibility with various headsets. Please read this manual thoroughly before operating the device to ensure proper use and optimal performance.
2. Package Contents
Verify that all items listed below are present in your product package. If any items are missing or damaged, please contact your vendor.
- ASHATA Business IP Phone Unit
- Handset
- Handset Cord
- Ethernet Cable
- Desk Stand

Figure 2.1: Complete Package Contents
3. Product Overview
The ASHATA Business IP Phone is designed for efficient communication in a professional setting. Key features include:
- 2.4-inch Color LCD Display: Provides clear visual information for calls, menus, and settings.
- Noise Cancellation Technology: Minimizes background noise during calls for enhanced clarity.
- Dual Service Line Support: Manages up to two SIP lines, suitable for small businesses.
- Power over Ethernet (PoE): Simplifies installation by delivering power and data through a single Ethernet cable.
- Versatile Headset Compatibility: Supports USB-A, RJ9, and EHS headsets for flexible communication options.
- Dual 1000M RJ45 Network Ports: For WAN (with PoE) and LAN connections.

Figure 3.1: Front View of the IP Phone
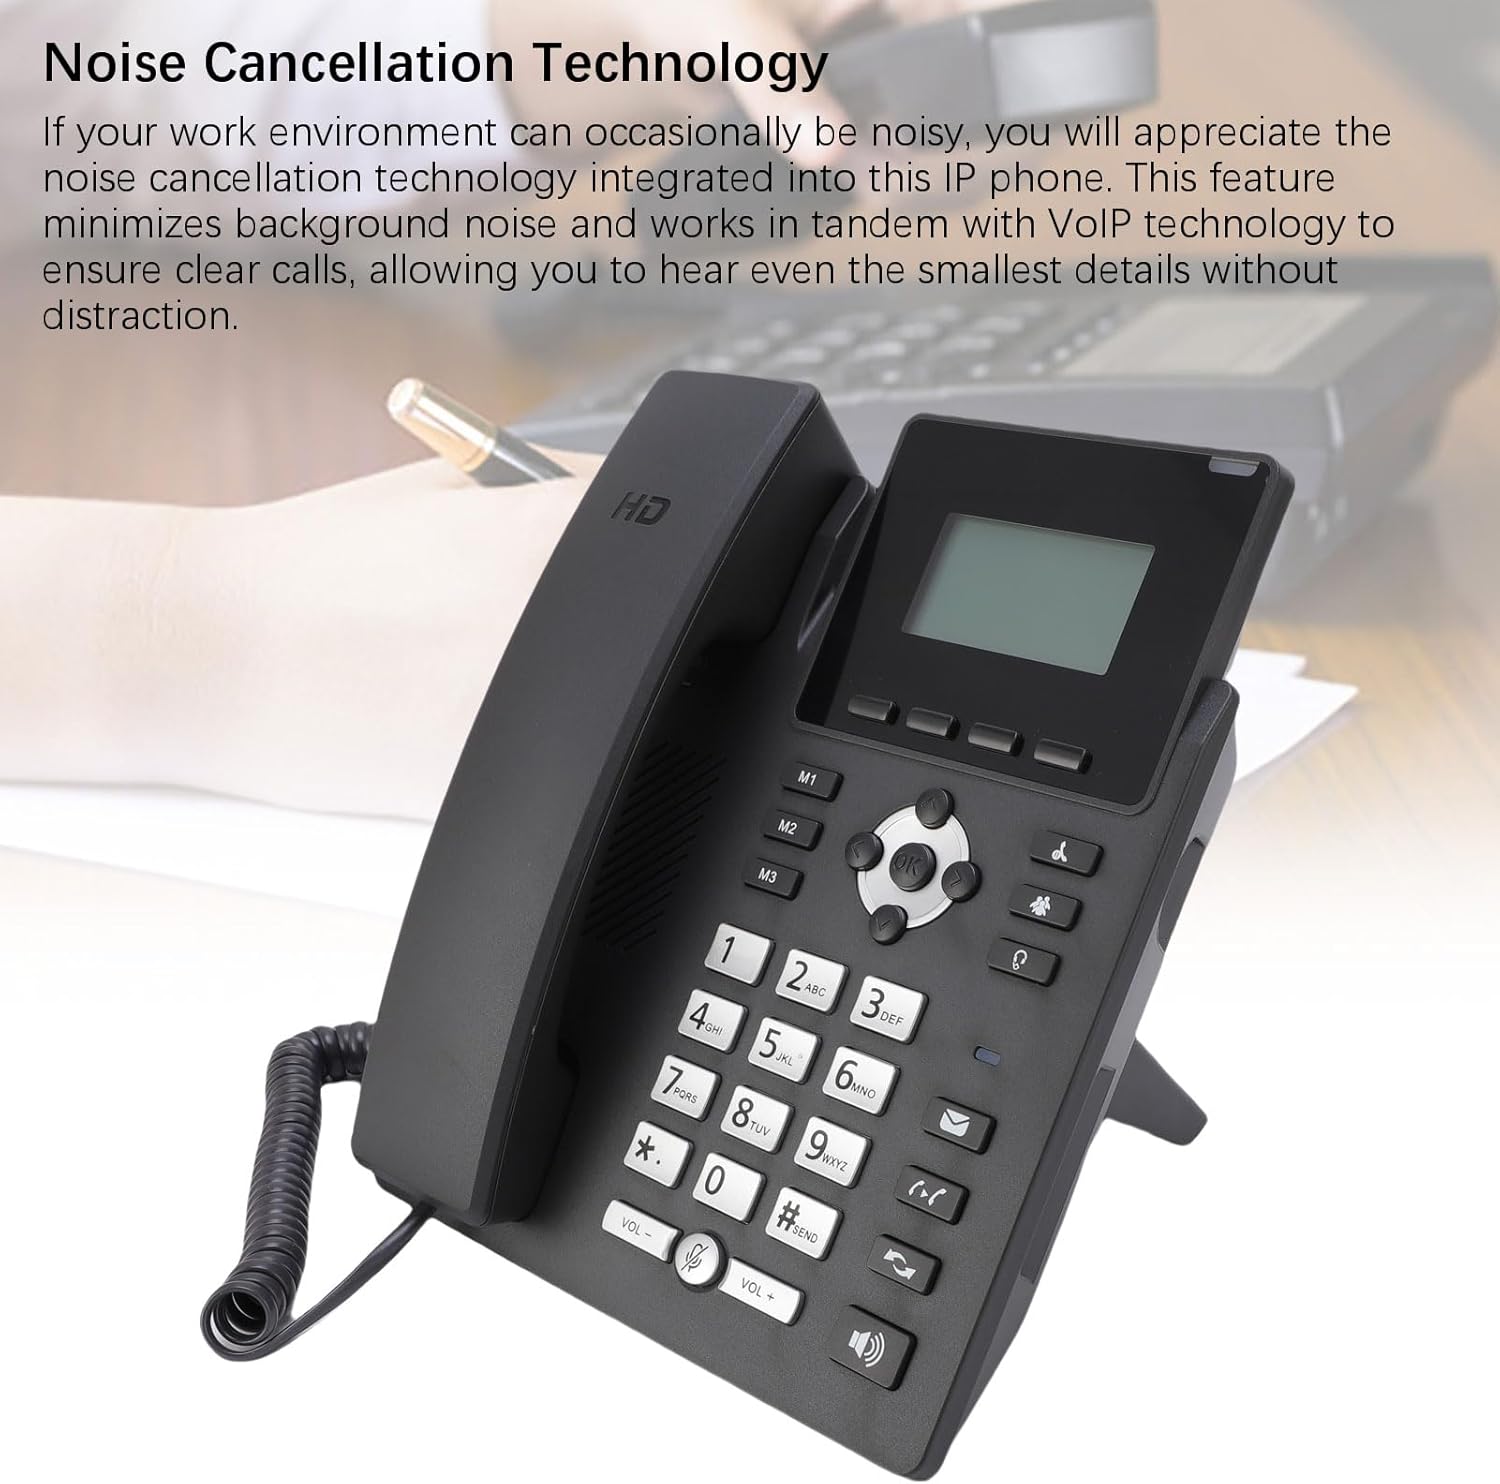
Figure 3.2: Noise Cancellation Feature
4. Setup
Follow these steps to set up your ASHATA Business IP Phone.
4.1 Assembling the Desk Stand
- Locate the desk stand and the main phone unit.
- Align the tabs on the stand with the corresponding slots on the back of the phone unit.
- Gently push the stand into place until it clicks securely.

Figure 4.1: Back Panel and Stand Attachment
4.2 Connecting the Handset
- Connect one end of the coiled handset cord to the handset.
- Connect the other end of the coiled handset cord to the handset port on the phone unit (typically marked with a handset icon).
4.3 Network and Power Connection (PoE)
The phone supports Power over Ethernet (PoE), allowing a single Ethernet cable to provide both network connectivity and power.
- Connect one end of the Ethernet cable to the WAN/PoE port on the back of the phone.
- Connect the other end of the Ethernet cable to a PoE-enabled network switch or router.
- If your network does not support PoE, you will need an external power adapter (not included) connected to the phone's power input, and the Ethernet cable connected to the WAN port.
4.4 Connecting a Headset (Optional)
The phone supports USB-A, RJ9, and EHS headsets.
- For RJ9 Headsets: Plug the RJ9 connector of your headset into the dedicated RJ9 headset port on the phone.
- For USB-A Headsets: Plug the USB-A connector of your headset into the USB-A port on the phone.
- For EHS Headsets: Connect the EHS adapter (if required by your headset model) to the EHS port, then connect your EHS-compatible headset.

Figure 4.2: Headset and Port Compatibility
5. Operating Instructions
This section covers basic operation of your ASHATA Business IP Phone.
5.1 Making a Call
- Pick up the handset, press the speakerphone button, or activate your headset.
- Dial the desired phone number using the keypad.
- Press the "Dial" or "Send" button (often represented by a green phone icon) to initiate the call.
5.2 Answering a Call
- When the phone rings, pick up the handset, press the speakerphone button, or press the "Answer" button (often a green phone icon).
5.3 Ending a Call
- Hang up the handset, press the speakerphone button again, or press the "End Call" button (often a red phone icon).
5.4 Using Multiple Lines
The phone supports two SIP lines. Use the dedicated line buttons (e.g., Line 1, Line 2) on the phone to switch between active calls or initiate a call on a specific line.

Figure 5.1: Two Service Line Support
5.5 Audio Conference
The phone supports 2-way audio conferencing. Consult your VoIP service provider's documentation for specific instructions on initiating and managing conference calls, as this often depends on the server-side configuration.
5.6 Volume Adjustment
Use the volume up (+) and volume down (-) buttons on the phone to adjust the call volume during an active call or the ringer volume when idle.
6. Maintenance
Proper maintenance ensures the longevity and optimal performance of your IP phone.
- Cleaning: Use a soft, dry, anti-static cloth to clean the phone's surface and display. Do not use liquid cleaners or aerosol sprays directly on the phone.
- Environment: Keep the phone away from direct sunlight, heat sources, and excessive moisture.
- Cables: Ensure all cables are securely connected and not pinched or damaged.
7. Troubleshooting
This section addresses common issues you might encounter with your ASHATA Business IP Phone.
7.1 No Power / Phone Does Not Turn On
- Check PoE Connection: Ensure the Ethernet cable is securely connected to the WAN/PoE port and to a PoE-enabled switch or injector. Verify the PoE source is active.
- External Power (if applicable): If not using PoE, ensure the external power adapter (if used) is correctly connected and plugged into a working power outlet.
- Cable Integrity: Inspect the Ethernet cable for any damage. Try a different cable if necessary.
7.2 No Dial Tone / Cannot Make or Receive Calls
- Network Connection: Verify the Ethernet cable is properly connected and the network is active. Check the network status indicator on the phone (if available).
- SIP Registration: Ensure the phone is successfully registered with your VoIP service provider. Check the phone's display for registration status or error messages. You may need to contact your IT administrator or service provider.
- Handset/Headset Connection: Ensure the handset cord or headset is securely plugged in.
7.3 Poor Call Quality (Echo, Static, Dropped Calls)
- Network Stability: Poor network connection or high network traffic can affect call quality. Ensure your internet connection is stable and has sufficient bandwidth.
- Noise Cancellation: Ensure the noise cancellation feature is active if you are in a noisy environment.
- Headset Issues: If using a headset, try using the handset to determine if the issue is headset-related.
- Firmware Update: Check if there are any firmware updates available for your phone, as these often include performance improvements.
8. Specifications
| Feature | Specification |
|---|---|
| Model Number | ASHATA8pti045g3g |
| Item Type | Business IP Phone |
| Material | ABS |
| Color | Black |
| Operating System | For Android 7.1 |
| Display | 2.4 inch 320x480 Color LCD |
| Power Supply | PoE (Power over Ethernet) |
| Network Interface | Dual 1000M RJ45 (1x WAN/PoE, 1x LAN) |
| SIP Lines | SIP 2.0 Standard, 2 Lines |
| Audio Conference | 2-way conference |
| Headset Interfaces | USB A, RJ9, EHS |
| Noise Cancellation | Integrated |
| Country of Origin | China |
9. Warranty and Support
Information regarding specific warranty terms and support contacts is not provided in this manual. For warranty details, technical support, or service inquiries, please refer to the documentation provided at the time of purchase or contact your vendor directly.
Spare parts availability and software update guarantees are not available according to product information.