1. Introduction
Thank you for choosing the Davivy 3.5LB Large Bread Maker. This appliance is designed to simplify the bread-making process, offering a variety of programmable functions to create fresh, homemade bread and other baked goods. Please read this manual thoroughly before first use to ensure safe and optimal operation of your bread maker. Keep this manual for future reference.
2. Important Safety Instructions
- Read all instructions before using the appliance.
- Do not touch hot surfaces. Use handles or knobs.
- To protect against electric shock, do not immerse cord, plugs, or appliance in water or other liquid.
- Close supervision is necessary when any appliance is used by or near children.
- Unplug from outlet when not in use and before cleaning. Allow to cool before putting on or taking off parts.
- Do not operate any appliance with a damaged cord or plug, or after the appliance malfunctions or has been damaged in any manner.
- The use of accessory attachments not recommended by the appliance manufacturer may cause injuries.
- Do not use outdoors.
- Do not let cord hang over edge of table or counter, or touch hot surfaces.
- Do not place on or near a hot gas or electric burner, or in a heated oven.
- Extreme caution must be used when moving an appliance containing hot oil or other hot liquids.
- To disconnect, turn any control to "off", then remove plug from wall outlet.
- Do not use appliance for other than intended use.
- This appliance has a grounded plug. Ensure the wall outlet is properly grounded.
3. Product Components
Familiarize yourself with the parts of your Davivy Bread Maker.

Image 3.1: Front view of the Davivy 3.5LB Large Bread Maker, showing the control panel, viewing window, and two kneading paddles.

Image 3.2: Illustration of the package contents: 1. Bread Machine, 2. Non-Stick Bread Pan, 3. Measuring Cup, 4. Kneading Paddles (two pairs), 5. Metal Hook, 6. Measuring Spoons, 7. User Manual.
List of Components:
- Main Unit: The bread maker housing with control panel and lid.
- Bread Pan: Removable non-stick pan for baking.
- Kneading Paddles: Two paddles for mixing and kneading dough. An extra set is included.
- Measuring Cup: For liquid ingredients.
- Measuring Spoons: For smaller quantities (Tsp & Tbsp).
- Metal Hook: For removing kneading paddles from the baked bread.
4. Initial Setup
- Unpacking: Carefully remove all packaging materials and accessories.
- Cleaning: Wipe the exterior of the bread maker with a damp cloth. Wash the bread pan, kneading paddles, measuring cup, and spoons with warm soapy water, then rinse and dry thoroughly.
- First Use Burn-in: Before baking, it is recommended to run the "Bake" program (Program 14) for 10 minutes without any ingredients. This helps to burn off any manufacturing residues and odors. Ensure good ventilation during this process.
- Placement: Place the bread maker on a stable, flat, heat-resistant surface, away from direct sunlight and heat sources. Ensure adequate ventilation around the appliance.
- Install Bread Pan: Insert the bread pan into the main unit and turn it clockwise until it clicks into place.
- Install Kneading Paddles: Attach the kneading paddles onto the shafts at the bottom of the bread pan. Ensure they are securely seated.
5. Operating Instructions
5.1 Basic Operation Steps
- Add Ingredients: Add ingredients to the bread pan in the order specified by your recipe (typically liquids first, then dry ingredients, with yeast last). Ensure the kneading paddles are in place.
- Close Lid: Close the lid securely.
- Plug In: Plug the power cord into a grounded electrical outlet. The bread maker will beep, and the display will show the default program.
- Select Program: Press the MENU button repeatedly to cycle through the 15 available programs until your desired program is selected.
- Select Loaf Size: Press the LOAF SIZE button to choose between 2.5LB, 3LB, or 3.5LB.
- Select Crust Color: Press the COLOR button to select Light, Medium, or Dark crust.
- Start Baking: Press the START/STOP button to begin the program. The indicator light will illuminate.
- End of Cycle: Once the program is complete, the bread maker will beep and automatically enter the 1-hour Keep Warm cycle. Press START/STOP for 3 seconds to cancel the Keep Warm function and turn off the machine.
- Remove Bread: Using oven mitts, carefully remove the bread pan by turning it counter-clockwise and lifting it out. Invert the pan onto a wire rack to release the bread. If the kneading paddles remain in the bread, use the metal hook to remove them.
- Cooling: Allow the bread to cool on a wire rack for at least 20 minutes before slicing.
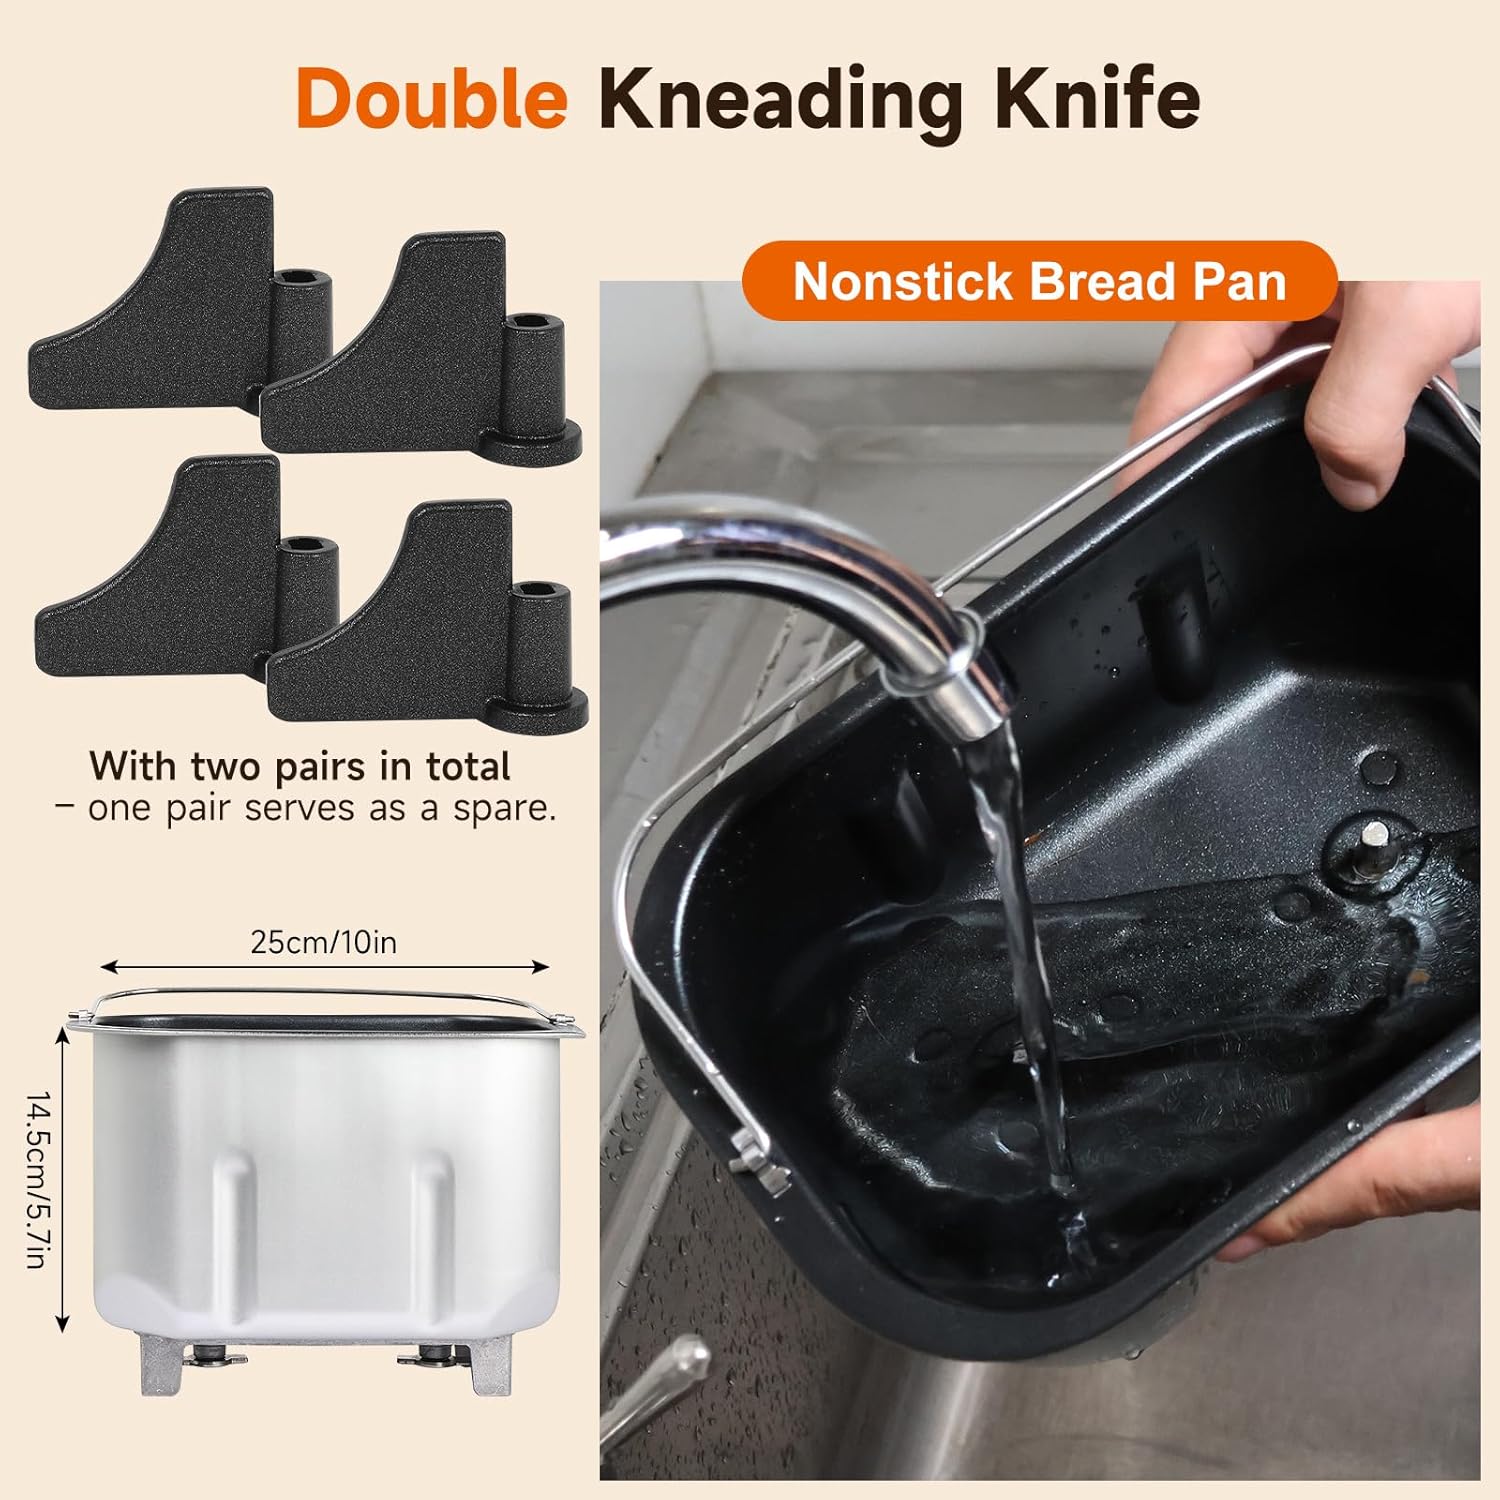
Image 5.1: Visual guide to the simple steps of making bread: adding ingredients, selecting settings, automatic processing, and finished bread.
5.2 Program Functions (15-in-1)
Your Davivy Bread Maker offers 15 versatile programs:
- 1. Basic: For white and mixed breads, mainly consisting of basic bread flour.
- 2. French: For light breads made from fine flour. Typically has a crispier crust and lighter texture.
- 3. Whole Wheat: For breads with a high percentage of whole wheat flour.
- 4. Sweet: For breads with high sugar, fats, and proteins.
- 5. Butter Milk: For breads using buttermilk or milk powder.
- 6. Gluten-Free: For gluten-free recipes.
- 7. Super Rapid: For quick bread making, suitable for smaller loaves.
- 8. Cake: For mixing and baking cakes.
- 9. Knead: For kneading dough without baking.
- 10. Dough: For preparing dough for rolls, pizza, or other baked goods that will be baked in a conventional oven.
- 11. Pasta Dough: For kneading pasta dough.
- 12. Yogurt: For making homemade yogurt.
- 13. Jam: For making homemade jams and marmalades.
- 14. Bake: For baking pre-made dough or for additional baking time.
- 15. Homemade: Customizable program for personal recipes.

Image 5.2: Close-up of the control panel displaying the 15 program options and buttons for adjusting loaf size and crust color.

Image 5.3: Visual representation of the three crust color options (Light, Medium, Dark) and three loaf sizes (2.5LB, 3LB, 3.5LB) that can be selected.
5.3 Special Features
- 15-Hour Delay Timer: Allows you to set a delayed start time for your bread. For example, prepare ingredients in the evening and wake up to fresh bread in the morning. Use the TIMER +/- buttons to adjust the delay time. The displayed time indicates the total time until the bread is finished.
- 1-Hour Keep Warm Function: After the baking cycle is complete, the bread maker automatically enters a 1-hour Keep Warm phase to maintain the bread's temperature.
- Add Nut Signal: For programs that allow adding fruits, nuts, or other extras, the bread maker will emit a series of beeps at the appropriate time during the kneading cycle. This signals when to open the lid and add your desired ingredients.
- 10-Minute Power-Off Protection: In case of a brief power outage (less than 10 minutes), the bread maker will resume operation from where it left off once power is restored.
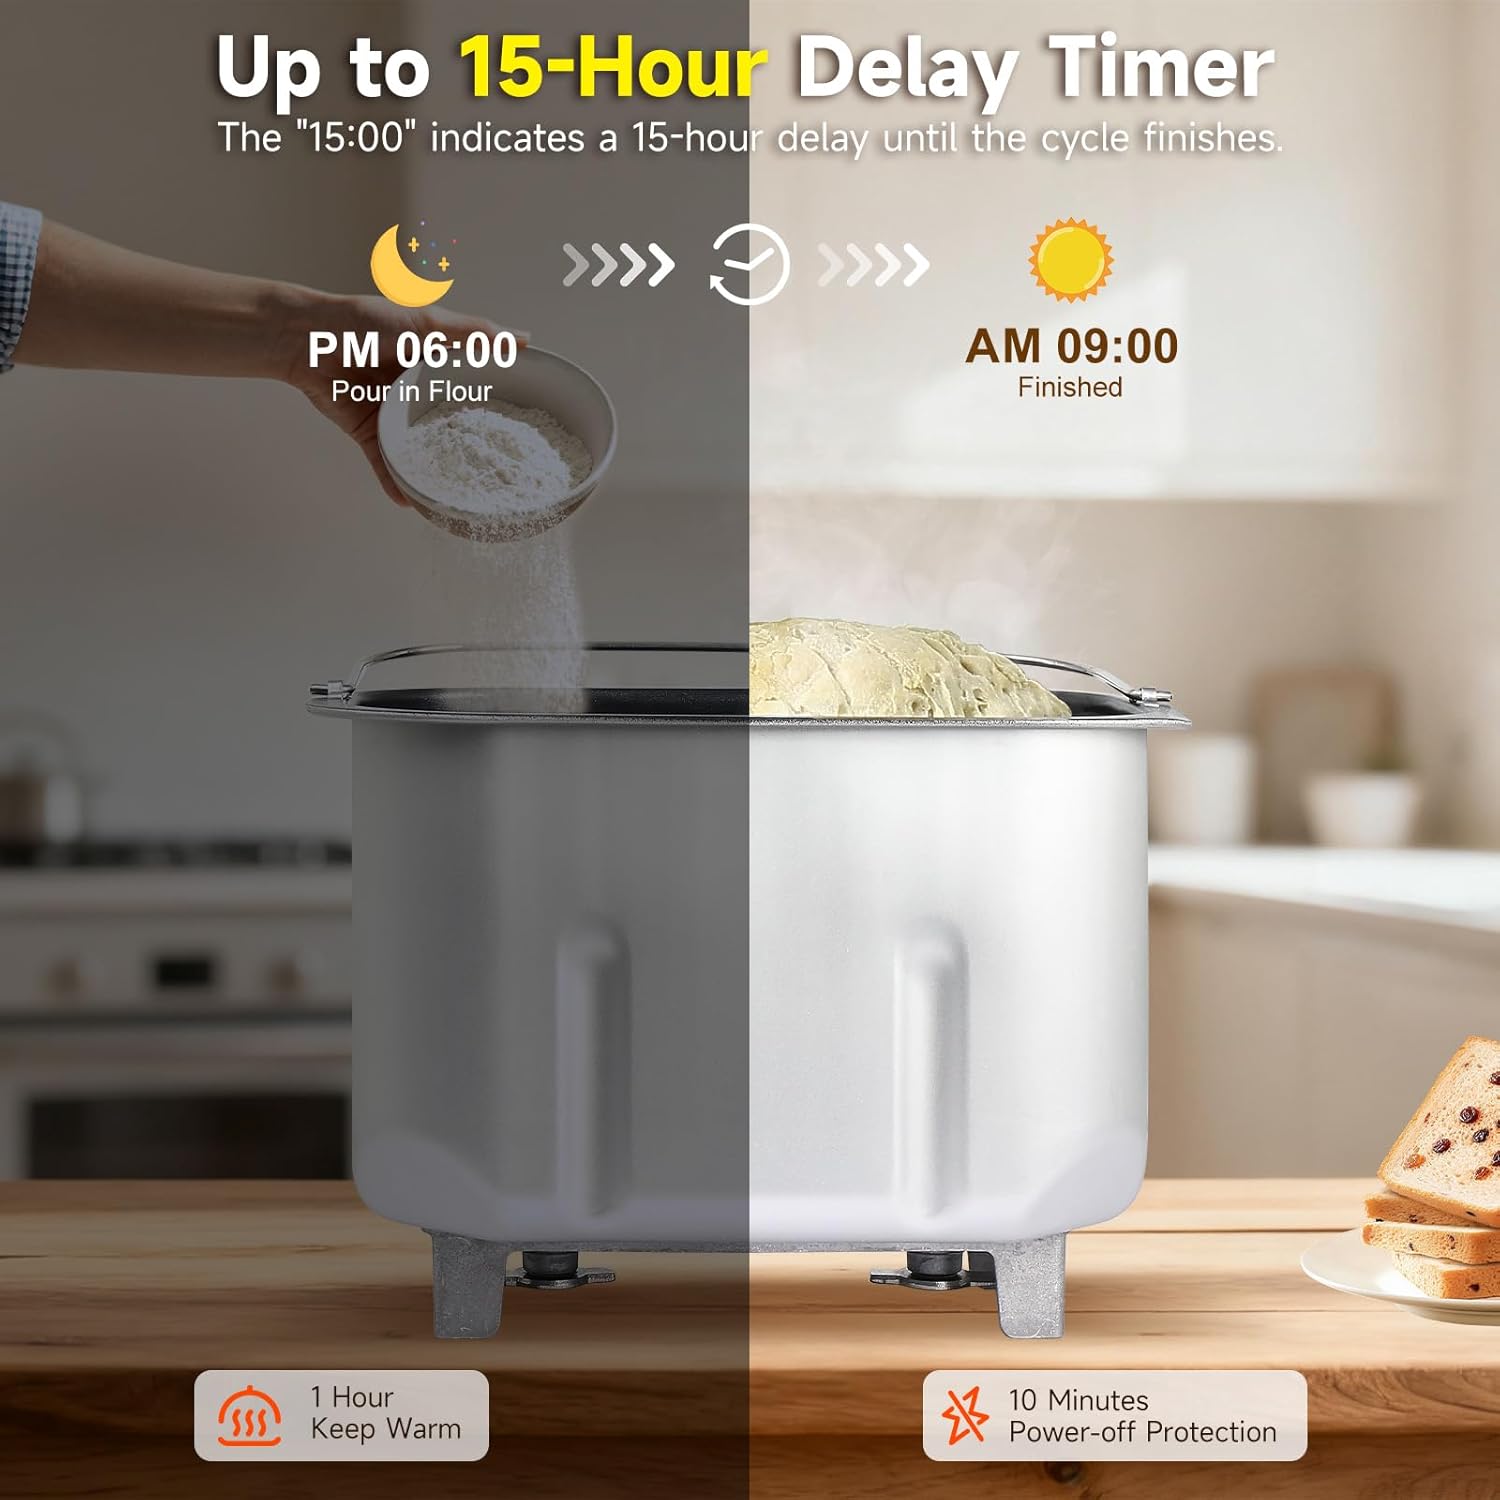
Image 5.4: Example of the 15-hour delay timer in action, demonstrating how to set it for overnight baking.
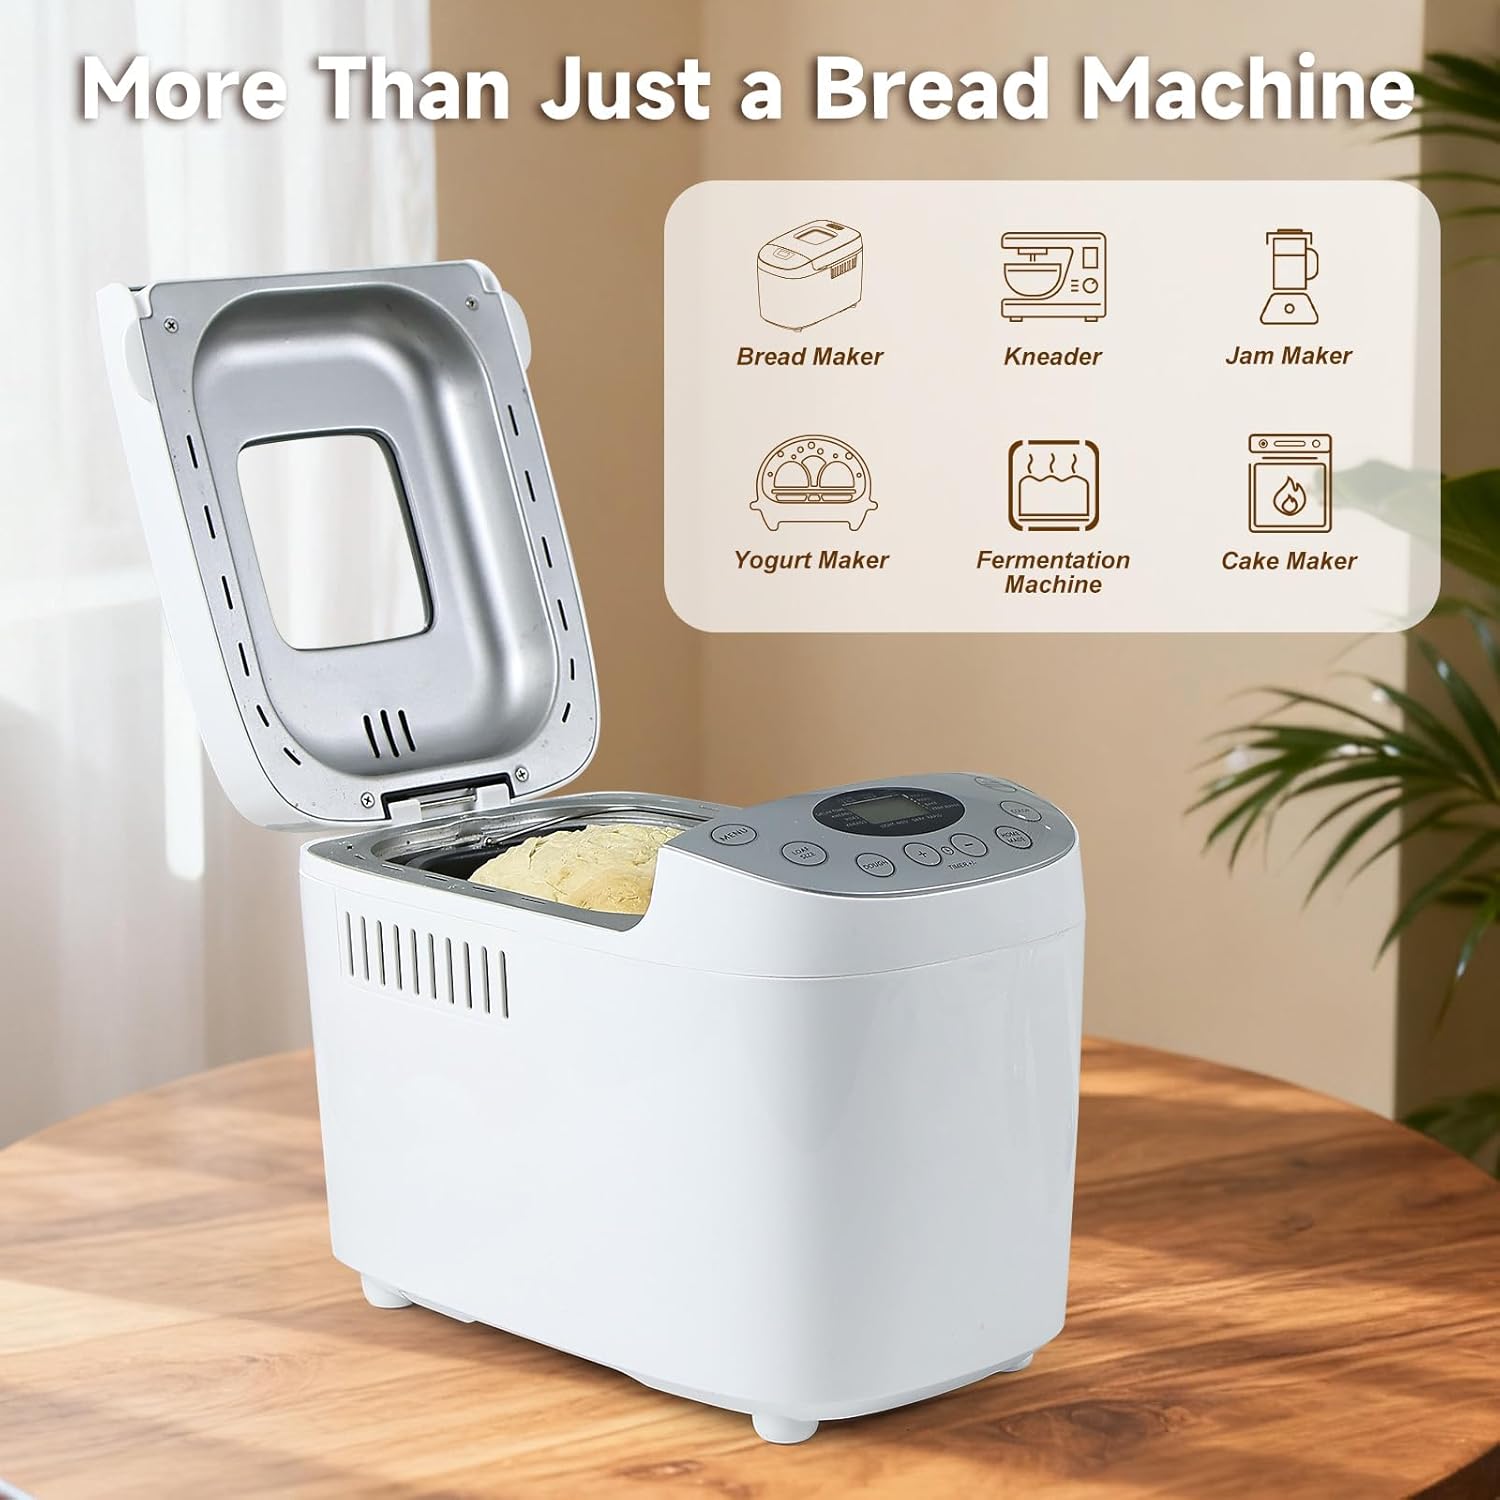
Image 5.5: The display indicating the "ADD" signal, prompting the user to add additional ingredients like fruits or nuts.
6. Care and Maintenance
6.1 Cleaning
- Before Cleaning: Always unplug the appliance and allow it to cool completely before cleaning.
- Bread Pan and Kneading Paddles: Remove the bread pan and kneading paddles. Wash them with warm soapy water using a soft sponge. Do not use abrasive cleaners or metal scouring pads, as this can damage the non-stick coating. Rinse thoroughly and dry completely.
- Exterior: Wipe the exterior of the bread maker with a soft, damp cloth. Do not immerse the main unit in water or any other liquid.
- Lid and Viewing Window: Clean the lid and viewing window with a damp cloth. For stubborn stains, use a mild detergent.
- Interior: Remove any crumbs or flour residue from the interior of the baking chamber with a soft brush or damp cloth.

Image 6.1: Demonstrating the cleaning of the non-stick bread pan under running water.
6.2 Storage
Ensure the bread maker is clean and dry before storing. Store it in a cool, dry place, preferably in its original packaging or a protective cover, away from direct sunlight and moisture.
7. Troubleshooting Guide
| Problem | Possible Cause | Solution |
|---|---|---|
| Bread does not rise. |
|
|
| Bread is too dense. |
|
|
| Bread collapses in the middle. |
|
|
| Kneading paddles stuck in bread. | Normal occurrence. | Use the provided metal hook to carefully remove the paddles after the bread has cooled slightly. |
| Machine does not start. |
|
|
8. Product Specifications
- Brand: Davivy
- Model: 3.5LB Large Bread Maker
- Capacity: 2.5LB, 3LB, 3.5LB (1.1kg, 1.35kg, 1.6kg)
- Power/Wattage: 850 watts
- Voltage: 120V
- Color: Silver
- Product Dimensions: 41D x 24W x 29H cm (16.1D x 9.4W x 11.4H inches)
- Item Weight: 7.5 kg (16.5 lbs)
- Programs: 15 Preset Functions
- Delay Timer: Up to 15 hours
- Keep Warm Function: 1 hour
- Power-Off Protection: 10 minutes
- Kneading Paddles: Double, with spare set included
- Nonstick Pan: Yes
- Crust Colors: Light, Medium, Dark
9. Warranty and Support
The Davivy 3.5LB Large Bread Maker is backed by a 1-year warranty from the date of purchase. This warranty covers manufacturing defects and malfunctions under normal household use.
The warranty does not cover:
- Damage caused by misuse, abuse, accident, or alteration.
- Damage from unauthorized service or repair.
- Normal wear and tear, including cosmetic damage.
For warranty claims, technical support, or any questions regarding your Davivy Bread Maker, please contact Davivy customer service. Please have your purchase receipt and product model information ready.
Contact Information: Refer to the contact details provided with your product packaging or visit the official Davivy website for the most up-to-date support information.


