
1. Introduction
Thank you for purchasing the Surge Wireless Pro Controller. This controller is designed for multi-platform compatibility, offering an enhanced gaming experience across various devices. Please read this manual carefully before use to ensure proper operation and to maximize your gaming enjoyment.
Key Features:
- Multi-Platform Compatibility: Nintendo Switch/Switch 2 (Note: No C Button/Audio Port support for Switch 2), Windows PC, Steam Deck, Android, and iOS devices.
- Hall Effect Thumb Sticks & Triggers: Provides precise control and reduces the likelihood of stick drift.
- Turbo Functionality: Offers three adjustable turbo levels for rapid-fire control.
- Vibration Feedback: Four adjustable vibration levels for customizable haptic feedback.
- Motion Controls: Supports motion sensing in compatible games.
- Console Wake Up: Ability to wake the Nintendo Switch console from sleep mode (Nintendo Switch only).
- Rechargeable Battery: Built-in 600mAh Li-polymer battery provides up to 10 hours of play.
- USB-C Charging: Includes a 1-meter USB-C charging cable.
2. Package Contents
- 1 x Surge Wireless Pro Controller
- 1 x USB-C Charging Cable (1 meter)
- 1 x Instruction Manual
3. Controller Layout
Familiarize yourself with the buttons and features of your Surge Wireless Pro Controller.
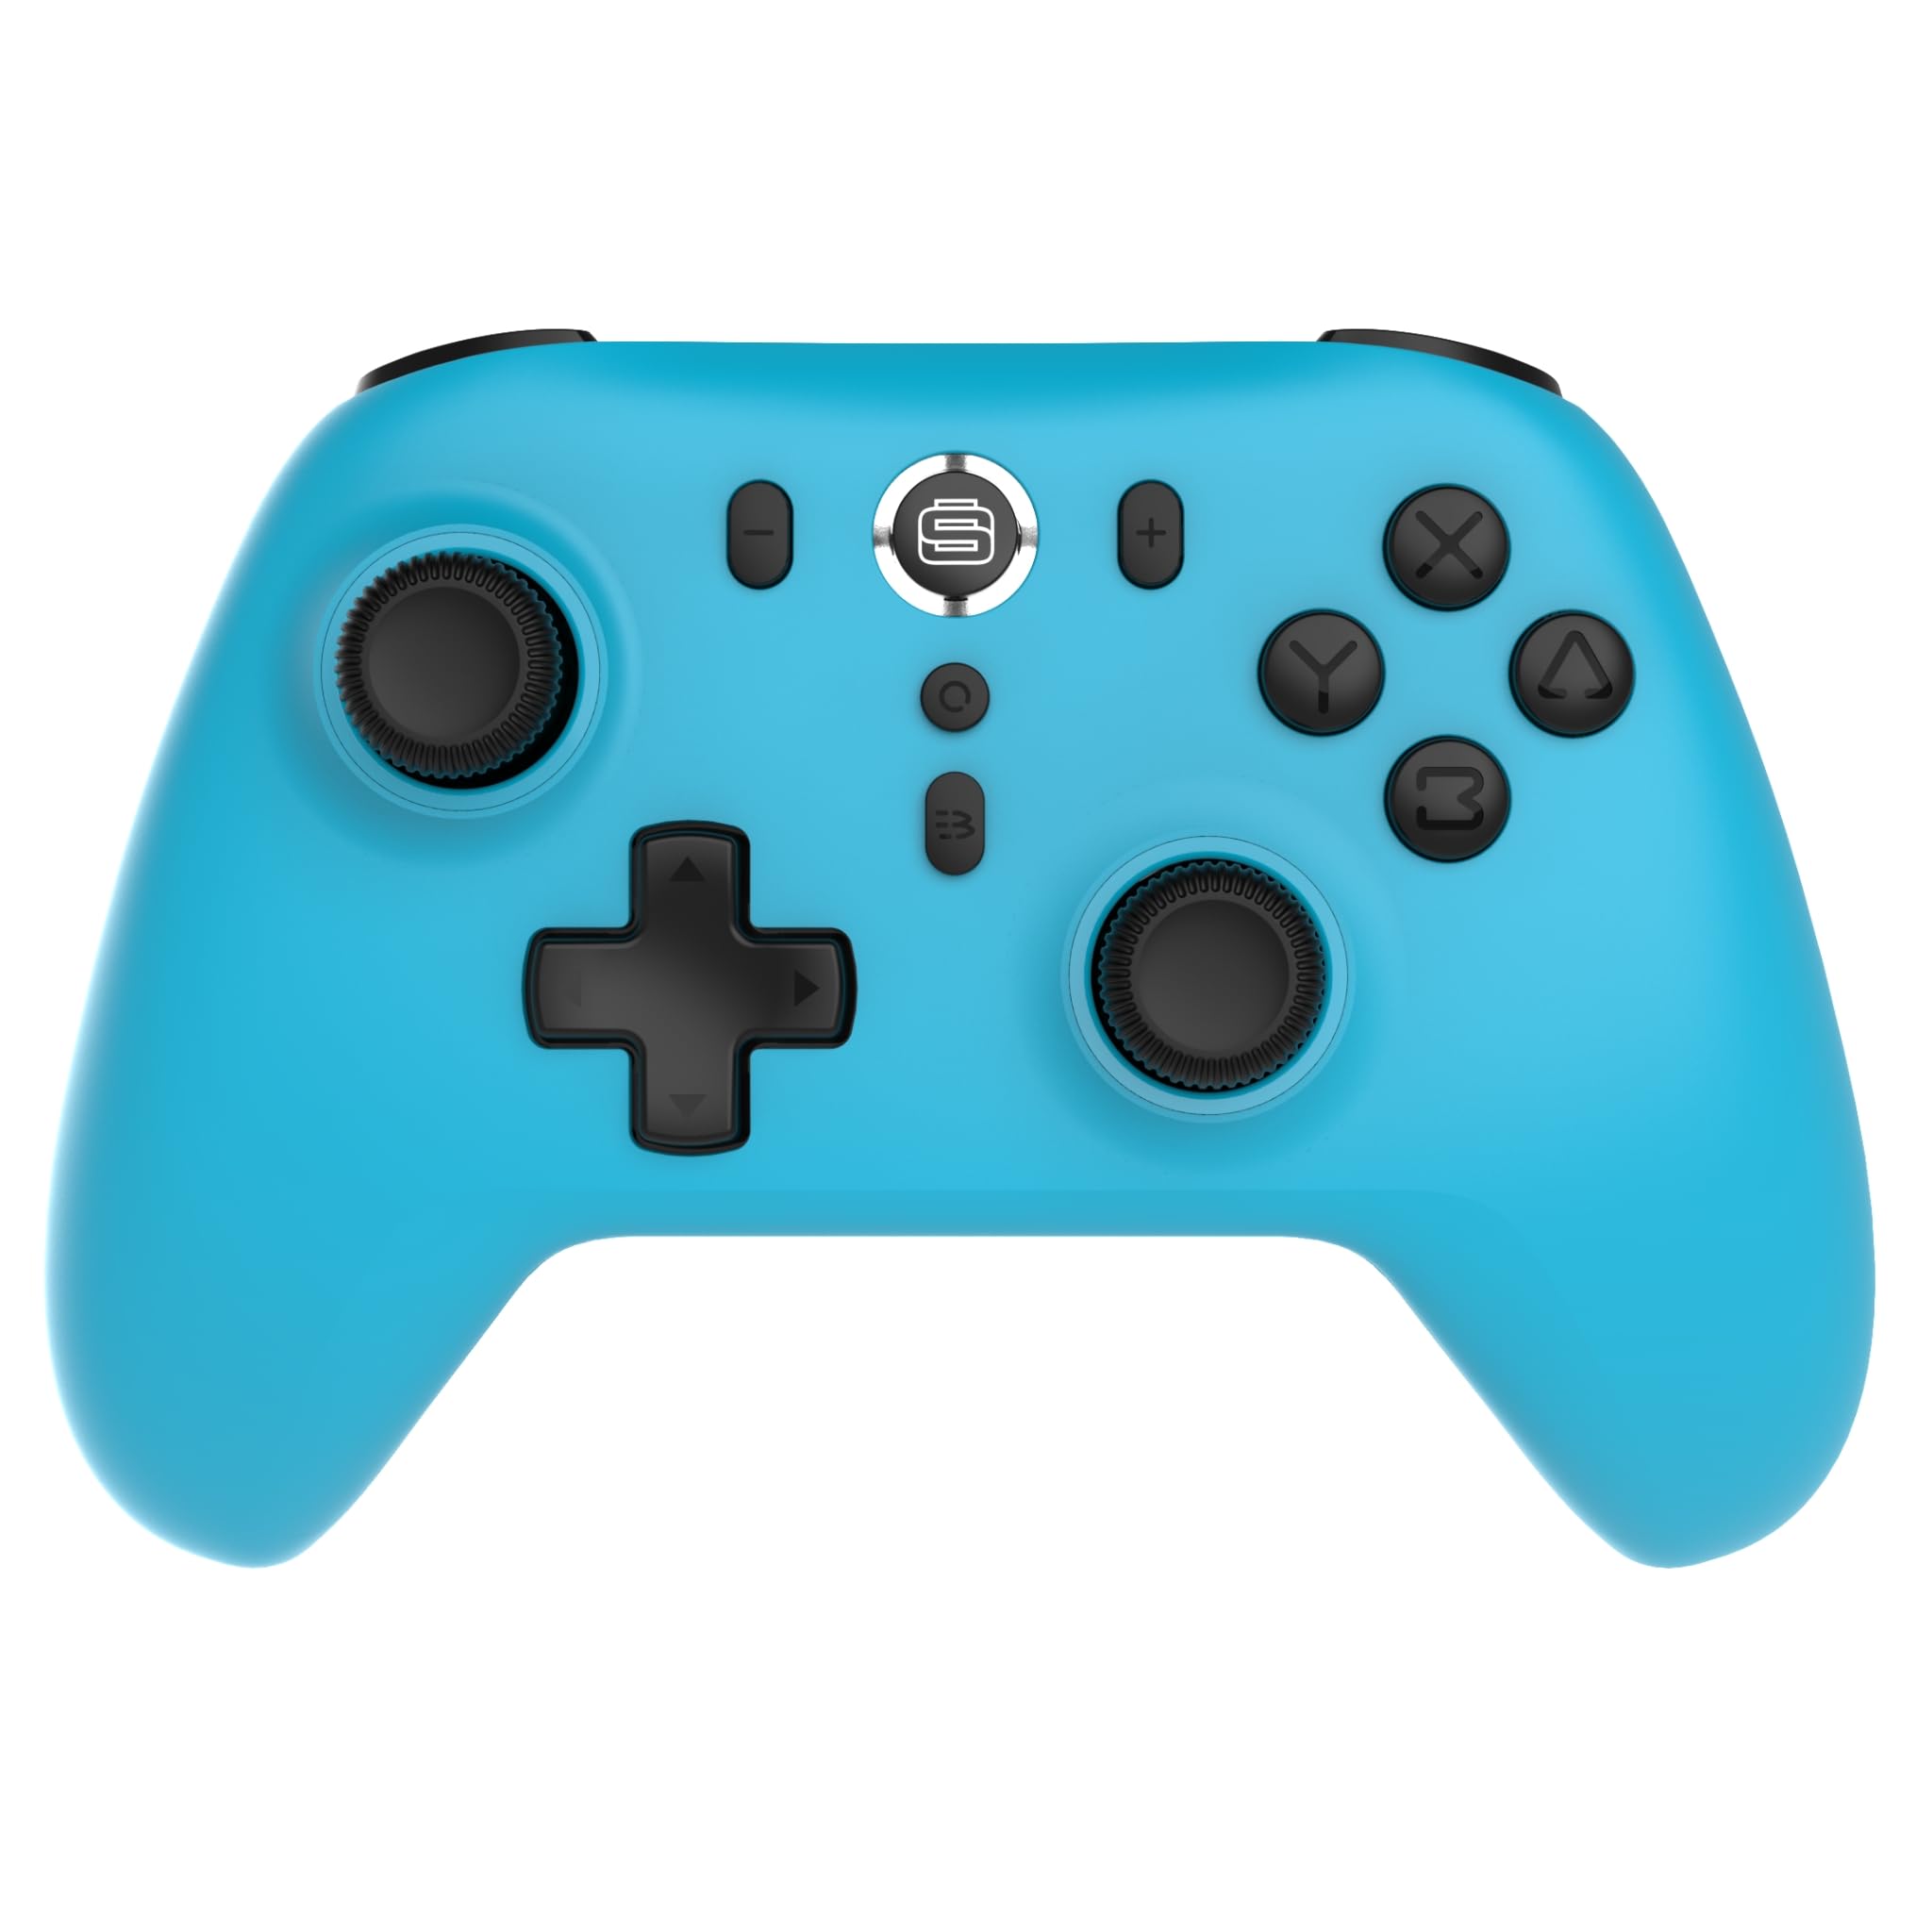
Front view of the Surge Wireless Pro Controller, showing the D-pad, left and right analog sticks, A/B/X/Y buttons, Home button, Capture button, Plus and Minus buttons, and the Surge logo button.

Back view of the Surge Wireless Pro Controller, showing the textured grips and the charging port.
4. Setup and Pairing
The Surge Wireless Pro Controller supports multiple connection methods depending on your device.

This image displays the various platforms compatible with the Surge Wireless Pro Controller, including Nintendo Switch, Nintendo Switch 2, Windows PC, Android, and iOS.
4.1. Pairing with Nintendo Switch / Switch 2
- From the HOME Menu, select Controllers > Change Grip/Order.
- On the controller, press and hold the Home button for 3-5 seconds until the indicator lights begin to flash rapidly.
- Once paired, the indicator light(s) on the controller will remain solid.
- To wake the console from sleep mode, press the Home button on the controller.
4.2. Pairing with Windows PC
- Ensure your PC has Bluetooth enabled.
- Go to Bluetooth & other devices settings on your PC.
- Select Add Bluetooth or other device > Bluetooth.
- On the controller, press and hold the Home button for 3-5 seconds until the indicator lights begin to flash rapidly.
- Select the controller from the list of available devices on your PC.
- Once paired, the indicator light(s) on the controller will remain solid.
4.3. Pairing with Android / iOS Devices
- Enable Bluetooth on your Android or iOS device.
- Go to the Bluetooth settings menu on your device.
- On the controller, press and hold the Home button for 3-5 seconds until the indicator lights begin to flash rapidly.
- Select the controller from the list of available devices.
- Once paired, the indicator light(s) on the controller will remain solid.
5. Operating Features
5.1. Hall Effect Thumb Sticks & Triggers
The controller is equipped with Hall Effect technology for its thumb sticks and triggers. This technology uses magnets and electrical conductors to detect position, providing enhanced precision and significantly reducing the risk of stick drift over time compared to traditional potentiometers.

This image highlights the Hall Effect thumbsticks and triggers, emphasizing their role in providing precise inputs and preventing stick drift.
5.2. Turbo Function
The Turbo function allows for rapid, repeated input of a button press. This controller features 3 adjustable turbo levels.
- To activate Turbo: Press and hold the Turbo button, then press the desired action button (A/B/X/Y, L1/R1, L2/R2, D-pad directions). The button will now rapidly repeat its input when held.
- To adjust Turbo speed: With Turbo active on a button, press and hold the Turbo button and move the Right Analog Stick Up or Down to cycle through the 3 speed levels.
- To deactivate Turbo: Press and hold the Turbo button, then press the same action button again.
5.3. Vibration Feedback
The controller provides haptic feedback through vibration. You can choose from 4 vibration levels.
- To adjust Vibration level: Press and hold the Vibration button (if present, or a designated button combination, refer to specific button mapping if available) and move the Left Analog Stick Up or Down to cycle through the 4 levels (Off, Low, Medium, High).
5.4. Motion Controls
The controller supports motion controls for compatible games, particularly on Nintendo Switch/Switch 2. This allows for intuitive gameplay where physical movement of the controller translates into in-game actions.

This image visually represents the controller's advanced features, including Turbo Function, Motion Controls, and Rumble Vibration, enhancing the gaming experience.
6. Charging
The controller is equipped with a built-in 600mAh Li-polymer battery, providing up to 10 hours of gameplay on a single charge.

This image shows the controller being held, emphasizing its internal rechargeable battery for extended play sessions.
- Connect the included USB-C charging cable to the controller's USB-C port.
- Connect the other end of the cable to a USB power source (e.g., console, PC, USB wall adapter).
- The indicator lights on the controller will show charging status (e.g., blinking while charging, solid when fully charged).
- A full charge typically takes approximately 2-3 hours.
7. Maintenance
To ensure the longevity and optimal performance of your controller, follow these maintenance guidelines:
- Cleaning: Use a soft, dry cloth to wipe the controller. For stubborn dirt, slightly dampen the cloth with water. Avoid using harsh chemicals or abrasive cleaners.
- Storage: Store the controller in a cool, dry place away from direct sunlight and extreme temperatures.
- Avoid Drops: Protect the controller from drops and impacts, which can damage internal components.
- Liquid Exposure: Do not expose the controller to water or other liquids.
8. Troubleshooting
If you encounter issues with your Surge Wireless Pro Controller, please refer to the following common solutions:
| Problem | Solution |
|---|---|
| Controller does not turn on. | Ensure the controller is charged. Connect it to a power source using the USB-C cable. |
| Controller does not pair. | Ensure the controller is in pairing mode (indicator lights flashing rapidly). Check that Bluetooth is enabled on your device. Try restarting both the controller and the device. |
| Input lag or disconnection. | Ensure the controller is within range of the device. Reduce interference from other wireless devices. Ensure the controller is fully charged. |
| Buttons or sticks are unresponsive. | Try resetting the controller (if a reset button is available, typically a small pinhole on the back). Ensure no debris is obstructing the buttons. |
| Vibration not working. | Check the vibration settings on the controller and in the game. Ensure the vibration level is not set to 'Off'. |
9. Specifications
| Feature | Detail |
|---|---|
| Model Number | SG60095 |
| Battery Type | 1 Nonstandard Battery (Li-polymer, 600mAh) |
| Battery Life | Up to 10 hours (approx.) |
| Charging Port | USB-C |
| Dimensions | 20.5 x 14 x 6.6 cm |
| Weight | 320 g |
| Country of Origin | China |
10. Warranty and Support
For warranty information and customer support, please refer to the documentation included with your purchase or visit the official Surge website. Keep your proof of purchase for warranty claims.


