
Introduction
This manual provides detailed instructions for the installation, operation, and maintenance of your Lynnoland Motion Sensor Outdoor Ceiling Light with Remote. Please read this manual thoroughly before installation and use to ensure proper function and safety.

Image: The Lynnoland 12.2 inch Gold Motion Sensor Outdoor Ceiling Light.
Safety Information
- Electrical Safety: Always turn off power at the circuit breaker before installation, removal, or servicing. Consult a qualified electrician if you are unsure about electrical wiring.
- Voltage: This fixture is designed for 120V US voltage standards. Ensure your electrical supply matches this requirement.
- Bulb Compatibility: Use E26 base bulbs. Maximum 25W for LED bulbs or 60W for incandescent bulbs. Bulbs are not included.
- Outdoor Use: This fixture is suitable for outdoor environments. Ensure all connections are properly sealed to prevent water ingress.
- Glass Handling: Handle the glass cover with care to prevent breakage.
Package Contents
Verify that all components are present before beginning installation:
- Motion Sensor Outdoor Ceiling Light Fixture
- Remote Control
- Mounting Hardware (screws, wire nuts, mounting bracket)
- User Manual (this document)
Specifications

Image: Detailed product dimensions and specifications.
| Feature | Specification |
|---|---|
| Model Number | XL1521219B |
| Dimensions (L x W x H) | 12.2" x 12.2" x 5.1" |
| Color | Gold |
| Material | Glass, Metal |
| Voltage | 120 Volts |
| Bulb Base | E26 |
| Max Incandescent Wattage | 60W |
| Max LED Wattage | 25W |
| Control Method | Remote Control |
| Motion Detection Range | 12-26 ft |
| Motion Detection Angle | 180° |
| Delay Lighting Timer | 60-180 seconds (1-3 minutes) |
| Installation Type | Flush Mount |
Installation Instructions
Tools Required: Screwdriver, wire strippers, electrical tape, ladder (if necessary).
- Turn Off Power: Locate the circuit breaker controlling the light fixture's power supply and turn it off. Verify power is off using a voltage tester.
- Prepare Mounting: Attach the mounting bracket to your junction box using the provided screws. Ensure it is securely fastened.
- Wire Connections: Connect the fixture's wires to your household electrical wires. Typically, connect black to black (live), white to white (neutral), and bare copper or green to bare copper or green (ground). Secure connections with wire nuts and electrical tape.
- Mount Fixture: Carefully align the fixture with the mounting bracket and secure it with the provided screws.
- Install Bulbs: Insert E26 base bulbs (not included) into the sockets. Do not exceed the maximum wattage (25W LED / 60W Incandescent).
- Attach Glass Cover: Secure the united glass cover to the fixture.
- Restore Power: Turn the power back on at the circuit breaker.
For visual guidance, refer to the official installation video:
Video: Official demonstration of the Lynnoland Motion Sensor Outdoor Ceiling Light with Remote, including installation and feature overview. Duration: 31 seconds.
Operating Instructions
Remote Control Overview
The included remote control allows for convenient adjustment of lighting modes and motion sensor settings from the ground.
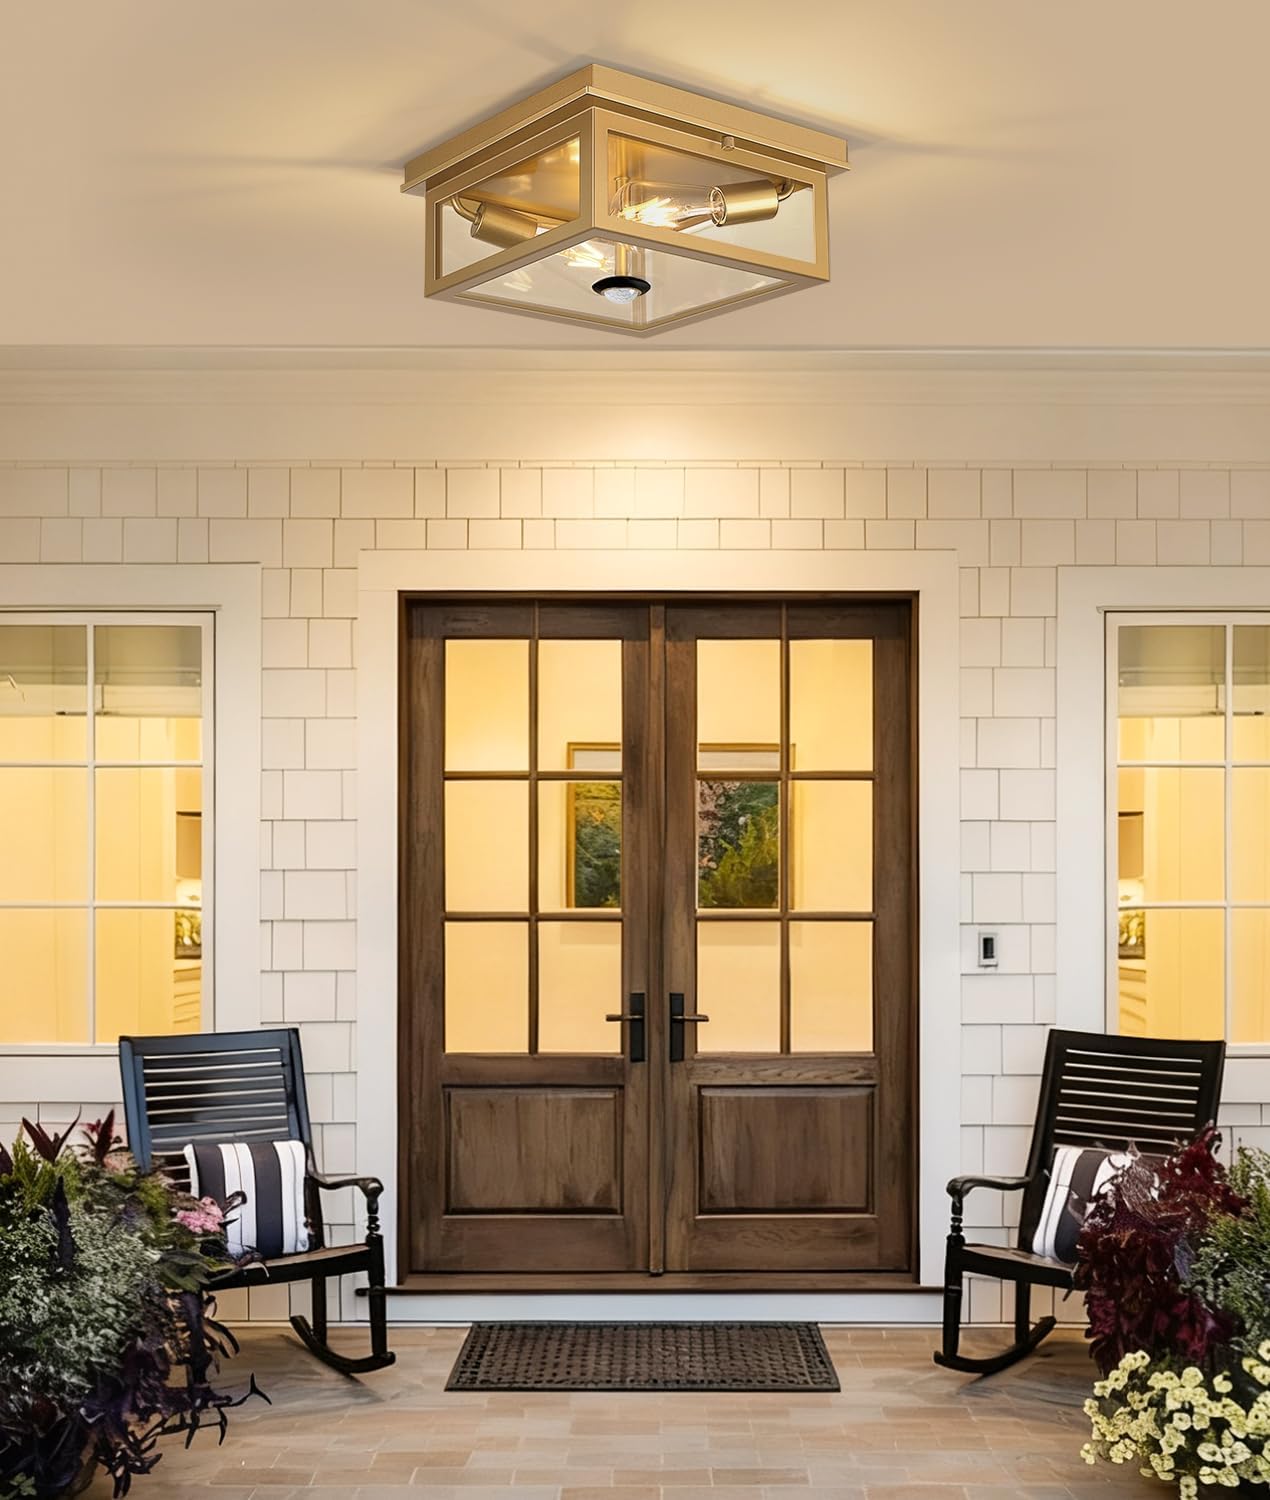
Image: Remote control layout with button descriptions for power, mode selection, delay timer, and sensitivity.
5 Smart Lighting Modes
Select from five distinct lighting modes using the remote control:

Image: Visual explanation of the five available lighting modes.
- ON Mode (Stays ON/OFF): Provides 100% brightness continuously or remains off throughout the day.
- DIM Mode (PIR + 30% Brightness): The light illuminates at 100% brightness when motion is detected. When no motion is present, it reverts to 30% brightness. This mode operates 24 hours a day.
- ECO Mode (PIR + OFF): The light illuminates at 100% brightness upon motion detection. When no motion is present, it turns off completely. This mode operates 24 hours a day.
- DTD Mode (Dusk-to-Dawn): The light automatically turns on at 100% brightness at dusk and turns off at dawn, providing continuous lighting throughout the night.
- AUTO Mode (DTD + PIR): The light remains off during the day. At night, it activates to 100% brightness upon motion detection. When no motion is present, it reverts to 30% brightness or turns off completely, depending on the specific setting.
Motion Sensor Settings
Adjust the motion sensor's performance to suit your needs:

Image: Illustration of the adjustable motion sensing range and delay settings.
- Sensing Distance: Choose from 3 detection distances: 12 ft, 18 ft, or 26 ft. Adjust based on the area you wish to cover (e.g., 12 ft for porches, 18 ft for driveways, 26 ft for open yards).
- Delay Settings: Set the light duration after motion is no longer detected to 1, 2, or 3 minutes (60, 120, or 180 seconds).
Maintenance
- Cleaning: Ensure power is off before cleaning. Wipe the fixture with a soft, damp cloth. Do not use abrasive cleaners or solvents. The united glass cover helps prevent dust and insects from entering the fixture.
- Bulb Replacement: Turn off power at the circuit breaker. Carefully remove the glass cover and replace bulbs with E26 base bulbs, adhering to the maximum wattage specifications. Reattach the glass cover securely.
Troubleshooting
| Problem | Possible Cause | Solution |
|---|---|---|
| Light does not turn on. | No power supply; Loose wiring; Faulty bulb. | Check circuit breaker. Verify wire connections. Replace bulb. |
| Motion sensor not detecting. | Incorrect sensitivity setting; Obstruction; Sensor dirty. | Adjust remote control sensitivity. Clear any obstructions. Clean sensor lens. |
| Light stays on continuously in motion mode. | Continuous motion detected; Incorrect mode selected. | Ensure no constant motion in detection zone. Verify correct mode (e.g., ECO or DIM) is selected via remote. |
| Remote control not working. | Dead battery; Out of range. | Replace remote battery. Ensure remote is within operating range of the fixture. |
Warranty and Support
Lynnoland products are designed for quality and durability. For any questions, technical assistance, or warranty claims, please contact Lynnoland customer support. Keep your purchase receipt for warranty purposes.
Customer Support: Refer to your purchase platform or Lynnoland's official website for contact information.
