1. Introduction
This manual provides essential information for the safe and efficient assembly, operation, and maintenance of your Aoxun 10'x7.3' Outdoor Waterproof Storage Shed. Please read all instructions carefully before beginning assembly or use. Retain this manual for future reference.
2. Safety Information
- Always wear appropriate personal protective equipment (PPE) during assembly, including gloves and eye protection.
- Ensure the assembly area is clear of obstructions and children.
- Assemble the shed on a level, stable surface. A solid foundation is recommended.
- Do not attempt to assemble the shed during strong winds or adverse weather conditions.
- Two or more people are recommended for safe and efficient assembly.
- Keep all small parts and packaging materials away from children.
- Ensure all screws and fasteners are securely tightened after assembly.
3. Package Contents
Your Aoxun storage shed package includes all necessary panels, frame components, hardware, and a detailed instruction manual. All components are pre-numbered for easy identification during assembly. Please verify all parts are present and undamaged before beginning assembly.
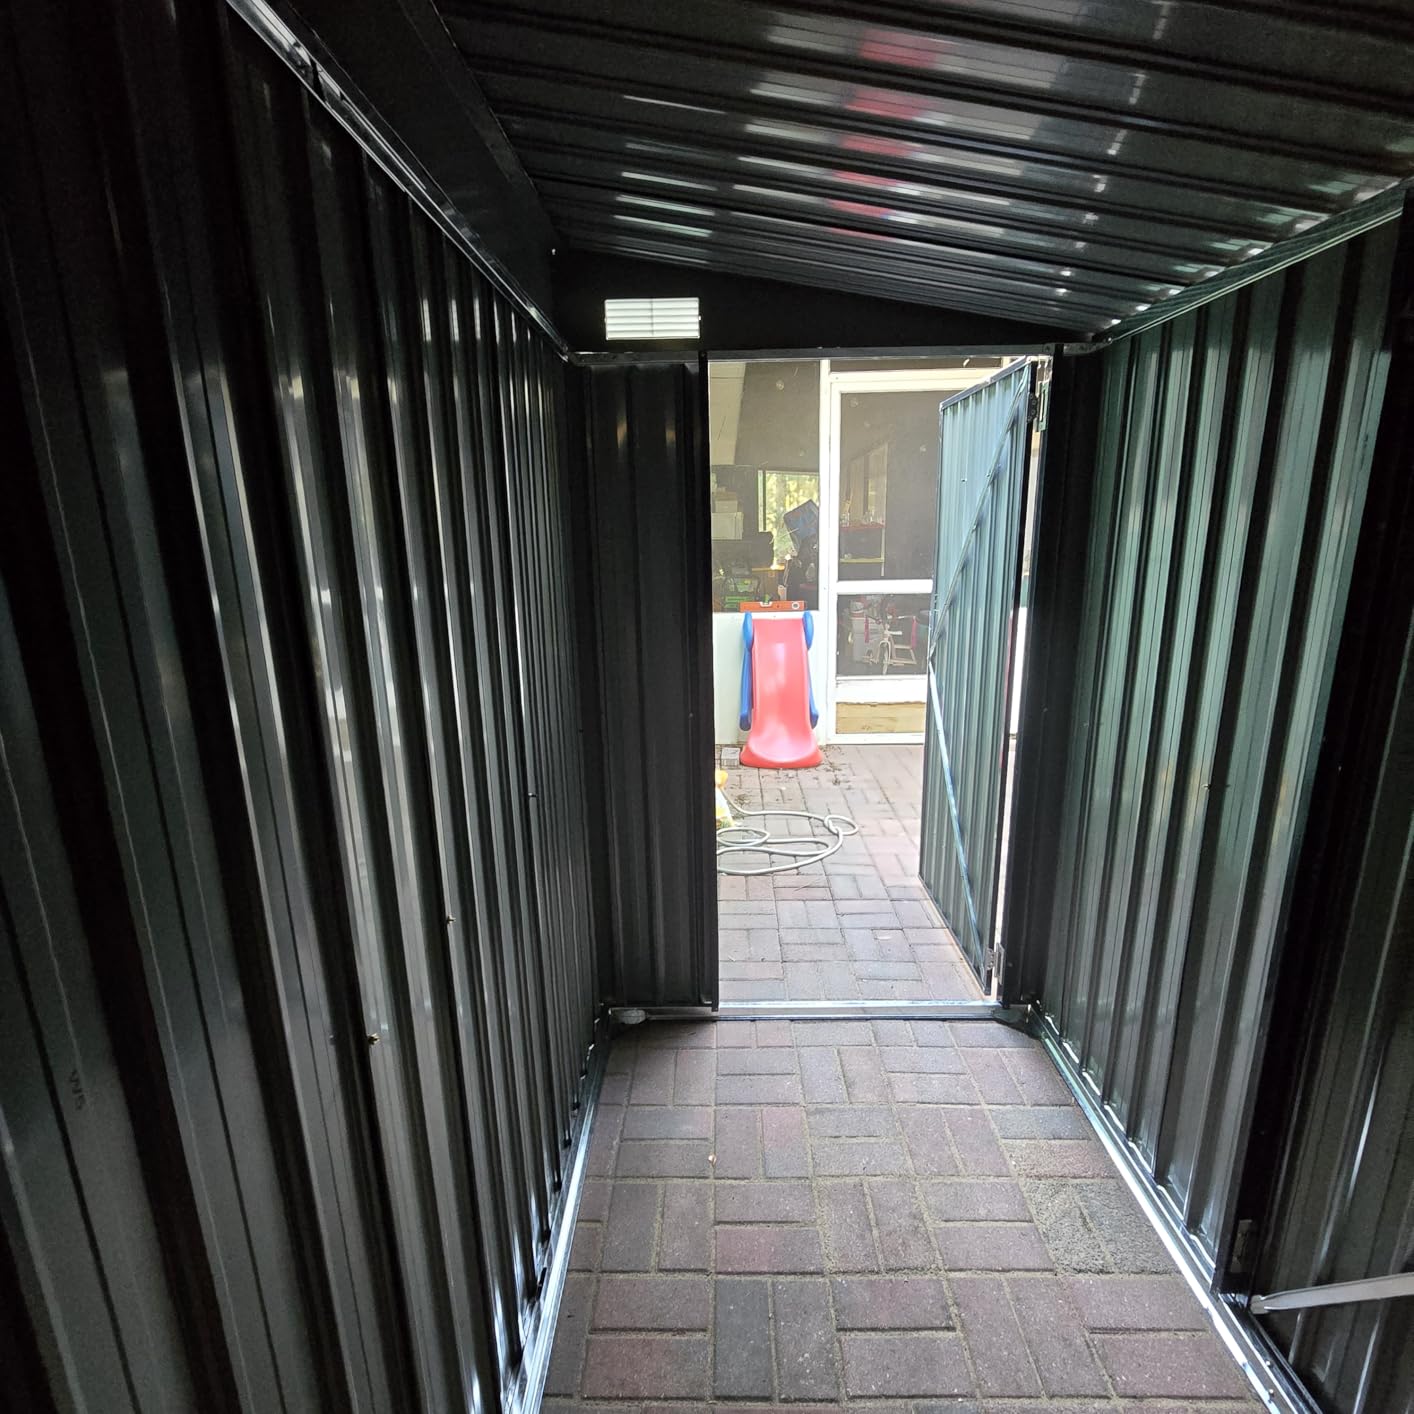
Image 3.1: Various metal panels and frame pieces for the shed.
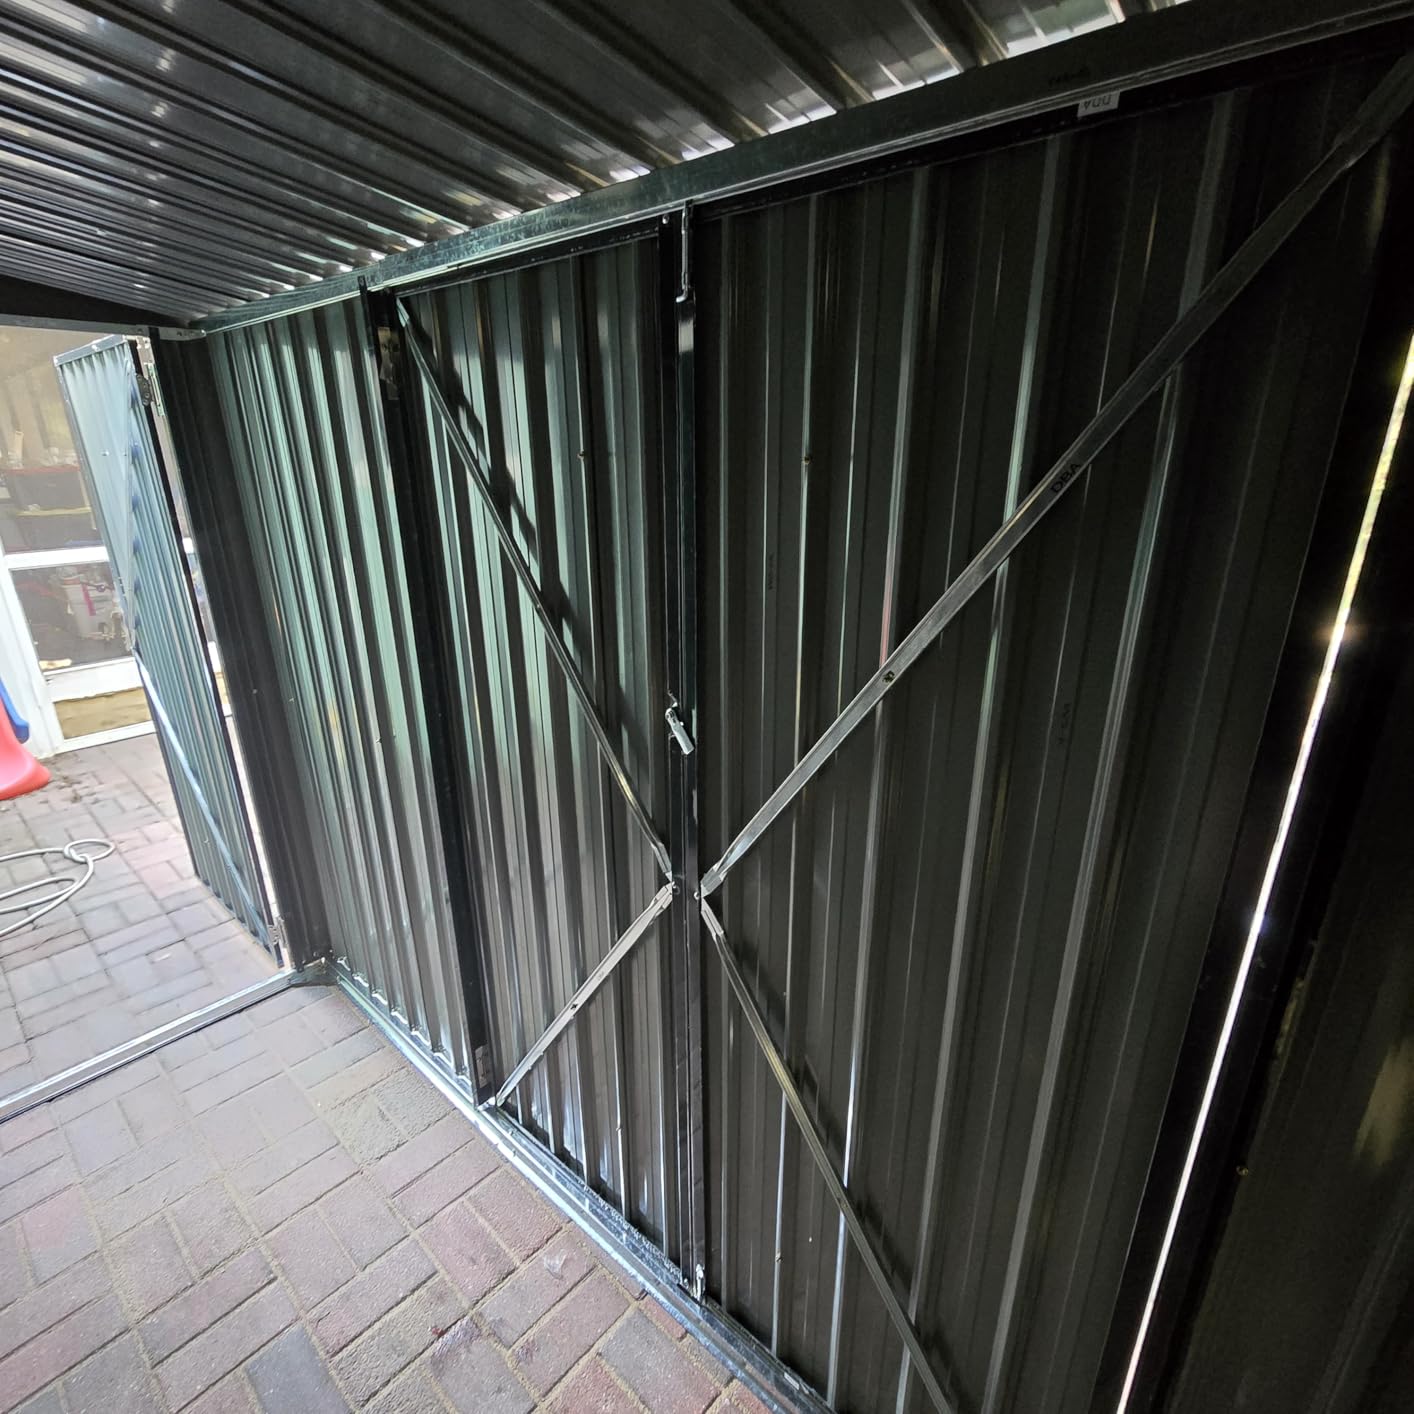
Image 3.2: Frame bars and small hardware components.
4. Setup and Assembly
Follow the step-by-step instructions provided in the included manual. Each component is labeled to correspond with the assembly diagrams. The shed is designed for straightforward DIY installation.
4.1 Foundation Preparation
Ensure a solid, level foundation for the shed. The shed does not include a floor, so a concrete slab, wooden platform, or similar base is required to provide stability and prevent moisture intrusion.

Image 4.1: Detailed product dimensions for foundation planning.
4.2 Frame Assembly
Begin by assembling the base frame, then proceed to the vertical supports and roof frame. All parts are clearly marked. Refer to the diagrams for correct orientation and fastener placement.
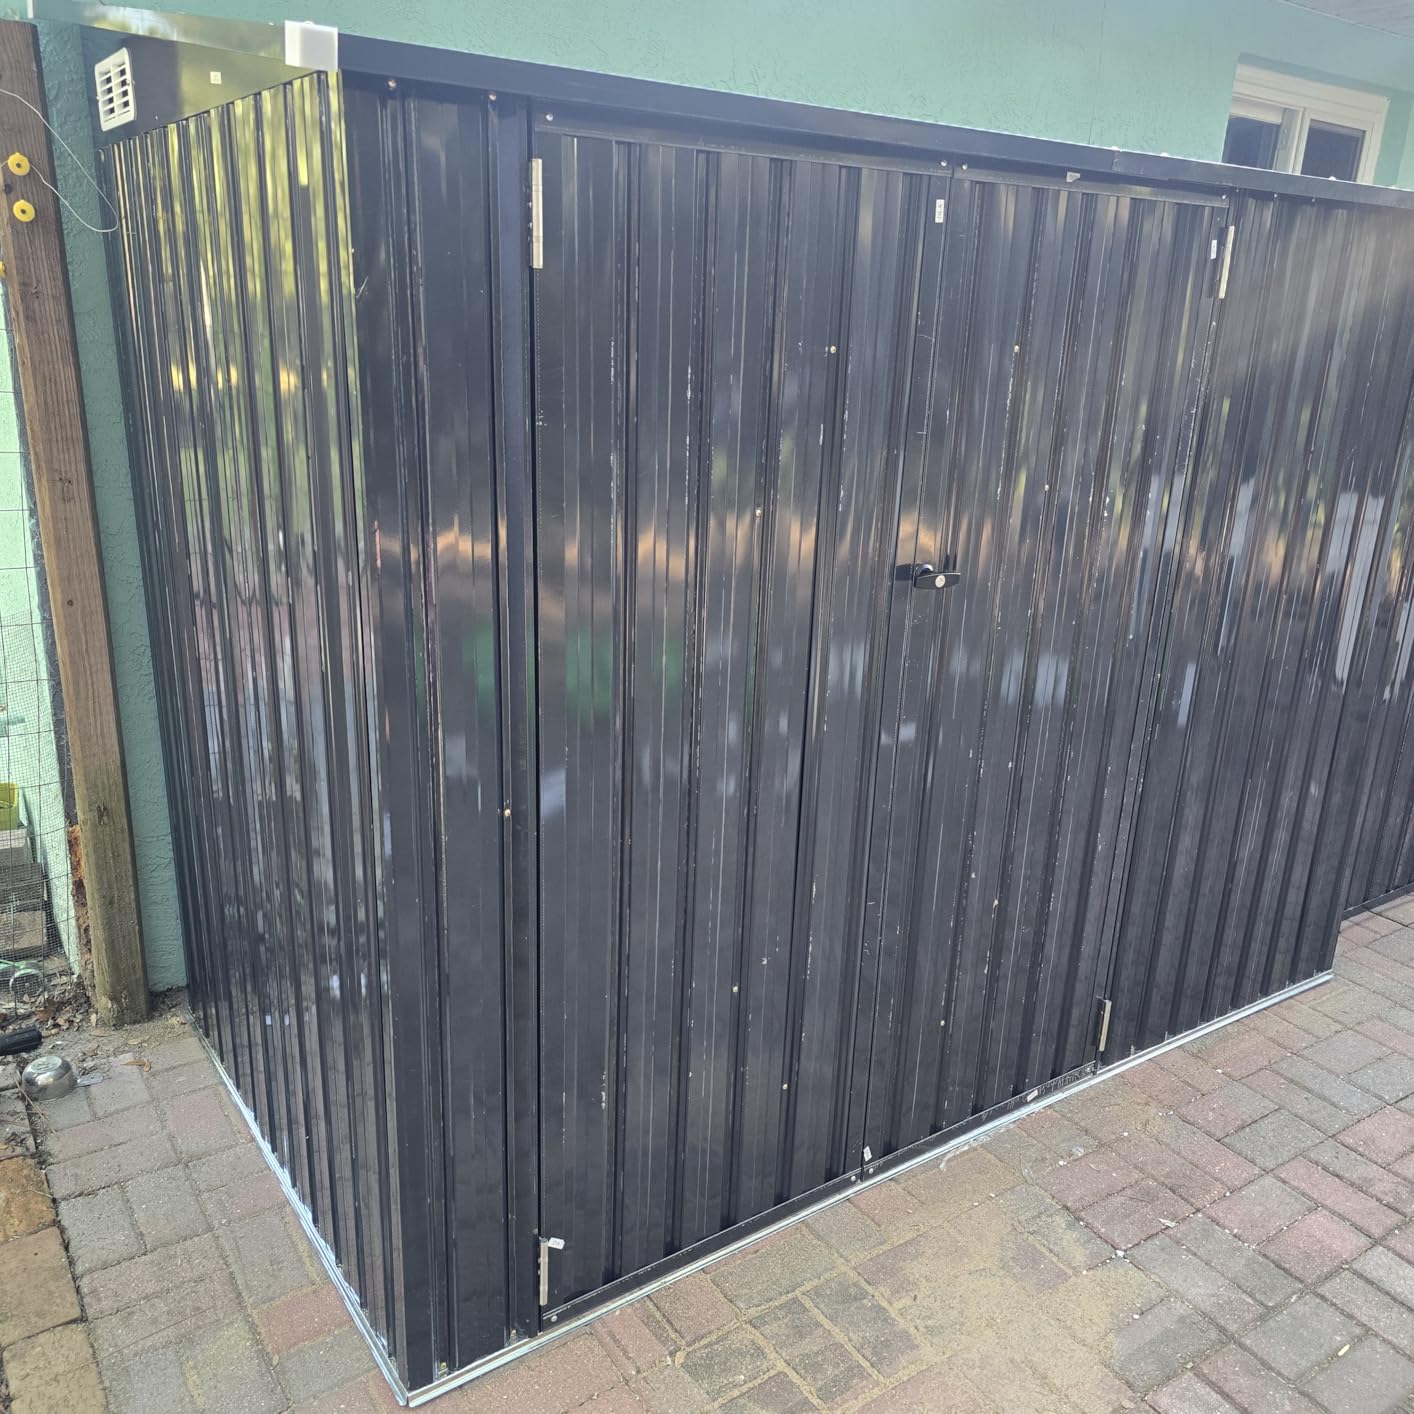
Image 4.2: Initial frame assembly on a prepared wooden base.
4.3 Panel Installation
Attach the wall panels to the assembled frame. Each panel has a protective film that should be carefully removed before installation. Secure panels using the provided screws. The shed features an upgraded reinforced frame for enhanced stability.

Image 4.3: View of the reinforced frame structure.
4.4 Roof Installation
Install the roof panels, ensuring they overlap correctly to facilitate water drainage. The sloped roof design is engineered to prevent water accumulation.

Image 4.4: The sloped roof design promotes rapid drainage.
4.5 Door and Latch Installation
Install the triple lockable doors. The shed includes a main double door and a side access door. Ensure all hinges and latches are securely attached. The main doors feature a metal knob lock, and the side door has a stainless steel latch.

Image 4.5: Details of the door locking mechanisms.
4.6 Ventilation
The shed is equipped with air vents to ensure proper air circulation, reducing condensation and maintaining internal conditions.
Video 4.1: This video demonstrates the triple door design and internal features of the shed, including air vents for circulation.
5. Operating the Shed
To open the main double doors, turn the metal knob lock and pull the doors outwards. The side access door operates with a simple latch mechanism. Ensure doors are securely closed and locked when not in use to protect contents.

Image 5.1: Internal view demonstrating storage potential.
6. Maintenance
- Cleaning: Periodically clean the exterior and interior of the shed with mild soap and water. Avoid abrasive cleaners that may damage the finish.
- Inspection: Regularly inspect all fasteners, hinges, and latches for tightness and wear. Tighten any loose screws.
- Drainage: Ensure the roof and surrounding area remain clear of debris to allow for proper water drainage.
- Rust Prevention: While constructed from galvanized steel with a powder-coated finish for rust resistance, inspect for any scratches or damage to the coating and touch up as needed to prevent rust.
7. Troubleshooting
- Door Latch Issues: If a door latch is difficult to operate, ensure the door frame is properly aligned. Lubricate moving parts if necessary. Some latches may require a slight manual push to engage fully.
- Water Leakage: Verify that all roof and wall panels are correctly overlapped and all fasteners are tight. Ensure the shed is on a level foundation to prevent water from seeping underneath.
- Scratches on Panels: The panels come with a protective film. Minor scratches may occur during handling or assembly if the film is removed prematurely or if tools are not used carefully. These are typically cosmetic and do not affect the structural integrity or weather resistance.
8. Specifications
| Brand | Aoxun |
| Model Number | G37004BK03A-HJ-8.7 |
| Product Dimensions | 88"D x 113"W x 78"H (9.4'L x 7.3'W x 6.5'H) |
| Material | Galvanized Steel |
| Color | Black |
| Item Weight | 200 Pounds |
| Water Resistance Level | Waterproof |
| Required Assembly | Yes |
9. Warranty and Support
For warranty information or customer support, please refer to the contact details provided at the point of purchase or visit the official Aoxun website. Keep your purchase receipt as proof of purchase.


