Introduction
Thank you for choosing the Goiaey Portable 100-inch Projector Screen. This screen is designed for versatile use, offering a high-definition viewing experience for home theaters, outdoor movies, presentations, and more. Its anti-crease material and easy installation method ensure a smooth, clear projection surface. Please read this manual carefully before installation and use to ensure optimal performance and longevity of your projector screen.
Safety Information
- Keep the screen away from direct heat sources, open flames, and sharp objects to prevent damage.
- Ensure the installation surface is clean, dry, and smooth for optimal adhesive performance.
- Do not stretch the screen excessively during installation, as this may cause distortion or damage.
- Store the screen rolled or folded neatly in a cool, dry place when not in use to maintain its anti-crease properties.
- This product is not a toy. Keep out of reach of children.
Package Contents
Please check the package to ensure all items are present:
- 1 x Goiaey Portable 100-inch Projector Screen
- Set of Double-Sided Adhesive Tapes
Setup Instructions
The Goiaey projector screen is designed for effortless installation using its integrated double-sided adhesive. Follow these steps for a smooth, wrinkle-free setup:
- Identify Front and Back: Unfold the projector screen carefully. The front side is the projection surface, typically a lighter gray, while the back side is usually darker.

Image: The projector screen unfolded, indicating the lighter front projection surface and the darker back side.
- Prepare the Installation Surface: Choose a clean, dry, and smooth surface (e.g., wall, door, whiteboard) where you intend to mount the screen. Use a clean cloth to wipe down the area, ensuring it is free of dust, dirt, and moisture. This step is crucial for strong adhesion.
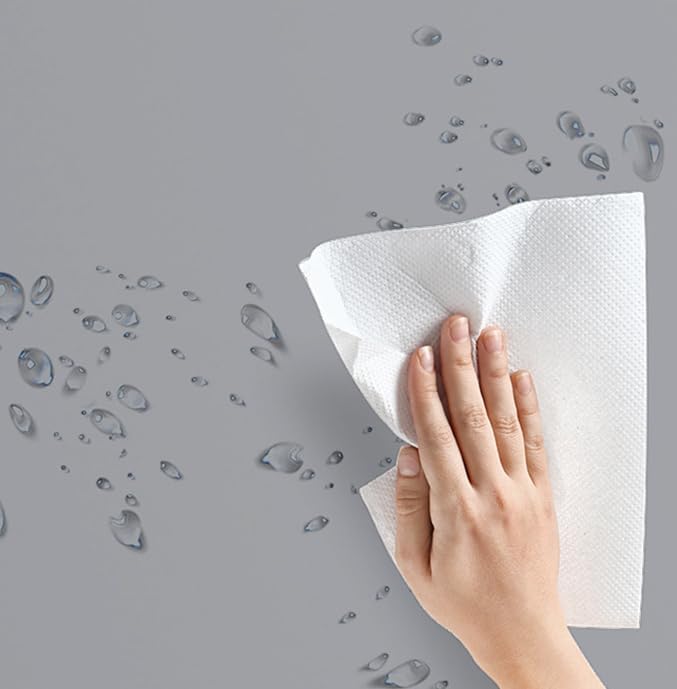
Image: A hand cleaning a surface with a white cloth, demonstrating the preparation step before screen installation.
- Apply Adhesive: If your screen comes with separate adhesive strips, carefully apply them to the corners and along the edges of the back of the screen. Ensure they are evenly spaced for uniform tension.
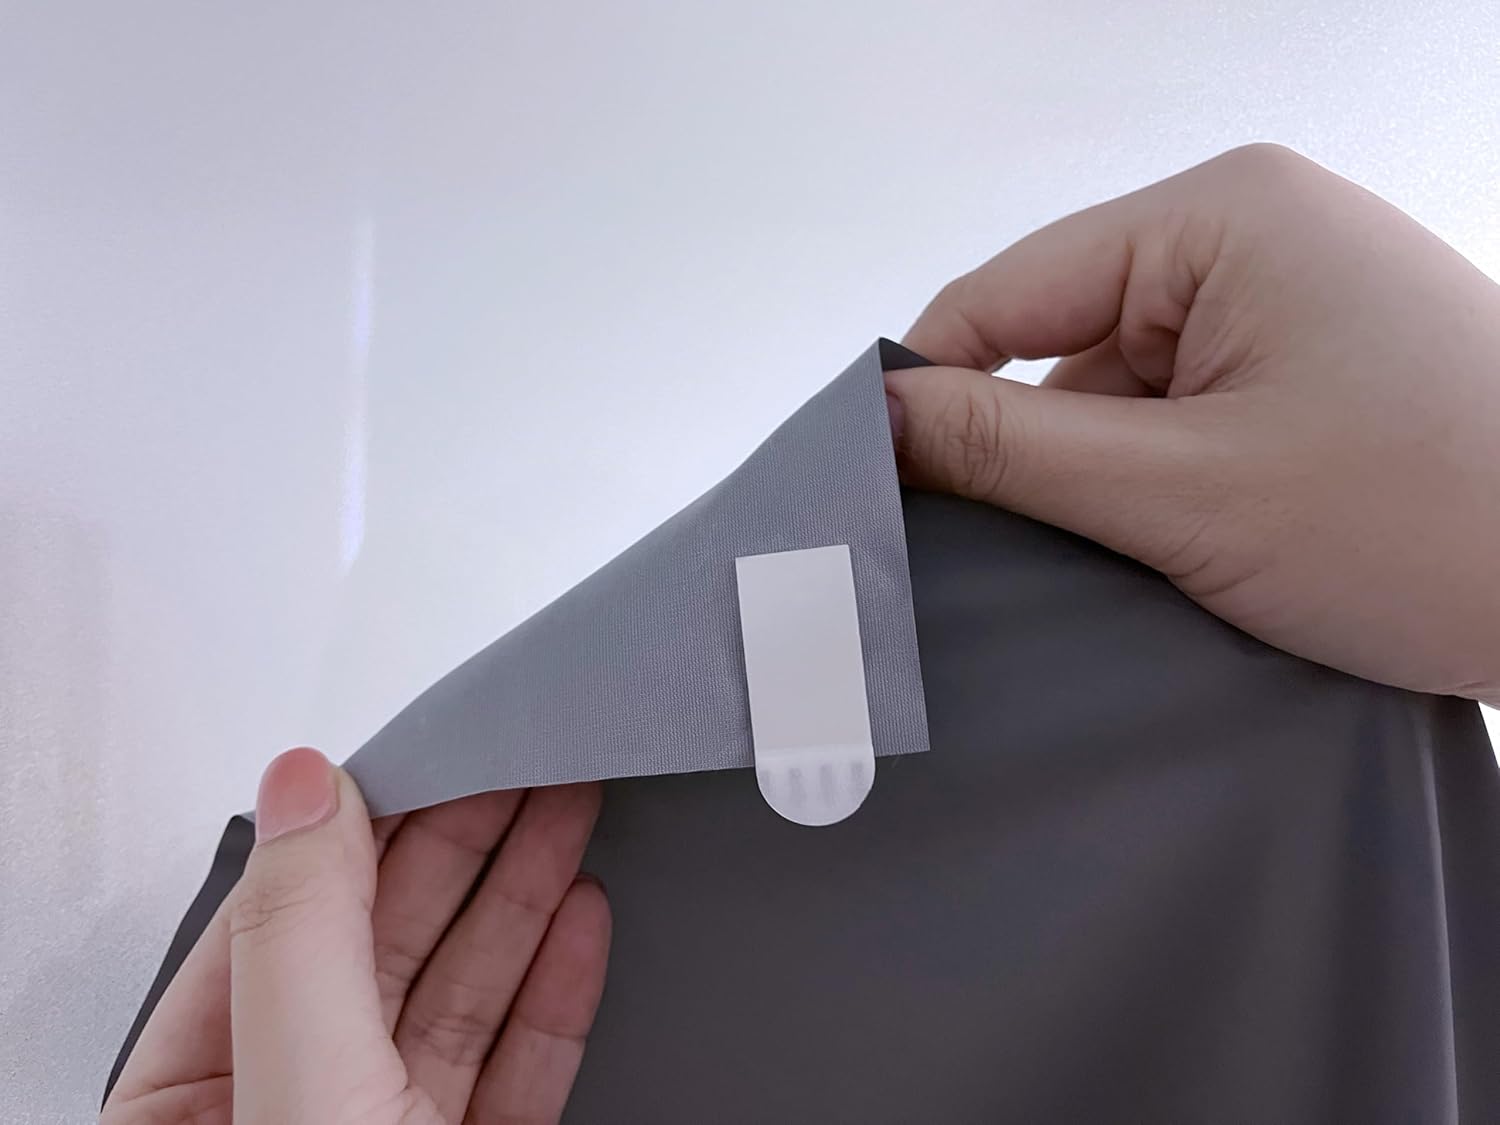
Image: Close-up of hands attaching a white adhesive strip to the corner of the projector screen.
- Remove Adhesive Backing: Once the adhesive strips are in place on the screen, carefully peel off the protective backing from each strip.
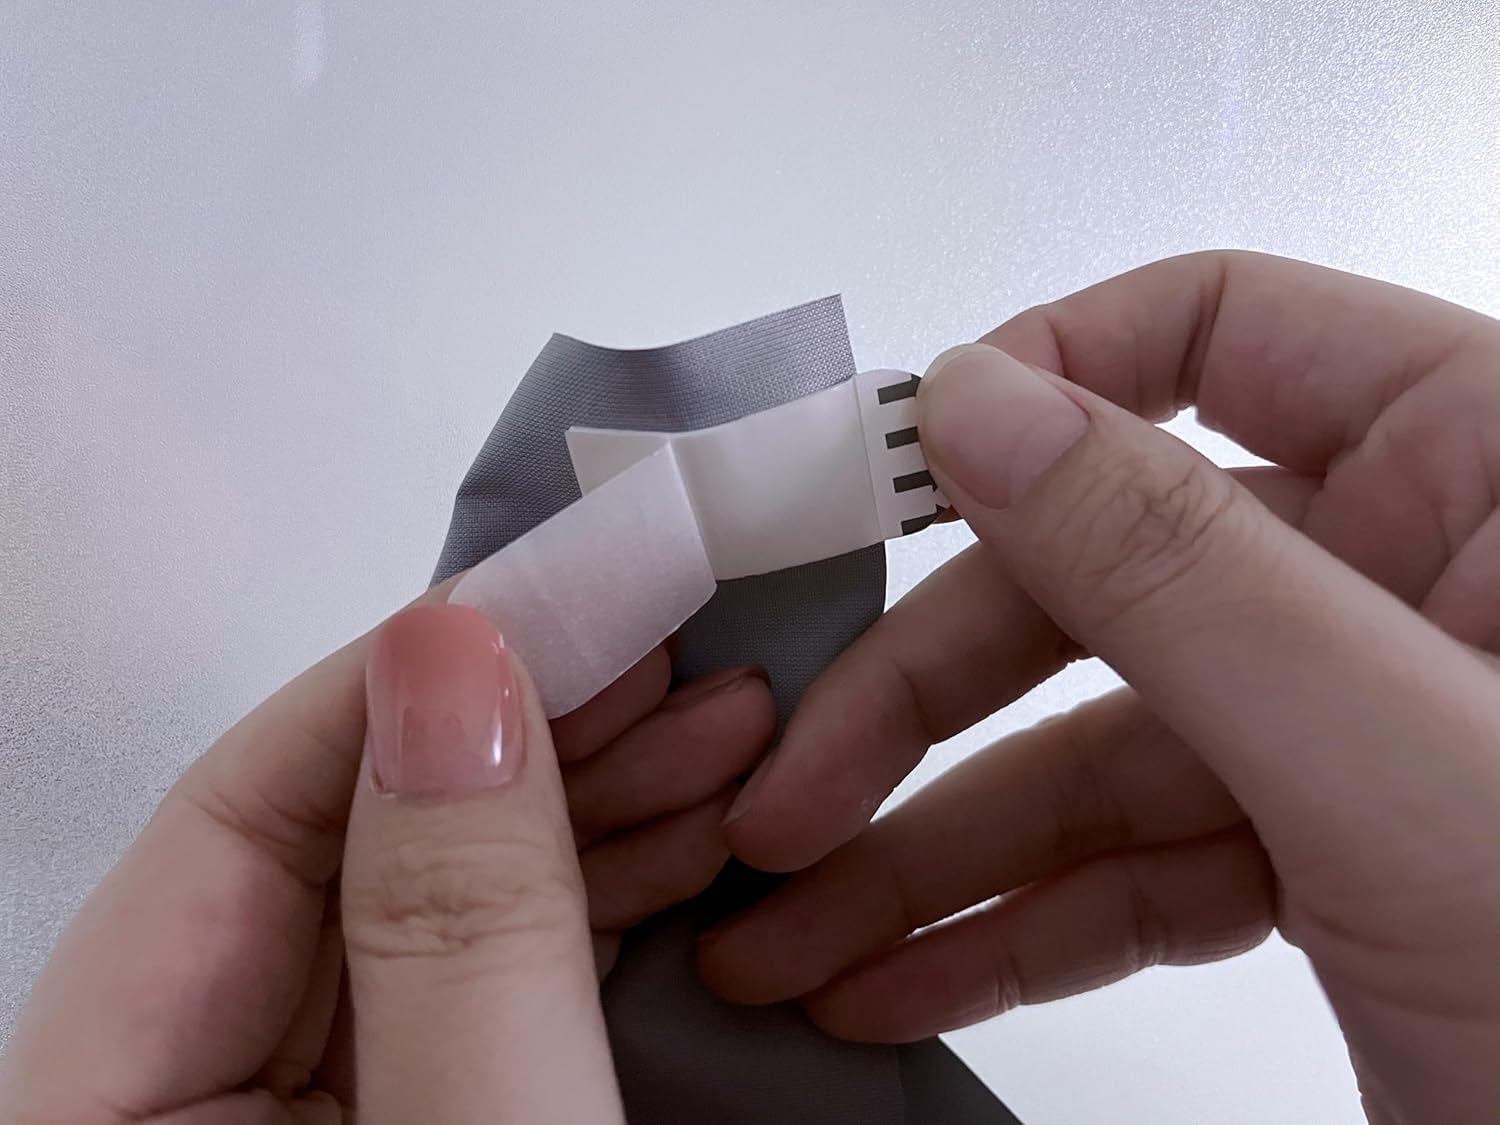
Image: Hands carefully peeling the protective paper off the adhesive strip, revealing the sticky surface.
- Mount the Screen: Starting from one corner, carefully align the screen with your desired position on the prepared surface. Press firmly along the edges and corners to ensure the adhesive makes full contact. Smooth out any air bubbles or wrinkles by gently pressing from the center outwards. The screen can be mounted vertically or horizontally.
- Secure Hold: The adhesive bond strengthens over time. For best results, allow a few hours for the adhesive to fully set before projecting.
- Optional Mounting Clips: For enhanced durability and peace of mind, optional mounting clips (sold separately) can be used in conjunction with the adhesive.
Operating Instructions
Using your Goiaey projector screen is straightforward:
- Position Projector: Place your projector at an appropriate distance and angle to fill the screen surface. Refer to your projector's manual for optimal throw distance and keystone correction settings.
- Adjust Image: Turn on your projector and adjust the focus, zoom, and keystone correction until the image is clear, sharp, and perfectly aligned with the screen edges.
- Enjoy: The anti-crease material and 16:9 aspect ratio provide an excellent viewing experience for movies, presentations, and games.
Maintenance
To keep your projector screen in optimal condition:
- Cleaning: Gently wipe the screen surface with a soft, damp cloth. Avoid abrasive cleaners or harsh chemicals, as these can damage the screen material.
- Storage: When not in use for extended periods, carefully remove the screen (the adhesive is designed to be removable without residue) and roll or fold it neatly. Store it in a protective bag or its original packaging in a cool, dry place.
- Wrinkle Prevention: The screen is designed to be anti-crease. If minor creases appear from storage, gently stretch the screen during re-installation, and they should dissipate.
Troubleshooting
| Problem | Possible Cause | Solution |
|---|---|---|
| Screen not adhering properly | Surface was not clean or smooth; adhesive not pressed firmly enough; surface is porous. | Ensure the surface is thoroughly cleaned and dry. Press firmly on the adhesive strips during installation. For porous surfaces, consider using additional mounting clips. |
| Wrinkles or uneven surface | Screen not stretched evenly during installation; improper storage. | Carefully re-install the screen, ensuring even tension across all edges. Store the screen rolled or folded smoothly. |
| Image appears distorted | Projector not aligned correctly; keystone correction needed. | Adjust your projector's position, angle, and keystone correction settings until the image is rectangular and aligned with the screen. |
Specifications
- Brand: Goiaey
- Model: B0FLDR9JCV
- Display Dimensions: 100 inches
- Aspect Ratio: 16:9
- Material: Vinyl (Anti-Crease)
- Mounting Type: Wall Mount (Adhesive)
- Product Dimensions (packaged): 3.9"W x 3.9"H
- Item Weight: 3.52 ounces
Warranty and Support
For any questions, concerns, or support regarding your Goiaey Portable Projector Screen, please contact the manufacturer or your retailer. Please refer to your purchase documentation for specific warranty details, as these may vary.
Manufacturer: Goiaey
For further assistance, you may visit the Goiaey Store on Amazon.