
GROWNEER 16" Kids Balance Bike
GROWNEER 16" Kids Balance Bike User Manual
Model: 16" Kids Balance Bike (Pink)
1. Introduction
This manual provides essential information for the safe assembly, operation, and maintenance of your GROWNEER 16" Kids Balance Bike. Please read it thoroughly before initial use and retain it for future reference. This balance bike is designed to help children aged 4-8 develop balance, coordination, and confidence before transitioning to a pedal bike.
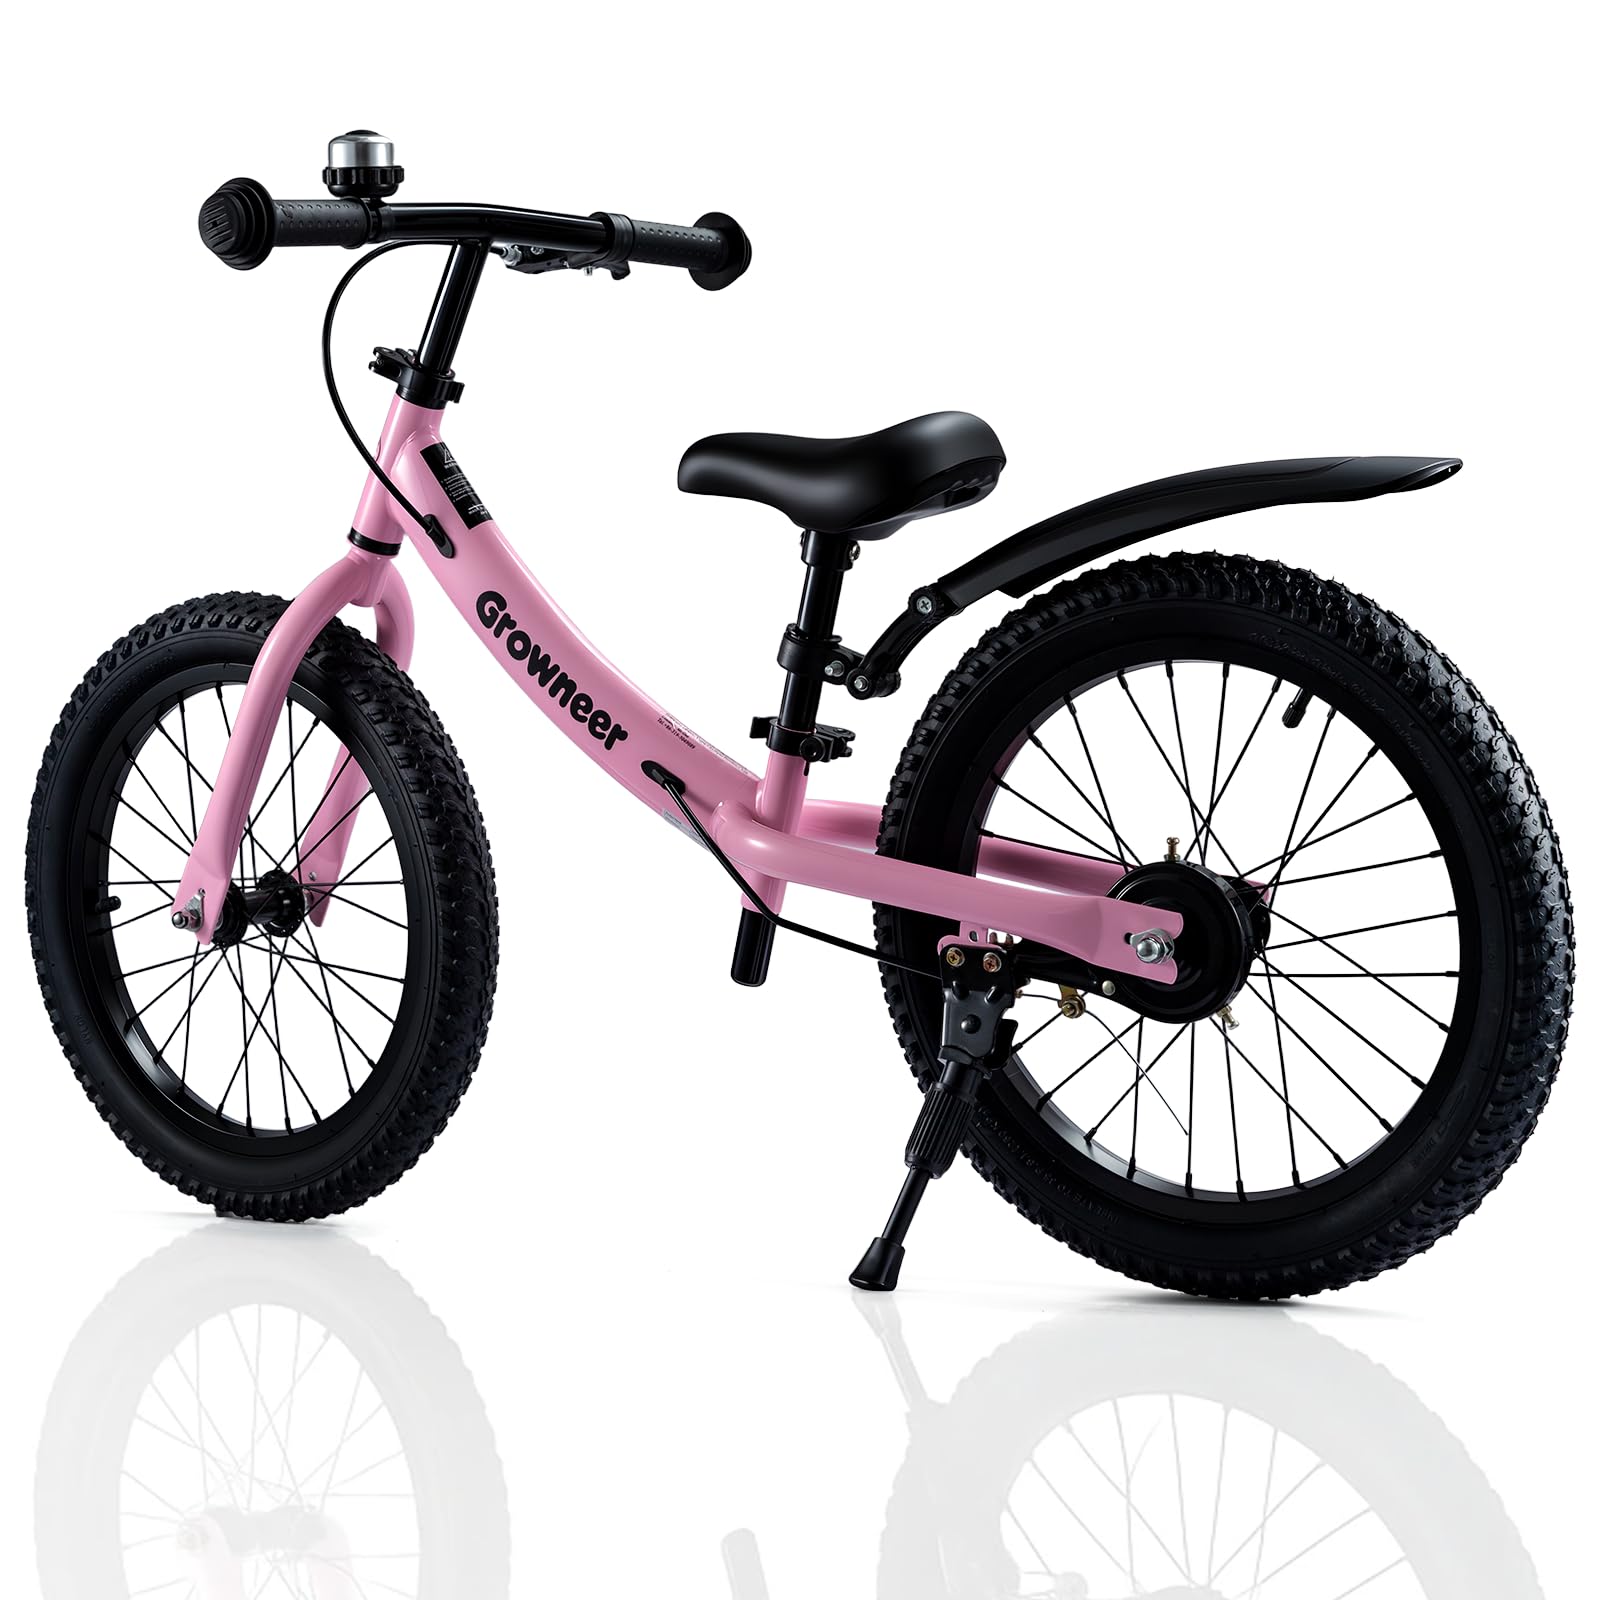
Image 1.1: The GROWNEER 16" Kids Balance Bike in pink, designed for young riders.
2. Safety Information
Always prioritize safety when using the balance bike. Failure to follow these guidelines may result in injury.
- Helmet Use: Always ensure the rider wears a properly fitted helmet that meets safety standards.
- Adult Supervision: Children should always be supervised by an adult while riding the balance bike.
- Appropriate Footwear: Ensure the rider wears closed-toe shoes that provide good grip.
- Riding Surface: Ride on smooth, flat, and clear surfaces away from traffic, steep hills, and obstacles. The bike is suitable for paved roads and unpaved trails.
- Brake Check: Before each ride, verify that the rear hand brake is functioning correctly.
- Weight Limit: Do not exceed the maximum weight recommendation of 110 pounds (50 kg).
- Pre-Ride Inspection: Check all bolts, nuts, and quick-release clamps are securely tightened. Ensure tires are properly inflated.

Image 2.1: A child demonstrating safe riding practices with a helmet on the balance bike.
3. Package Contents
Upon opening the package, ensure all the following components are present:
- GROWNEER 16" Kids Balance Bike Frame with Wheels
- Handlebar Assembly
- Seat Post with Saddle
- Rear Kickstand
- Front and Rear Mudguards
- Tire Pump
- Assembly Tools (if included)
- User Manual (this document)
4. Setup and Assembly
The GROWNEER 16" Kids Balance Bike requires minimal assembly. Follow these steps carefully:
- Unpack Components: Carefully remove all parts from the packaging.
- Install Handlebar: Insert the handlebar stem into the fork tube. Ensure the handlebar is aligned straight with the front wheel. Tighten the handlebar clamp bolts securely.
- Install Seat Post: Insert the seat post with the saddle into the frame's seat tube. Do not tighten yet, as adjustment will be needed.
- Attach Mudguards: Secure the front and rear mudguards to their respective mounting points on the frame and fork.
- Attach Kickstand: Mount the kickstand to the designated area on the bike frame, typically near the rear wheel.
- Inflate Tires: Use the provided pump to inflate the tires to the recommended pressure (check tire sidewall for details).
- Final Check: Double-check all bolts, nuts, and quick-release levers to ensure they are tight and secure before the first ride.

Image 4.1: The GROWNEER 16" Kids Balance Bike after assembly, ready for adjustments.
5. Adjustments
Proper adjustment of the seat and handlebars is crucial for comfort and effective learning.
5.1 Seat Height Adjustment
The seat height should allow the child to place both feet flat on the ground with a slight bend in their knees. This enables them to push off and stop easily.
- Loosen the quick-release clamp on the seat post.
- Adjust the seat to the desired height (adjustable from 17" to 24").
- Ensure the minimum insertion mark on the seat post is not visible.
- Tighten the quick-release clamp firmly.

Image 5.1: Illustration of the adjustable seat feature, providing a comfortable fit for various heights.
5.2 Handlebar Height Adjustment
The handlebar height should be comfortable for the child, allowing them to maintain an upright posture and easy steering. The handlebars are adjustable from 25" to 28".
- Loosen the quick-release clamp on the handlebar stem.
- Adjust the handlebar to a comfortable height.
- Ensure the handlebar is straight and aligned with the front wheel.
- Tighten the quick-release clamp firmly.

Image 5.2: Visual guide for adjusting the handlebar height to suit the rider.

Image 5.3: Dimensions and recommended rider specifications for the 16-inch balance bike.
6. Operating Instructions
The balance bike is designed to teach children how to balance and steer without pedals.
- Starting: Have the child sit on the saddle with both feet flat on the ground. Encourage them to walk or run with the bike between their legs.
- Gliding: As the child gains confidence, they will naturally lift their feet and glide. Encourage them to look forward, not down at their feet.
- Steering: Teach the child to steer by gently turning the handlebars in the direction they want to go.
- Braking: Introduce the rear hand brake early. Teach the child to squeeze the lever gently to slow down and stop. Initially, they may use their feet to stop, which is also acceptable.
Video 6.1: A demonstration of children riding the GROWNEER 16-inch balance bike, showcasing its use and features.
7. Maintenance
Regular maintenance ensures the longevity and safe operation of your balance bike.
- Cleaning: Wipe down the bike with a damp cloth after use. Avoid harsh chemicals.
- Tire Pressure: Check tire pressure regularly and inflate as needed using the provided pump. Proper inflation ensures optimal performance and shock absorption.
- Brake Inspection: Periodically check the rear hand brake for proper function and adjust if necessary. Ensure the brake lever is easy for small hands to operate.
- Fasteners: Regularly inspect all bolts, nuts, and quick-release mechanisms for tightness. Tighten any loose fasteners.
- Storage: Store the bike in a dry place away from direct sunlight and extreme temperatures to prevent material degradation.

Image 7.1: The bike's high-rebound, shock-absorbing pneumatic tires are suitable for various terrains.
8. Troubleshooting
Refer to this section for common issues and their solutions.
| Problem | Possible Cause | Solution |
|---|---|---|
| Bike feels unstable or wobbly | Loose handlebar or wheel fasteners. | Check and tighten all quick-release clamps and bolts on the handlebars and wheels. |
| Brake not effective | Brake cable too loose or worn brake pads. | Adjust the brake cable tension. If pads are worn, contact customer support for replacements. |
| Tires are flat or losing air quickly | Low tire pressure or puncture. | Inflate tires to recommended pressure. If air loss persists, inspect for punctures and repair or replace the inner tube. |
| Seat or handlebars slip down | Quick-release clamp not tight enough. | Ensure the quick-release clamp is fully closed and tightened securely. |
9. Specifications
| Feature | Detail |
|---|---|
| Bike Type | Balance Bike |
| Age Range | 4-8 Years Old |
| Wheel Size | 16 inches |
| Frame Material | High Carbon Steel |
| Bike Weight | 11.2 lbs (5.1 kg) |
| Maximum Weight Recommendation | 110 pounds (50 kg) |
| Minimum User Height | 39 inches (99 cm) |
| Seat Height Adjustment | 17" - 24" |
| Handlebar Height Adjustment | 25" - 28" |
| Brake Style | Rear Drum Brake |
| Tire Type | Air-filled Rubber Tires (16” x 2.125”) |
| Special Features | Adjustable Handlebars, Adjustable Seat, Durable, Lightweight, Portable, Kickstand, Mudguards, Pump |

Image 9.1: The balance bike features an industrial-grade high carbon steel frame for durability.

Image 9.2: The wheels are equipped with aluminum alloy spoked hubs for lightweight strength.

Image 9.3: The ergonomic seat design includes ventilation holes for rider comfort.
10. Warranty and Support
GROWNEER products are manufactured with quality and care. For warranty information, product support, or to inquire about replacement parts, please refer to the contact information provided with your purchase or visit the official GROWNEER website.
Manufacturer: GROWNEER
Contact: Please refer to your purchase documentation for specific customer service details.
Ask a question about this manual
Ask about setup, troubleshooting, compatibility, parts, safety, or missing instructions. Manuals+ will review the question and use this page’s manual context to help answer it.