1. Introduction
This manual provides essential information for the safe installation, operation, and maintenance of your LANCHEZ 16-inch Sand Filter Pump with Timer. This system is designed for above-ground pools up to 16,000 gallons, featuring a 1.5 HP pump with a maximum flow rate of 4900 GPH and a 7-way valve for comprehensive pool water management. Please read these instructions thoroughly before use to ensure proper function and longevity of the product.

Image 1.1: Overview of the LANCHEZ 16-inch Sand Filter Pump highlighting its capacity and features.
2. Safety Information
Always observe basic safety precautions to reduce the risk of injury, fire, or electric shock.
- Electrical Safety: Connect the pump only to a grounded receptacle protected by a Ground-Fault Circuit Interrupter (GFCI). Do not use extension cords. Ensure the power cord is in good condition and not damaged.
- Water and Electricity: Never operate the pump when people are in the pool. Keep the pump and electrical connections away from water sources to prevent electric shock.
- Pressure Hazards: Do not attempt to open the filter tank or pump while the system is operating or under pressure. Always relieve pressure before servicing.
- Chemicals: Handle pool chemicals with care and follow manufacturer instructions. Do not add chemicals directly into the skimmer or pump.
- Children: Keep children away from the pool equipment area. This appliance is not intended for use by persons with reduced physical, sensory or mental capabilities, or lack of experience and knowledge, unless they have been given supervision or instruction.
- Ventilation: Ensure adequate ventilation around the pump to prevent overheating.
3. Package Contents
Verify that all components are present and undamaged before beginning installation. If any parts are missing or damaged, contact customer support.
- 16-inch Sand Filter Tank
- 1.5 HP Pool Pump
- 7-Way Multi-Port Valve
- Filter Assembly (laterals, standpipe)
- Base Support
- Pressure Gauge
- Drain Plug
- Flange Clamp
- O-Rings (various sizes)
- Neck Fitting (Funnel)
- Hose Adaptors
- Hose Clamps
- 1.25-inch (32mm) x 1.5-meter Hose
- Instruction Manual

Image 3.1: Detailed view of all components included in the package.
4. Setup and Installation
Follow these steps for proper assembly and installation of your sand filter pump system.
- Positioning the Unit: Place the filter pump system on a firm, level surface, preferably concrete, and as close to the pool as possible. Ensure there is adequate space for maintenance and ventilation.
- Assemble the Base: Secure the filter tank onto the base support.
- Install Filter Assembly: Insert the filter assembly (laterals and standpipe) into the bottom of the filter tank. Ensure the laterals are properly spread out.
- Add Filter Media: Carefully add the appropriate amount of filter sand or filter balls into the tank. For sand, use 100 lbs of #20 silica sand (0.45-0.55mm). For filter balls, use 4.6 lbs. Ensure the standpipe opening is covered to prevent media from entering it during filling.

Image 4.1: Filter media capacity details.
- Install Multi-Port Valve: Place the 7-way multi-port valve onto the top of the filter tank, ensuring the standpipe aligns correctly with the valve's opening. Secure the valve with the flange clamp and bolts.
- Connect Pump to Filter: Attach the pump to the filter tank using the provided hose and adaptors. Ensure all connections are tight to prevent leaks.
- Connect to Pool: Connect the pool's skimmer line to the pump's inlet and the pool's return line to the valve's 'RETURN' port using the provided hoses and clamps.
- Install Pressure Gauge: Screw the pressure gauge into the designated port on the multi-port valve.
- Initial Startup: Before plugging in the pump, ensure the pool is filled to the proper level. Prime the pump by filling the strainer basket housing with water until it overflows. Close the lid. Set the 7-way valve to the 'BACKWASH' position. Plug in the pump. Once water flows from the waste port, run for 1-2 minutes, then turn off the pump. Set the valve to 'RINSE' and run for 30-60 seconds. Turn off the pump. Finally, set the valve to 'FILTER' for normal operation.

Image 4.2: Key components of the sand filter pump system.
5. Operating Instructions
5.1. 7-Way Multi-Port Valve Functions
The 7-way valve allows for various operational modes. Always turn off the pump before changing the valve position to prevent damage.
| Position | Function | Description |
|---|---|---|
| FILTER | Normal Filtration | For daily filtering of pool water. Water flows through the sand bed, returning clean water to the pool. |
| BACKWASH | Cleaning Filter | Reverses water flow through the filter bed to flush trapped debris out the waste port. Use when pressure gauge reads 8-10 PSI above starting pressure. |
| RINSE | Post-Backwash Rinse | Used after backwashing to flush remaining dirty water from the filter and settle the sand bed. Water exits via the waste port. |
| WASTE | Draining/Vacuuming to Waste | Bypasses the filter, sending water directly out the waste port. Useful for draining the pool or vacuuming heavy debris directly to waste. |
| CLOSED | System Shut-off | Closes all flow to the filter and pump. Never operate the pump with the valve in the CLOSED position. |
| RECIRCULATE | Water Circulation | Circulates pool water without filtering it. Useful for mixing chemicals. |
| WINTER | Winterizing | Used for winterizing the filter system. This position lifts the valve's internal components to prevent freezing damage. |

Image 5.1: Multi-port valve settings.
5.2. Timer Operation
The integrated 24-hour programmable timer allows for automated filtration cycles, optimizing energy use and maintaining water quality.
- Setting the Timer: Refer to the timer dial on the pump. Use the pins or segments to set desired ON/OFF times for filtration cycles.
- Single Cycle Mode: Program the timer for specific start and end times for daily filtration.
- Continuous Cycle Mode: For continuous operation, bypass the timer or set it to run for the entire 24-hour period.
- Energy Saving: Utilize the timer to run the pump during off-peak electricity hours or for the minimum duration required to maintain water clarity.
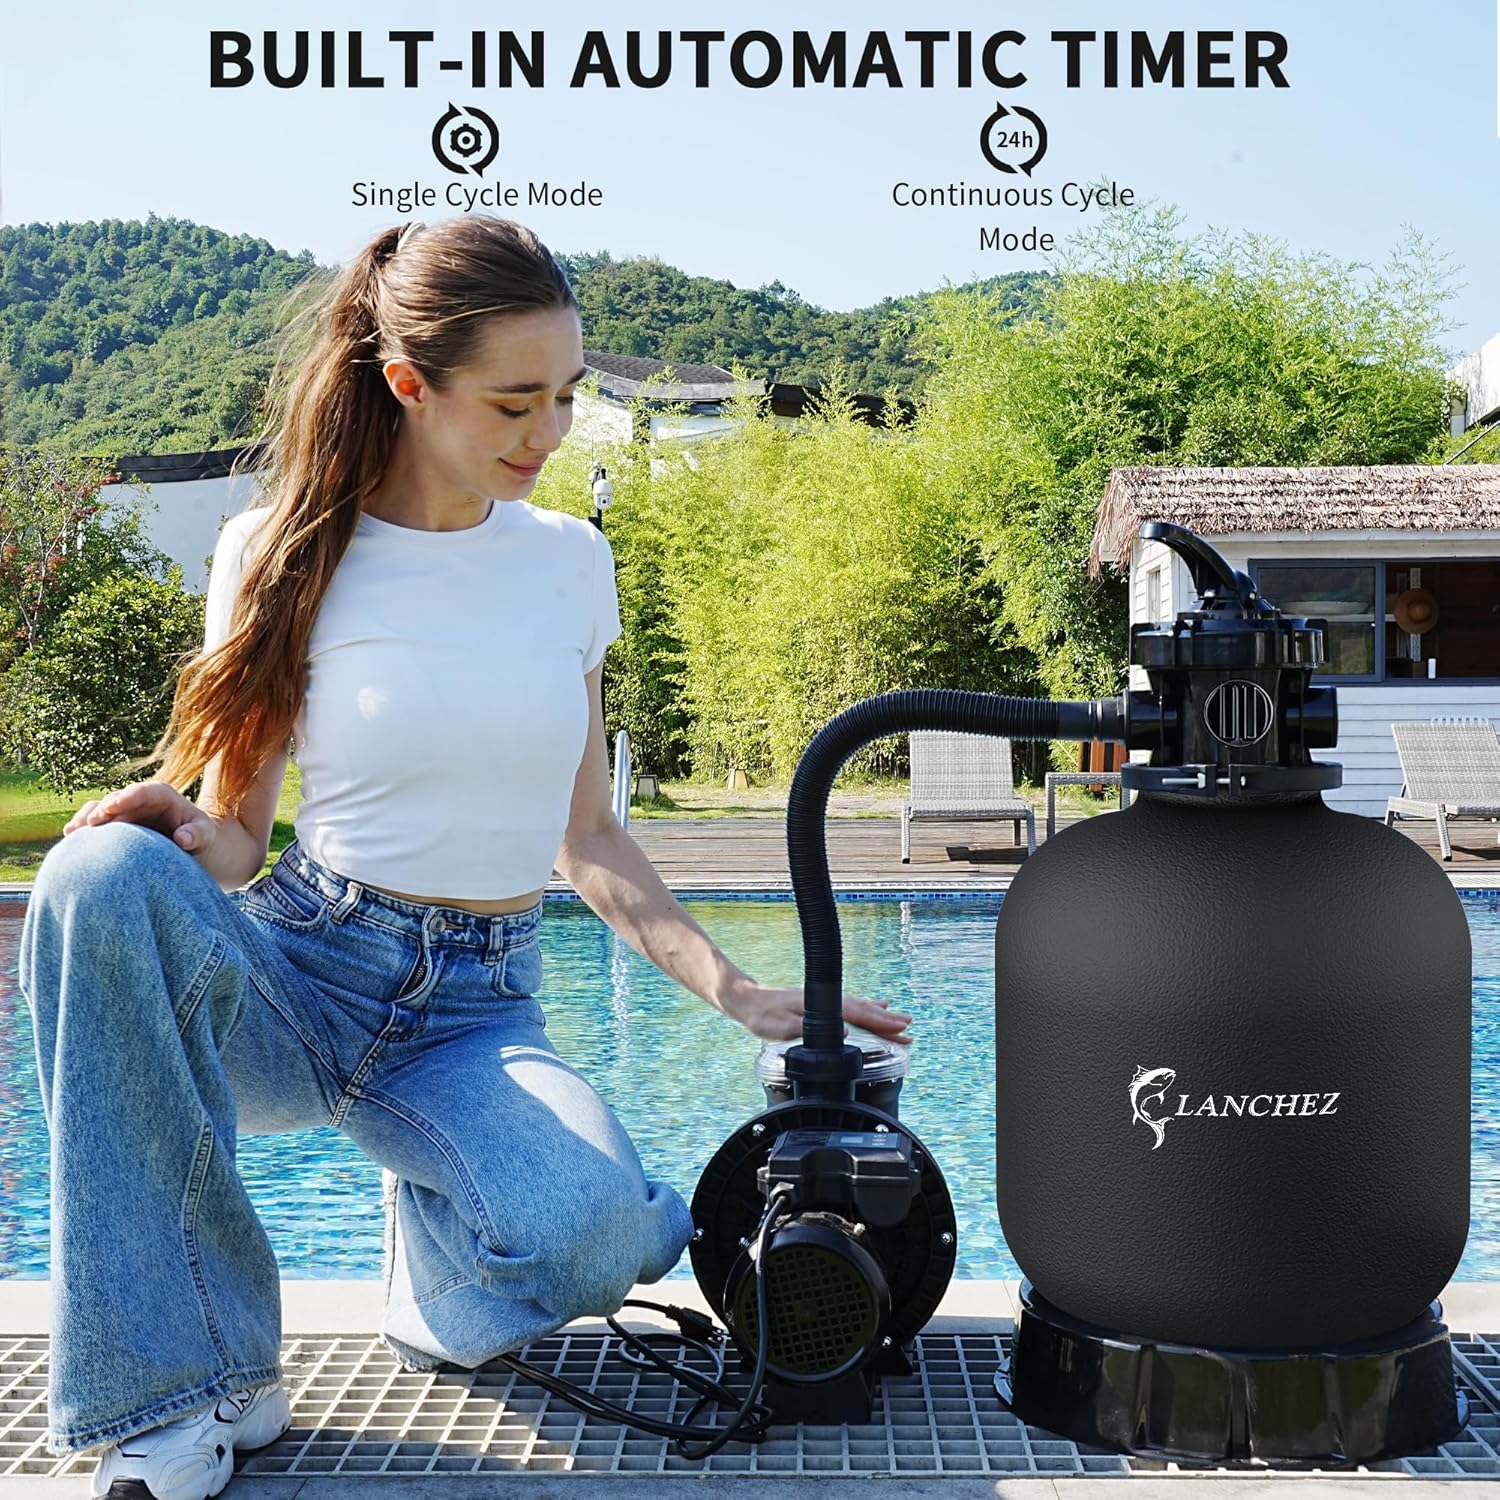
Image 5.2: Built-in automatic timer for scheduled filtration.
6. Maintenance
Regular maintenance ensures optimal performance and extends the life of your filter pump system.
- Backwashing and Rinsing:
- Monitor the pressure gauge. When the pressure rises 8-10 PSI above the clean filter's starting pressure, it's time to backwash.
- Turn off the pump.
- Set the 7-way valve to 'BACKWASH'.
- Turn on the pump and run until the water flowing from the waste port is clear (typically 1-2 minutes).
- Turn off the pump.
- Set the 7-way valve to 'RINSE'.
- Turn on the pump and run for 30-60 seconds.
- Turn off the pump.
- Set the 7-way valve to 'FILTER' for normal operation.
- Cleaning the Strainer Basket:

Image 6.1: Strainer filter basket for debris collection.
- Turn off the pump and close any necessary valves to prevent water flow.
- Unscrew the clear lid of the pump's strainer housing.
- Remove the strainer basket and empty any collected debris (leaves, hair, gravel).
- Rinse the basket thoroughly with water.
- Inspect the O-ring on the lid for cracks or wear; replace if necessary.
- Replace the basket and secure the lid, ensuring a tight seal.
- Winterizing: Before freezing temperatures, drain all water from the pump, filter, and plumbing lines. Store the pump and valve indoors if possible. Set the 7-way valve to the 'WINTER' position.
- Sand Replacement: Filter sand typically needs replacement every 3-5 years, depending on usage and water quality.
7. Troubleshooting
Refer to this section for common issues and their potential solutions.
| Problem | Possible Cause | Solution |
|---|---|---|
| Pump not starting | No power; tripped GFCI; motor issue. | Check power connection, reset GFCI, ensure timer is set correctly. If motor hums but doesn't start, contact support. |
| Low water flow / Low pressure | Clogged skimmer/pump basket; dirty filter sand; air leak in suction line; low water level in pool. | Clean skimmer and pump baskets. Backwash/rinse filter. Check all connections for air leaks. Ensure pool water level is adequate. |
| Cloudy pool water | Insufficient filtration time; dirty filter sand; improper chemical balance. | Increase filtration time. Backwash/rinse filter. Test and adjust pool chemicals. |
| Water leaking from pump/filter | Loose connections; damaged O-rings/gaskets; cracked housing. | Tighten all connections. Inspect and replace O-rings/gaskets. If housing is cracked, contact support. |
| Sand returning to pool | Damaged laterals in filter tank; incorrect sand type/amount. | Inspect laterals for damage and replace if necessary. Verify correct sand type and amount. |
8. Specifications
Technical details for the LANCHEZ 16-inch Sand Filter Pump (Model LZ-CLP8005AF-16).
| Feature | Detail |
|---|---|
| Model Number | LZ-CLP8005AF-16 |
| Filter Tank Size | 16 inches |
| Horsepower | 1.5 HP |
| Max Flow Rate | 4900 GPH (82 Gallons Per Minute) |
| Recommended Pool Capacity | Up to 16,000 Gallons |
| Sand Capacity | 100 lbs |
| Filter Balls Capacity | 4.6 lbs |
| Voltage | 115 Volts |
| Wattage | 800 watts |
| Item Weight | 22.8 pounds |
| Product Dimensions | 27.6 x 15.3 x 31.1 inches |
| Material | Thermoplastic (Plastic) |
| Power Source | Corded Electric |
| Valve Type | 7-Way Multi-Port Valve |
| Included Components | 16'' Sand Filter Pump, Manual |

Image 8.1: Performance curve and key technical specifications.
8.1. Pool Selection Tips
Refer to the table below to ensure your filter size is appropriate for your pool's capacity.

Image 8.2: Guide for matching filter size to pool requirements.
9. Warranty and Support
Your LANCHEZ Sand Filter Pump is backed by a manufacturer's warranty and dedicated customer support.
- Warranty: This product includes a 3-year warranty from the date of purchase, covering defects in materials and workmanship. Please retain your proof of purchase for warranty claims.
- Customer Service: For technical assistance, troubleshooting, or warranty inquiries, please contact LANCHEZ customer support. Refer to the contact information provided with your purchase or visit the official LANCHEZ website.


