1. Introduction
This manual provides detailed instructions for the installation, operation, and maintenance of your T'nB TNT2 Full HD Digital TV Receiver. Please read this manual thoroughly before using the device to ensure proper functionality and to prevent damage.
2. Safety Information
Always follow basic safety precautions when using this product to reduce the risk of fire, electric shock, and injury to persons.
- Do not expose the device to rain or moisture.
- Do not open the casing. Refer all servicing to qualified personnel.
- Ensure proper ventilation around the device.
- Unplug the device during lightning storms or when unused for long periods.
- Keep the device away from heat sources.
3. Package Contents
Verify that all items are present in the package:
- 1 x T'nB TNT2 Full HD Digital TV Receiver
- 1 x Infrared Remote Control
- 1 x User Manual (this document)
4. Product Overview
4.1 Front Panel

Figure 1: Front Panel of the Receiver. Features include power, menu, channel/volume controls, and a USB port for media playback and recording.
The front panel includes essential controls and a USB port for convenient access:
- POWER Button: To turn the receiver ON/OFF.
- MENU Button: To access the main menu.
- CH+/CH- Buttons: To change channels.
- VOL+/VOL- Buttons: To adjust volume.
- OK Button: To confirm selections.
- USB Port: For connecting USB storage devices for PVR recording and media playback.
4.2 Rear Panel

Figure 2: Rear Panel Connectivity. Ports include RF IN, RF LOOP THROUGH, Coaxial, HDMI, SCART, and AC power input.
The rear panel provides all necessary connections for your television and antenna:
- RF IN: Connects to your terrestrial antenna.
- RF LOOP THROUGH: For connecting to another TV or DVB-T2 receiver.
- COAXIAL: Digital audio output.
- HDMI: High-Definition Multimedia Interface for connecting to modern TVs.
- SCART (Peritel): For connecting to older TVs.
- AC Power Input: Connects to the power adapter.
5. Setup
5.1 Connecting the Receiver
- Antenna Connection: Connect your terrestrial antenna cable to the RF IN port on the rear panel of the receiver.
- TV Connection:
- For modern TVs: Connect an HDMI cable from the HDMI port on the receiver to an HDMI input on your TV.
- For older TVs: Connect a SCART cable from the SCART (Peritel) port on the receiver to the SCART input on your TV.
- Power Connection: Connect the power adapter to the AC Power Input on the receiver, then plug the adapter into a wall outlet.
- Turn On: Turn on your TV and select the correct HDMI or SCART input source. Then, turn on the T'nB receiver using the POWER button on the front panel or remote control.
5.2 First Time Installation & Channel Scan
Upon first power-on, the receiver will guide you through the initial setup process.
- Language Selection: Choose your preferred language from the on-screen menu.
- Country Selection: Select your country.
- Channel Search: The receiver will prompt you to perform a channel scan.
- Automatic Search: This option will automatically scan for all available TV and radio channels. This is the recommended method for most users.
- Manual Search: This option allows you to manually enter specific frequency parameters to search for channels.
- Completion: Once the scan is complete, the receiver will save the channels and display the first available channel.
6. Operating Instructions
6.1 Basic Operation
- Channel Change: Use the CH+/CH- buttons on the remote control or front panel.
- Volume Control: Use the VOL+/VOL- buttons on the remote control or front panel.
- Mute: Press the MUTE button on the remote control to temporarily silence the audio.
- Information Display: Press the INFO button to view current program information.
6.2 Electronic Program Guide (EPG)

Figure 3: Electronic Program Guide (EPG). Displays a 7-day program schedule for easy viewing and program scheduling.
The EPG provides a 7-day program schedule. Press the EPG button on your remote control to access it. You can browse programs, view details, and set reminders or recordings (if a USB device is connected).
6.3 USB Recording (PVR) and Media Playback
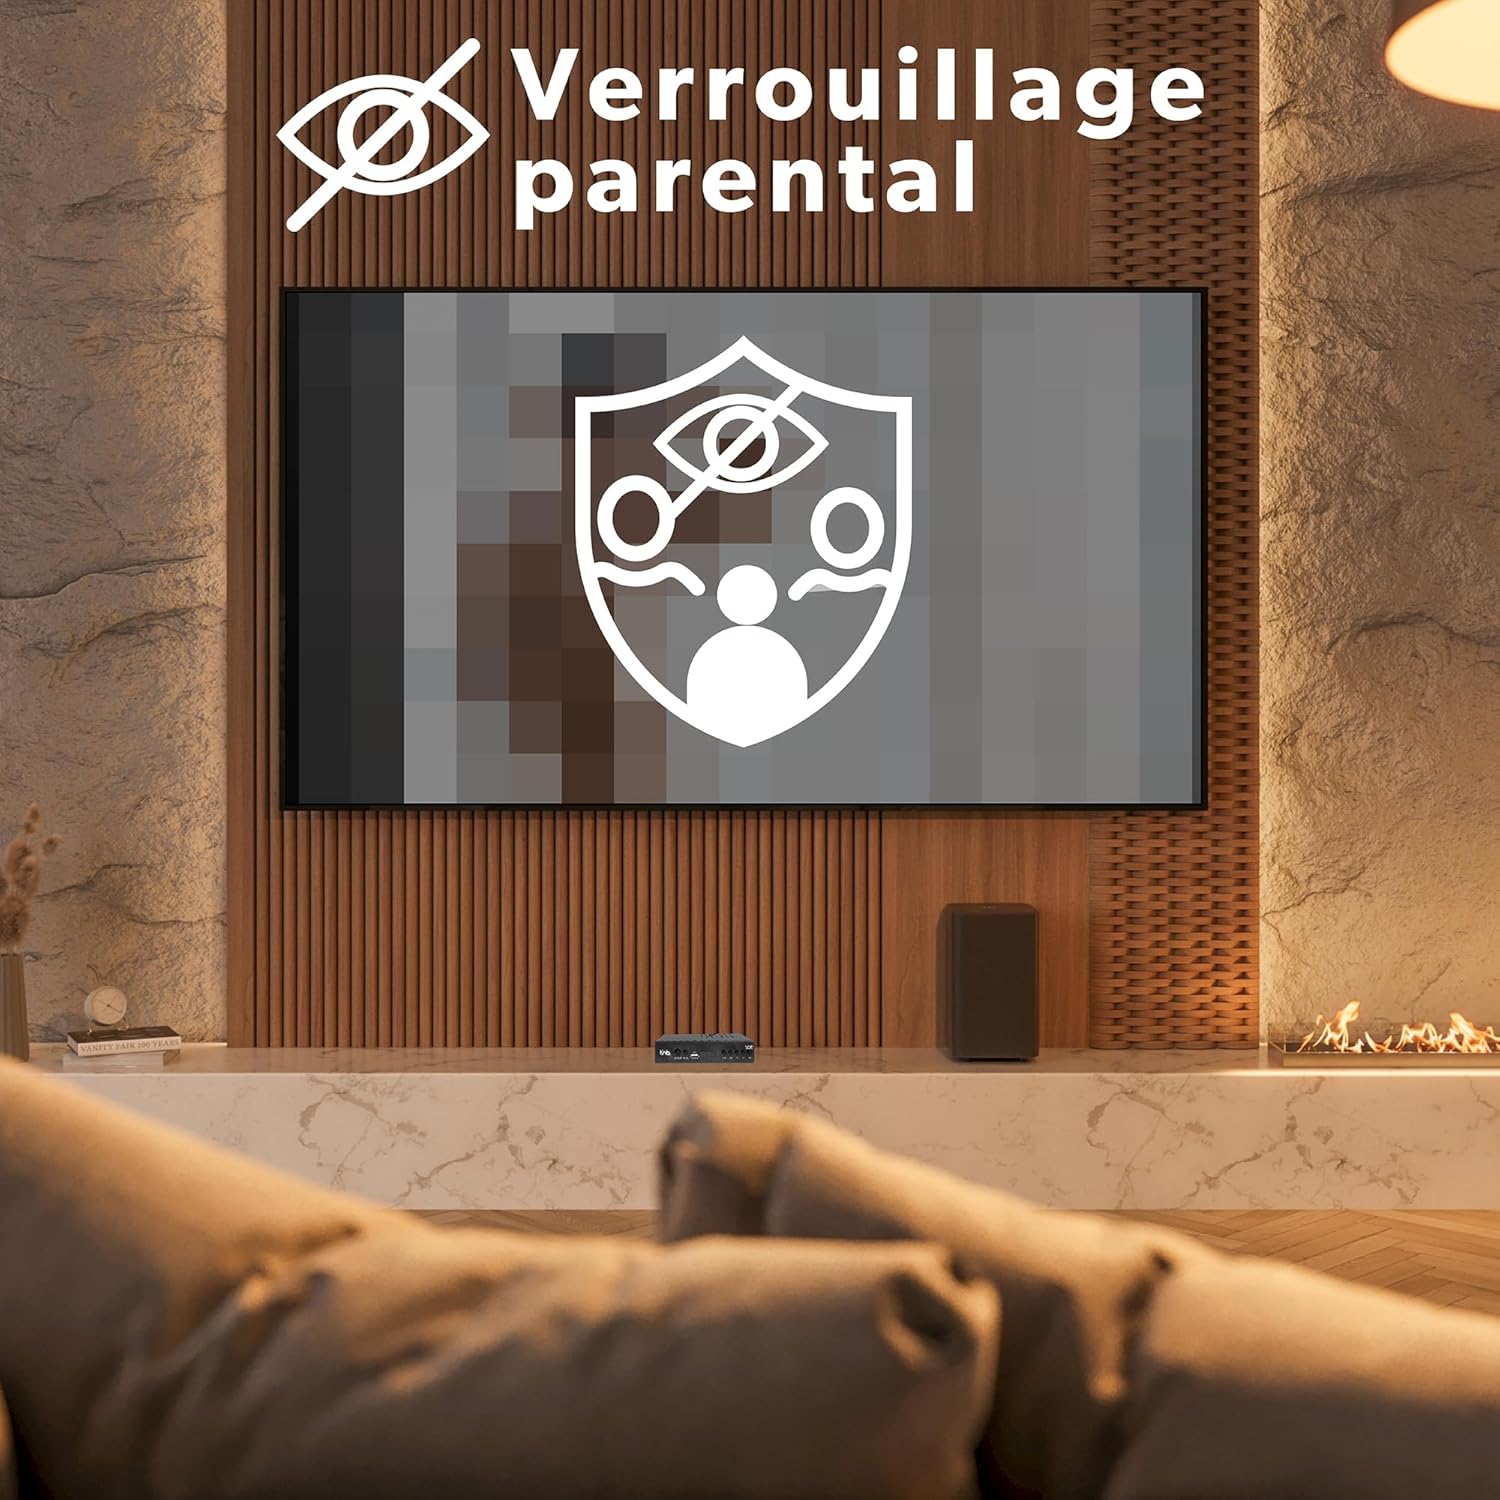
Figure 4: PVR Recording Function. Allows recording of live TV programs to a connected USB storage device.
To use the PVR function, connect a USB storage device (USB stick or external hard drive, not included) to the USB port on the front panel.
- Recording: Press the REC button on the remote control to start recording the current program. Press STOP to end recording. You can also schedule recordings via the EPG.
- Time Shift: Press the PAUSE button during live TV to pause the program. Press PLAY to resume from where you left off.
- Media Playback: Access the Media menu to play back recorded programs, videos, music, or photos stored on your USB device.
6.4 Parental Lock

Figure 5: Parental Lock Feature. Enables content restriction based on age ratings or specific channels.
The parental lock feature allows you to restrict access to certain channels or programs based on age ratings. Access this feature through the main menu, usually under "System" or "Parental Control," and set a PIN code.
6.5 Multilingual Interface
Figure 6: Multilingual Interface. The receiver supports multiple languages for its on-screen display and menus.
The receiver's user interface is available in multiple languages. You can change the language setting in the main menu under "System" or "Language."
6.6 Full HD Video Output

Figure 7: Full HD 1080p Video Output. Experience crisp and clear high-definition picture quality.
The T'nB TNT2 receiver supports Full HD 1080p video output, compatible with various video encoding formats including MPEG-1, MPEG-2, MPEG-4, H.264, and H.265, ensuring a high-quality viewing experience.
6.7 Dolby Digital Audio
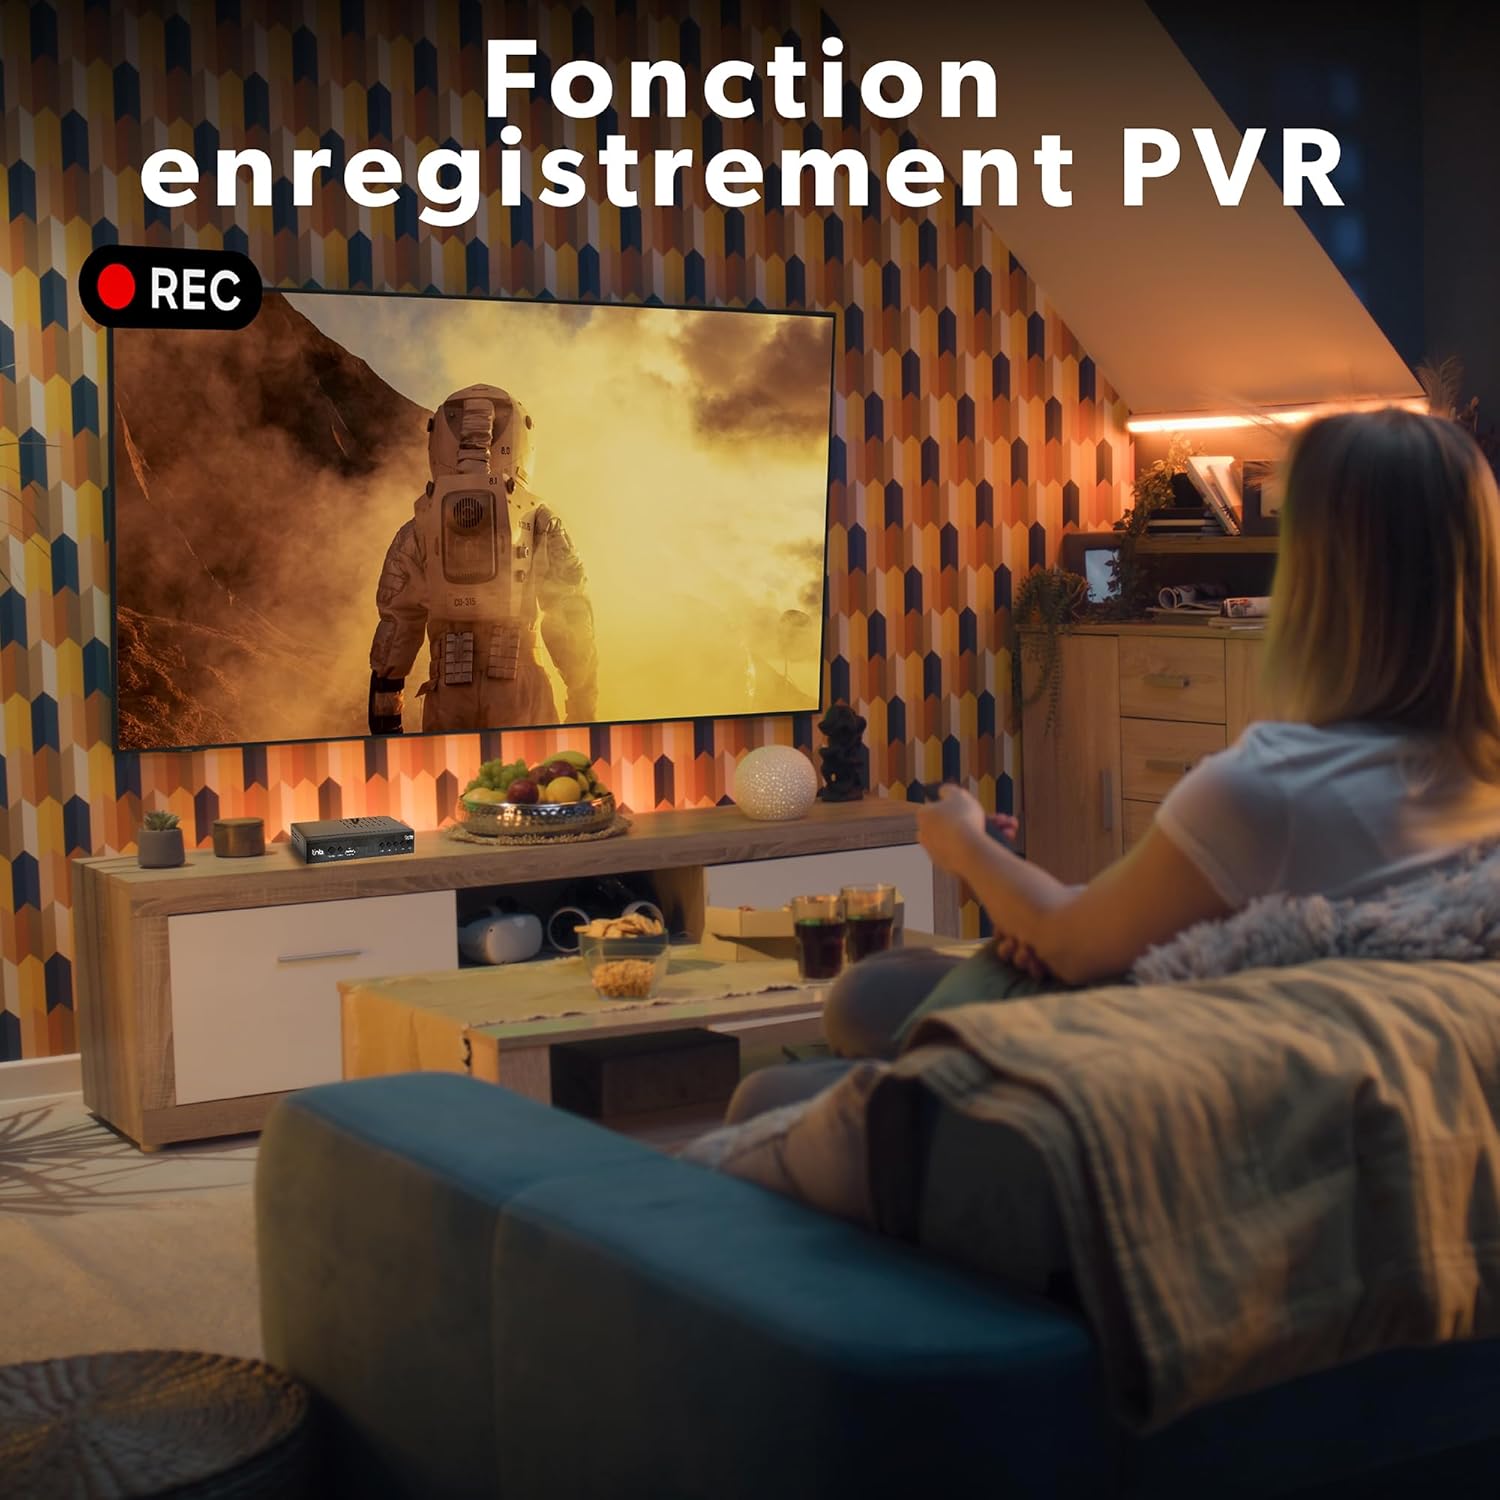
Figure 8: Integrated Dolby Digital Audio. Enjoy rich and immersive sound quality with Dolby Digital support.
The receiver features an advanced Dolby Digital audio processor, providing a rich and immersive sound experience for your television programs.
7. Maintenance
7.1 Cleaning
- Always unplug the receiver from the power outlet before cleaning.
- Use a soft, dry cloth to wipe the exterior of the device.
- Do not use liquid cleaners or aerosol sprays, as they may damage the casing or internal components.
7.2 Software Updates
Periodically check the manufacturer's website for any available software updates. Updates can improve performance and add new features. Follow the instructions provided with the update carefully.
8. Troubleshooting
| Problem | Possible Cause | Solution |
|---|---|---|
| No picture/No sound |
|
|
| "No Signal" message |
|
|
| Remote control not working |
|
|
| USB recording not working |
|
|
9. Specifications
| Brand | T'nB |
| Model Number | TVBOX1TNT2 |
| Video Encoding | MPEG-1, MPEG-2, MPEG-4, H.264, H.265 |
| Video Output | Full HD 1080p |
| Audio Output Mode | Surround (Dolby Digital) |
| Audio Output Type | HDMI, SCART (Peritel), Coaxial |
| Connectivity Technology | HDMI, SCART (Peritel), USB |
| Compatible Devices | Television, Video Game Console, Personal Computer |
| Included Components | 1 Decoder, 1 Infrared Remote Control |
| Power Consumption | Standby: <1W, Operating: <10W |
10. Warranty and Support
For warranty information and technical support, please refer to the warranty card included with your product or visit the official T'nB website. Keep your proof of purchase for any warranty claims.
T'nB Official Website: Visit T'nB Store on Amazon (This link directs to the brand's Amazon store, which may contain support information or links to the official website).


