
1. Introduction
This manual provides detailed instructions for the installation, operation, and maintenance of your Dasaita Android 13 Car Stereo Head Unit. This unit is designed for specific Subaru models, offering advanced features such as Wireless CarPlay, Android Auto, in-dash navigation, and 4G cellular connectivity.
1.1 Product Compatibility
This head unit is compatible with the following vehicle models:
- Subaru Forester: 2015-2018 models
- Subaru WRX: 2016-2021 models
Note: This unit is incompatible with vehicles equipped with Harman Kardon audio systems.
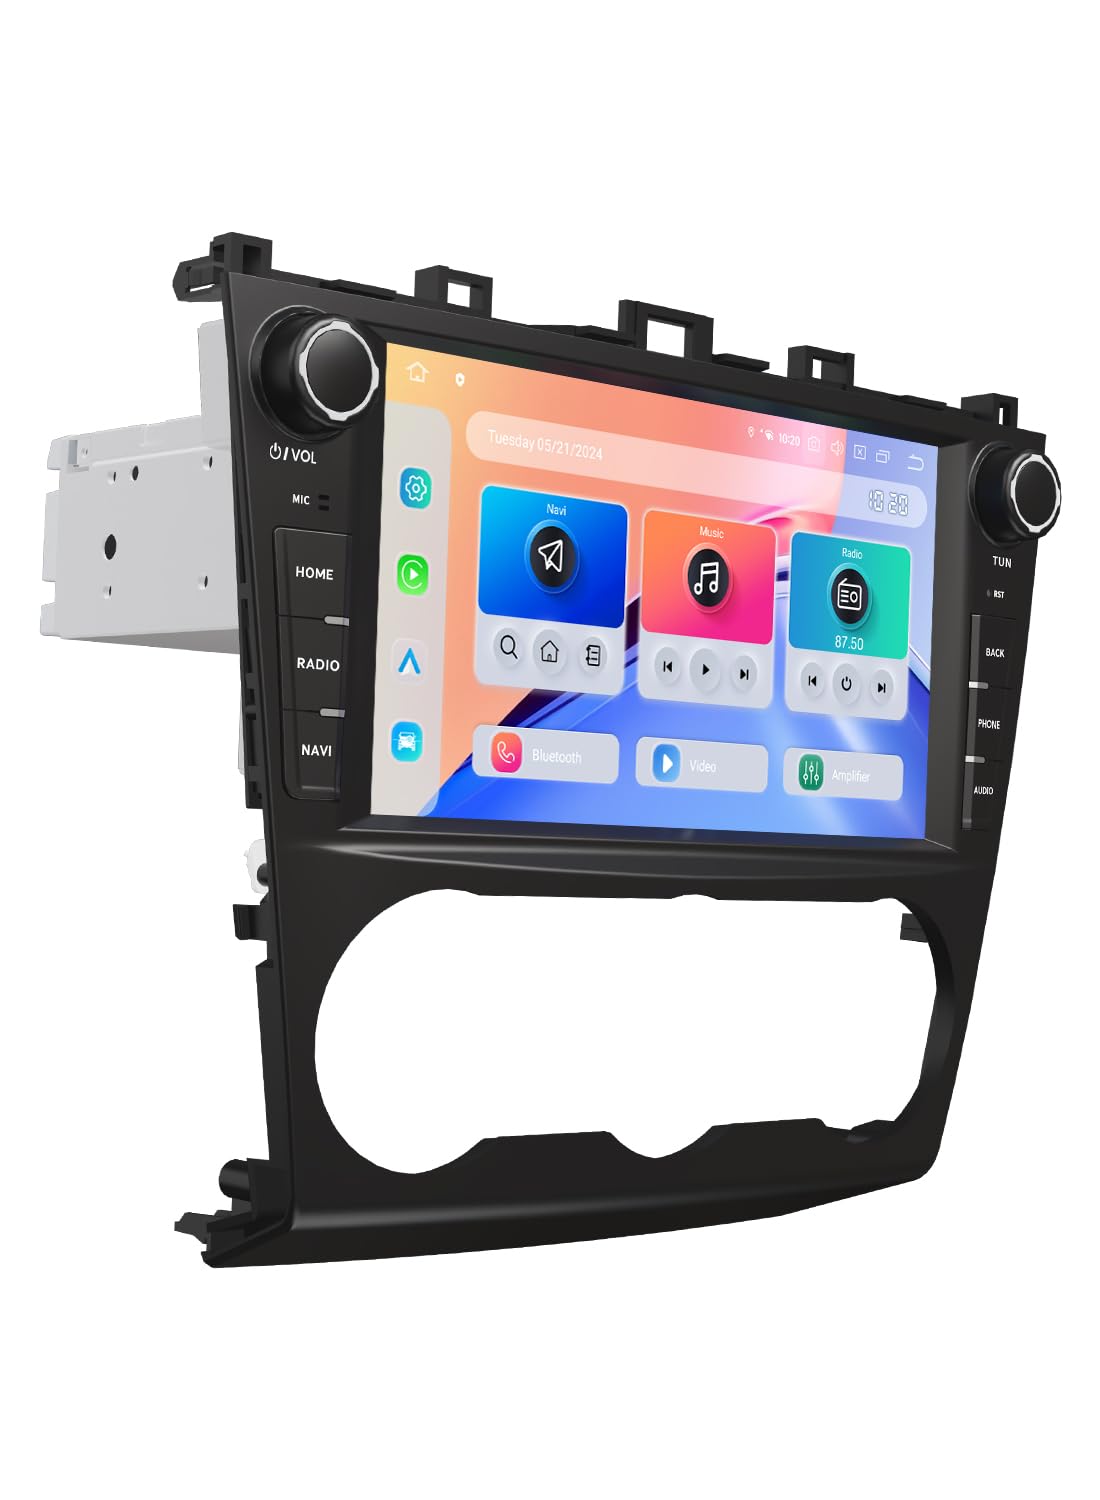
Image: Dasaita head unit fitment for Subaru Forester and WRX, illustrating compatible and incompatible OEM radio configurations.

Image: Ensure your vehicle's original radio matches the compatible configurations shown for proper fitment.
2. What's in the Box
Carefully unpack the box and ensure all components are present and in good condition. The package should include:
- Dasaita Android 13 Car Stereo Head Unit
- Power Cable 1
- Power Cable 2
- USB Adapter
- Microphone
- 4G Antenna
- GPS Antenna
- AUX Out & Cam In cables
- AUX In & F-Cam cables
- USB cables (Single and Dual)
- WiFi Antenna
- SIM Card Cable
- Canbus Decoder
- User Manual
- Tool Kit

Image: Overview of included components and functional wires.
3. Setup and Installation
Installation of the Dasaita Android 13 Car Stereo Head Unit requires careful attention to wiring and vehicle panel removal. If you are not confident in performing the installation yourself, it is recommended to seek professional assistance.
3.1 General Installation Steps
- Prepare the Vehicle: Ensure the vehicle's ignition is off and disconnect the negative terminal of the car battery to prevent electrical shorts.
- Remove OEM Radio: Carefully remove the existing factory radio and trim panels. Refer to your vehicle's service manual for specific instructions on panel removal.
- Connect Wiring Harness: Connect the provided wiring harness to the vehicle's factory harness. Ensure all connections are secure.
- Connect Antennas and Peripherals: Connect the GPS antenna, 4G antenna, WiFi antenna, microphone, and any other peripheral cables (e.g., AUX, camera input) to the head unit.
- Install Head Unit: Mount the new head unit into the dashboard opening. Secure it using the appropriate brackets and screws.
- Test Functionality: Before reassembling all panels, reconnect the car battery and perform initial tests to ensure the unit powers on and basic functions (audio, touchscreen, steering wheel controls) are working.
- Reassemble: Once confirmed, reassemble all trim panels.
Video: Detailed installation guide for the Dasaita G13 Head Unit in a Subaru Forester 2015-2018.
3.2 Wiring Diagram
Refer to the following diagram for proper wiring connections. Ensure each cable is connected to its corresponding port.

Image: Stereo wiring diagram with numbered connections and a table for pin assignments.
3.3 Connecting to Wi-Fi
To access online features, connect your head unit to a Wi-Fi network, such as your phone's hotspot.
- Go to the unit's settings menu.
- Select 'Network & Internet' or 'Wi-Fi'.
- Turn on Wi-Fi and select your desired network.
- Enter the Wi-Fi password if prompted.
Video: Instructions on how to correctly connect the head unit to a Wi-Fi network.
3.4 Bluetooth Pairing
Pair your smartphone with the head unit via Bluetooth for hands-free calling and audio streaming.
- On the head unit, open the Bluetooth application.
- Ensure Bluetooth is enabled on your smartphone and set to discoverable.
- Search for available devices on the head unit and select your phone.
- Confirm the pairing code on both devices.
Video: Demonstrates Bluetooth pairing and wireless CarPlay/Android Auto functionality.
3.5 Steering Wheel Control Learning
To utilize your vehicle's factory steering wheel controls with the new head unit, you may need to configure them through the unit's settings.
- Access the 'Factory Settings' menu (password may be required, typically '000000').
- Navigate to 'SWC Type' or 'Steering Wheel Control Learning'.
- Follow the on-screen prompts to assign functions to each steering wheel button.
Video: Guide on how to configure and learn steering wheel controls for the head unit.
4. Operating Instructions
4.1 User Interface and Navigation
The head unit runs on Android 13, providing a familiar and intuitive interface. Swipe left or right to access different app screens, and use the notification bar for quick settings.

Image: User-friendly interface with customizable day and night modes.
4.2 Wireless Apple CarPlay & Android Auto
Connect your iPhone or Android device wirelessly for seamless integration of navigation, music, and communication apps.
- Ensure Bluetooth and Wi-Fi are enabled on both your phone and the head unit.
- Open the CarPlay or Android Auto application on the head unit.
- Follow the on-screen prompts to connect your device.
Video: Demonstrates the process of connecting to wireless CarPlay.

Image: Wireless Apple CarPlay in operation.

Image: Wireless Android Auto in operation.
4.3 4G LTE & 5G WiFi Connectivity
The head unit features built-in 4G LTE connectivity (SIM slot included) and dual-band 5G WiFi, allowing you to stay connected on the go for streaming, navigation updates, and web browsing.

Image: 4G Internet/Calling and 5G WiFi support.
4.4 Audio Settings (DTS Sound Tuning)
Customize your audio experience with the integrated DTS sound processing. Access the equalizer and sound presets to tailor the output to your preferences.

Image: DTS sound tuning interface for superior audio customization.

Image: Aftermarket audio outputs for connecting external amplifiers and speakers.
4.5 FM/AM Radio
Tune into local FM/AM radio stations for news, music, and traffic updates.
Video: Demonstrates the radio functionality of the Dasaita Android 13 Car Stereo.

Image: FM/AM Radio Receiver interface.
4.6 Built-in Gyroscope
The integrated gyroscope provides real-time monitoring of roll and pitch angles, enhancing safety and awareness during off-road driving or on uneven terrain.

Image: Built-in gyroscope display for real-time vehicle angle monitoring.
4.7 HDMI Output
Utilize the HDMI output port to connect external displays, such as rear-seat monitors, for sharing video content with passengers.

Image: HDMI output for connecting external video displays.
5. Maintenance
To ensure the longevity and optimal performance of your Dasaita Android 13 Car Stereo Head Unit, follow these maintenance guidelines:
- Screen Cleaning: Use a soft, lint-free cloth slightly dampened with water or a screen cleaner specifically designed for electronic displays. Avoid harsh chemicals or abrasive materials.
- Software Updates: Periodically check for software updates through the unit's settings menu. Updates can provide new features, performance improvements, and bug fixes. Ensure a stable internet connection during updates.
- Avoid Extreme Temperatures: Do not expose the unit to extreme heat or cold for extended periods, as this can affect its electronic components.
- Cable Management: Ensure all cables are properly routed and secured to prevent damage from vibration or snagging.
6. Troubleshooting
If you encounter issues with your head unit, refer to the following common troubleshooting steps:
- Unit Does Not Power On:
- Check all power connections to ensure they are secure.
- Verify the vehicle's fuse for the stereo system is intact.
- Ensure the car battery is properly connected and charged.
- No Sound Output:
- Check speaker wire connections.
- Verify the volume is not muted or set too low.
- Ensure the correct audio source is selected.
- If using aftermarket amplifiers, check their power and signal connections.
- Steering Wheel Controls Not Working:
- Perform the 'Steering Wheel Control Learning' procedure as described in Section 3.5.
- Ensure the CANbus decoder is correctly connected and configured for your vehicle model.
- Poor Radio Reception:
- Check the antenna connection at the back of the head unit.
- Ensure the antenna is properly installed and not obstructed.
- CarPlay/Android Auto Connectivity Issues:
- Ensure Bluetooth and Wi-Fi are enabled on both devices.
- Restart both your phone and the head unit.
- Clear the cache of the CarPlay/Android Auto app on your phone.
- Unit Freezes or Responds Slowly:
- Restart the head unit by pressing and holding the power button.
- Close unnecessary background applications.
- Consider performing a factory reset (note: this will erase all user data and settings).
7. Specifications
Key technical specifications for the Dasaita Android 13 Car Stereo Head Unit:
| Feature | Specification |
|---|---|
| Brand | dasaita |
| Model Name | Android 13 Car Stereo |
| Operating System | Android 13 |
| CPU | Qualcomm 665 Octa-Core (11nm chip) |
| RAM | 6 GB |
| Memory Storage Capacity | 64 GB |
| Screen Size | 8 Inches |
| Display Type | QLED Touchscreen |
| Screen Resolution | 1280x720 |
| Connectivity Technology | Bluetooth 5.0, USB, Wi-Fi (Dual-band 5G), 4G LTE |
| Special Features | Wireless Apple CarPlay, Android Auto, DTS Sound Tuning, Built-in Gyroscope, HDMI Output, FM/AM Radio, GPS Navigation (GLONASS, GPS) |
| Audio Output Mode | Stereo |
| Amplifier Chip | TDA7808 |
| Item Weight | 6 Pounds |
| Item Dimensions (L x W x H) | 16"L x 12"W x 7"H |
8. Warranty and Support
8.1 Warranty Information
The Dasaita Android 13 Car Stereo Head Unit comes with a 1-Year Warranty from the manufacturer. Please retain your proof of purchase for warranty claims.
8.2 Customer Support
For technical assistance, troubleshooting, or warranty inquiries, please contact the seller, Saita Navi, directly through the platform where you purchased the product. They are committed to resolving any issues you may encounter.

Image: Customer support contact option.

