
Introduction
This manual provides essential information for the safe and efficient operation of your Pomya Mini Projector. Please read this manual thoroughly before using the product and retain it for future reference.
The Pomya Mini Projector is a portable, full HD 1080P video projector designed for home theater and outdoor entertainment. It features a 270-degree adjustable projection angle, wide compatibility with various devices, and supports both wired and wireless screen mirroring.
Safety Information
- Do not expose the projector to rain or moisture to prevent fire or electric shock.
- Do not open the casing. There are no user-serviceable parts inside. Refer all servicing to qualified service personnel.
- Ensure proper ventilation. Do not block any ventilation openings.
- Avoid direct eye exposure to the projector lens when the lamp is on.
- Use only the power adapter specified by the manufacturer.
- Keep the projector away from heat sources such as radiators, heat registers, stoves, or other apparatus that produce heat.
Package Contents
Please check that all items listed below are included in your package:
- 1 x Pomya Mini Projector
- 1 x Remote Control
- 1 x USB Power Cable
- 2 x Instruction Manuals (This digital manual serves as one)

Image: The Pomya Mini Projector, its remote control, and the included USB power cable.
Product Overview
Familiarize yourself with the main components of your Pomya Mini Projector.

Image: Front view of the Pomya Mini Projector, showcasing its lens and ventilation.
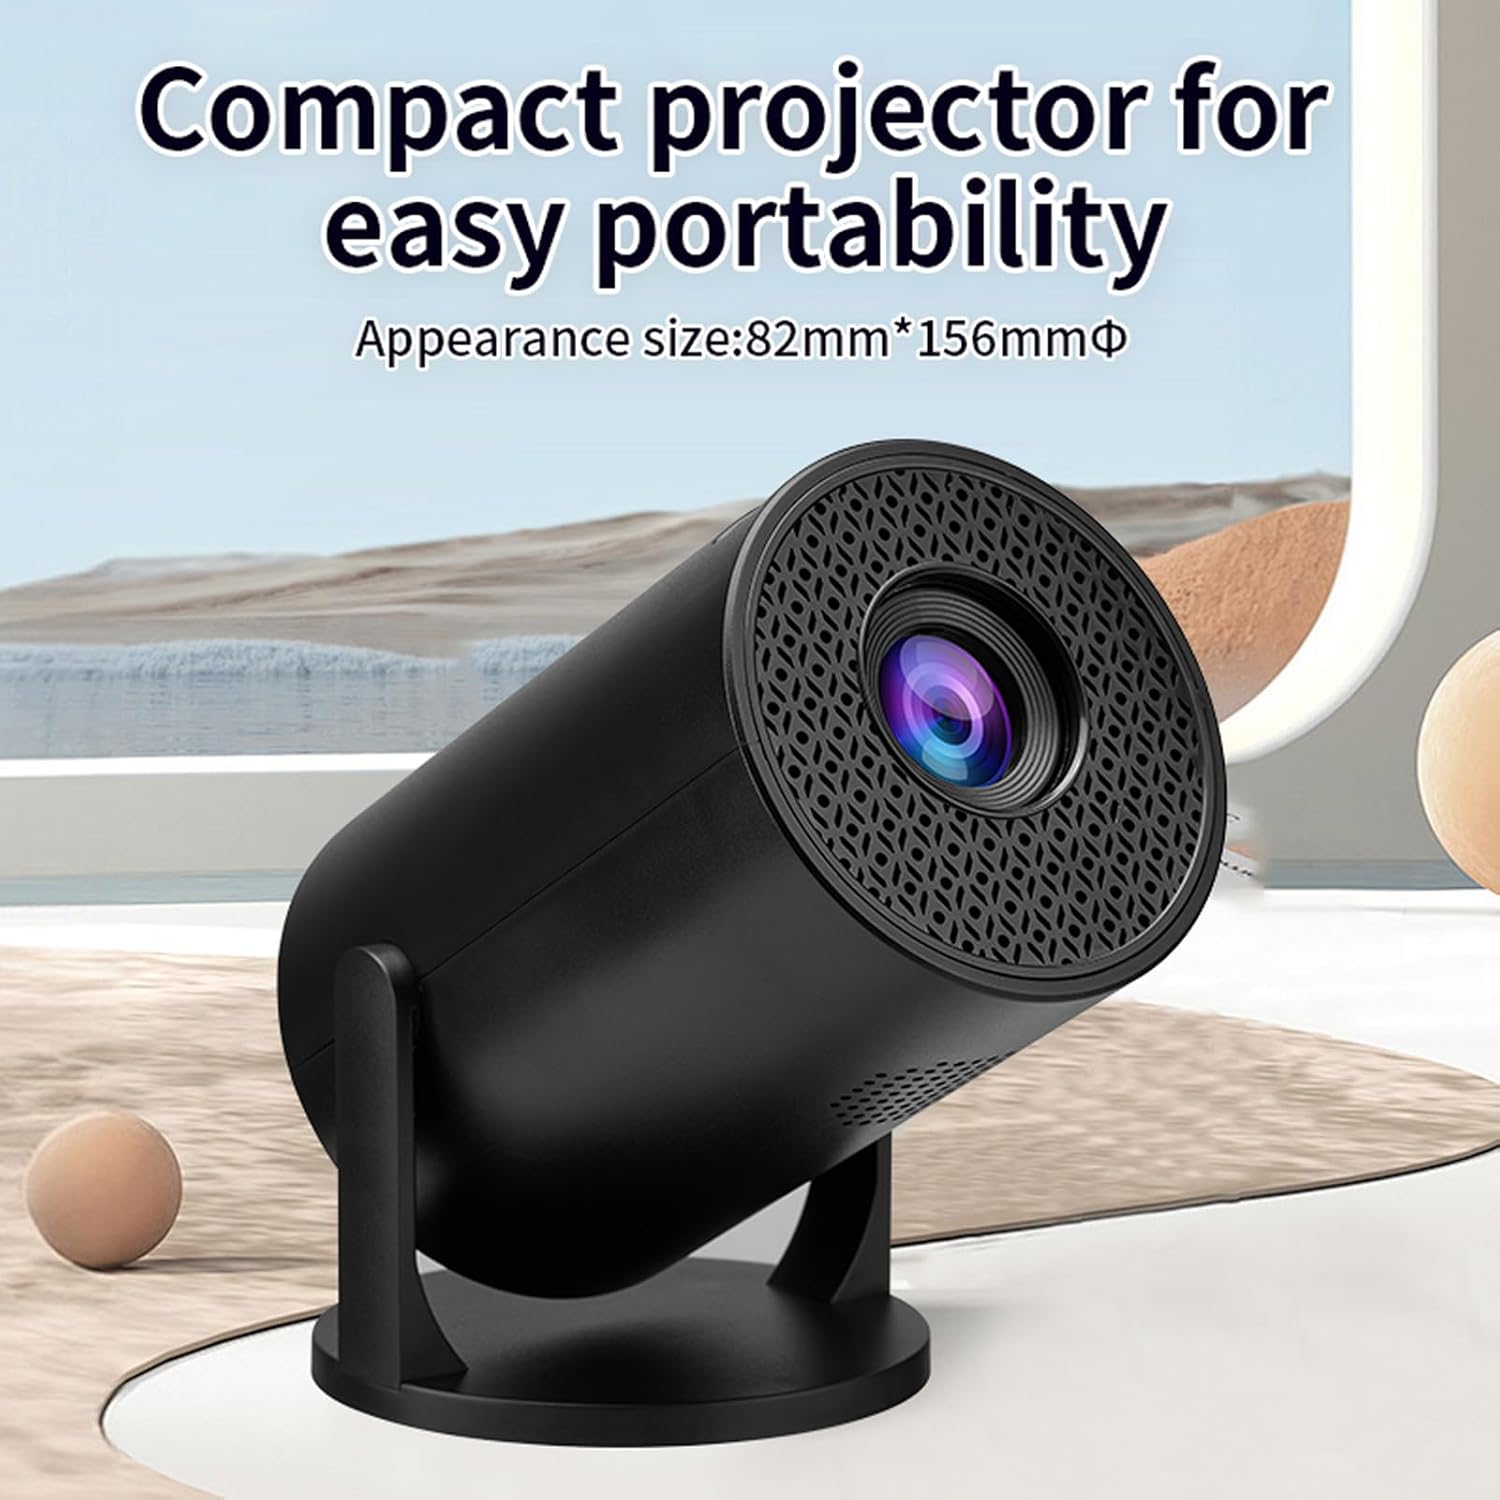
Image: The compact design of the projector, highlighting its portability with dimensions of 82mm x 156mm.

Image: Illustration of the projector's 270-degree adjustable angle, allowing projection from wall to ceiling.
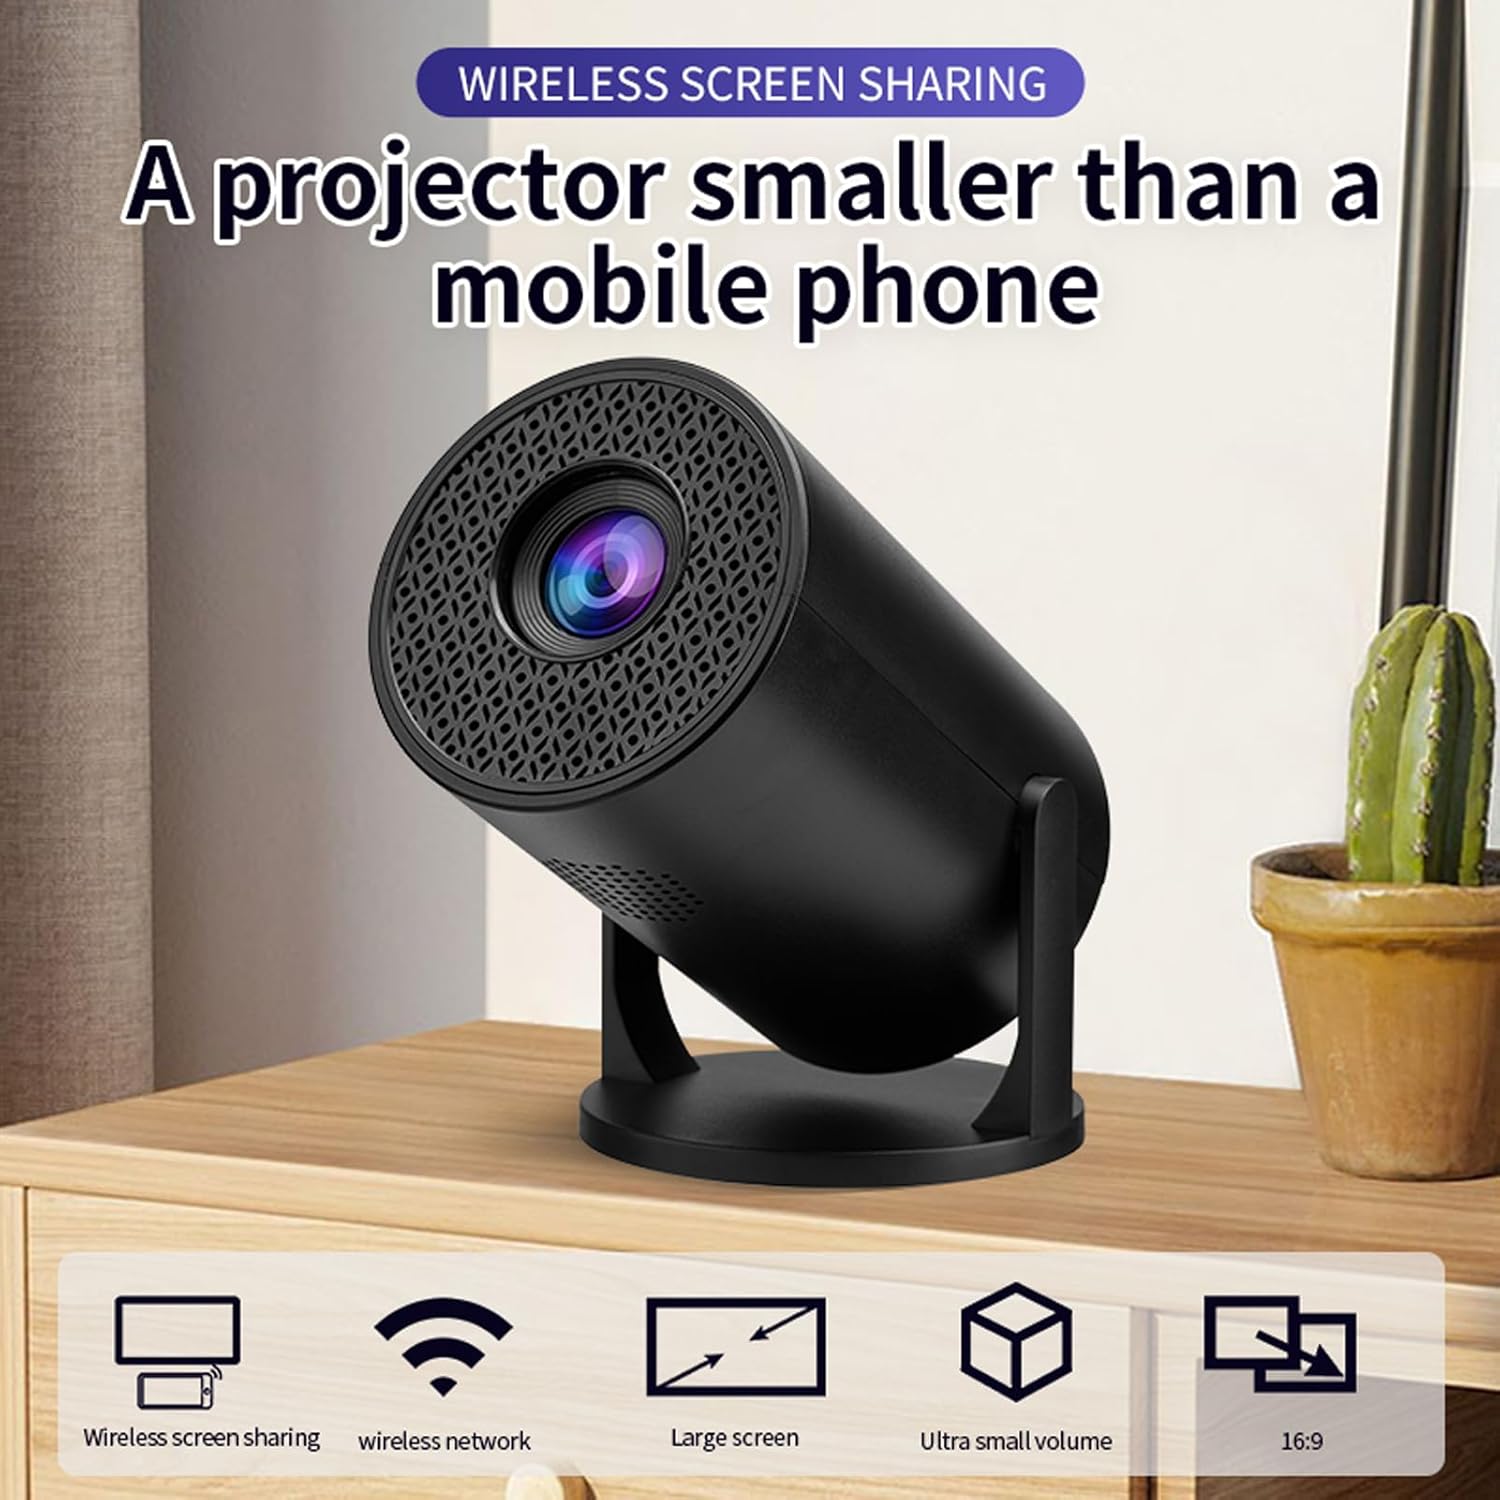
Image: The projector demonstrating wireless screen sharing, emphasizing its compact size and large screen capability.

Image: A scene showing the projector in use, highlighting its built-in surround sound and low noise cooling system (≤40 dB).
Setup
1. Power Connection
Connect the provided USB power cable to the projector's TYPE C power interface (5V 2A) and plug the other end into a suitable power source.
2. Placement and Projection Angle
Place the projector on a stable surface. Utilize the 270-degree adjustable design to find the desired projection angle. The image can be transferred from a wall to the ceiling by simply adjusting the projector's body.

Image: Demonstrates how projection screen size is related to the distance from the projector to the surface, showing examples of 14", 25", and 95" screen sizes.
Operating Instructions
1. Power On/Off
Press the power button on the projector or the remote control to turn the device on or off.
2. Focus Adjustment
Adjust the manual focus ring on the projector until the projected image appears clear and sharp.
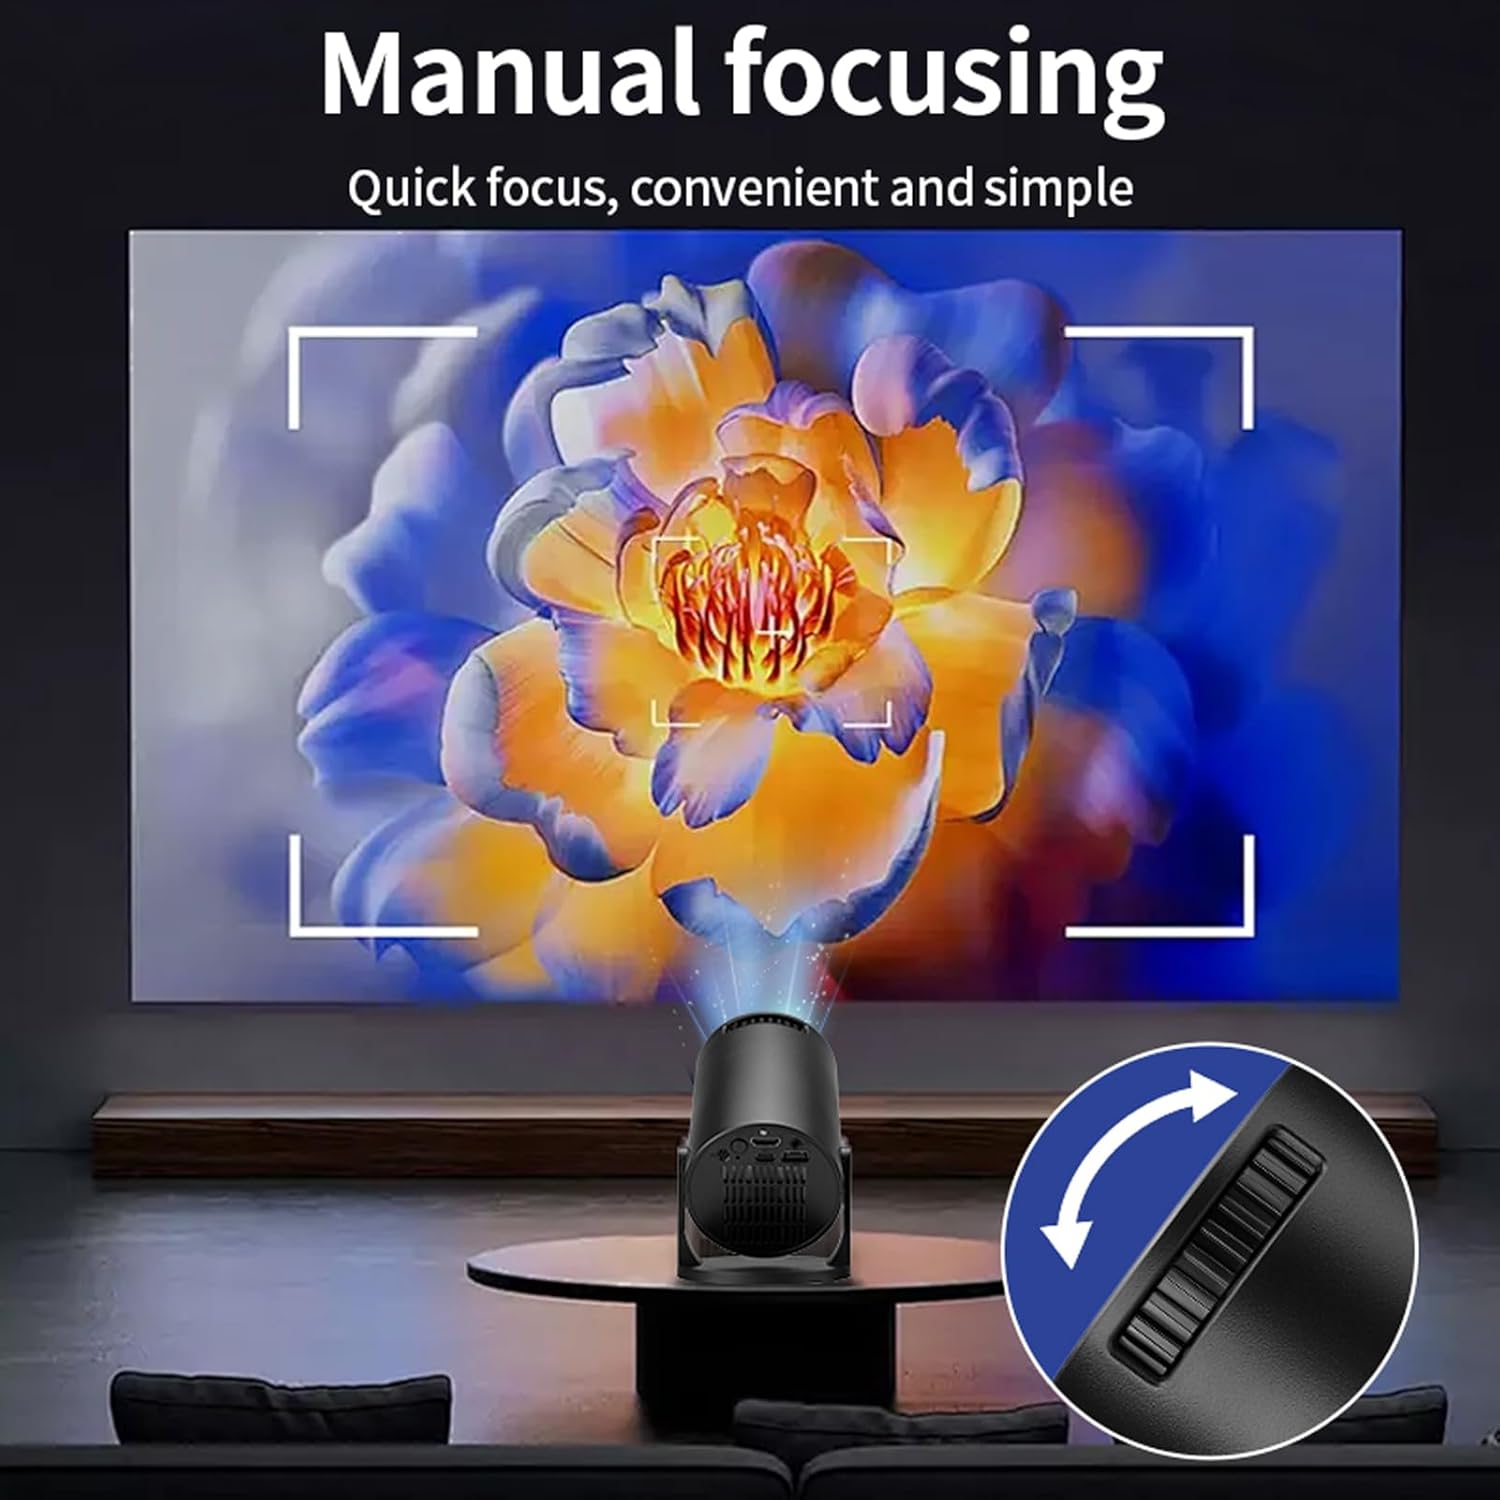
Image: Illustrates the manual focusing mechanism, showing the focus ring on the side of the projector for quick and simple adjustment.
3. Connecting Devices
The projector is equipped with multiple interfaces for wide compatibility:
- High Definition Multimedia Interface (HDMI 2.0): Connect laptops, TV sticks, gaming consoles, etc.
- USB 2.0: Connect USB drives for media playback.
- Standard 3.5mm Audio Interface: Connect external speakers or headphones.
4. Screen Mirroring
The projector supports both wired and wireless screen mirroring for Android phones and other compatible devices.
- Wired Mirroring: Connect your Android phone directly using a data cable.
- Wireless Mirroring/Push Screen: Connect wirelessly via Wi-Fi for screen sharing. Refer to your phone's screen mirroring settings for connection instructions.

Image: The projector connected to a mobile phone via a cable, demonstrating wired screen sharing.
Maintenance
- Cleaning the Lens: Use a soft, lint-free cloth specifically designed for optical lenses. Do not use abrasive cleaners.
- Cleaning the Casing: Wipe the exterior with a soft, dry cloth. For stubborn stains, use a slightly damp cloth and then dry thoroughly.
- Ventilation: Ensure the ventilation openings are clear of dust and debris to maintain optimal cooling.
- Storage: When not in use for extended periods, store the projector in a cool, dry place, away from direct sunlight and extreme temperatures.
Troubleshooting
| Problem | Possible Cause | Solution |
|---|---|---|
| No image projected | Power cable not connected; Projector not powered on; Input source not selected correctly; Lens cap on. | Ensure power cable is securely connected and projector is on; Select the correct input source (HDMI, USB); Remove lens cap. |
| Image is blurry | Focus not adjusted; Projector too far/close to screen. | Adjust the manual focus ring; Adjust projection distance. |
| No sound | Volume too low; External audio device not connected properly; Audio format not supported. | Increase volume; Check external audio connections; Ensure audio format is compatible. |
| Screen mirroring issues | Wi-Fi connection unstable; Device compatibility issues; Incorrect mirroring settings. | Ensure stable Wi-Fi connection; Check device compatibility; Verify mirroring settings on both projector and device. |
Specifications
| Feature | Detail |
|---|---|
| Brand | Pomya |
| Model | Pomyagb8knqhwpx |
| Display Technology | 2.0inch LCD |
| Projection Light Source | LED |
| Physical Resolution | 480x360 / 50HZ/60HZ |
| Support Resolution | 1920x1080/60HZ (Full HD 1080P) |
| Focus | Manual |
| Trapezoidal Correction | Trapezoidal Correction (Auto horizontal correction) |
| Speaker | Built in BOX Speaker 4Ω 2W x 1 |
| Power Interface | TYPE C (5V 2A) |
| Additional Interfaces | High Definition Multimedia Interface 2.0 x 1, USB 2.0 x 1, Standard 3.5mm Audio Interface x 1 |
| Wireless Fidelity | Support (Double band) |
| Screen Mirroring | For Android Phone Wired/Wireless Data Cable Mirroring/Wireless Push Screen Mirroring |
| Adjustable Angle | 270° |
| Aspect Ratio | 16:9 |
| Item Weight | 437 g (0.96 lbs) |
| Dimensions | 82mm x 156mm (approx. 6.3x3.5x3.5 inches) |
Warranty and Support
For warranty information and technical support, please refer to the documentation included with your product or visit the official Pomya website. Keep your purchase receipt as proof of purchase for any warranty claims.
For further assistance, you may contact the seller directly through the platform where the product was purchased.