1. Introduction
This manual provides essential instructions for the safe and efficient operation, maintenance, and troubleshooting of your Cecotec Conga Y80 X-Treme Robot Vacuum and Mop. Please read this manual thoroughly before using the product and retain it for future reference.
1.1 Safety Instructions
- Ensure the robot is fully charged before first use.
- Do not operate the robot in wet environments or near liquids.
- Keep loose cables, curtains, and small objects out of the robot's path to prevent entanglement.
- Supervise children and pets when the robot is operating.
- Use only original accessories and replacement parts.
- Do not attempt to repair the robot yourself. Contact authorized service personnel.
2. Package Contents
Verify that all items are present in the package:
- 1 x Cecotec Conga Y80 X-Treme Robot Vacuum and Mop
- 1 x Self-Emptying Base
- 1 x Power Adapter
- 1 x Side Brush Set
- 1 x Main Brush (Silicone)
- 1 x Mop Cloth
- 1 x Water Tank
- 1 x Cleaning Tool
- 1 x Instruction Manual
3. Product Overview
3.1 Robot Components
The Conga Y80 X-Treme robot vacuum features advanced components for efficient cleaning and navigation.
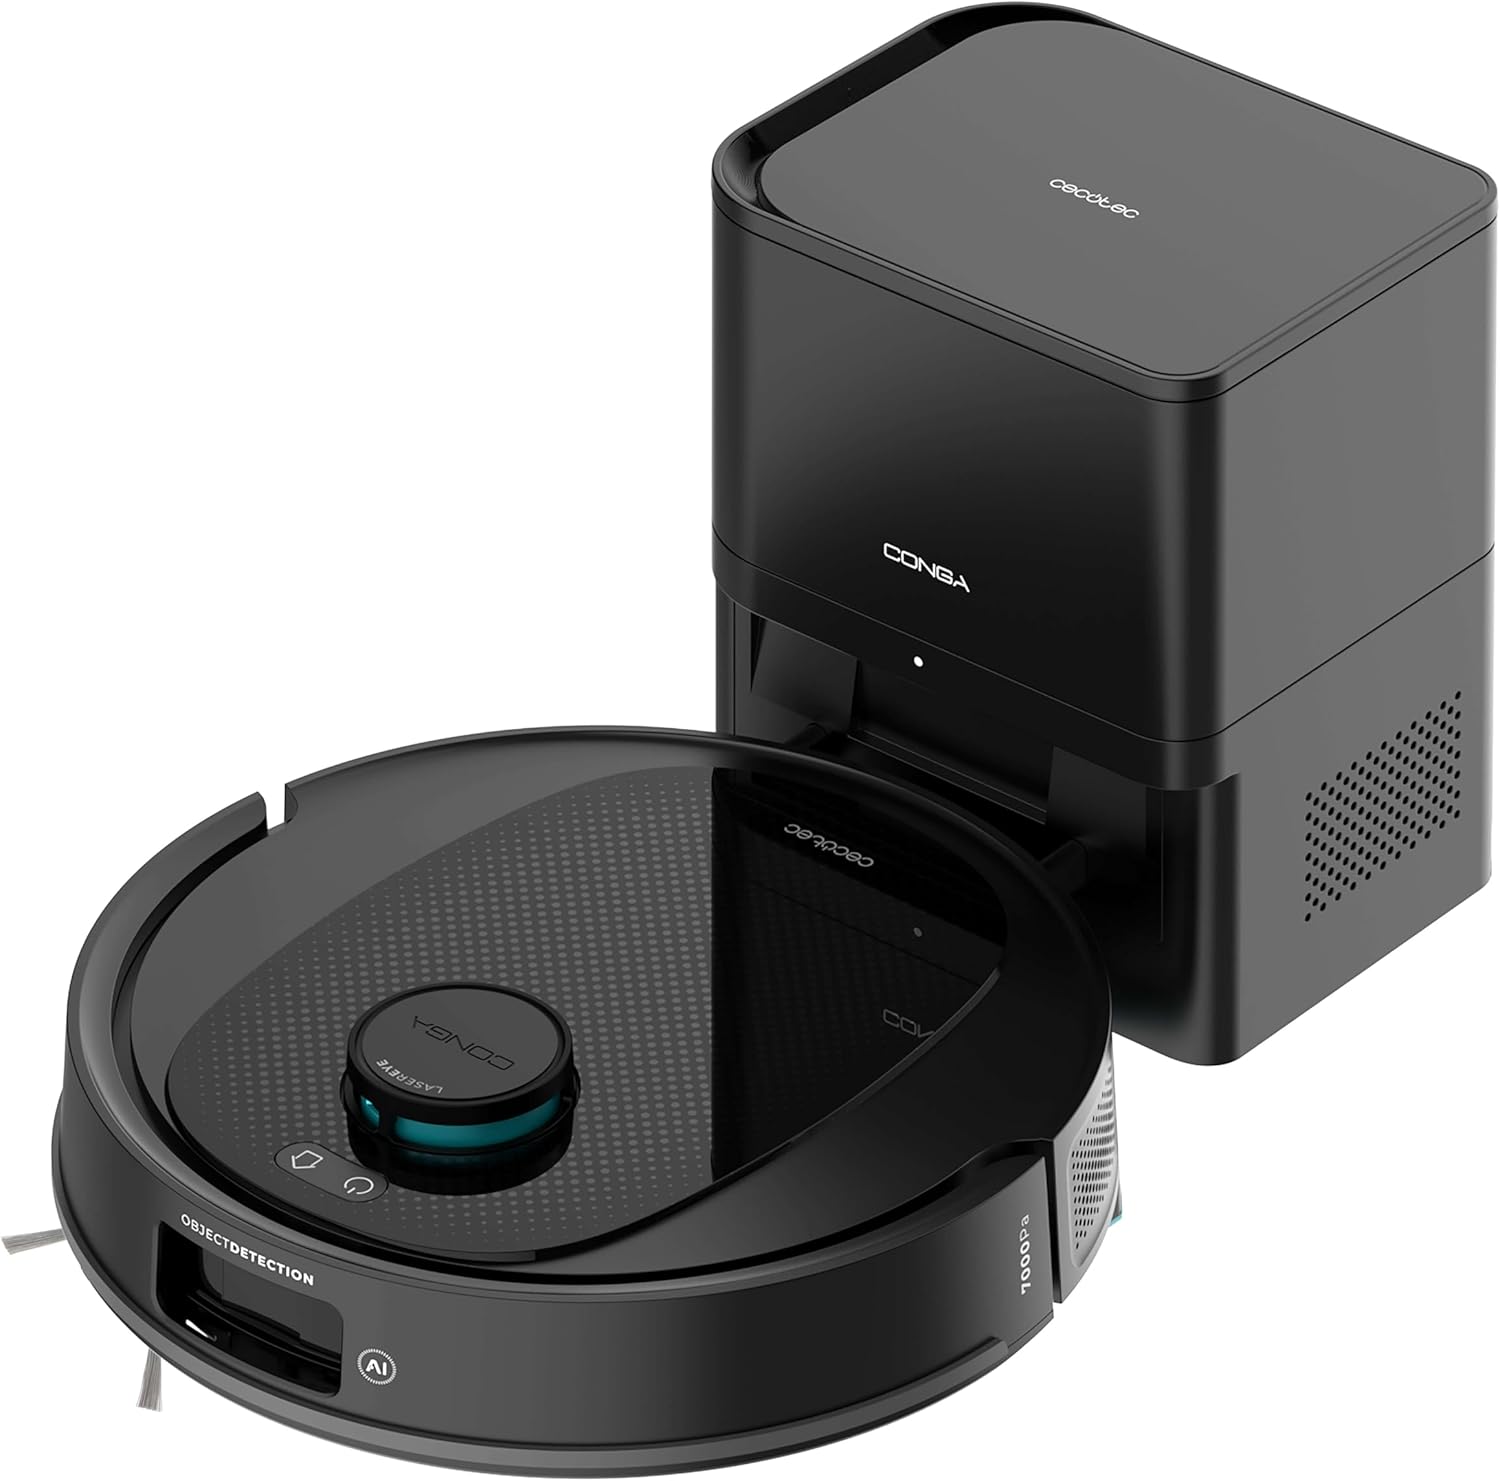
Image 3.1: The Cecotec Conga Y80 X-Treme robot vacuum cleaner alongside its self-emptying base.
- AI Laser Eye Navigation: Located on top, this system enables precise mapping and object detection.
- Control Buttons: Power and Home buttons for basic operation.
- Side Brushes: Two rotating brushes to sweep debris from edges and corners.
- Main Brush (PetStyle): A silicone anti-tangle brush designed for effective pet hair collection.
- Wheels: For movement across various floor types.
- Sensors: Cliff sensors, anti-collision sensors for safe operation.
- Dust Bin: Integrated within the robot, automatically emptied by the base.
- Water Tank: For mopping functionality.

Image 3.2: Underside view of the robot, highlighting the main silicone brush and side brushes.
3.2 Self-Emptying Base
The self-emptying base automatically transfers collected dust and debris from the robot's internal bin into a larger 2.5L disposable bag, providing weeks of hands-free maintenance.

Image 3.3: The self-emptying base, illustrating the dust transfer process.
4. Setup
4.1 Charging Base Placement
- Place the self-emptying base against a wall in an open area, ensuring at least 0.5 meters of clear space on both sides and 1.5 meters in front.
- Ensure the area is free from obstacles, direct sunlight, and heat sources.
- Connect the power adapter to the base and plug it into a power outlet.
4.2 Initial Charging
- Place the robot onto the charging contacts of the self-emptying base.
- Ensure the robot is properly aligned and the charging indicator light on the base illuminates.
- Allow the robot to charge completely before its first use (approximately 4-6 hours).
4.3 App Installation and Connection
- Download the "Cecotec Conga" App 3.0 from your smartphone's app store (iOS or Android).
- Register an account and follow the in-app instructions to add your Conga Y80 X-Treme robot.
- Ensure your Wi-Fi network is 2.4GHz for successful connection.
5. Operating Instructions
5.1 Starting and Stopping Cleaning
- Start: Press the Power button on the robot or use the App to initiate a cleaning cycle.
- Pause: Press the Power button during cleaning to pause.
- Resume: Press the Power button again to resume cleaning.
- Stop/Return to Base: Press the Home button on the robot or use the App to send the robot back to its charging base.
5.2 Cleaning Modes
The robot supports various cleaning modes:
- Auto Cleaning: The robot intelligently navigates and cleans the entire mapped area.
- Spot Cleaning: Directs the robot to clean a specific small area intensively.
- Edge Cleaning: Focuses on cleaning along walls and furniture edges.
- Zone Cleaning: Define specific areas on the map via the App for targeted cleaning.
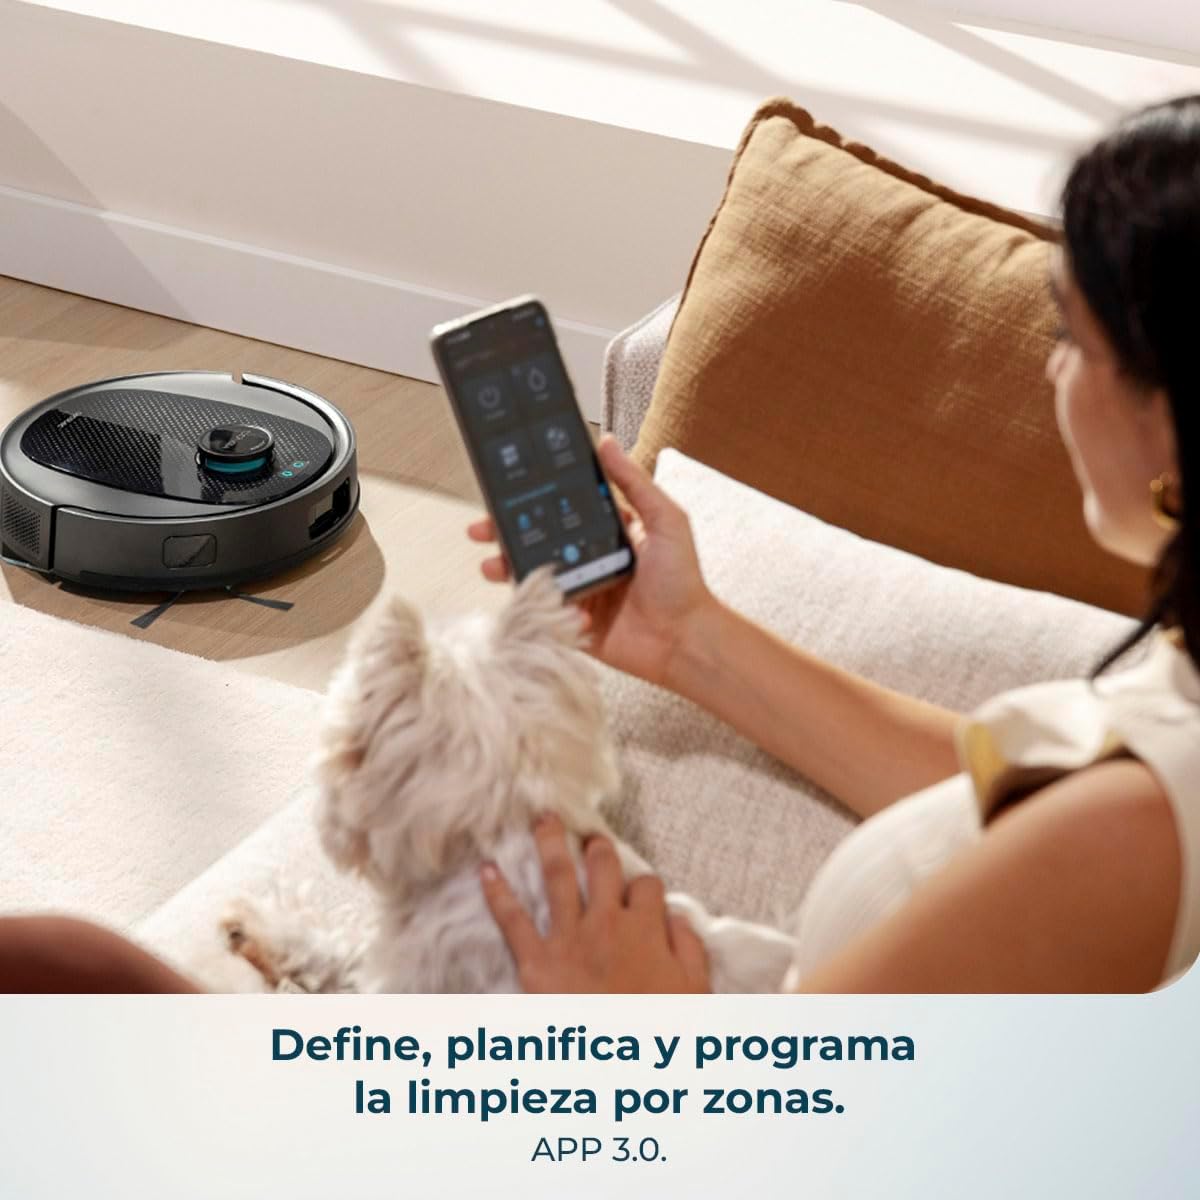
Image 5.1: Using the mobile application to define and program cleaning by zones.
5.3 Mopping Function
- Fill the water tank with clean water. Do not use detergents or harsh chemicals.
- Attach the mop cloth securely to the water tank.
- Insert the water tank into the robot.
- Select the desired mopping mode and water flow level (low, medium, high) via the App.

Image 5.2: The robot performing a combined vacuum and mop cleaning on various floor surfaces.
5.4 Smart Navigation and Mapping
The robot utilizes AI Laser Eye technology to create an interactive map of your home, allowing for efficient cleaning paths and object avoidance. You can view and manage this map through the App.

Image 5.3: The robot's AI Laser Eye navigation system detecting and avoiding obstacles.

Image 5.4: The mobile application displaying an interactive map for personalized cleaning.
6. Maintenance
Regular maintenance ensures optimal performance and extends the lifespan of your robot vacuum.
6.1 Self-Emptying Base Dust Bag Replacement
- The 2.5L dust bag in the self-emptying base should be replaced when full, typically every few weeks depending on usage.
- Open the top cover of the base, remove the full bag, and insert a new one.
6.2 Cleaning the Main Brush (PetStyle)
- Turn the robot over and remove the main brush cover.
- Lift out the silicone brush.
- Use the provided cleaning tool to remove any tangled hair or debris.
- Reinsert the brush and secure the cover.

Image 6.1: The silicone anti-tangle brush, ideal for homes with pets.
6.3 Cleaning Side Brushes
- Gently pull the side brushes to remove them.
- Remove any hair or debris.
- Reattach the brushes, ensuring they click into place.
6.4 Cleaning Filters
- Open the robot's dust bin and remove the filter assembly.
- Tap the filter gently to remove dust. Do not wash the HEPA filter with water.
- Replace filters regularly (every 3-6 months) for optimal performance.
6.5 Cleaning Sensors and Charging Contacts
- Wipe all sensors (cliff sensors, anti-collision sensors) and charging contacts on both the robot and the base with a clean, dry cloth.
- This prevents navigation errors and ensures proper charging.
6.6 Cleaning the Water Tank and Mop Cloth
- After each mopping session, empty any remaining water from the tank.
- Remove the mop cloth and wash it by hand or machine. Allow it to air dry completely before reattaching.
7. Troubleshooting
| Problem | Possible Cause | Solution |
|---|---|---|
| Robot does not turn on. | Low battery or not charged. | Place the robot on the charging base and ensure it is fully charged. |
| Robot cannot find charging base. | Base is obstructed or too far. | Ensure the base is in an open area and free from obstacles. Manually place the robot on the base if necessary. |
| Poor suction performance. | Full dust bin, clogged filters, or tangled brushes. | Empty the dust bin, clean or replace filters, and clean the main and side brushes. |
| Robot gets stuck frequently. | Loose cables, small objects, or uneven surfaces. | Clear the cleaning area of obstacles. Use virtual walls or no-go zones via the App if available. |
| Mopping function is ineffective. | Empty water tank or dirty mop cloth. | Refill the water tank and clean or replace the mop cloth. Ensure correct water flow setting in the App. |
| App connection issues. | Incorrect Wi-Fi, router issues, or app glitch. | Ensure 2.4GHz Wi-Fi. Restart router, robot, and app. Re-pair the device if necessary. |
8. Specifications
| Feature | Detail |
|---|---|
| Brand | Cecotec |
| Model Name | Conga Y80 X-Treme |
| Model Number | A01_EU01_119668 |
| Color | Black |
| Product Dimensions (Robot) | Approximately 37.2 x 42 x 42 cm |
| Product Weight | 5.3 kg |
| Dust Bag Capacity (Base) | 2.5 Liters |
| Voltage | 240 Volts |
| Power Source | Battery |
| Battery Included | Yes |
| Special Features | Self-emptying, AI Laser Eye Navigation, Mopping Function |
| Compatible Devices | Smartphones (via Cecotec Conga App 3.0) |
| Suction Power | 13000 Pa |
| Maximum Cleaning Area | Up to 220 m² |
9. Warranty and Support
For warranty information, technical support, or service requests, please refer to the official Cecotec website or contact their customer service directly. Keep your purchase receipt as proof of purchase.


