1. Getting Started
1.1 Unpacking and Initial Setup
Carefully remove your Lenovo IdeaPad Slim 3 laptop and all accessories from the packaging. Ensure all components are present before proceeding.
- Lenovo IdeaPad Slim 3 15Q8X10 Laptop
- AC Power Adapter and Power Cord
- Documentation (Quick Start Guide, Warranty Information)
To begin using your laptop, connect the AC power adapter to the laptop's power port and then to a power outlet. The laptop may have a partial charge, but it is recommended to fully charge it before first use.

Figure 1: Lenovo IdeaPad Slim 3 15Q8X10 Laptop, open and ready for use.
2. Product Overview
2.1 Component Identification
Familiarize yourself with the key components of your laptop.
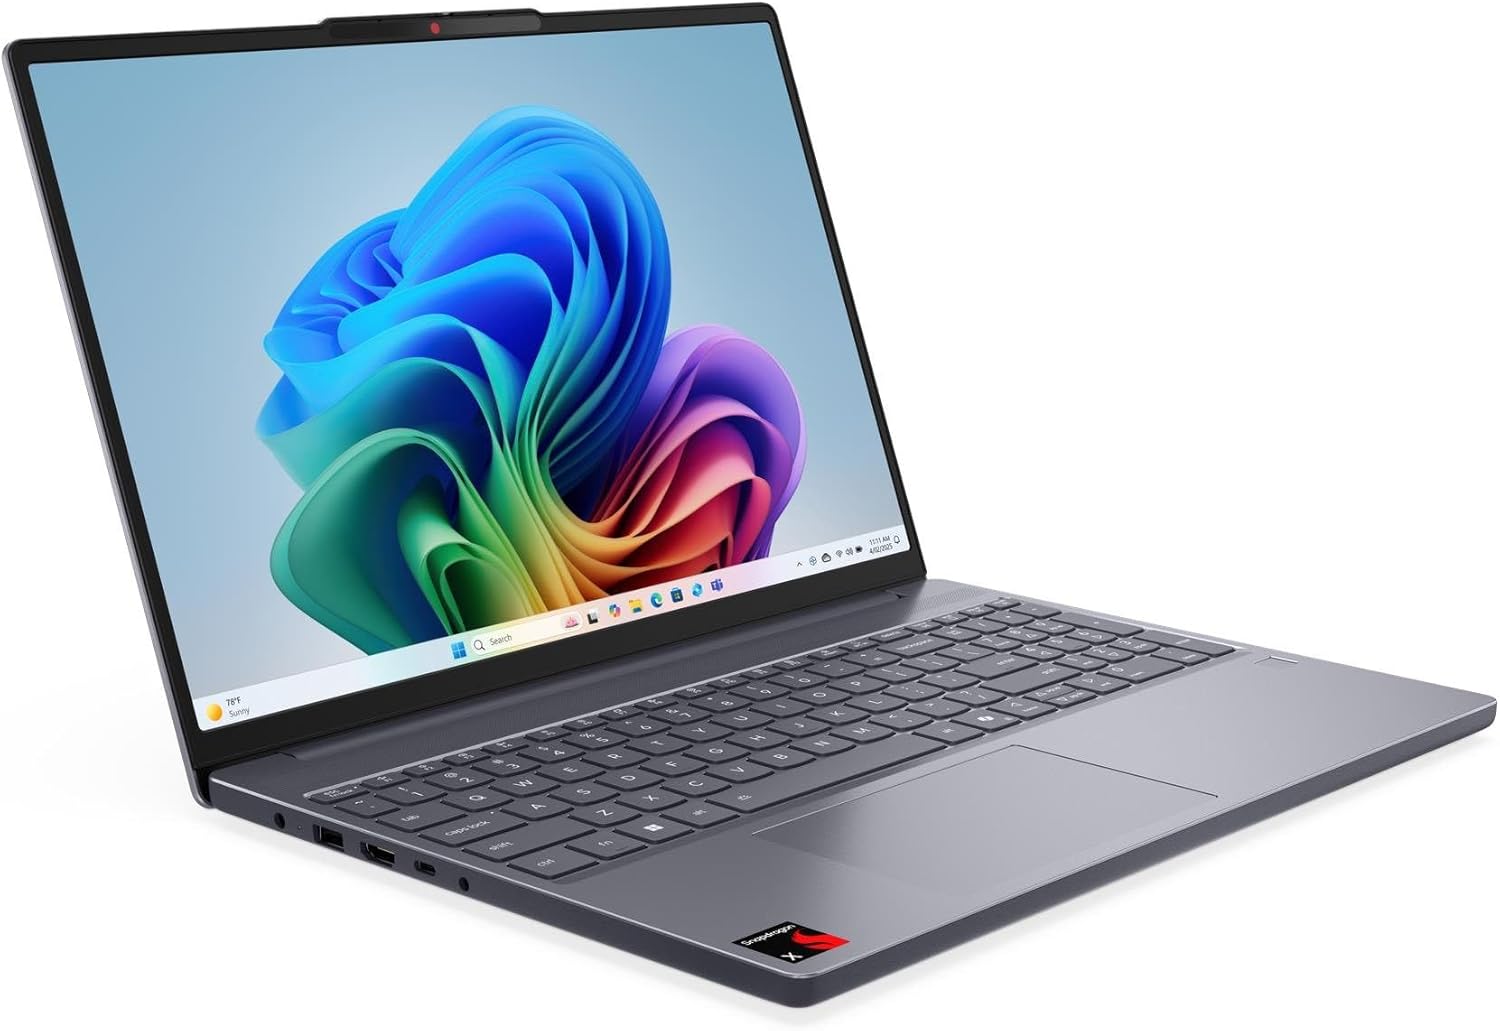
Figure 2: Front view of the Lenovo IdeaPad Slim 3 15Q8X10 Laptop, highlighting the display and keyboard.
2.2 Keyboard and Touchpad
The laptop features a backlit keyboard with a numeric keypad and an integrated fingerprint reader for secure login.
- Backlit Keyboard: Adjust brightness using function keys.
- Numeric Keypad: For efficient data entry.
- Fingerprint Reader: Located on the palm rest for biometric authentication.
- Precision Touchpad: Supports multi-touch gestures for navigation.

Figure 3: Top-down view of the Lenovo IdeaPad Slim 3 15Q8X10 keyboard, showing the full layout including the numeric keypad and touchpad.
2.3 Ports and Connectors
The laptop is equipped with various ports for connecting external devices:
- USB 3.2 Gen 1 Type-C: Supports Power Delivery, DisplayPort, and 5Gbps data transfer.
- USB 3.2 Gen 1 Type-A: Two ports for connecting standard USB devices at 5Gbps.
- HDMI 1.4: For connecting to external displays.
- Headphone/Microphone Combo Jack: For audio input and output.

Figure 4: Side view of the Lenovo IdeaPad Slim 3 15Q8X10 Laptop, illustrating the available ports.
2.4 Laptop Exterior
The laptop features a sleek design with the Lenovo logo on the lid and ventilation grilles on the bottom for optimal cooling.

Figure 5: Top lid of the Lenovo IdeaPad Slim 3 15Q8X10 Laptop, featuring the Lenovo logo.

Figure 6: Bottom view of the Lenovo IdeaPad Slim 3 15Q8X10 Laptop, showing ventilation grilles.
3. Operating Your Laptop
3.1 Power Management
- Power On: Press the power button located on the side or keyboard deck.
- Power Off: Click the Start button, then Power > Shut down.
- Sleep Mode: Close the lid or click the Start button, then Power > Sleep.
3.2 Using the Keyboard and Touchpad
- Function Keys: Use the Fn key in combination with F1-F12 for special functions like volume control, screen brightness, and wireless toggling.
- Touchpad Gestures: Refer to Windows 11 settings for customizable multi-touch gestures (e.g., two-finger scroll, pinch-to-zoom).
- Fingerprint Reader: Enroll your fingerprints through Windows Hello settings for quick and secure login.
3.3 Connecting Peripherals
Connect USB devices such as external hard drives, mice, or keyboards to the available USB-A or USB-C ports. For external displays, use the HDMI port or a compatible USB-C adapter.
3.4 Wireless Connectivity
- Wi-Fi 7: Connect to wireless networks through the Windows network settings.
- Bluetooth 5.4: Pair Bluetooth devices like headphones or speakers via Windows Bluetooth settings.
4. Maintenance and Care
4.1 Cleaning Instructions
- Screen: Use a soft, lint-free cloth lightly dampened with water or a screen-cleaning solution. Do not spray liquid directly onto the screen.
- Keyboard and Chassis: Use a soft, dry cloth. For stubborn dirt, a slightly damp cloth with mild soap solution can be used, ensuring no liquid enters openings.
- Ventilation: Periodically check and clean the ventilation grilles to prevent dust buildup, which can affect cooling performance.
4.2 Battery Care
To maximize the lifespan and performance of your laptop's 60Wh Lithium-Ion battery:
- Avoid extreme temperatures.
- Do not leave the laptop plugged in at 100% charge for extended periods if not in use.
- Perform a full discharge and recharge cycle occasionally.
4.3 Software Updates
Regularly update your Windows 11 Pro operating system and drivers to ensure optimal performance, security, and compatibility. Access updates through Windows Settings > Windows Update.
5. Troubleshooting
5.1 Common Issues and Solutions
- Laptop does not power on:
- Ensure the AC adapter is securely connected to both the laptop and a working power outlet.
- Try a different power outlet.
- If the battery is completely drained, it may take a few minutes of charging before the laptop can power on.
- Display is blank or flickering:
- Adjust screen brightness using the function keys.
- If an external monitor is connected, ensure it is properly connected and selected as the display output.
- Restart the laptop.
- Wi-Fi or Bluetooth not connecting:
- Ensure Wi-Fi and Bluetooth are enabled in Windows settings.
- Restart your router/modem for Wi-Fi issues.
- Remove and re-pair Bluetooth devices.
- Update wireless drivers.
6. Specifications
6.1 Technical Specifications
| Feature | Specification |
|---|---|
| Model Name | 83N3000ESA |
| Processor | Qualcomm Snapdragon X X1-26-100 8-Core (Up to 3.0 GHz) |
| Graphics | Qualcomm Adreno graphics (Integrated) |
| Display | 15.3" WUXGA (1920 x 1200) IPS Touchscreen, 300 nits, Anti-glare, 45% NTSC |
| RAM | 16GB LPDDR5 8448 MHz |
| Storage | 1TB NVMe M.2 SSD |
| Operating System | Windows 11 Pro |
| Wireless Connectivity | Qualcomm Wi-Fi 7 (2x2), Bluetooth 5.4 |
| Ports | 1x USB 3.2 Gen 1 Type-C (PD/DP/5Gbps), 2x USB 3.2 Gen 1 Type-A (5Gbps), 1x HDMI 1.4, 1x Headphone/microphone combo |
| Camera | 720p HD Camera with Privacy Shutter |
| Battery | 60Wh Lithium-Ion (Up to 6 hours average battery life) |
| Dimensions (LxWxH) | 13.52" x 9.51" x 0.70" inches |
| Weight | 3.42 lbs |
| Color | Luna Grey |
| Special Features | Backlit Keyboard, Numpad, Fingerprint Reader, Anti-glare Coating |
7. Warranty and Support
7.1 Warranty Information
Your Lenovo IdeaPad Slim 3 laptop comes with a standard manufacturer's warranty. Please refer to the warranty documentation included with your product for specific terms, conditions, and duration. Keep your proof of purchase for warranty claims.
7.2 Customer Support
For technical assistance, troubleshooting beyond this manual, or warranty service, please visit the official Lenovo support website or contact their customer service. You can find contact information and support resources at support.lenovo.com.


