
1. Introduction
The Ransanx 200A 100V High Precision Watt Meter Power Analyzer is a versatile and essential tool designed for accurately measuring voltage, current, power, and energy consumption in various electrical systems. This device is ideal for applications in remote control models, solar energy systems, and other battery-powered devices, providing critical data for performance evaluation, equipment debugging, and system optimization. Its backlit digital LCD screen ensures clear readings in diverse lighting conditions.

Figure 1.1: Two Ransanx 200A 100V High Precision Watt Meters.
2. Safety Precautions
To ensure safe operation and prevent damage to the device or connected equipment, please observe the following safety guidelines:
- Voltage and Current Limits: This watt meter is designed for systems operating below 100V and carrying currents up to 200A. Do not exceed these limits. Exceeding 100V or 200A can damage the device and connected components.
- Correct Wiring: Always ensure correct polarity when connecting the meter. Connect the 'SOURCE' side to the power source (e.g., battery) and the 'LOAD' side to the device or system being measured. Incorrect wiring can lead to malfunction or damage.
- Secure Connections: Ensure all connections are tight and secure to prevent loose contacts, which can cause arcing, overheating, or inaccurate readings.
- Environmental Conditions: Operate the device in a dry environment. Avoid exposure to moisture, extreme temperatures, or corrosive substances.
- Ventilation: The device features an exhaust port for internal heat dissipation. Ensure this port is not obstructed during operation to prevent overheating.
- Auxiliary Battery: For systems operating below 12V, an optional auxiliary battery (e.g., a receiver battery of 4.8-60V) connected to the SOURCE 3-pin connector is required to power the meter.
3. Product Overview
The Ransanx Watt Meter is a compact and robust device designed for ease of use and durability. Key components include:
- Digital LCD Screen: A 16x2 backlit display provides clear, real-time readings of various electrical parameters.
- High-Quality Copper Wire Material: Ensures low resistance and stable function for accurate measurements.
- Cooling Exhaust Hole Design: An integrated exhaust port helps dissipate internal heat, extending the device's lifespan.
- External Power Supply Port: Allows for an optional auxiliary battery connection for low-voltage systems.

Figure 3.1: Key features and components of the Watt Meter.
4. Setup
Setting up the Ransanx Watt Meter involves connecting it inline between your power source and the load. The meter is designed to be simple to use with no buttons or complex configurations.
4.1 Wiring Connections
The watt meter has two main connection points: 'SOURCE' and 'LOAD'.
- SOURCE: Connect the positive (+) and negative (-) wires from your power source (e.g., battery, power supply) to the 'SOURCE' terminals of the watt meter.
- LOAD: Connect the positive (+) and negative (-) wires from the 'LOAD' terminals of the watt meter to the device or system you wish to measure (e.g., motor, ESC, battery charger).
Ensure that the red wire connects to the positive terminal and the black wire connects to the negative terminal on both the source and load sides. The meter will automatically power on once connected to a voltage source within its operating range.

Figure 4.1: Wiring diagrams for different applications.
4.2 Auxiliary Battery Connection (for systems below 12V)
If you are measuring a system with a voltage below 12V (down to 0V), an auxiliary battery is required to power the watt meter's display. Connect a 4.8V-60V receiver battery to the 3-pin connector on the 'SOURCE' side of the watt meter.
5. Operating Instructions
Once properly connected, the Ransanx Watt Meter will automatically display real-time measurement data on its backlit LCD screen. There are no buttons to press or settings to configure; the device continuously cycles through various measurement parameters.
5.1 Displayed Parameters
The LCD screen displays the following parameters, cycling every two seconds:
- Voltage (V): Instantaneous voltage of the system.
- Current (A): Instantaneous current flowing through the system.
- Power (W): Instantaneous power consumption (Voltage x Current).
- Amp-hours (Ah): Accumulated charge transferred. This value resets when the meter is disconnected or power is lost.
- Watt-hours (Wh): Accumulated energy consumed. This value also resets when the meter is disconnected or power is lost.
- Peak Amps (Ap): The highest current recorded since the meter was powered on.
- Peak Watts (Wp): The highest power recorded since the meter was powered on.
- Minimum Volts (Vm): The lowest voltage recorded since the meter was powered on.
The display provides a comprehensive overview of your system's electrical performance, allowing for real-time monitoring and analysis.
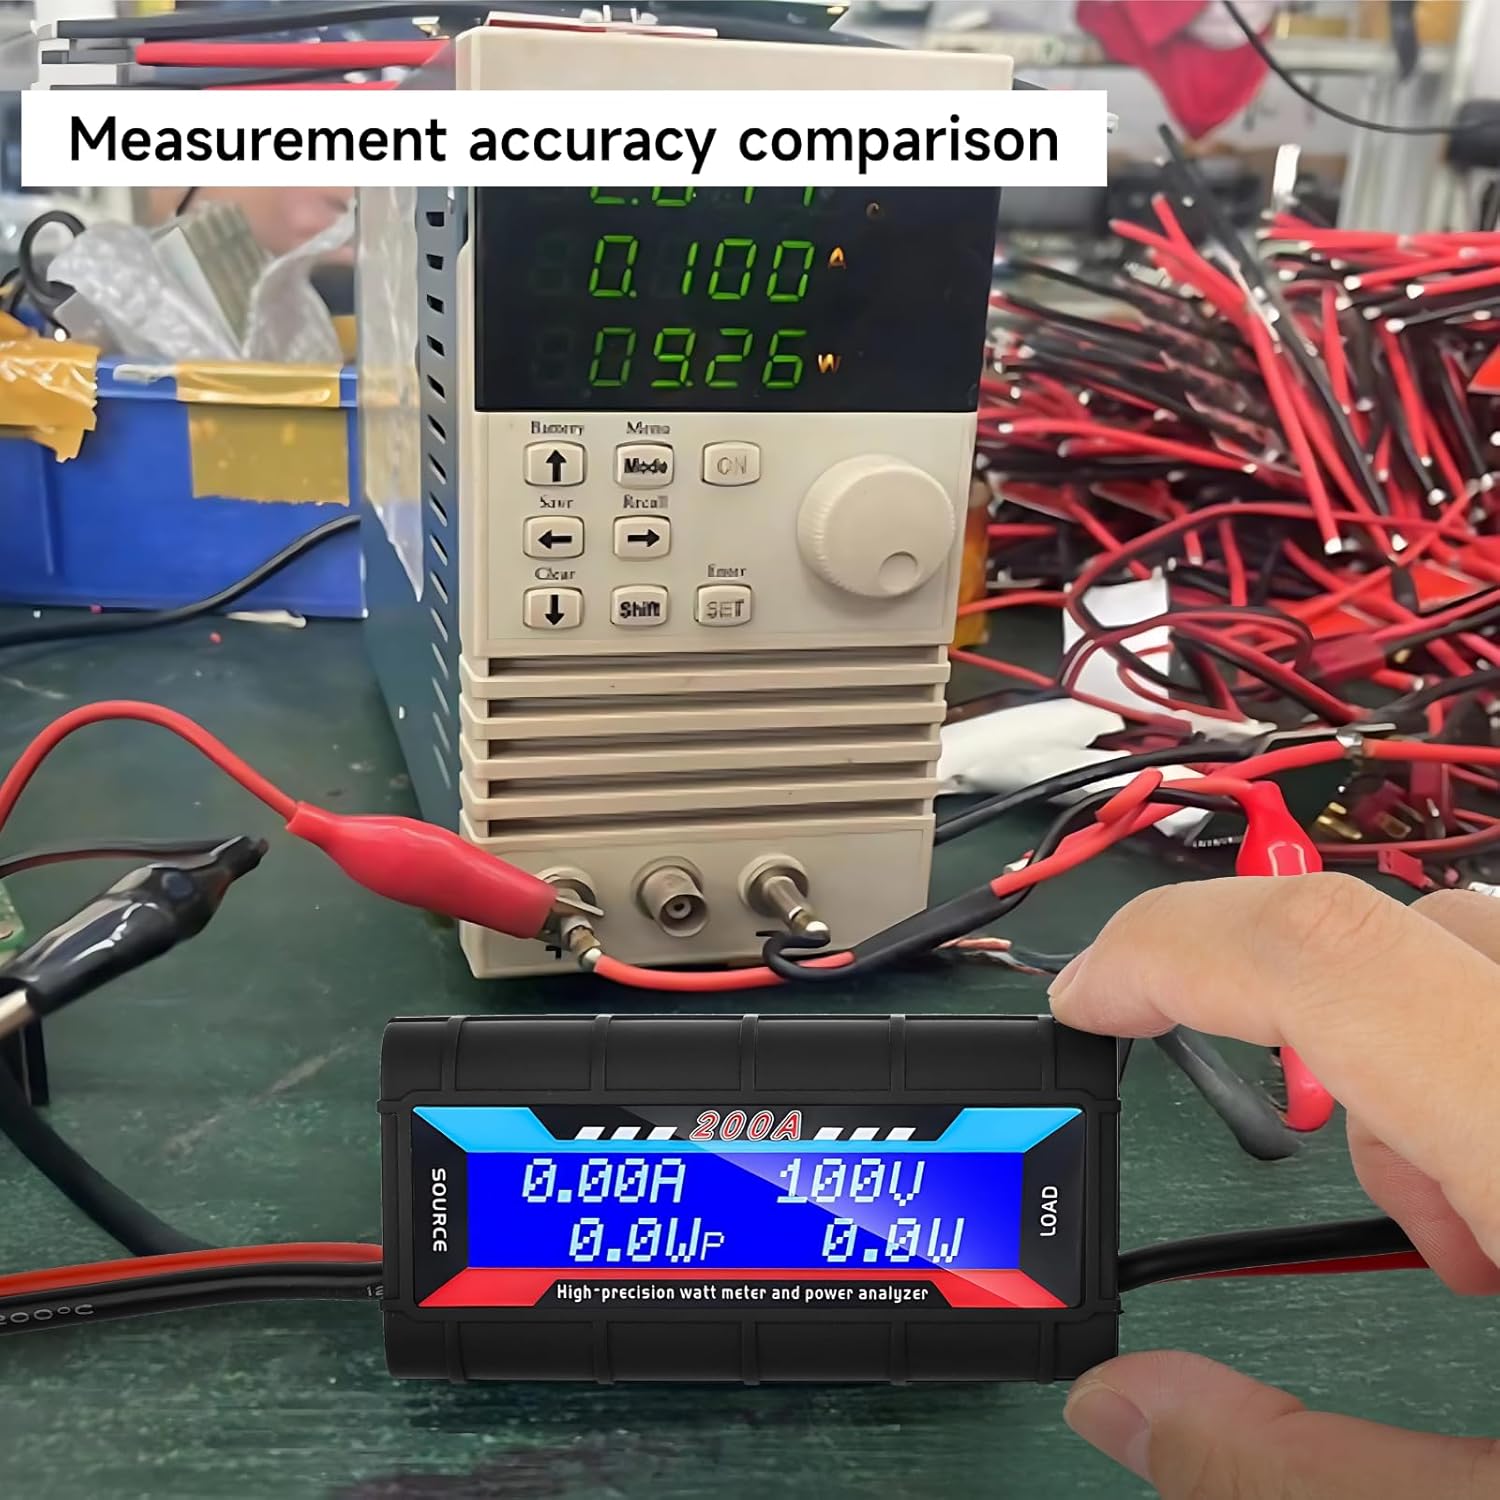
Figure 5.1: Watt Meter in operation, displaying measurements.
6. Application Scenarios
The Ransanx Watt Meter is highly versatile and can be used in a variety of applications:
6.1 Remote Control Model (RC) Field
- Battery Performance Evaluation: Accurately measure voltage, current, and power consumption of batteries in RC cars, airplanes, and boats under different operating conditions. This helps in understanding battery discharge curves, endurance, and selecting appropriate battery models and capacities.
- Equipment Debugging and Optimization: Monitor current and power changes of motors, electronic speed controllers (ESCs), and other components to adjust parameter settings for optimal performance and prevent overload damage.
6.2 Solar Energy Application Scenarios
- Solar Panel Performance Monitoring: Measure output voltage, current, and power of solar panels under varying lighting conditions to evaluate power generation efficiency and stability. This helps determine if solar panels are functioning correctly and if maintenance is required.
- Solar Charging System Management: Monitor charging voltage, current, and power of batteries in solar charging systems to understand charging efficiency, prevent overcharging or undercharging, extend battery life, and optimize system configuration.
6.3 Other Battery Application Scenarios
- Portable Electronic Devices: Monitor battery charging and discharging processes for devices like mobile power supplies and power tools to assess battery health and remaining power, ensuring timely charging or replacement.
- Energy Storage Systems: In small energy storage systems (e.g., household batteries), monitor voltage, current, and power in real-time to manage and control the system effectively, improving safety and reliability.

Figure 6.1: Wide range of applications for the Watt Meter.
7. Specifications
The following are the technical specifications for the Ransanx 200A 100V High Precision Watt Meter Power Analyzer:
| Parameter | Value |
|---|---|
| Operating Voltage Range | 12V - 100V (0V-100V with optional auxiliary battery) |
| Current Measurement Range | 0 - 200A |
| Voltage Resolution | 0.01V |
| Current Resolution | 0.01A |
| Power Measurement Range | 0 - 6554W |
| Power Resolution | 0.01W |
| Amp-hour (Ah) Measurement Range | 0 - 65Ah |
| Amp-hour Resolution | 0.001Ah |
| Watt-hour (Wh) Measurement Range | 0 - 6554Wh |
| Watt-hour Resolution | 0.01Wh |
| Display | 16x2 Backlit Digital LCD Screen |
| Dimensions (L x W x H) | Approx. 8.3 cm x 4 cm x 3.2 cm (3.27 x 1.57 x 1.26 inches) |
| Weight | Approx. 3.88 ounces |
| Color | Black |

Figure 7.1: Physical dimensions of the Watt Meter.
8. Maintenance
Proper maintenance ensures the longevity and accuracy of your Ransanx Watt Meter:
- Cleaning: Use a soft, dry cloth to clean the device. Do not use abrasive cleaners or solvents, as they may damage the casing or screen.
- Storage: Store the meter in a cool, dry place away from direct sunlight, high humidity, and extreme temperatures.
- Handling: Handle the device with care. Avoid dropping it or subjecting it to strong impacts, which could damage internal components.
- Connections: Regularly inspect the wires and connectors for any signs of wear, fraying, or corrosion. Replace damaged wires immediately.
9. Troubleshooting
If you encounter issues with your Ransanx Watt Meter, refer to the following troubleshooting guide:
- No Display:
- Check if the voltage of the connected system is within the operating range (12V-100V).
- If the system voltage is below 12V, ensure an auxiliary battery (4.8V-60V) is properly connected to the 3-pin port on the 'SOURCE' side.
- Verify that all connections are secure and that polarity is correct (red to positive, black to negative).
- Inaccurate Readings:
- Ensure the meter is connected correctly in series with the load.
- Check for loose connections or damaged wires that might introduce resistance.
- Verify that the current and voltage of your system do not exceed the meter's maximum limits (200A, 100V). Overloading can cause inaccurate readings or damage.
- Display Freezes or Behaves Erratically:
- Disconnect and reconnect the meter to reset it.
- Ensure the device is not exposed to extreme temperatures or excessive moisture.
- Device Overheating:
- Ensure the cooling exhaust hole is not obstructed.
- Verify that the current draw does not consistently exceed the recommended limits for prolonged periods.
10. Warranty and Support
Ransanx products are manufactured to high-quality standards. While specific warranty details are not provided in this manual, please retain your proof of purchase for any warranty claims.
For technical support, troubleshooting assistance, or inquiries regarding your Ransanx Watt Meter, please contact the seller or refer to the product listing page for available support channels.