
1. Introduction
Thank you for choosing the monTEK Heavy Duty Ultra Slim TV Wall Mount. This manual provides essential information for the safe and correct installation, operation, and maintenance of your new TV wall mount. Please read these instructions thoroughly before installation and retain them for future reference.
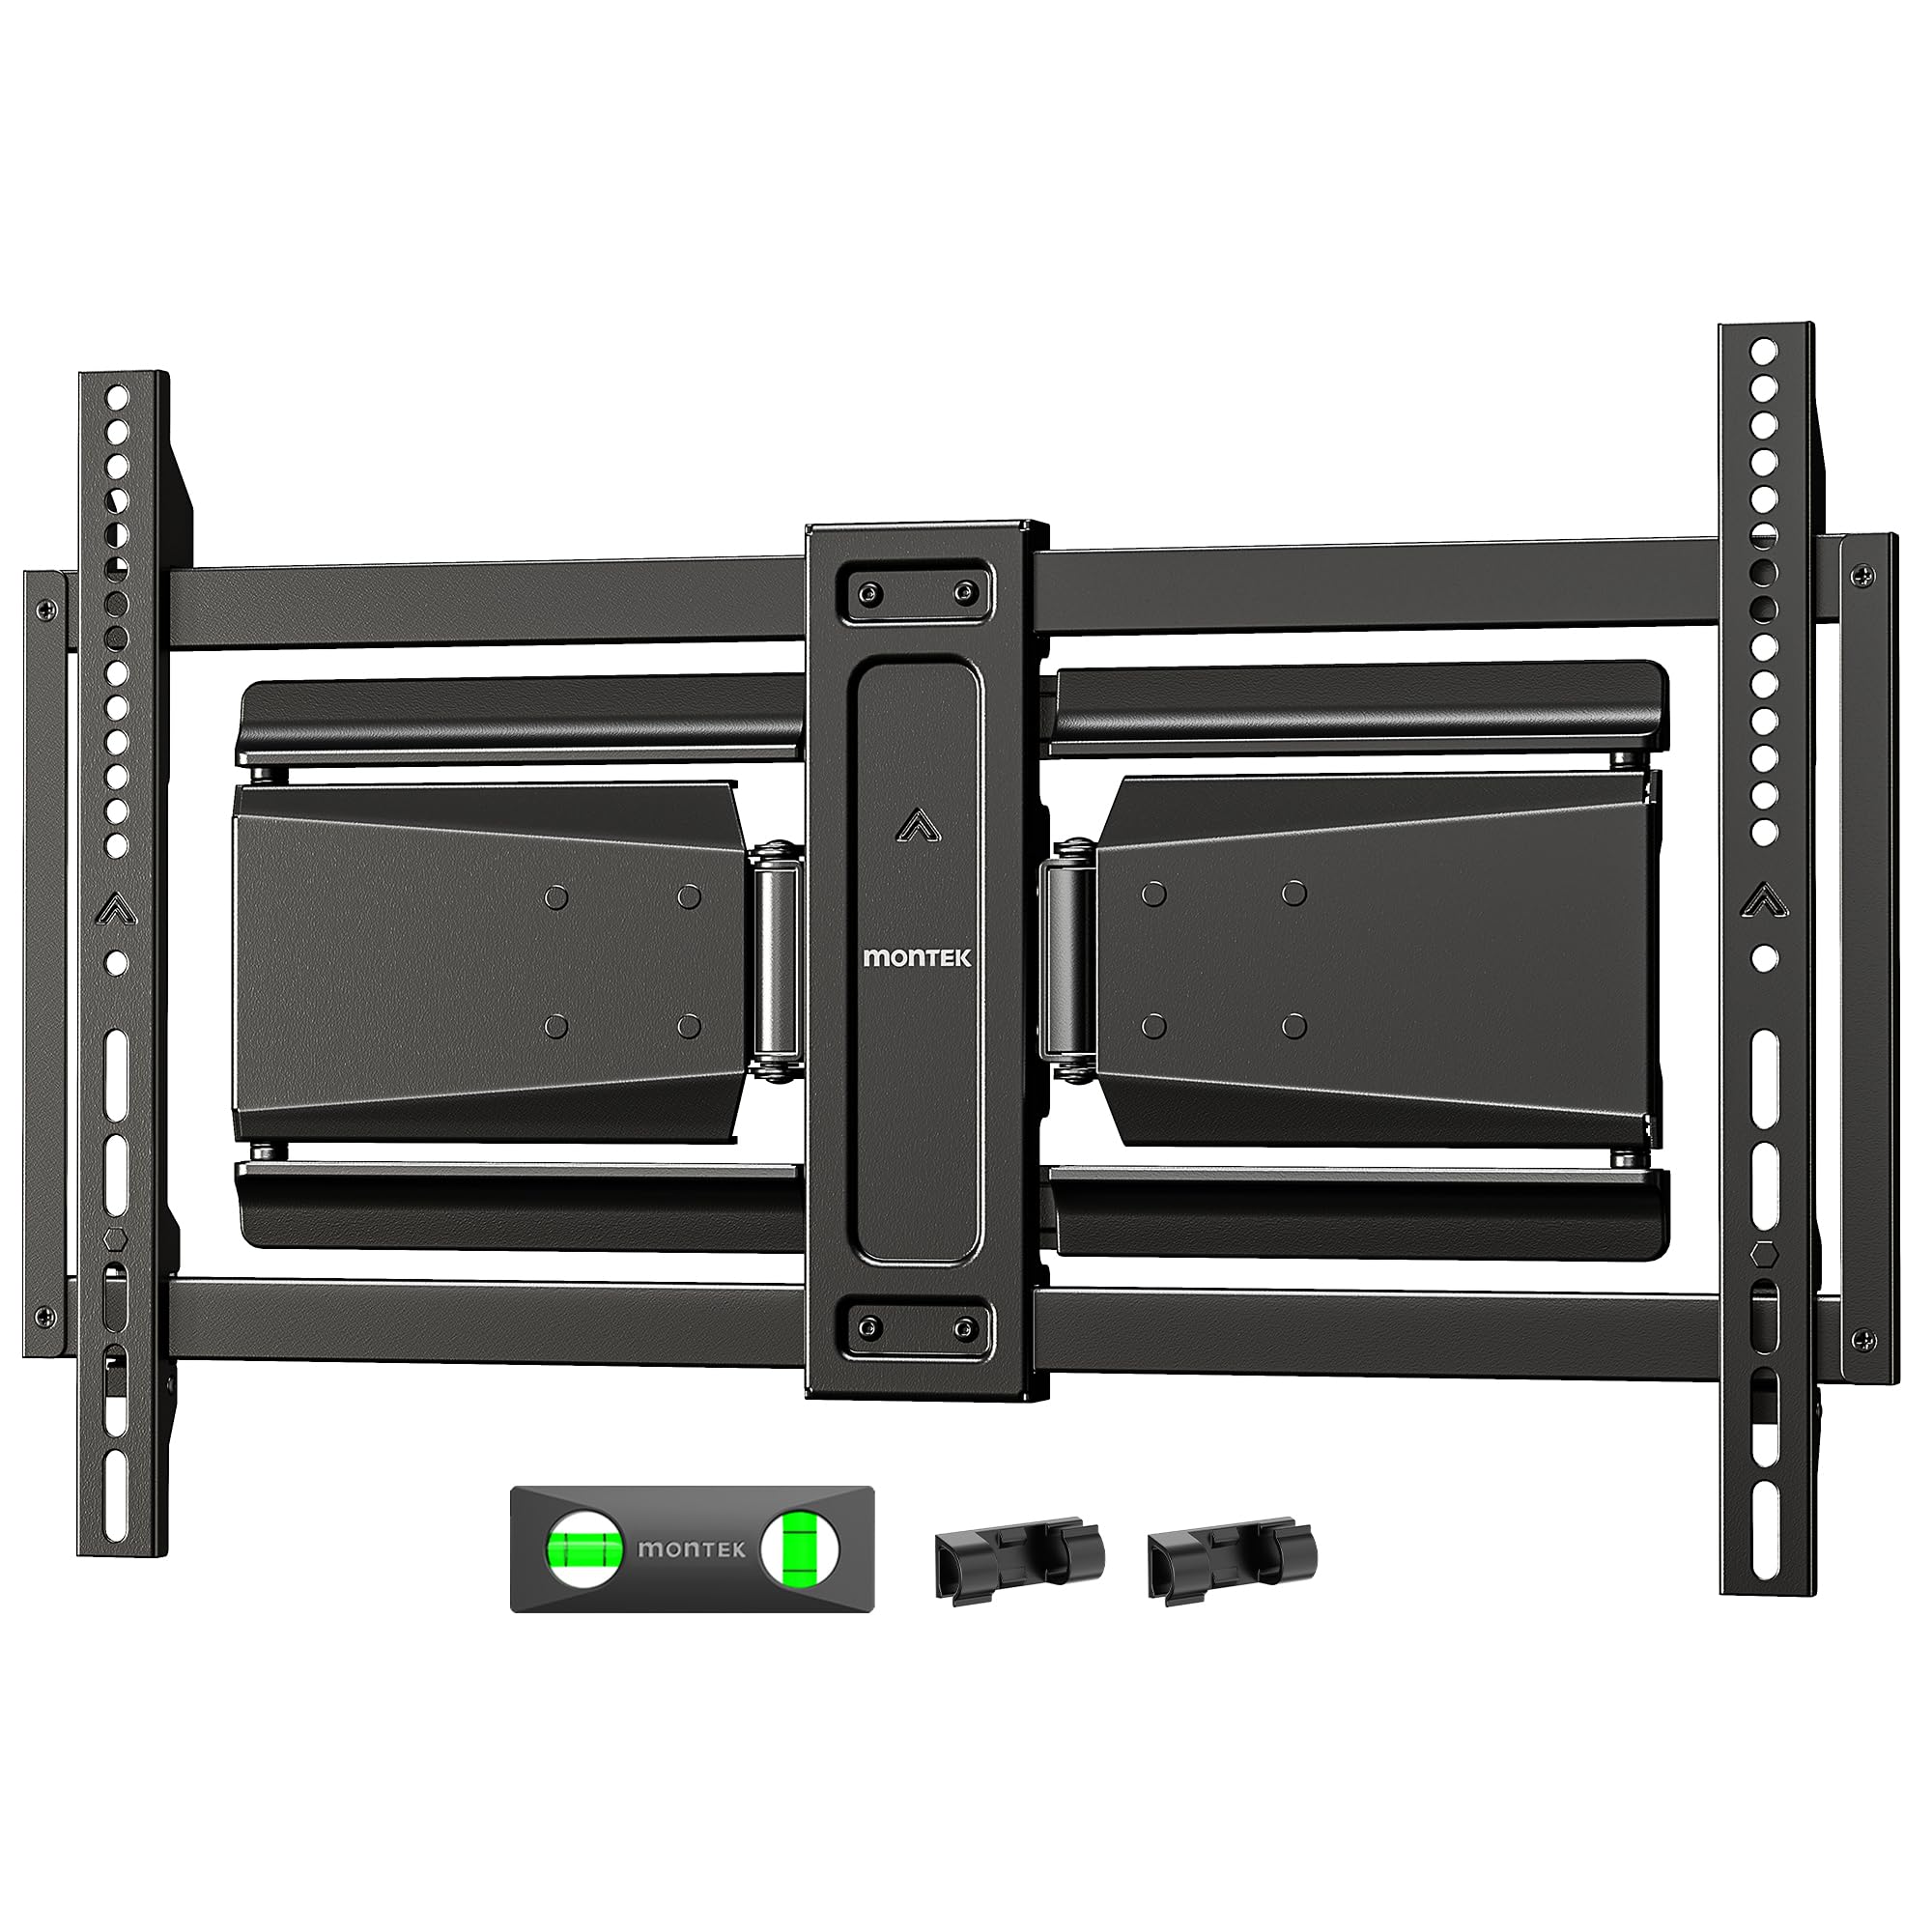
Figure 1: monTEK Heavy Duty Ultra Slim TV Wall Mount.
2. Safety Information
WARNING: Failure to read and follow all instructions can result in personal injury or damage to the product and property. Do not install this product if you do not understand these instructions or have doubts about the safety of the installation.
- Ensure the mounting surface can safely support the combined weight of the mount and the TV.
- Do not install on drywall alone. This mount is designed for installation on 16"/18" wood studs, concrete, or brick walls.
- Always use a stud finder to locate wood studs accurately.
- Do not exceed the maximum weight capacity of 185 lbs (85 kg).
- This product contains small items that could be a choking hazard if swallowed. Keep away from children.
- Always have two people for installation to prevent injury or damage.
3. Package Contents
Verify that all components are present and undamaged before installation. If any parts are missing or defective, contact monTEK customer service.

Figure 2: All included hardware components for installation, such as screws, washers, and tools.
The package typically includes:
- TV Wall Mount Assembly
- VESA Plate
- Wall Plate
- Various TV Screws (M4, M6, M8)
- Washers and Spacers
- Lag Bolts and Concrete Anchors
- Bubble Level
- Cable Clips
- Drill Template
- Installation Manual
4. Specifications
| Brand | monTEK |
| Model Number | US-DS-TM1010W-M |
| Mounting Type | Wall Mount |
| Movement Type | Swivel, Tilt, Extension |
| Material | Alloy Steel |
| Color | Black |
| Compatible TV Sizes | 37-90 inches |
| Maximum Load Capacity | 185 lbs (85 kg) |
| VESA Compatibility | 200x200mm up to 600x400mm |
| Extension from Wall | 1.37" (retracted) to 10.19" (extended) |
| Tilt Angle | +3° / -15° |
| Swivel Angle | ±30° |
| Item Weight | 15.4 pounds |
5. Setup and Installation
Before beginning, ensure you have all necessary tools and hardware. A drill, stud finder, level, and screwdriver are typically required.
5.1 Compatibility Check
Confirm your TV's VESA pattern, weight, and size are within the mount's specifications. This mount supports VESA patterns from 200x200mm to 600x400mm, TVs from 37-90 inches, and weights up to 185 lbs.

Figure 3: Diagram showing VESA compatibility and suitable wall types (concrete, wood stud, brick), with a maximum load of 187 lbs. Do not mount on drywall alone.
5.2 Wall Type and Location
This mount is designed for installation on 16"/18" wood studs, concrete, and brick walls. Do not install the mount on drywall alone. Choose a location that allows for optimal viewing angles and is free from electrical wires or plumbing.
5.3 Installation Steps
Follow these general steps for installation. Refer to the detailed installation manual included in your package for precise instructions and diagrams.
- Attach VESA Plate to TV: Secure the VESA plate to the back of your TV using the appropriate screws and spacers.
- Attach Wall Plate: Mark and drill pilot holes on your wall. Secure the wall plate to the wall using lag bolts for wood studs or concrete anchors for concrete/brick walls. Ensure the wall plate is level.
- Hang the TV: Carefully lift the TV with the attached VESA plate and hook it onto the wall plate. Engage the safety lock mechanism to secure the TV in place.

Figure 4: Visual guide showing the three main steps for installing the TV mount: attaching VESA plate, attaching wall plate, and hanging the TV.
5.4 Cable Management
Use the included cable clips to organize and conceal unsightly cables and cords for a tidy and professional entertainment setup.

Figure 5: Image showing the TV mount swiveling up to ±30 degrees, with integrated cable management clips.
5.5 Decorative Covers
Once the mount is installed, attach the decorative covers to hide screws and provide an elegant, finished look.

Figure 6: Image illustrating the ultra-thin integrated bracket design and the process of installing decorative covers.
6. Operating Instructions
The monTEK TV wall mount offers full motion capabilities for optimal viewing flexibility.
6.1 Extension and Retraction
The mount can extend up to 10.19 inches from the wall and retract back to a slim 1.37 inches. Gently pull or push the TV to adjust the distance from the wall.

Figure 7: Image showing the TV mount retracted to 1.38 inches from the wall, highlighting its ultra-slim profile.

Figure 8: Image demonstrating the TV mount's ability to extend up to 10.19 inches and retract to 1.38 inches, with tilt angles of +3° to -15°.
6.2 Swivel Adjustment
The TV mount features a +/-30° swivel capability. Gently pivot the TV screen left or right to direct it towards your viewing area.
6.3 Tilt Adjustment
Adjust the tilt angle from +3° to -15° to reduce glare and achieve optimal viewing comfort. This is a tool-free adjustment.
6.4 Safe Lock Design
The safe lock design helps to fix or loosen the TV brackets. Ensure the buckle is engaged after positioning the TV to prevent accidental dislodgement.

Figure 9: Image detailing the safe lock design with a convenient buckle for securing or releasing the TV brackets.
6.5 Product Videos
Video 1: Official product video demonstrating the features and installation of the monTEK Slim TV Wall Mount.
Video 2: Official product video showcasing the heavy-duty construction and ultra-slim design of the monTEK TV Wall Mount.
7. Maintenance
Regular maintenance ensures the longevity and safe operation of your TV wall mount.
- Periodic Checks: Periodically check that all screws and bolts are securely tightened. Over time, vibrations or adjustments can cause fasteners to loosen.
- Cleaning: Clean the mount with a soft, dry cloth. Avoid abrasive cleaners or solvents that could damage the finish.
- Movement: If the mount's movement becomes stiff, apply a small amount of silicone-based lubricant to the articulating joints.
8. Troubleshooting
If you encounter issues with your monTEK TV wall mount, refer to the following common solutions.
- TV is not level: Check the wall plate installation with a level. Most mounts allow for minor post-installation leveling adjustments. Refer to the detailed manual for specific adjustment points.
- Mount feels loose: Re-check all wall mounting bolts and TV attachment screws. Ensure they are tightened according to the instructions. Do not overtighten.
- Difficulty moving the TV: Ensure no cables are snagged. If joints are stiff, apply lubricant as described in the Maintenance section.
- TV does not fit: Double-check your TV's VESA pattern and weight against the specifications in Section 4. If incompatible, the mount cannot be used.
If problems persist, contact monTEK customer support for assistance.
9. Warranty and Support
The monTEK Heavy Duty Ultra Slim TV Wall Mount comes with a 3-year warranty from the date of purchase. This warranty covers manufacturing defects and material flaws under normal use.
For warranty claims, technical support, or any questions regarding your product, please visit the official monTEK store or contact their customer service directly. You can find more information and contact details at the monTEK Store on Amazon.