
acer ST-5A
acer Smart Baby Monitor ST-5A User Manual
1. Introduction
Thank you for choosing the acer Smart Baby Monitor ST-5A. This manual provides essential information for the safe and efficient operation of your new baby monitor. Designed for peace of mind, this monitor offers a secure, private connection without the need for Wi-Fi, ensuring your baby's safety and privacy. With its 5-inch LCD display, 1080P camera, and a range of smart features, you can confidently monitor your little one.
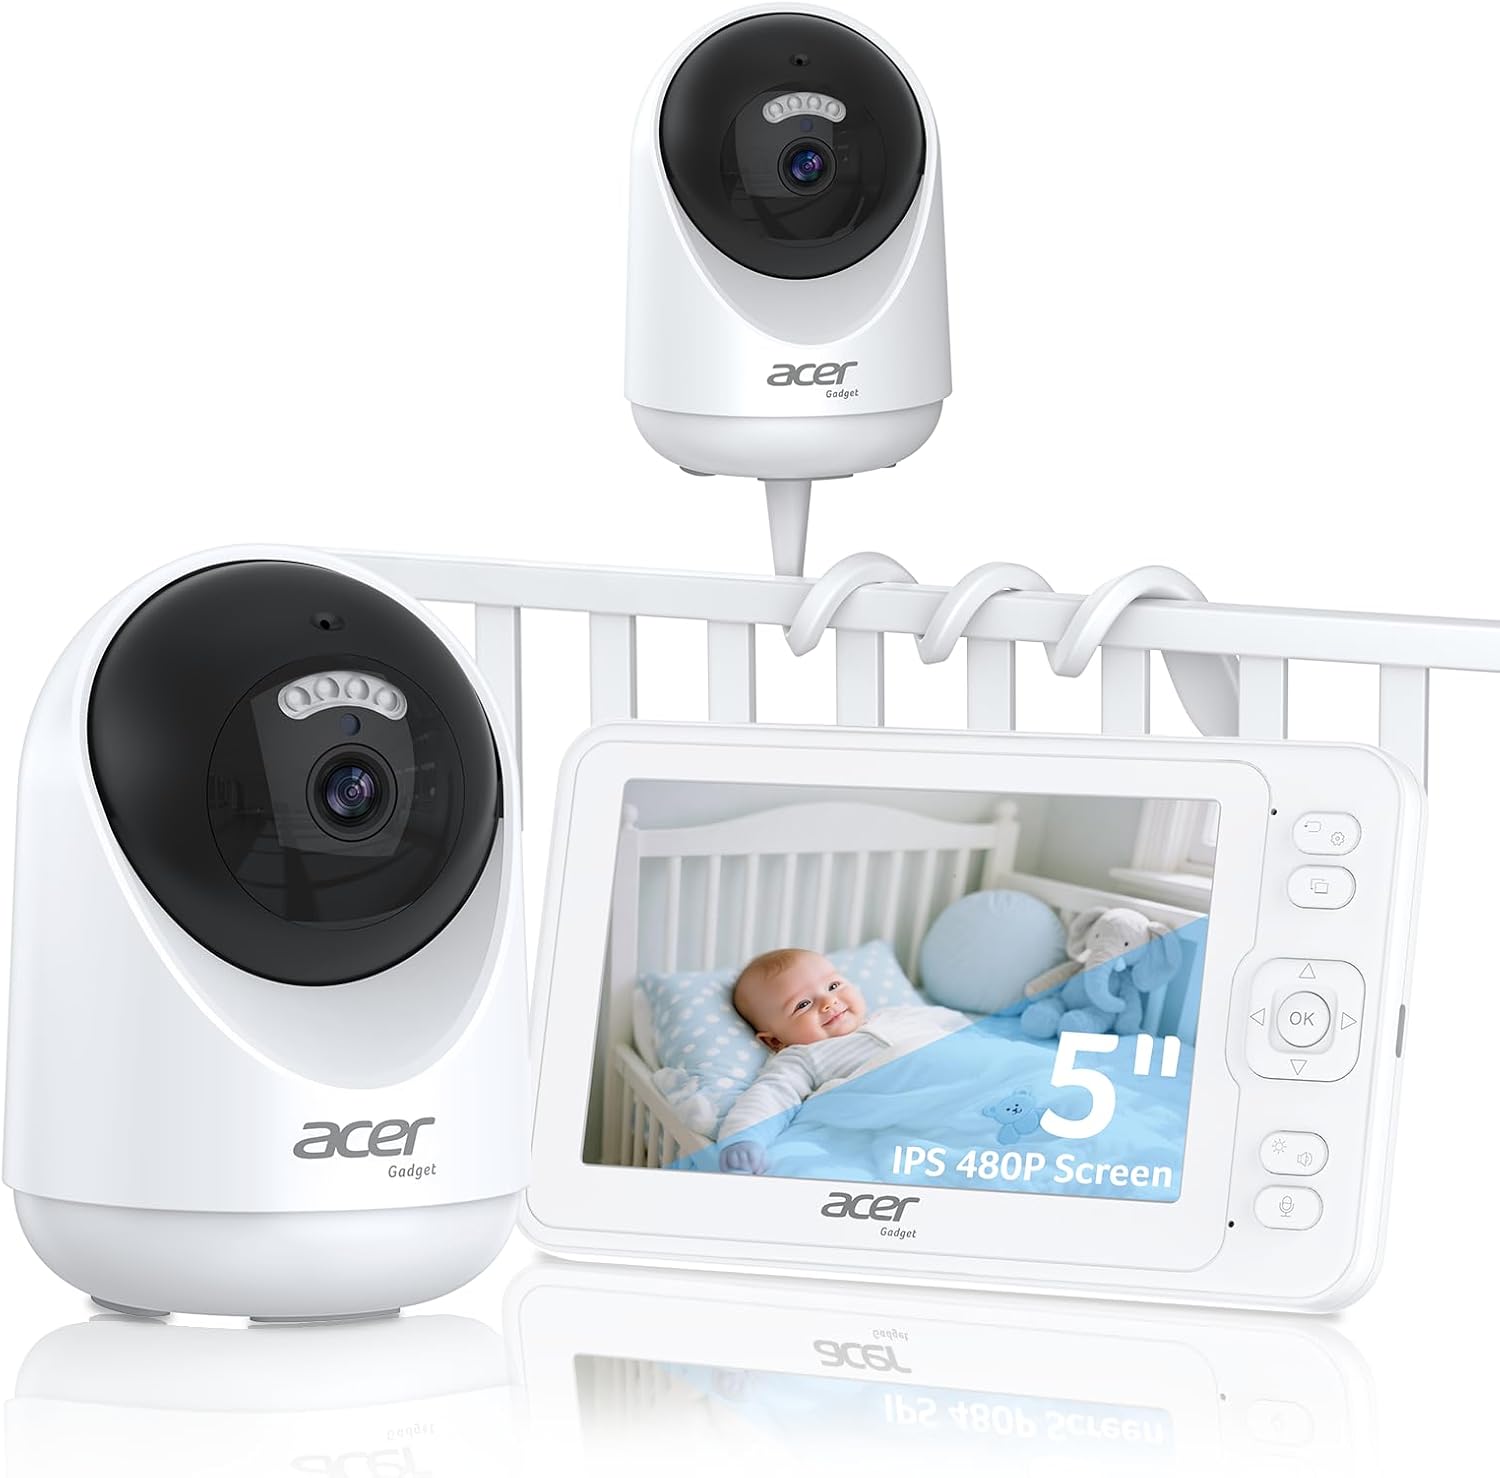
Figure 1: acer Smart Baby Monitor System Overview
2. Package Contents
Please check the package contents to ensure all items are present:
- Baby monitor x1
- Baby camera x1
- Mounting Bracket x1
- Linear Bracket x1
- Screws x1
- Power Adapter x2
- Type C Cable x2
- User Manual x1
- Thanks Card x1
3. Product Overview
3.1 Monitor Unit
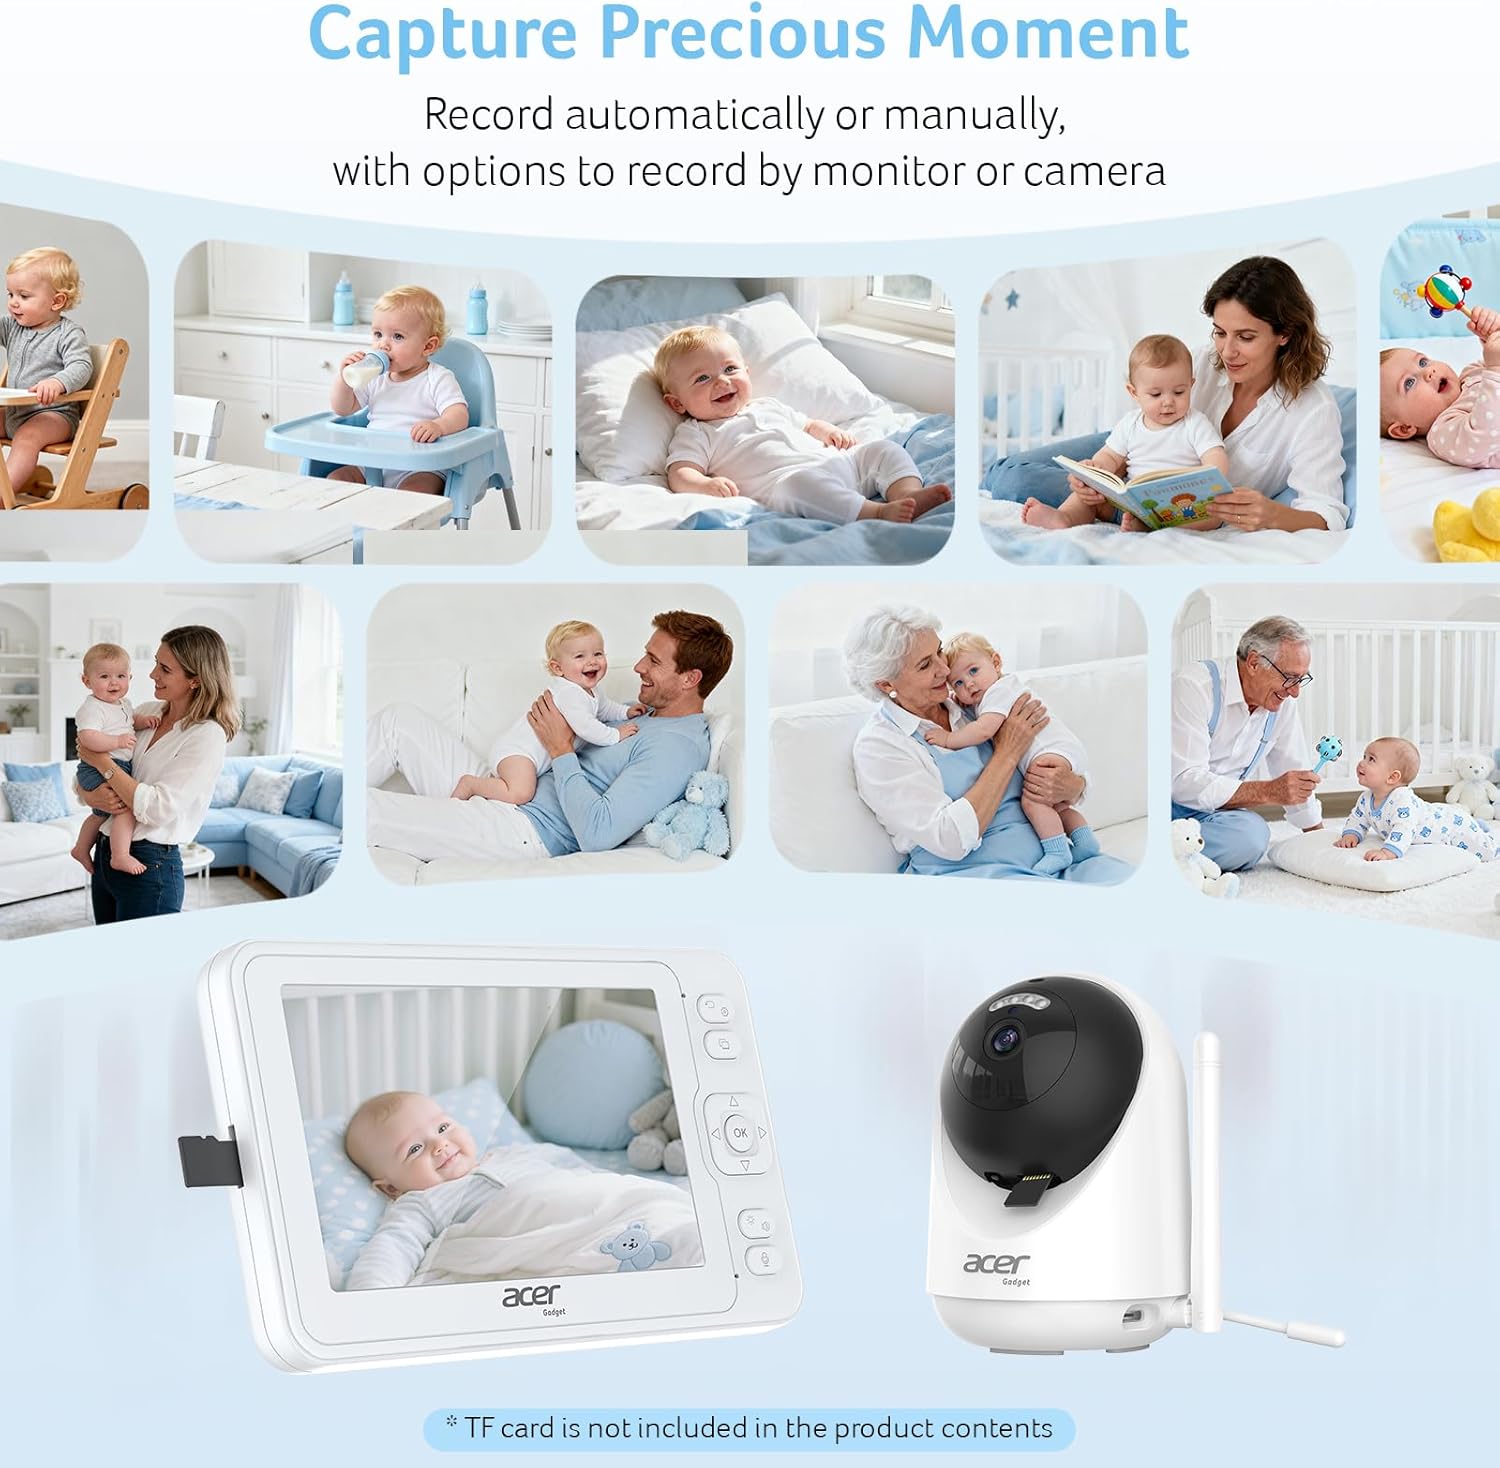
Figure 2: Monitor Unit Components
- Back Button/Menu
- Camera Switch Button
- Direction Button
- Type-C Charging Port
- OK Button
- Lightness and Volume Button
- Talk Button
- Sound Detection (VOX) Button
- Power On/Off Button
- External Antenna
- TF Card port
- Bracket
- Speaker
3.2 Camera Unit

Figure 3: Camera Unit Components
- Lens
- Sound Pickup
- Light Sensor
- Reset Button
- TF Card Port
- Speaker
- Antenna
- Digital Temp Sensor
- Micro USB Port
4. Setup
The acer Smart Baby Monitor is designed for easy, out-of-the-box use. The camera and monitor units are pre-paired for your convenience.
- Charge the Monitor: Connect the monitor to a power outlet using one of the provided Type C cables and power adapters. Ensure it is fully charged before first use for optimal battery life.
- Power the Camera: Connect the camera to a power outlet using the second Type C cable and power adapter. The camera will automatically power on.
- Position the Camera: Place the camera in your baby's room, ensuring a clear view of the crib or play area. Utilize the included mounting options for optimal placement (see Section 5).
- Power On the Monitor: Press and hold the Power On/Off Button (9) on the monitor unit. The monitor will automatically connect to the camera.
- Adjust Settings: Once connected, you can adjust volume, brightness, and other settings using the buttons on the monitor.
Video 1: Overview of the Smart Baby Monitor and its features, including the 5-inch LCD screen and 1080P camera.
5. Operating the Monitor
5.1 Video Monitoring & Camera Control
The 5-inch LCD display provides a crystal-clear view of your baby. The 1080P camera offers extensive coverage of the nursery.
- Remote Pan & Tilt: Use the Direction Buttons (3) on the monitor to remotely pan the camera 355° horizontally and tilt 110° vertically, ensuring full room coverage.
- Night Vision: The camera automatically activates its infrared night vision in low-light conditions, providing a clear black-and-white image of your baby up to 33ft away.

Figure 4: Wide-Angle and Remote Pan-Tilt Viewing

Figure 5: Infrared Night Vision
5.2 Audio Features
- 2-Way Talk: Press and hold the Talk Button (7) on the monitor to speak to your baby remotely. Release the button to stop talking.
- Lullabies: The monitor features 8 pre-programmed lullabies to help soothe your baby to sleep. Access this feature through the monitor's menu.
- VOX Mode (Sound Detection): In VOX mode, the screen and sound will activate automatically when your baby cries, conserving battery. Adjust sensitivity via the menu.

Figure 6: Two-Way Talk Functionality

Figure 7: Auto-on Screen in VOX Mode
5.3 Smart Features
- Temperature Sensor: The camera includes a digital temperature sensor (8) that displays the room temperature on the monitor, helping you maintain a comfortable environment for your baby.
- Feeding Reminders: Set different interval reminders for feeding through the monitor's menu.
- Video Recording: Insert a TF card (not included) into the TF Card Port (11 on monitor, 5 on camera) to record video directly from the monitor or camera. Playback is available directly on the monitor.

Figure 8: Night Vision with Lullabies and Temperature Sensor
Video 2: Honest review of the smart baby monitor, demonstrating various features and ease of use.
6. Mounting Options
The baby camera offers flexible installation to suit your needs:
- Desktop Placement: Simply place the camera on a flat surface near the crib or play area.
- Crib Mount: Use the Linear Bracket (included) to securely wrap the camera around a crib rail or other shelves.
- Wall Mount: The Mounting Bracket and screws (included) allow for secure fixed placement on a wall.

Figure 9: Multiple Camera Mounting Methods
7. Connectivity & Security
The acer Smart Baby Monitor utilizes 2.4GHz FHSS technology for a secure and private connection.
- No Wi-Fi Required: The system operates independently of your home Wi-Fi network, eliminating potential hacking or privacy risks associated with internet-connected devices.
- Extended Range: Enjoy a maximum connection distance of up to 1,000 ft in open and interference-free spaces, allowing you to monitor your baby from various locations within your home or yard.
Figure 10: Secure Connection with 1000ft Range
Video 3: A short demonstration highlighting the instant setup and connectivity of the baby monitor.
8. Maintenance
- Cleaning: Use a soft, dry cloth to clean the monitor and camera units. Do not use abrasive cleaners or solvents.
- Battery Care: To prolong battery life, avoid fully discharging the monitor frequently. Charge it regularly.
- Storage: Store the device in a cool, dry place when not in use for extended periods.
9. Troubleshooting
- No Picture/Sound: Ensure both the camera and monitor are powered on and within range. Check power connections.
- Poor Signal: Move the monitor closer to the camera. Avoid large metal objects or thick walls that may interfere with the signal.
- Battery Draining Quickly: Reduce screen brightness or activate VOX mode to conserve battery.
- Camera Not Panning/Tilting: Ensure the camera is powered on and the monitor is within range. Check for any physical obstructions.
10. Specifications
| Feature | Detail |
|---|---|
| Brand | acer |
| Model Name | ST-5A |
| Screen Size | 5 Inches |
| Camera Resolution | 1080P |
| Connectivity Technology | 2.4GHz FHSS (No WiFi) |
| Max Range | 1,000 ft (open space) |
| Pan/Tilt | 355° Pan & 110° Tilt |
| Night Vision | Infrared, up to 33ft |
| Battery Capacity | 3600mAh (rechargeable) |
| Special Features | VOX Mode, 2-Way Talk, 8 Lullabies, Temperature Sensor, Video Recording (TF card slot) |
| Material | Plastic |
| Product Dimensions | 2.5"L x 4.6"W x 3"H |
| UPC | 195133331593 |
11. Warranty & Support
The acer Smart Baby Monitor ST-5A comes with a 6-month warranty from the date of purchase. Please retain your proof of purchase for warranty claims.
For technical support, troubleshooting assistance, or warranty inquiries, please refer to the contact information provided on the included 'Thanks Card' or visit the official acer support website.
Ask a question about this manual
Ask about setup, troubleshooting, compatibility, parts, safety, or missing instructions. Manuals+ will review the question and use this page’s manual context to help answer it.