
AZDOME M17
AZDOME M17 Front WiFi Dash Cam User Manual
Model: M17 | Brand: AZDOME
1. Introduction
This manual provides detailed instructions for the installation, operation, and maintenance of your AZDOME M17 Front WiFi Dash Cam. Please read this manual thoroughly before using the device to ensure proper functionality and safety.
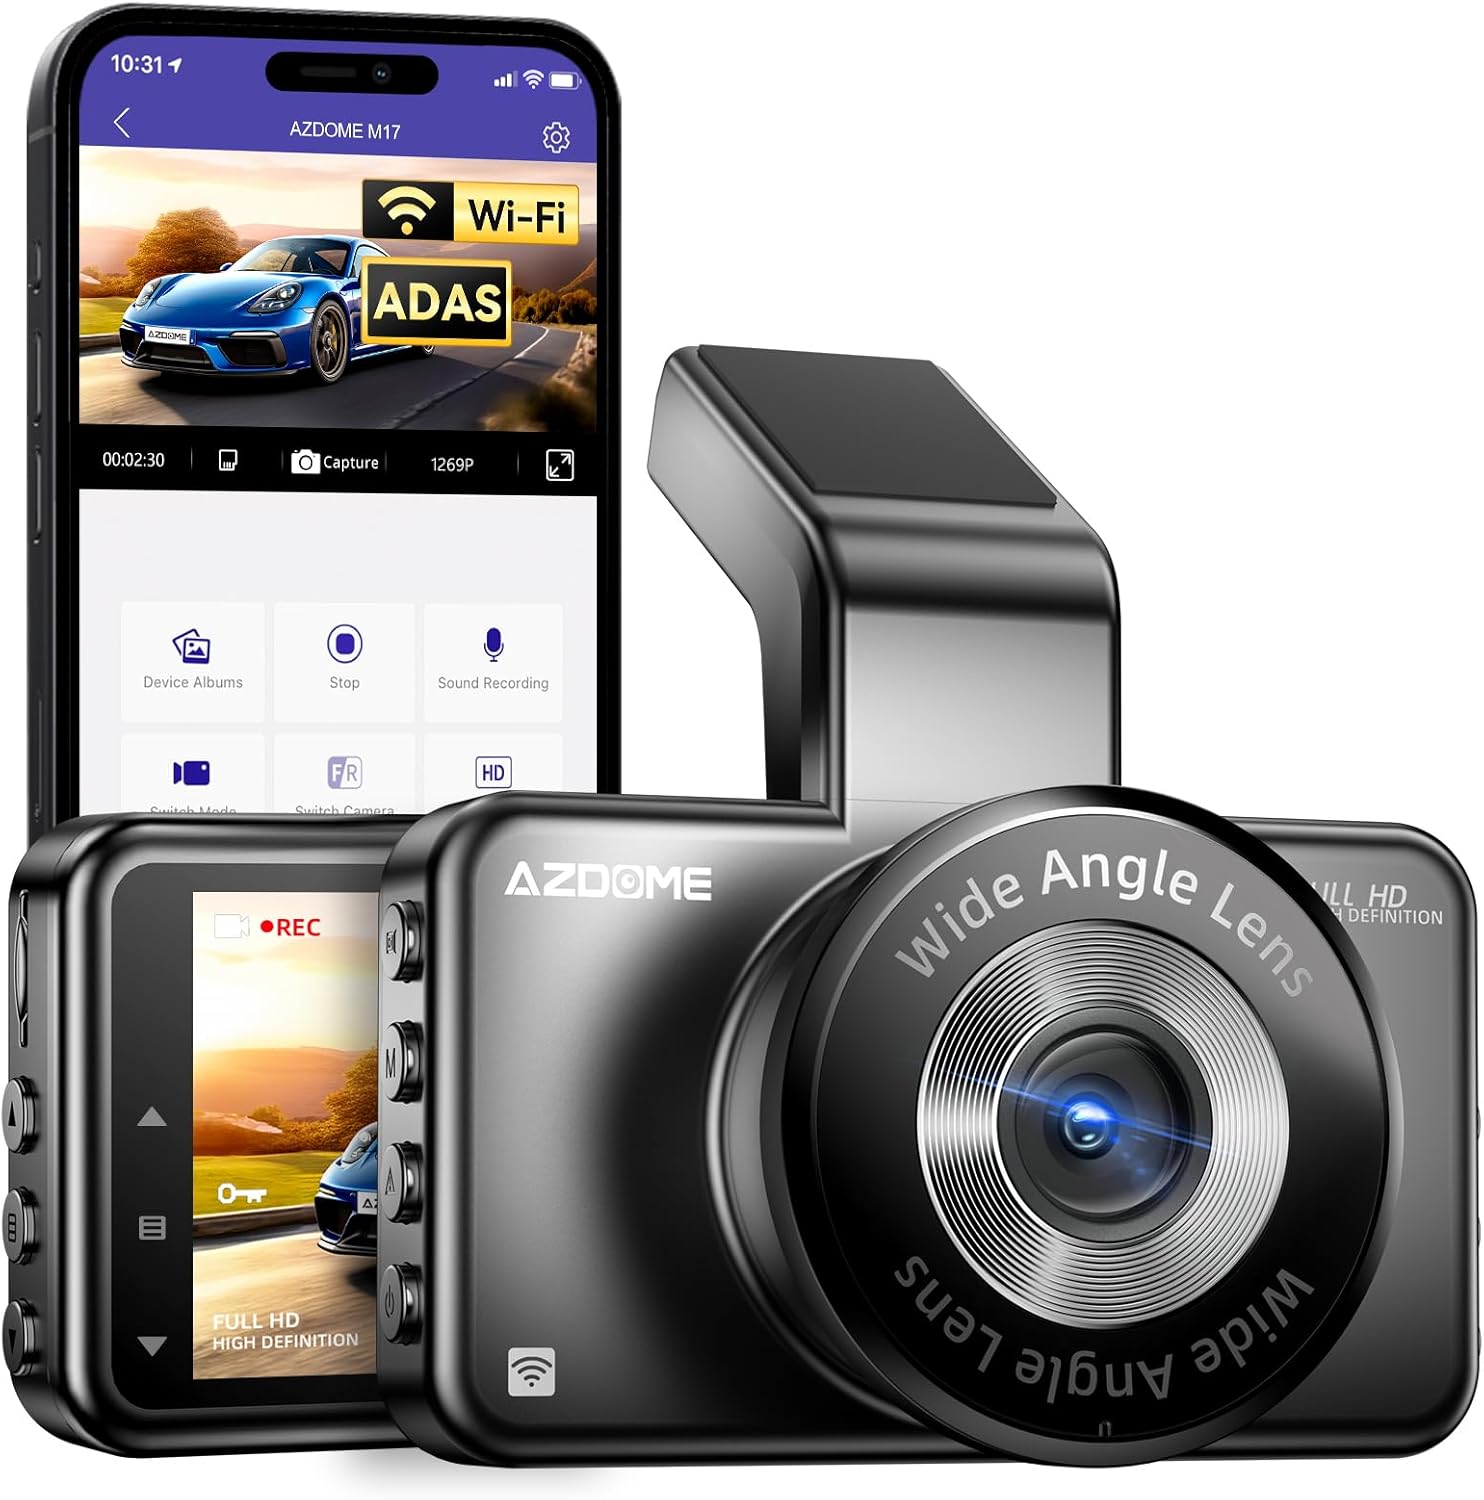
Image 1.1: AZDOME M17 Dash Cam with its companion mobile application interface.
2. What's in the Box
Verify that all items are present in the package:
- AZDOME M17 Dash Cam
- 3M Adhesive Mount
- Type-C Car Charger (3.5m/12ft)
- Spare 3M Sticker
- Cable Clips (5x)
- Pry Tool
- Electrostatic Stickers (2x)
- Cleaning Cloth
- User Manual

Image 2.1: Contents of the AZDOME M17 Dash Cam package.
3. Product Overview
Familiarize yourself with the physical components and interfaces of your dash cam.
Video 3.1: An overview of the AZDOME M17 Dash Cam's physical features, including buttons, ports, and mounting options.
3.1. Buttons and Ports
- OK Button: Confirm selections, start/stop recording.
- Mode Button: Switch between video, photo, and playback modes.
- Lock Button: Manually lock current recording to prevent overwriting.
- Power Button: Power on/off the device.
- TF Card Slot: Insert microSD card for storage.
- Up/Down Buttons: Navigate menus, adjust settings.
- Menu Button: Access settings menu.
- Mini USB Charging Port: Connect to car charger for power.
- Micro AV In: (If applicable for rear camera, not included in this model)
3.2. Lens and Display
- Wide Angle Lens: Captures a 150° field of view. The lens is adjustable for optimal positioning.
- 3" LCD Screen: Displays live view, playback, and menu interface.

Image 3.1: Adjustable lens and 150° front view capability.
4. Setup and Installation
Follow these steps to properly install your AZDOME M17 Dash Cam in your vehicle.
- Prepare the Windshield: Clean the area on your windshield where you intend to mount the dash cam. Ensure it is free of dust and grease.
- Apply Electrostatic Sticker: Place one electrostatic sticker on the cleaned area of the windshield. This helps in easy removal and repositioning without leaving residue.
- Attach Mount: Secure the 3M adhesive mount to the electrostatic sticker. Press firmly for at least 30 seconds.
- Mount Dash Cam: Slide the dash cam onto the mount. Adjust the lens angle to ensure a clear view of the road.
- Connect Power: Use the provided Type-C car charger to connect the dash cam to your vehicle's cigarette lighter socket. Route the cable neatly along the windshield and dashboard using the included cable clips and pry tool.
- Insert MicroSD Card: Insert a Class 10, U3, A2 microSD card (up to 128GB, not included) into the TF card slot. Ensure it is inserted correctly.

Image 4.1: Easy 3-step installation process for the AZDOME M17 Dash Cam.
5. Operating Instructions
5.1. Initial Power On and SD Card Formatting
Upon first power-on, the dash cam will prompt you to format the microSD card. It is crucial to format the card within the dash cam for optimal performance and to prevent recording errors. Follow the on-screen instructions.
5.2. Basic Recording
Once powered on and the SD card is formatted, the dash cam will automatically begin loop recording. The 1296P HD resolution ensures clear footage day and night.

Image 5.1: The dash cam records in 1296P Full HD resolution.
Video 5.2: A road test demonstrating the video quality of the AZDOME M17 Dash Cam during daytime and nighttime driving conditions.
5.3. Built-in WiFi and AZDOME App
The AZDOME M17 features built-in WiFi, allowing you to connect your smartphone (iOS or Android) via the AZDOME App. This enables live viewing, video playback, downloading, and managing footage directly from your phone. Keep your dash cam and phone within 10 feet for a stable connection.

Image 5.2: The AZDOME App interface for managing dash cam footage.

Image 5.3: Steps to connect your smartphone to the dash cam's WiFi.
5.4. Advanced Driver Assistance System (ADAS)
The ADAS feature provides real-time alerts to enhance driving safety. It includes:
- Lane Departure Warning System (LDWS): Alerts you if the vehicle drifts out of its lane.
- Forward Collision Warning (FCW): Provides an alert if you are approaching a vehicle too quickly.

Image 5.4: Visual representation of ADAS alerts for lane departure and forward collision.
5.5. Loop Recording and G-Sensor
The dash cam continuously records video in segments (1, 2, or 3 minutes). When the microSD card is full, the oldest unlocked video files are automatically overwritten by new recordings. The built-in G-sensor detects sudden impacts or collisions and automatically locks the current video segment, preventing it from being overwritten. You can also manually lock recordings using the Lock Button.

Image 5.5: Automatic and manual emergency lock functionality.

Image 5.6: Overview of the AZDOME M17's core features.
5.6. Night Vision
The dash cam is equipped with advanced night vision capabilities, featuring an F2.0 aperture and a 6-glass lens, to capture clear details in low-light conditions.

Image 5.7: Super Night Vision performance in low-light environments.
5.7. 24 Hours Parking Mode
The 24 Hours Parking Mode provides continuous surveillance when your vehicle is parked. This feature requires a 3-lead hardwire kit (not included, search ASIN: B0BM9JL327) with an output current of 1.5A. It offers two modes:
- Collision Detection Parking Mode: Records automatically when an impact is detected.
- Time-Lapse Parking Mode: Continuously records at a low frame rate to save storage space while providing full coverage.

Image 5.8: Explanation of 24 Hours Parking Mode features.
6. Maintenance
6.1. MicroSD Card Care
- Regularly format your microSD card (at least once a month) within the dash cam to maintain optimal performance and prevent data corruption.
- Use a high-quality Class 10, U3, A2 microSD card from a reputable brand for reliable recording. AZDOME 64GB or 128GB microSDXC cards are recommended.
- Avoid removing or inserting the microSD card while the dash cam is powered on to prevent data loss or card damage.
6.2. Cleaning
- Use the provided cleaning cloth or a soft, dry cloth to clean the dash cam's lens and screen.
- Do not use abrasive cleaners or solvents, as they may damage the device.
7. Troubleshooting
If you encounter issues with your dash cam, refer to the following common problems and solutions:
- Dash Cam does not power on:
Ensure the car charger is properly connected to both the dash cam and the vehicle's power outlet. Check if the vehicle's power outlet is functioning. - Dash Cam stops recording:
The microSD card may be full. Format the card or replace it. Ensure the card is Class 10, U3, A2. Check if loop recording is enabled. - Video footage is blurry:
Clean the dash cam lens and your windshield. Ensure the protective film has been removed from the lens. - WiFi connection issues:
Ensure the dash cam and your smartphone are within 10 feet. Restart both the dash cam and your phone. Reinstall the AZDOME App if necessary. - G-sensor is too sensitive/not sensitive enough:
Adjust the G-sensor sensitivity setting in the dash cam's menu.
8. Specifications
| Feature | Detail |
|---|---|
| Product Dimensions | 5.51 x 2.36 x 4.72 inches |
| Item Weight | 12 ounces |
| Item Model Number | AZDOME M17 |
| Batteries | 1 Lithium Metal battery required |
| Connectivity Technologies | Wi-Fi |
| Special Features | Built-In Microphone, ADAS, G-Sensor, Loop Recording, Parking Mode, Night Vision |
| Other Display Features | Wireless |
| Color | Black |
| Manufacturer | AZDOME |
| Date First Available | April 30, 2025 |
| Vehicle Service Type | Car |
| Video Capture Resolution | 1296p |
| Mounting Type | Windshield Mount |
| Field Of View | 150 Degrees |
9. Warranty and Support
For warranty information and technical support, please refer to the official AZDOME website or contact AZDOME customer service directly. Details can typically be found on the product packaging or the official brand website.
Related documentsM17


Ask a question about this manual
Ask about setup, troubleshooting, compatibility, parts, safety, or missing instructions. Manuals+ will review the question and use this page’s manual context to help answer it.