1. Introduction
Thank you for choosing the Canovire 10x12FT Outdoor Storage Shed. This manual provides essential information for the safe assembly, operation, and maintenance of your new storage shed. Please read all instructions carefully before beginning assembly and retain this manual for future reference.
Important Shipping Note:
The 10x12FT storage shed is shipped in three separate packages, which may arrive on different days. Please ensure all packages have been received before starting assembly. If you encounter any missing parts, product damage, or difficulties during assembly, please contact Canovire customer support for assistance.
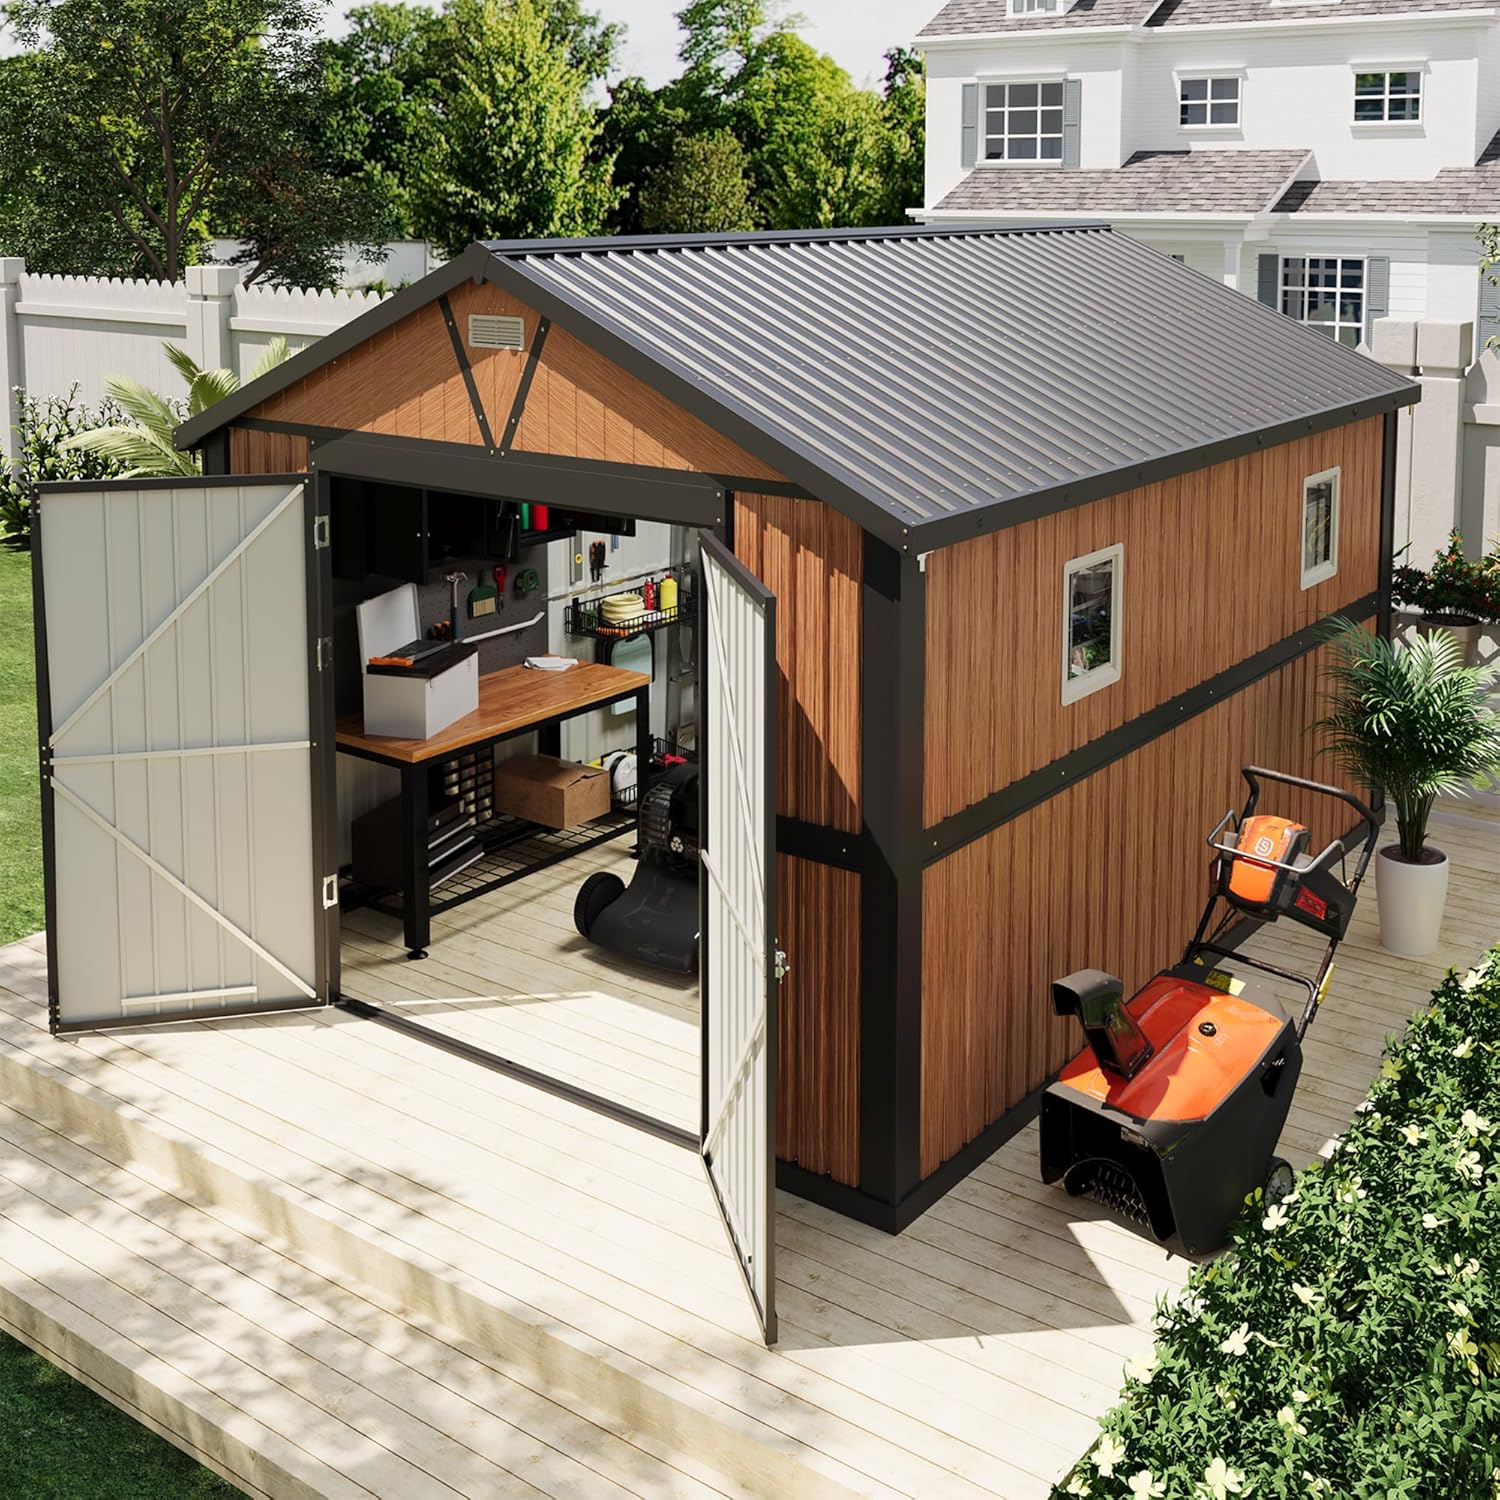
Image 1.1: The Canovire 10x12FT Outdoor Storage Shed, demonstrating its spacious interior and utility.
2. Safety Instructions
Your safety and the safety of others are paramount. Please observe the following safety precautions:
- Assembly Team: This structure requires 3-4 people for safe and efficient installation. Do not attempt to assemble alone.
- Protective Gear: Wear appropriate personal protective equipment, including work gloves (two pairs are included) and safety glasses, during assembly to prevent injuries.
- Site Preparation: Choose a level, stable surface for installation. Ensure the area is clear of obstructions and debris.
- Weather Conditions: It is recommended to install on a windless day to prevent panels from being caught by wind, which could cause injury or damage.
- Heavy Components: Some components are heavy. Exercise caution and use proper lifting techniques to avoid strain or injury.
- Children and Pets: Keep children and pets away from the assembly area to prevent accidents.
- Tools: Use only the recommended tools and ensure they are in good working condition.
- Electrical Safety: If using power tools, ensure all electrical connections are safe and follow manufacturer guidelines.
3. Package Contents
The Canovire 10x12FT Outdoor Storage Shed is delivered in three cartons. Please verify all parts against the packing list provided in your detailed manual before beginning assembly.
- 3 Cartons containing all shed components.
- 2 Pairs of work gloves.
- Detailed assembly manual.

Image 3.1: Overview of shed dimensions and package contents.
4. Setup and Assembly
Assembly of the Canovire 10x12FT Outdoor Storage Shed typically requires 5-7 hours with 3-4 people. We strongly recommend reviewing the detailed manual and any available online installation videos before starting.
4.1. Pre-Assembly Checklist
- Location: Select a flat, level, and well-drained area for your shed.
- Tools Required: Gather necessary tools such as a screwdriver, wrench, drill, measuring tape, and ladder.
- Parts Verification: Unpack all cartons and verify that all components listed in the manual are present and undamaged.
- Safety Gear: Ensure all assemblers have appropriate safety gear, including the provided gloves.
4.2. Assembly Steps (General Guidance)
- Base Preparation: Ensure your chosen site is level. Note that a frame floor is not included with this shed. You may need to construct a suitable base (e.g., concrete slab, wooden platform) before assembly.
- Frame Assembly: Begin by assembling the heavy-duty steel frame according to the detailed instructions. This forms the structural integrity of the shed.
- Panel Installation: Attach the electro-galvanized steel panels to the frame. Pay attention to the orientation of panels with windows and air vents.
- Roof Assembly: Construct and install the sloping roof panels. Ensure all fasteners are securely tightened to prevent leaks and ensure stability.
- Door Installation: Install the two lockable hinged doors. Adjust them to ensure smooth operation and proper closure.
- Final Checks: Double-check all bolts, screws, and connections for tightness. Ensure doors open and close freely and that the shed is stable.

Image 4.1: Example of shed interior setup, highlighting the potential for organization.
5. Operating Instructions
The Canovire 10x12FT Outdoor Storage Shed is designed for straightforward operation.
- Doors: The shed features two hinged, lockable doors. To open, unlock and pull the handles. To close, push the doors shut and engage the lock mechanism. Ensure doors are fully closed and locked when not in use to protect contents.
- Windows: The two clear windows allow natural light into the shed. They are fixed and do not open.
- Air Vents: The shed includes built-in air vents to facilitate air circulation and reduce condensation. Ensure these vents remain unobstructed for optimal performance.

Image 5.1: Key operational features including the lock, vents, and windows.
6. Maintenance
Regular maintenance will extend the lifespan and preserve the appearance of your Canovire storage shed.
- Cleaning: Clean the exterior panels periodically with mild soap and water. Avoid abrasive cleaners or harsh chemicals that could damage the paint finish. Rinse thoroughly with clean water.
- Inspection: Annually inspect all bolts, screws, and connections for tightness. Re-tighten any loose fasteners. Check for any signs of rust or damage to the panels or frame.
- Rust Prevention: Although the shed features an electro-galvanized coating and premium paint for rust resistance, promptly address any scratches or chips in the paint to prevent rust formation. Use a touch-up paint designed for metal if necessary.
- Drainage: Ensure the area around the shed's base remains clear of debris to allow for proper water drainage from the sloping roof.
- Ventilation: Keep the air vents clear of obstructions (e.g., leaves, dirt) to maintain proper airflow and minimize condensation inside the shed.
7. Troubleshooting
Here are solutions to common issues you might encounter:
- Doors Do Not Close Properly:
- Check if the shed is installed on a perfectly level surface. Uneven ground can cause frame distortion.
- Inspect door hinges and adjust if necessary.
- Ensure all frame bolts are tightened evenly.
- Water Accumulation Inside:
- Verify that all roof panels are correctly installed and sealed.
- Check for any gaps or loose fasteners in the wall panels.
- Ensure the sloping roof's drainage path is clear.
- Condensation Inside the Shed:
- Ensure air vents are clear and unobstructed to allow for proper airflow.
- Avoid storing wet items inside the shed.
- Missing or Damaged Parts:
- Refer to the packing list in your manual. If parts are missing or damaged upon arrival, contact Canovire customer support immediately.
8. Specifications
| Feature | Detail |
|---|---|
| Brand | Canovire |
| Model | 10x12FT Outdoor Storage Shed |
| Product Dimensions (L x W x H) | 111.46"L x 140.63"W x 100.4"H (140.63"D x 111.46"W x 100.4"H) |
| Item Weight | 296 Pounds |
| Material | Metal (Alloy Steel, Electro-galvanized coating) |
| Color | Brown |
| Door Style | Hinged Door |
| Door Width | 63.58 Inches |
| Door Height | 70 Inches |
| Water Resistance Level | Waterproof |
| Assembly Required | Yes (3-4 people, 5-7 hours) |
| Special Features | Lockable Doors, Sloping Roof, 2 Clear Windows, 2 Air Vents, Sturdy Frame |
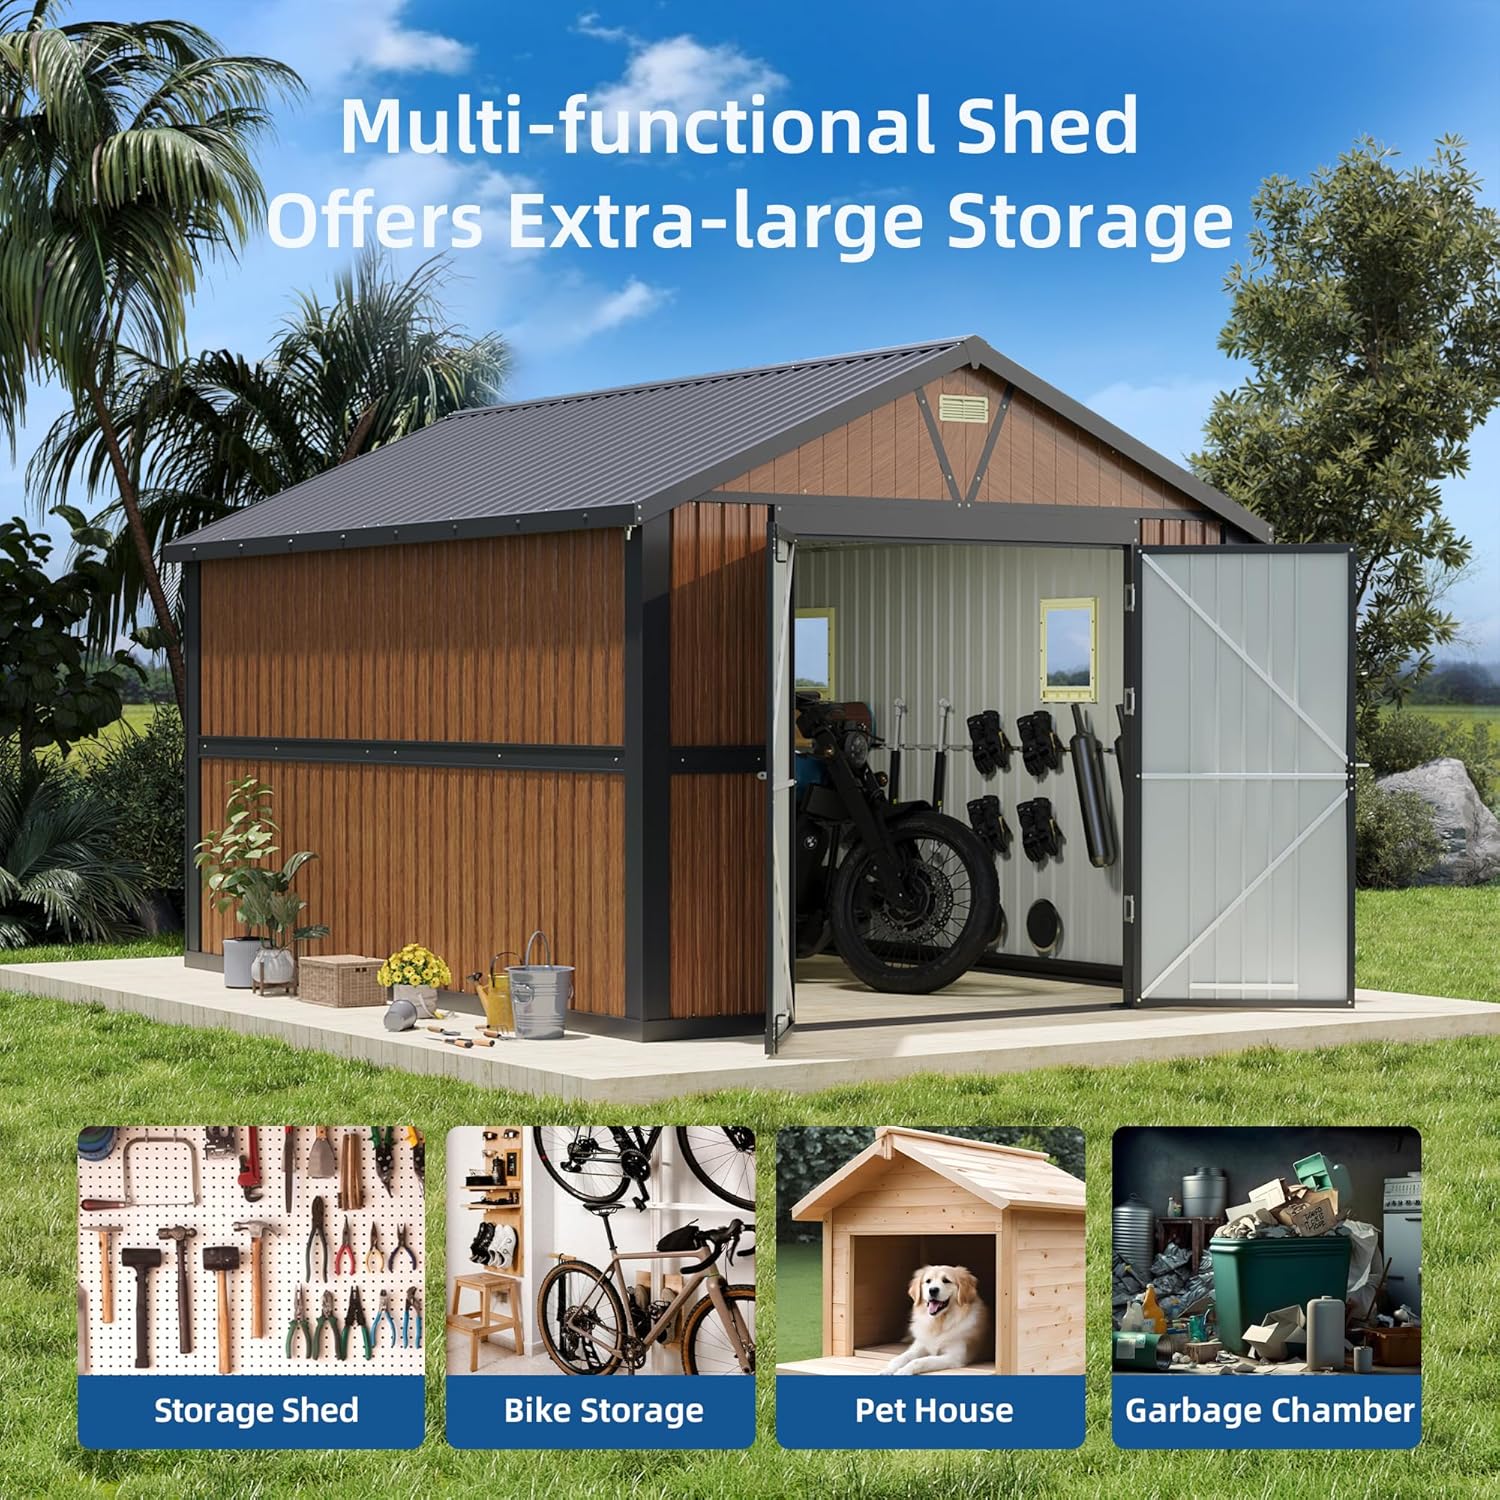
Image 8.1: The shed's versatility for different storage needs.

Image 8.2: Detail of the slanted roof design for weather protection.
9. Warranty and Support
For specific warranty details, please refer to the documentation included with your purchase or contact Canovire customer support directly. Canovire is committed to providing quality products and support.
9.1. Customer Support
If you have any questions, require assistance with assembly, or need to report missing/damaged parts, please contact Canovire customer support. Contact information can typically be found on the product packaging or the official Canovire website.


