
Introduction
This manual provides detailed instructions for the proper use, installation, and maintenance of your Osight C Micro Red Dot Sight. Please read this manual thoroughly before operating the device to ensure safe and effective use. The Osight C is designed for enhanced targeting and situational awareness, featuring a large field of view and multi-reticle system.

Figure 1: Osight C Micro Red Dot Sight
Product Features
- Large Field of View with Multi-Coated Lens: Advanced anti-reflective lens coatings enhance light transmission for clarity and precise targeting. The large window offers a wider sight picture for quicker target acquisition and follow-ups.
- Side-Loading Battery: Designed for effortless battery replacement without the need to remove the optic, ensuring hassle-free re-zeroing.
- Multi-Reticle System: Easily switch between a 3 MOA dot, 32 MOA circle, or both, allowing you to tailor your aiming solution to various shooting scenarios. The sharp and bright reticle provides a cutting-edge aiming experience.
- Industry-Standard Footprint: Adopting the Ruggedized Miniature Reflex (RMR) or 407c/507c footprint, the optic offers versatile compatibility with a wide range of full-size and compact setups.
- Motion Sensor Function: The motion sensor activates the optic at the slightest movement and powers down after 3 minutes of inactivity to conserve battery life.

Figure 2: Wide Field of View

Figure 3: Side-Loading Battery Compartment

Figure 4: Multi-Reticle Options

Figure 5: RMR Footprint Compatibility

Figure 6: Motion Sensor Operation
Included Components
The Osight C Micro Red Dot Sight package typically includes the following items:
- Osight C Red Dot Sight × 1
- Adjustment Tool × 1
- Battery Compartment Screw × 2
- Pouch × 1
- Cleaning Cloth × 1
- Osight Sticker × 1
- User Manual × 1
- Safety Warnings × 1
- READ ME Card × 1
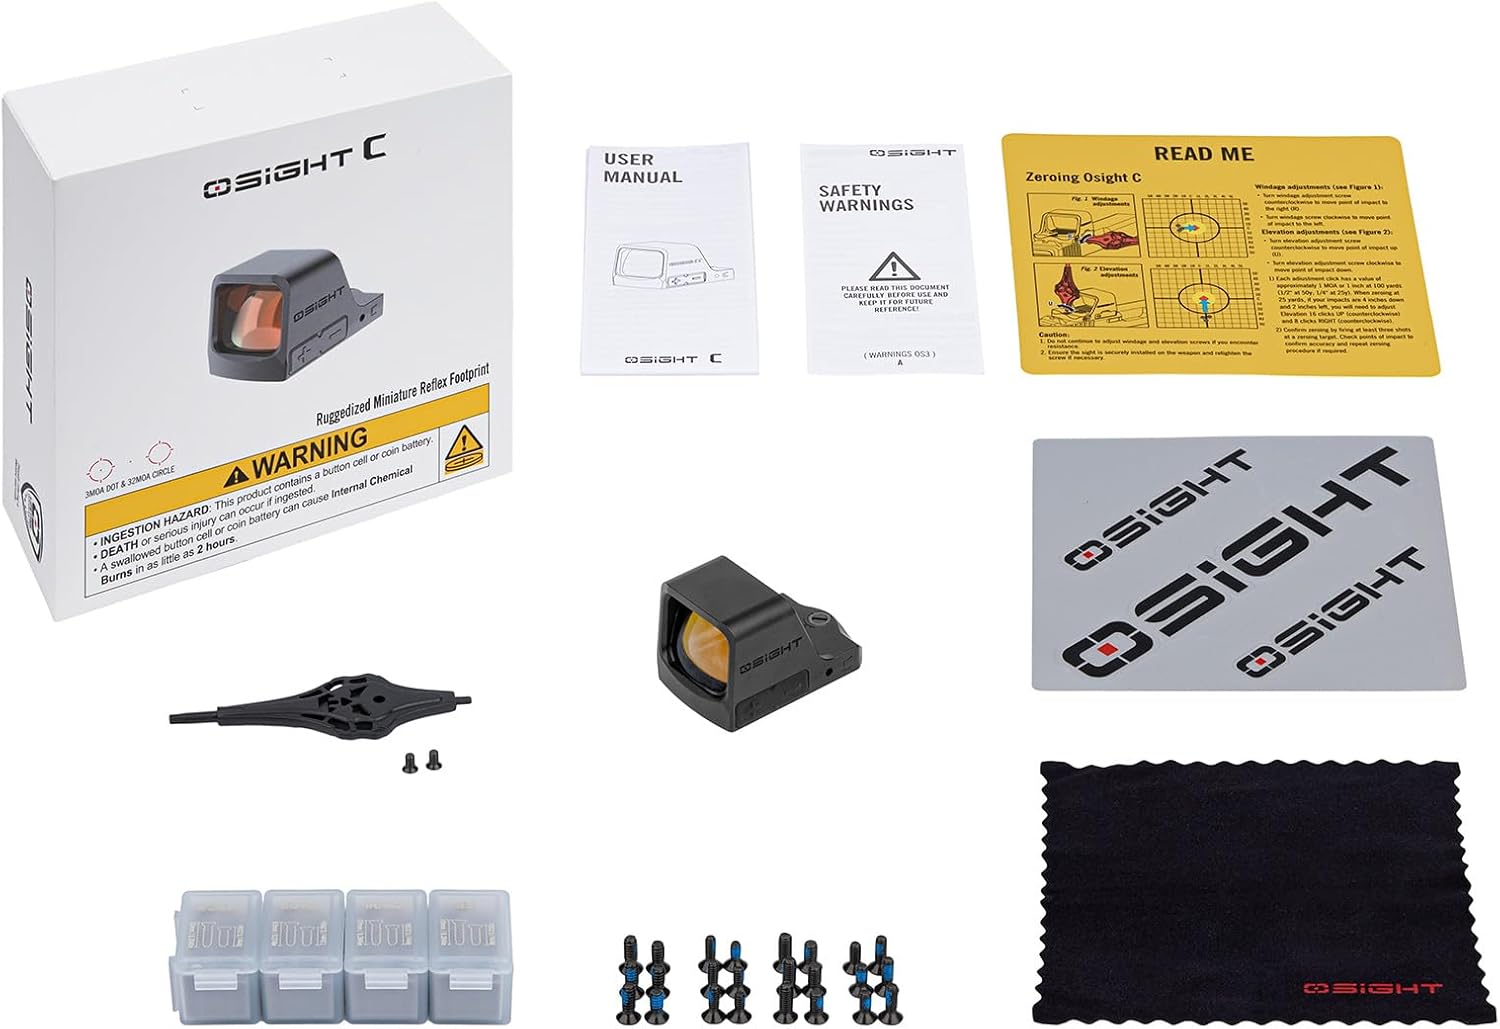
Figure 7: Package Contents
Specifications
| Attribute | Value |
|---|---|
| Brand | Osight |
| Model Name | US-OSIGHTC-RD-300115 |
| Color | Black |
| Style | Red 3 MOA Dot & 32 MOA Circle |
| Product Dimensions (L x W x H) | 1.18" x 1.18" x 1.77" |
| Sport | Hunting |
| Material | Aluminum |
| Mounting Type | Integral Mount |
| Reticle Type | Dot & Circle |
| Package Weight | 0.27 Kilograms |
Setup
Battery Installation
- Locate the side-loading battery compartment on the Osight C.
- Using the provided adjustment tool or a suitable small screwdriver, carefully open the battery compartment.
- Insert the battery (type not specified in provided data, typically CR1632 or similar for red dots) with the positive (+) side facing up.
- Close the battery compartment securely.
Mounting the Sight
The Osight C utilizes the industry-standard Ruggedized Miniature Reflex (RMR) or 407c/507c footprint for mounting. Ensure your firearm or mounting plate is compatible with this footprint.
- Align the Osight C with the compatible mounting plate or slide cut on your firearm.
- Use the appropriate screws (refer to the compatibility table for screw types) to secure the sight to the mounting surface.
- Tighten the screws evenly and securely, following the torque specifications recommended by your firearm or mounting plate manufacturer. Avoid over-tightening.
Operating Instructions
Power On/Off and Brightness Adjustment
The Osight C features a motion sensor for automatic activation and deactivation. It also has 10 adaptive brightness levels, including 8 daylight and 2 night vision settings.
- To turn on the sight, simply move it slightly. The motion sensor will activate the reticle.
- After 3 minutes of inactivity, the sight will automatically power down to conserve battery.
- To adjust brightness, use the '+' and '-' buttons located on the side of the sight. Press '+' to increase brightness and '-' to decrease brightness.
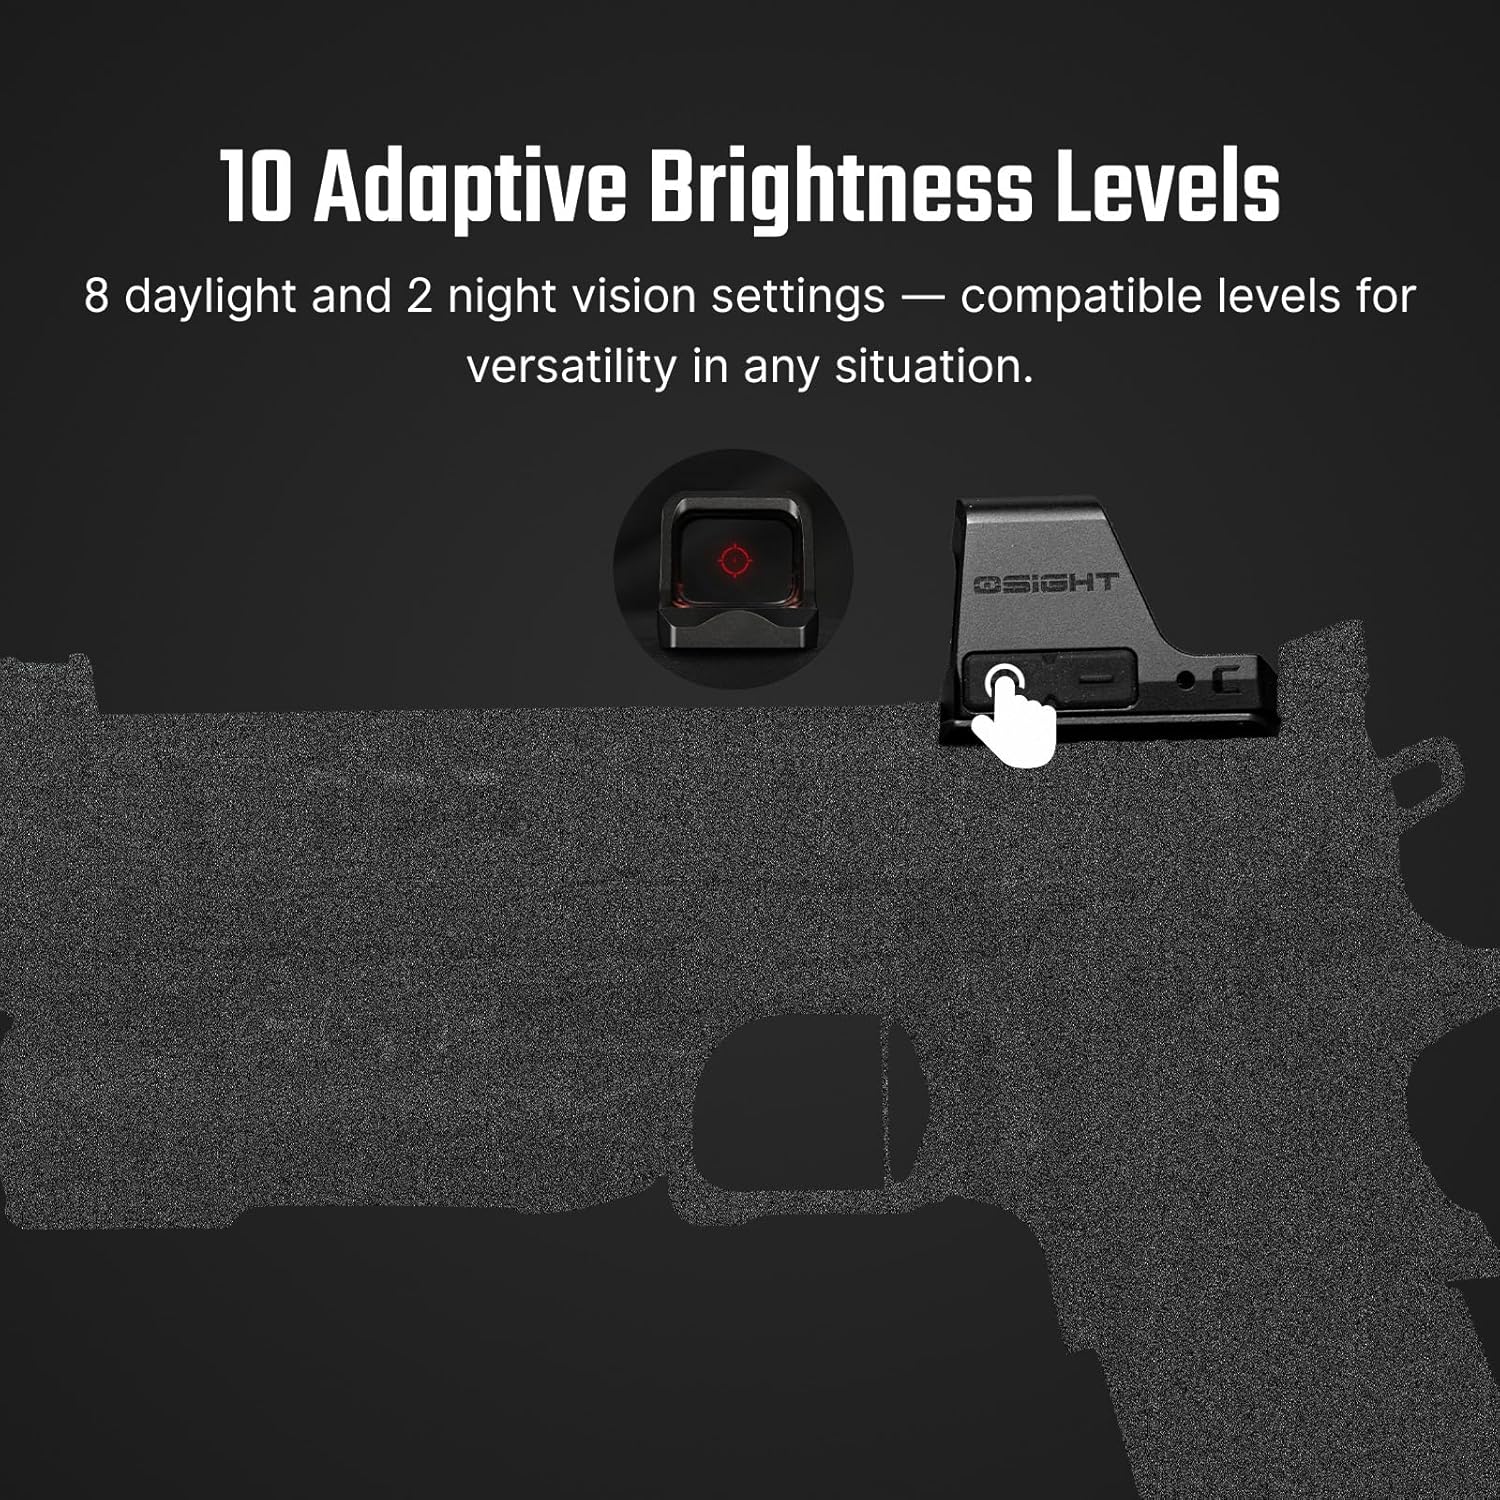
Figure 8: Brightness Adjustment
Reticle Selection
The Osight C offers a multi-reticle system:
- The sight can display a 3 MOA dot, a 32 MOA circle, or both simultaneously.
- Refer to the specific instructions provided with your sight for the exact button combination or sequence to cycle through the reticle options.
Zeroing the Sight
Zeroing is the process of aligning the reticle with your point of impact at a specific distance.
- Mount the sight securely on your firearm.
- At a safe shooting range, fire a group of shots at a target at your desired zeroing distance (e.g., 25 yards).
- Use the windage (horizontal) and elevation (vertical) adjustment screws to move the point of impact. Typically, turning the adjustment screw clockwise moves the point of impact down or right, and counter-clockwise moves it up or left. Consult the markings on your sight for specific directions.
- Make small adjustments and fire additional groups until your point of aim matches your point of impact.
Maintenance
Cleaning
- Use the provided cleaning cloth or a soft, lint-free cloth to gently wipe the lenses.
- For stubborn smudges, a small amount of lens cleaning solution designed for optics can be applied to the cloth, not directly to the lens.
- Keep the sight body clean by wiping it with a damp cloth. Avoid harsh chemicals or abrasive materials.
Storage
- Store the sight in a cool, dry place away from direct sunlight and extreme temperatures.
- If storing for an extended period, it is recommended to remove the battery to prevent potential leakage.
Troubleshooting
- Reticle Not Visible: Check if the battery is properly installed and has sufficient charge. Ensure the sight is not in auto-off mode (move the sight to activate). Adjust brightness settings.
- Low Battery Indicator: If the battery voltage drops below 2.2V, the reticle will quickly triple-flash once per minute to indicate that a battery replacement is recommended.
- Inaccurate Point of Impact: Re-zero the sight according to the operating instructions. Ensure the sight is securely mounted and there is no movement.
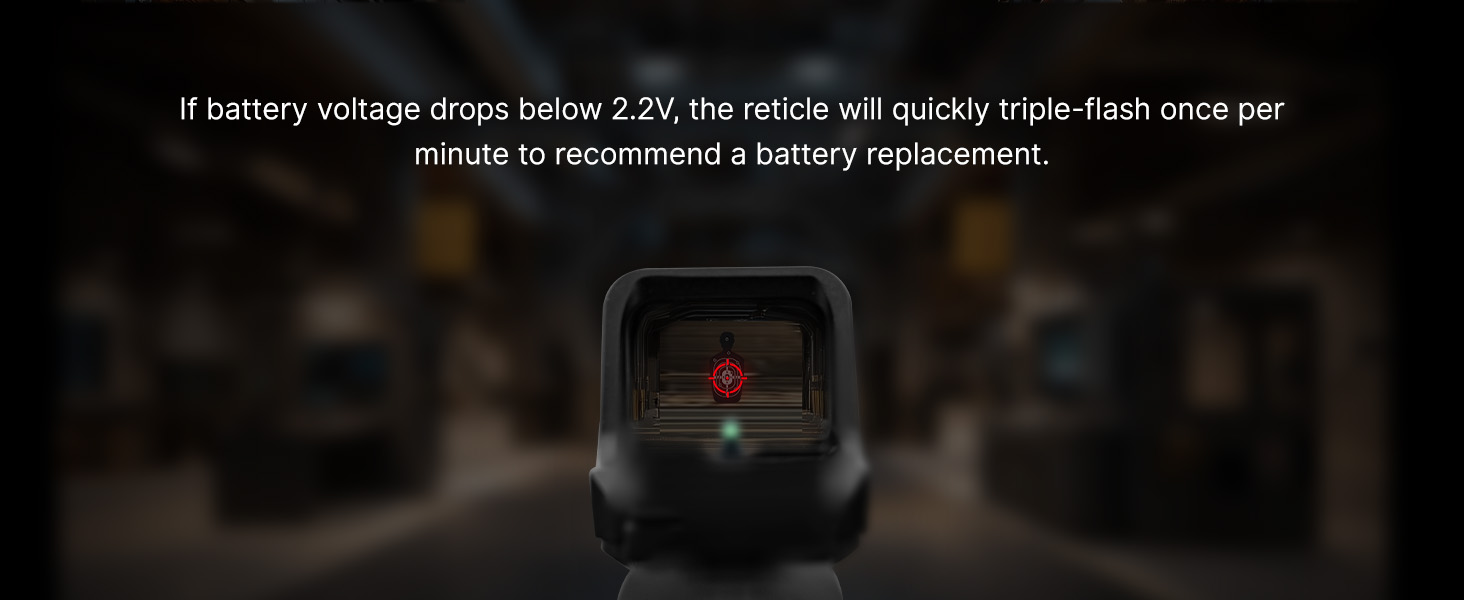
Figure 9: Low Battery Warning
Compatibility
The Osight C is designed with the common Ruggedized Miniature Reflex (RMR) or 407c/507c footprint, making it compatible with a wide array of firearms. Below is a reference table for common brands and models, their installation methods, and recommended screw types. This table is for reference only; always verify compatibility with your specific firearm and mounting solution.
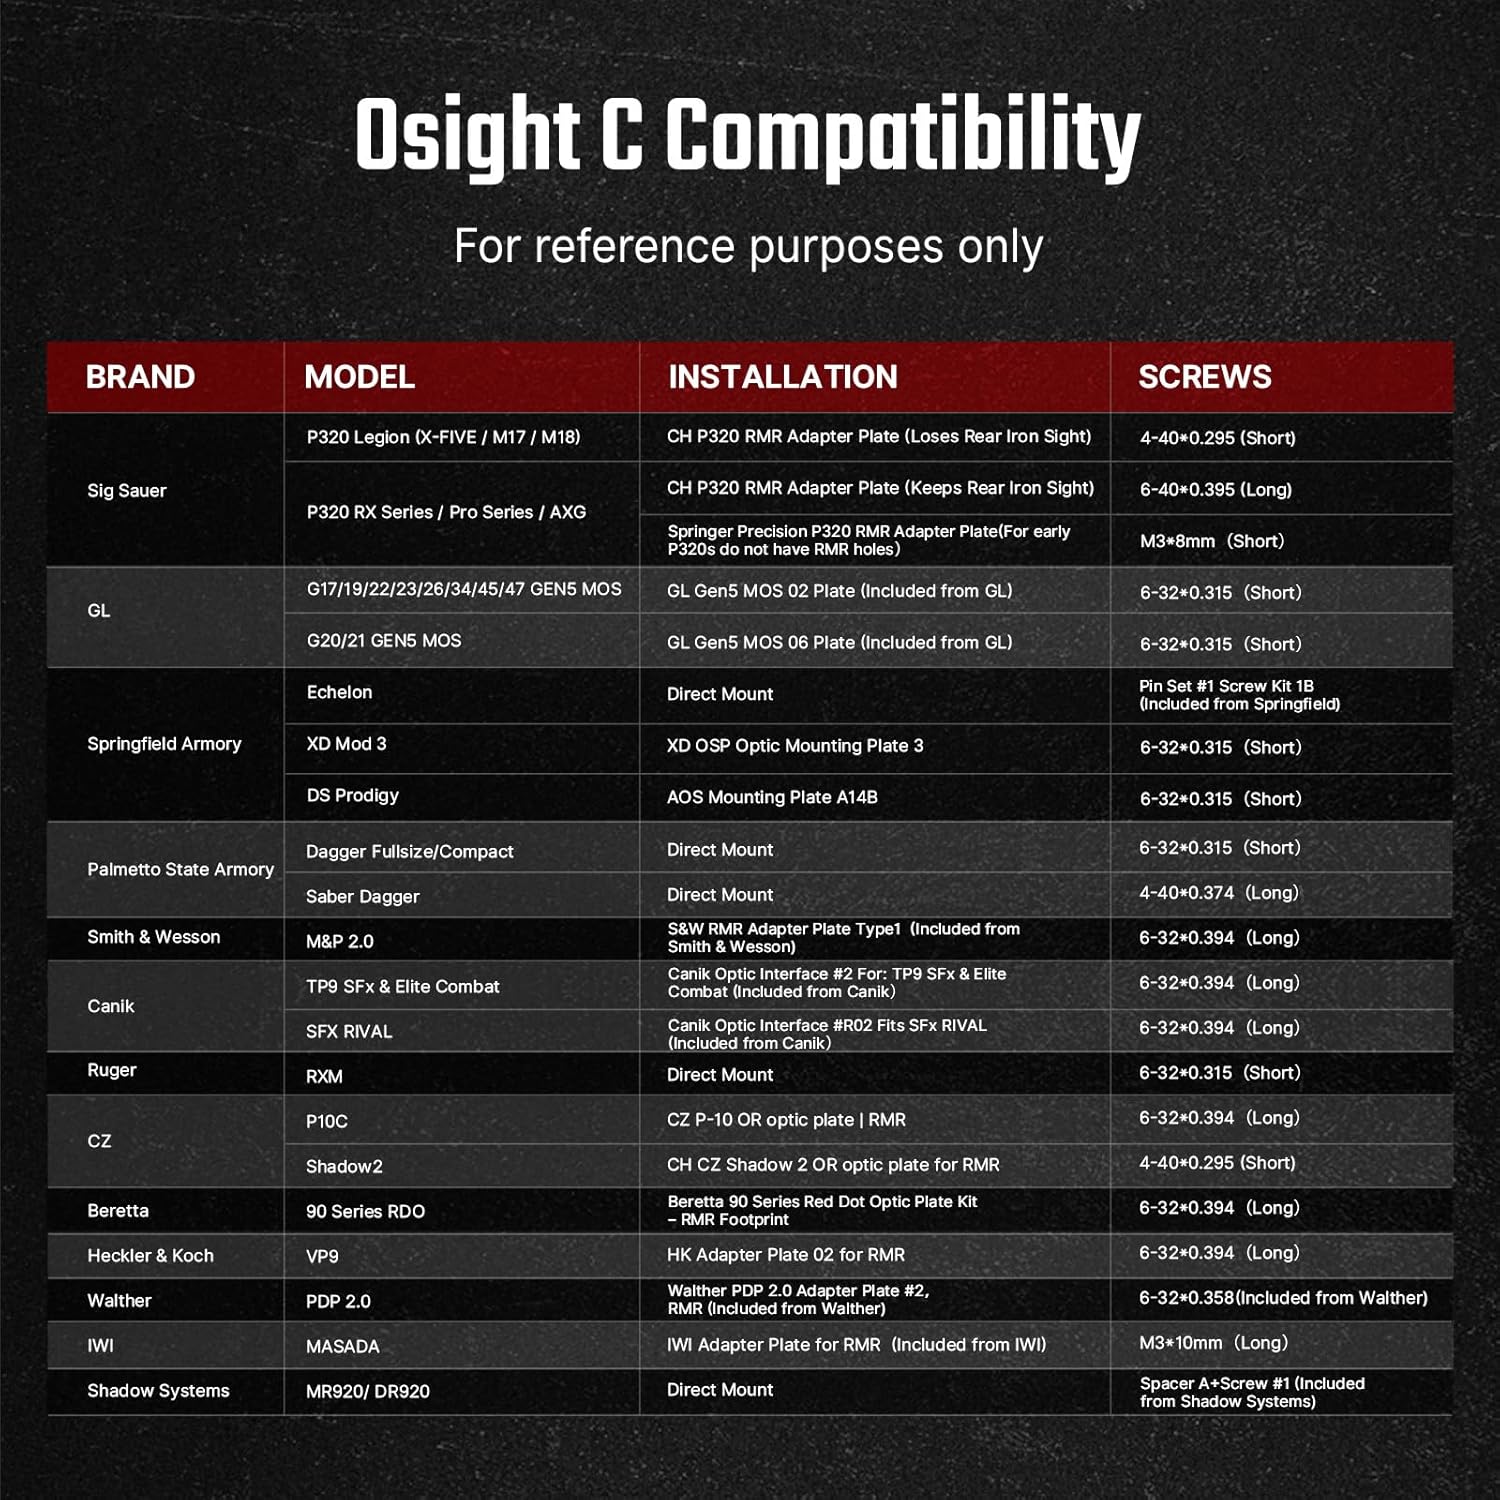
Figure 10: Osight C Compatibility Table
Warranty and Support
Warranty Information
The Osight C Micro Red Dot Sight comes with a Lifetime Warranty. For detailed terms and conditions, please refer to the warranty documentation included with your product or contact Osight customer support.
Customer Support
For any questions, technical assistance, or warranty claims, please contact Osight customer support through their official website or the contact information provided in your product packaging.
You can also refer to the official User Manual (PDF) for additional information.


