
1. Introduction
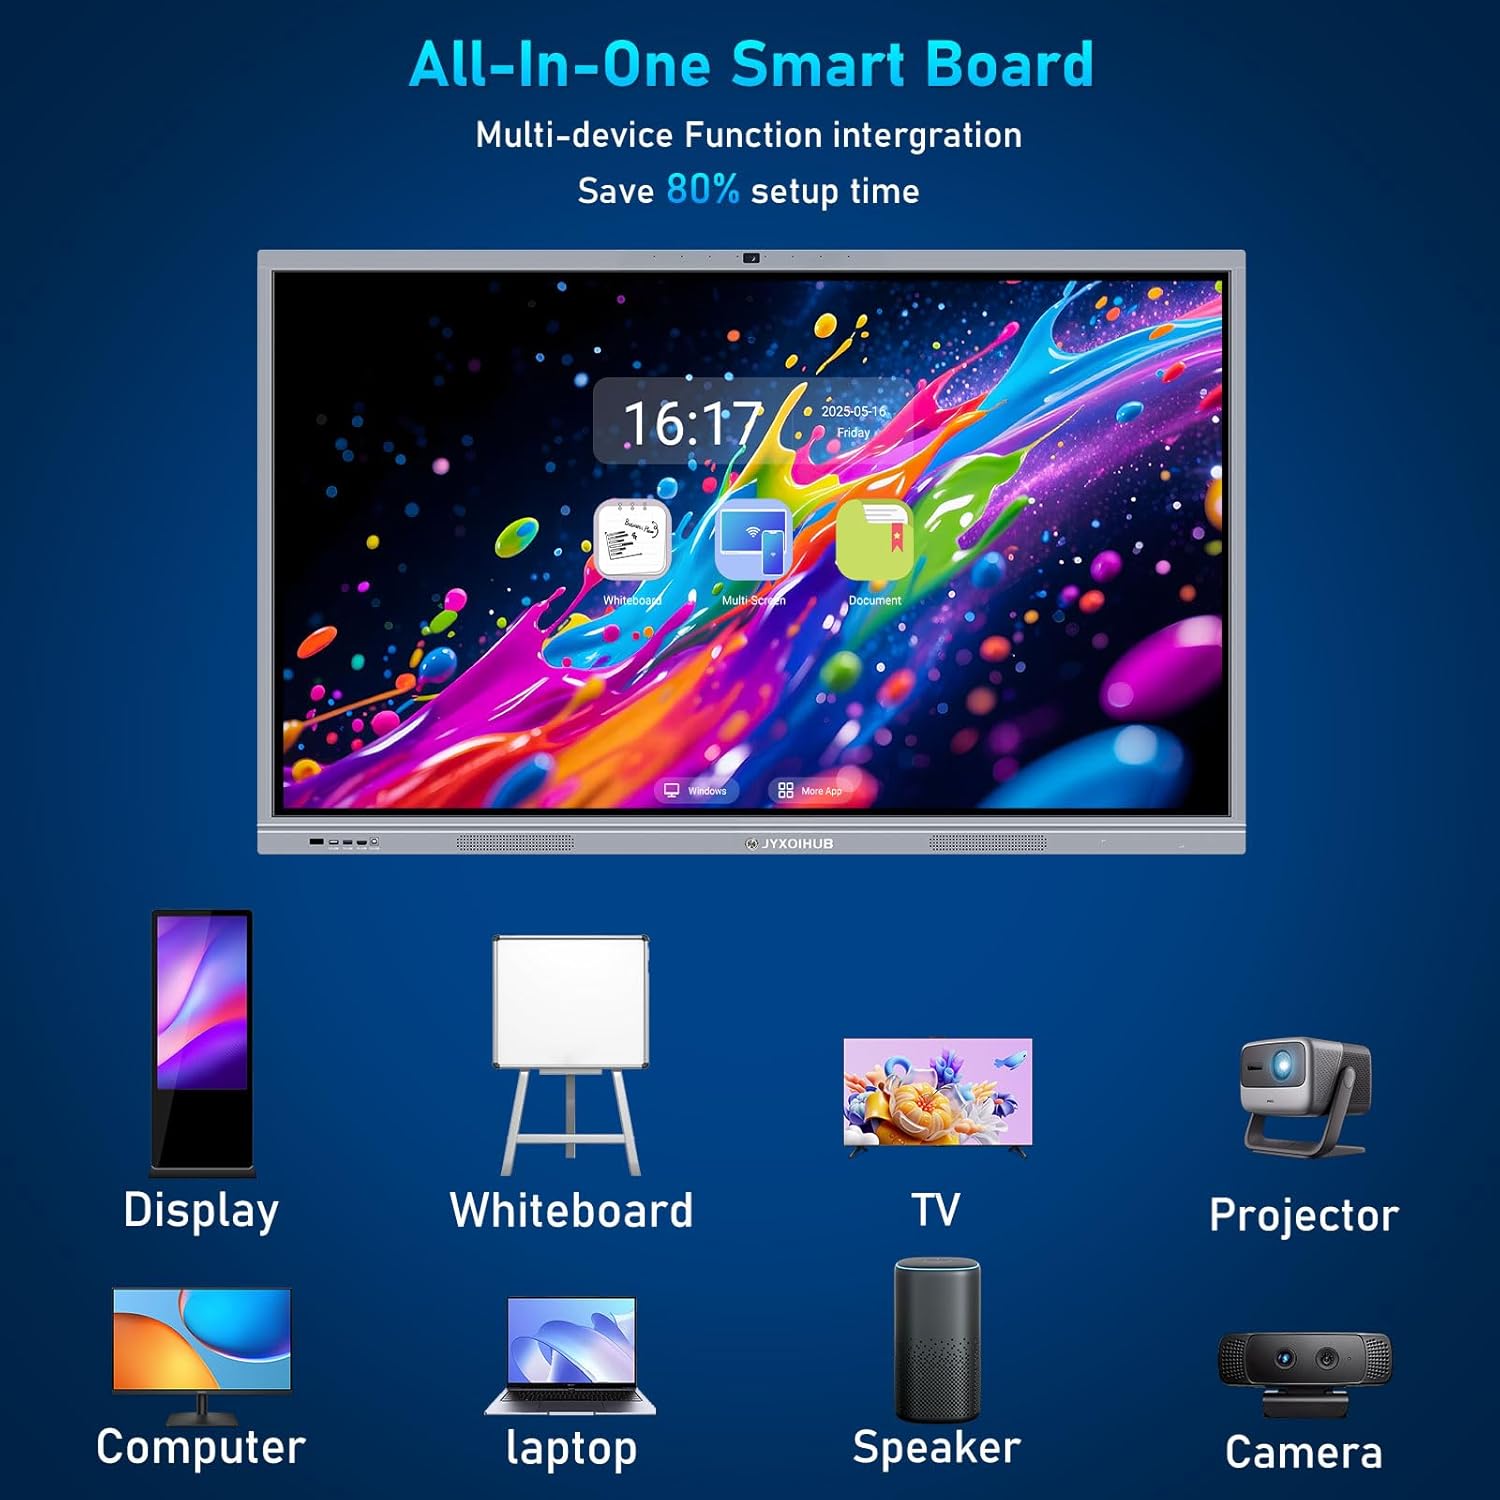
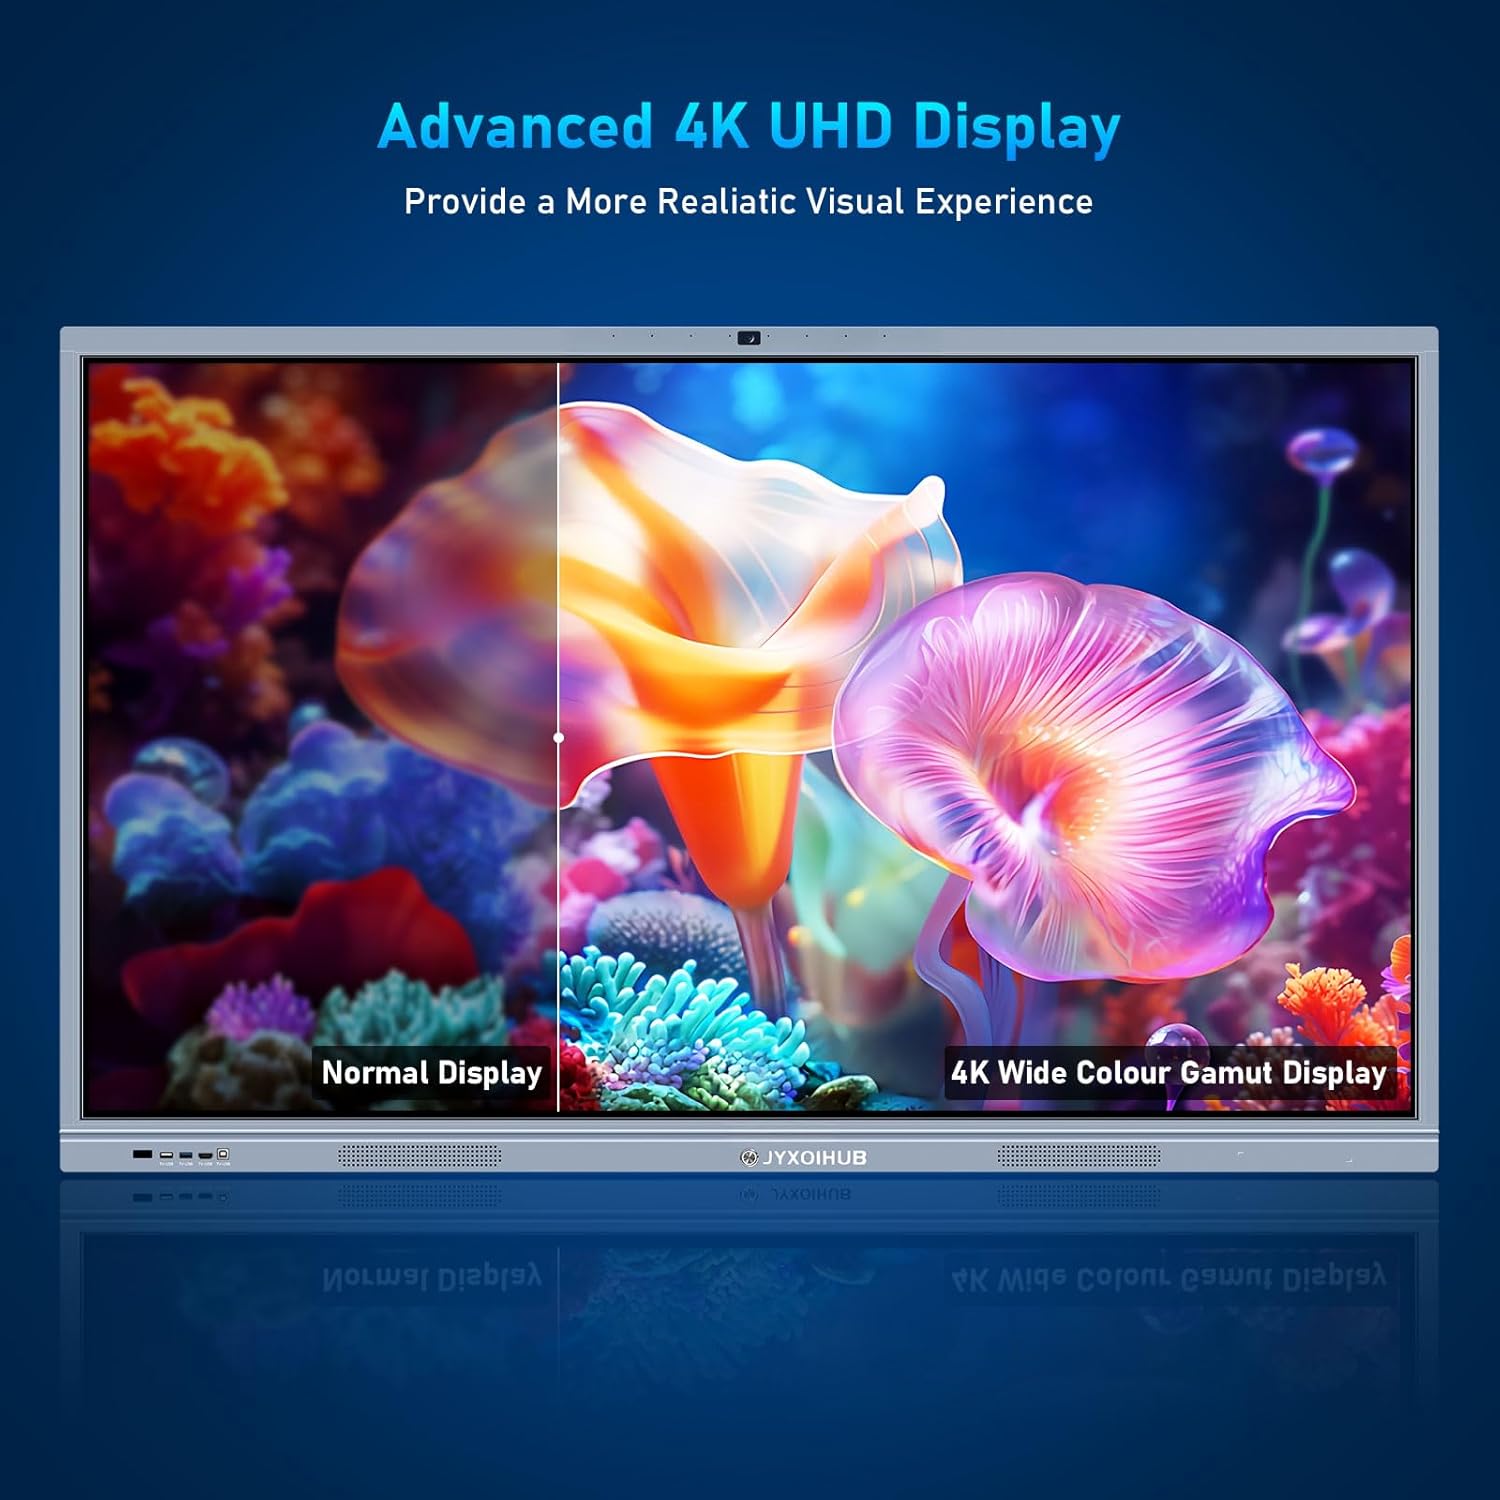
Thank you for choosing the JYXOIHUB 65" 4K UHD Interactive Smart Board. This all-in-one touchscreen device is designed to enhance collaboration and productivity in various environments, including classrooms, offices, and home settings. It features a built-in PC with dual operating systems (Android 11 & Windows 10), a 4K UHD display, and a 20MP camera for seamless interactive experiences.

2. Safety Information
Please read all safety instructions carefully before using the device. Keep this manual for future reference.
- Ensure proper ventilation around the unit.
- Do not expose the device to water or excessive moisture.
- Use only the provided power cord and accessories.
- Avoid placing heavy objects on the device.
- For wall mounting, ensure the wall structure can support the weight of the smart board and use the recommended bracket.
- Do not attempt to repair the device yourself. Contact qualified service personnel for assistance.
3. Package Contents
Verify that all items are present in the package:

- 1x JYXOIHUB 65 Inch Smart Board
- 1x Remote Control
- 2x PC-Antenna
- 3x Android-Antenna
- 1x User Manual
- 1x Power Cord
- 1x Wall Mount Bracket (40"-80")
- 1x Magnetic Pen
- 1x Stylus Pen
4. Setup
4.1. Wall Mount Installation
Follow these steps for secure wall mounting:
- Position the smart board and mark the drilling holes on the wall.
- Install the hanging board on the wall using appropriate screws.
- Install the wall mount on the back of the TV using the appropriate screws.
- Hook the wall mount bracket into the TV mounting plate.
- After hanging up the TV, lock the safety screw (M3*50).


4.2. Smart Board Stand Installation (Optional)
If using a mobile stand (not included), follow these general steps:
- Assemble the mobile stand according to its specific instructions.
- Attach the wall mount bracket to the smart board as described in steps 3-4 of wall mount installation.
- Secure the smart board to the mobile stand's mounting plate.
- Lock the safety screw (M3*50) to prevent accidental dislodgement.


4.3. Connections
The smart board offers various ports for connectivity:

- USB 2.0/3.0: For connecting external devices like USB drives, keyboards, and mice.
- HDMI: For video and audio input from external sources.
- Touch: USB port for touch functionality when connected to an external PC.
- AV-in: For analog video and audio input.
- SPDIF Out: For digital audio output.
- Antenna: For Wi-Fi and Android system antennas.
- VGA: For analog video input.
- Line-in/Line-out: For audio input/output.
- Type-C: Multi-functional port for data, video, and power.
- DP (DisplayPort): For high-resolution video input.
- LAN: For wired network connection.
5. Operating Instructions
5.1. Power On/Off
Press the power button located on the side or bottom of the smart board to turn it on or off. A brief press will put it into standby mode, while a long press will power it down completely.
5.2. Dual OS Operation (Android 11 & Windows 10)
The smart board features a built-in i5 PC with dual operating systems. You can switch between Android 11 and Windows 10 with a single click from the main interface or quick settings menu.


5.3. Interactive Whiteboard Features
The interactive whiteboard function allows for dynamic presentations and collaborative work.
- Writing: Use the stylus or your finger to write directly on the screen. Adjust pen size and color from the toolbar.
- Erasing: Use the eraser tool or the back of your hand for quick erasing.
- Shapes & Graphics: Access a variety of pre-defined shapes and patterns from the graphics tool.
- Backgrounds: Change the whiteboard background to suit different needs, including grid lines or custom images.
- Undo/Redo: Easily revert or reapply actions.
- Multi-point Touch: Supports up to 20 points of simultaneous touch for multiple users.
Video 5.1: Demonstrates the interactive whiteboard functions, including writing, erasing, shape tools, and background options.
Video 5.2: Highlights the multi-point infrared touch capabilities of the smart board.

5.4. Multi-Screen Casting
Project content from up to four different devices simultaneously using Airplay, Eshare, or HDMI connections. Supported systems include iOS, Android, and PC/Mac.

5.5. Video Conferencing
Utilize the built-in 20MP camera and integrated speakers for high-quality video conferences. Exchange ideas with business partners or remote teams seamlessly.
Video 5.3: Demonstrates the video conferencing capabilities of the JYXOIHUB 65-inch Smart Board, featuring its 16MP camera (note: product specs state 20MP).

5.6. Browser Interaction and Annotation
Interact with web content directly on the smart board. You can take notes, underline, highlight, and mark important information on any webpage.
5.7. Split Screen Functionality
Divide the screen into two independent units to work on multiple applications or documents simultaneously, enhancing multitasking efficiency.
5.8. QR Code Sharing
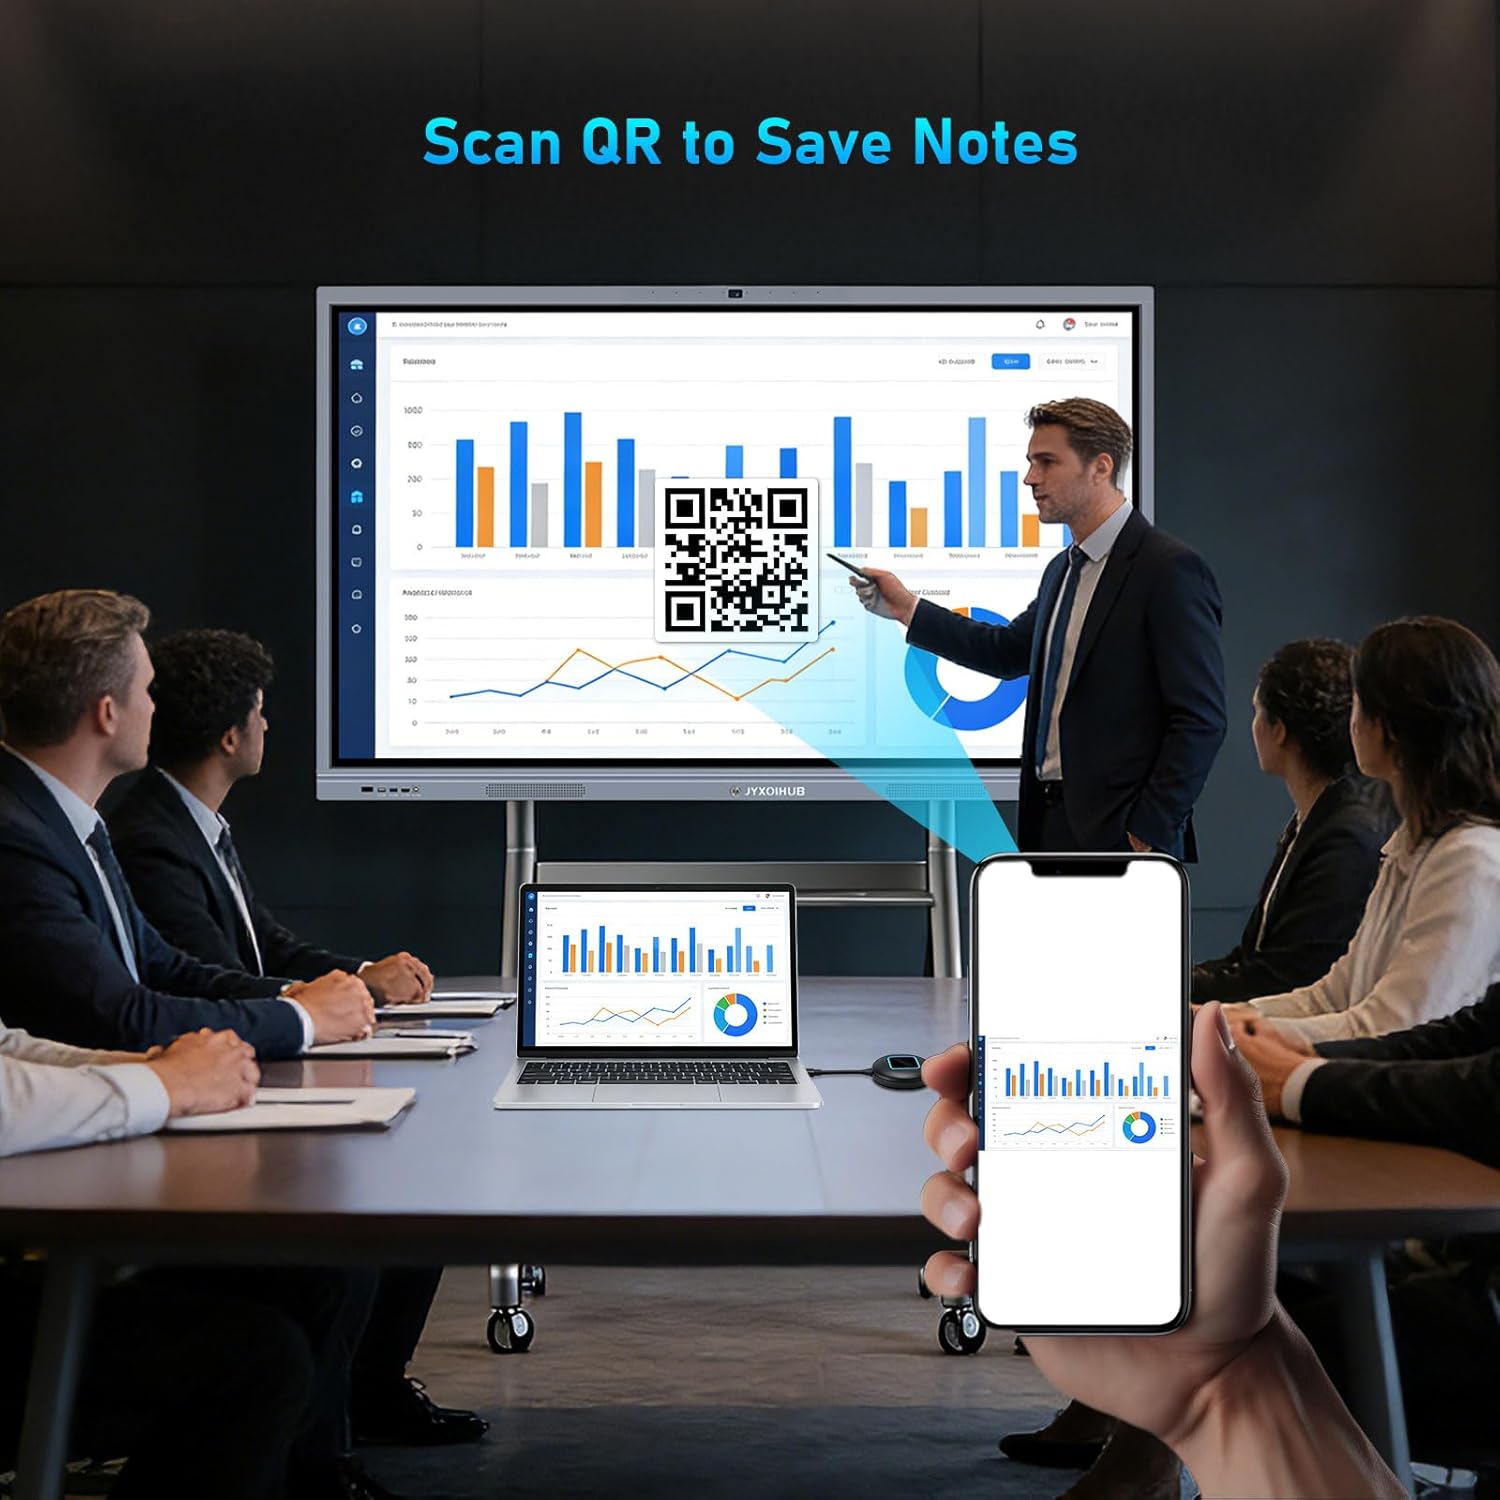
Easily save and share your whiteboard content or annotations by scanning a generated QR code with your mobile device. This allows for quick access and distribution of meeting notes or lesson plans.
6. Maintenance
- Cleaning: Use a soft, lint-free cloth to clean the screen. For stubborn marks, use a screen-specific cleaning solution. Avoid harsh chemicals.
- Software Updates: Regularly check for and install software updates to ensure optimal performance and security.
- Storage: If storing the smart board for an extended period, ensure it is powered off and covered to protect it from dust.
7. Troubleshooting
| Problem | Possible Cause | Solution |
|---|---|---|
| No Power | Power cord disconnected; Power outlet fault | Check power cord connection; Try a different outlet |
| No Display | Incorrect input source; Device in standby mode | Select correct input source; Press power button to wake |
| Touchscreen Unresponsive | Software glitch; Calibration needed | Restart the device; Recalibrate touchscreen in settings |
| Poor Wi-Fi Connection | Weak signal; Incorrect password | Move closer to router; Re-enter Wi-Fi password |
8. Specifications
| Feature | Detail |
|---|---|
| Brand | JYXOIHUB |
| Model Number | SmartBoard08 |
| Display Size | 65 inches |
| Resolution | 4K UHD |
| Operating System | Android 11 & Windows 10 (Dual OS) |
| RAM | 8GB (Windows), 4GB (Android) |
| ROM | 256GB (Windows), 32GB (Android) |
| Camera | 20MP Ultra HD Camera |
| Touch Points | 20-point touch |
| Wi-Fi | 6G Wi-Fi |
| Speakers | 2x8M Speakers |
| Viewing Angle | 178-degree |
| Material | 7H Tempered Glass, Aluminum Alloy Body |
| Mounting Type | Wall Mount (Mobile Stand Optional) |
| Dimensions (W x H) | 31.69"W x 80"H |

9. Warranty and Support
The JYXOIHUB 65" Smart Board comes with a 3-year product assurance. This warranty covers manufacturing defects and ensures that if issues arise, a new unit will be shipped to you, minimizing downtime. For technical support, troubleshooting assistance, or warranty claims, please contact JYXOIHUB customer service.
Contact information can typically be found on the official JYXOIHUB website or through your purchase platform.