
1. Product Overview
The Fafeicy GPS Land Meter is a portable, high-precision GNSS device designed for outdoor surveying and navigation. It features a 2.4-inch color display, voice guidance, and robust construction suitable for various environmental conditions. This device provides accurate coordinates even without cellular signal, making it ideal for professional surveying and outdoor activities.
Key Features
- Precision Positioning: High-sensitivity GNSS chip with 6-satellite support ensures accurate coordinates even without cellular signal.
- Versatile Measurement Modes: Includes functions for area, distance, slope, and in-air measurement, catering to professional surveying needs.
- Durable Outdoor Design: Industrial-grade waterproof, dustproof, and shockproof construction withstands harsh field conditions.
- Enhanced Visibility: 2.4-inch sunlight-readable color screen displays real-time tracking data and stored measurement records.
- Voice-Assisted Operation: Clear English audio prompts provide guidance during noisy outdoor activities, simplifying use.
2. Getting Started
Package Contents
Please check the box for the following items:
- Fafeicy GPS Land Meter (S4)
- USB Cable
- Lanyard
- User Manual
Charging the Device
Before first use, fully charge the device using the provided USB cable and a compatible power adapter (not included). The charging indicator will show the charging status.
Powering On/Off
- To Power On: Press and hold the power button (usually marked with a power symbol) until the screen illuminates.
- To Power Off: Press and hold the power button until a power-off prompt appears, then confirm.
Initial Settings
Upon first power-on or after a factory reset, you may need to configure basic settings:
- Language: Navigate to the 'Settings' menu to select your preferred language.
- Time and Date: Set the current time and date for accurate record-keeping.
- Unit of Measurement: Select desired units for area, distance, and other measurements (e.g., meters, acres).
3. Operation Guide
GNSS Positioning
The device utilizes a high-sensitivity GNSS chip to acquire satellite signals for precise positioning. For optimal signal reception, operate the device in an open area with a clear view of the sky.

Image: The Fafeicy GPS Land Meter showing an optimal signal, current coordinates (longitude, latitude), and altitude. The display also indicates the date and time. Surrounding bubbles highlight its capabilities for Area, Distance, and Slope measurements.
Area Measurement
The device supports both regular and irregular area measurements, suitable for various land shapes such as squares, rectangles, polygons, triangles, circles, ovals, and other irregular terrains.

Image: The Fafeicy GPS Land Meter in area measurement mode. The screen shows 'Optimal signal' and current GPS data. The surrounding graphics illustrate how the device measures both regular geometric shapes and complex, irregular land areas, such as agricultural fields.
Normal Area Measurement

Image: Detailed instructions for performing a normal area measurement. It shows a green field with red dots indicating measurement points and a red line tracing the perimeter. The text outlines steps to start, pause, and save measurement data using the device's buttons.
- At the starting point, press the [Start] button to begin measurement in the main interface.
- To return to the starting point in a circle around the ground, press the [Stop] button to pause the measurement and view the measurement data.
- Press the power button to end measurement and save data.
Distance Measurement
This function is used for measuring straight lines, curves, and slope distances with high accuracy.

Image: Detailed instructions for performing distance measurement. It shows two diagrams of a green field with red dots marking start and end points, connected by a red line representing the measured distance. The text explains how to start, pause, and save distance measurements.
Normal Distance Measurement
- In the main interface, press the [Start] button for 3 seconds to measure at the starting point.
- Walk along the measuring line to the end point and press the [Stop] button to pause measurement and view the measurement data.
- If the measurement is not completed, press the [Start] button again to continue the measurement. If the measurement is completed, press the power button to save the data.
Slope Measurement
Manually input the gradient value to easily measure slopes from 0-90 degrees, creating real-time graphs as you walk.

Image: Instructions for slope measurement. A mountain landscape is depicted with a red triangular overlay indicating the area being measured for slope. A small figure with a flag marks a point on the slope. The text provides steps for setting the gradient, switching to slope measurement, and recording data.
- In the Slope parameter setting, press the ▲▼ button to set the gradient.
- After setting is completed, press the power button to return to the main interface.
- In the main interface, press the ▲▼ button to switch function to "Slope measurement".
- Press the [Start] button at the starting point and circle the slope.
- Back to the starting point, press the [Stop] button to pause measurement and view data. If the measurement is not completed, press the [Start] button again to continue the measurement. If the measurement is completed, press the power button to save the data.
Round-trip Machine Load Measurement
This feature is primarily used for measuring the area around the ground, especially applicable to various types of agricultural machinery. It automatically identifies and avoids recalculating repeated areas.

Image: A collage showing various agricultural machines (tractors, harvesters, planters, transplanters) working in fields, illustrating the application of the GPS Land Meter for machine load measurement in agriculture.
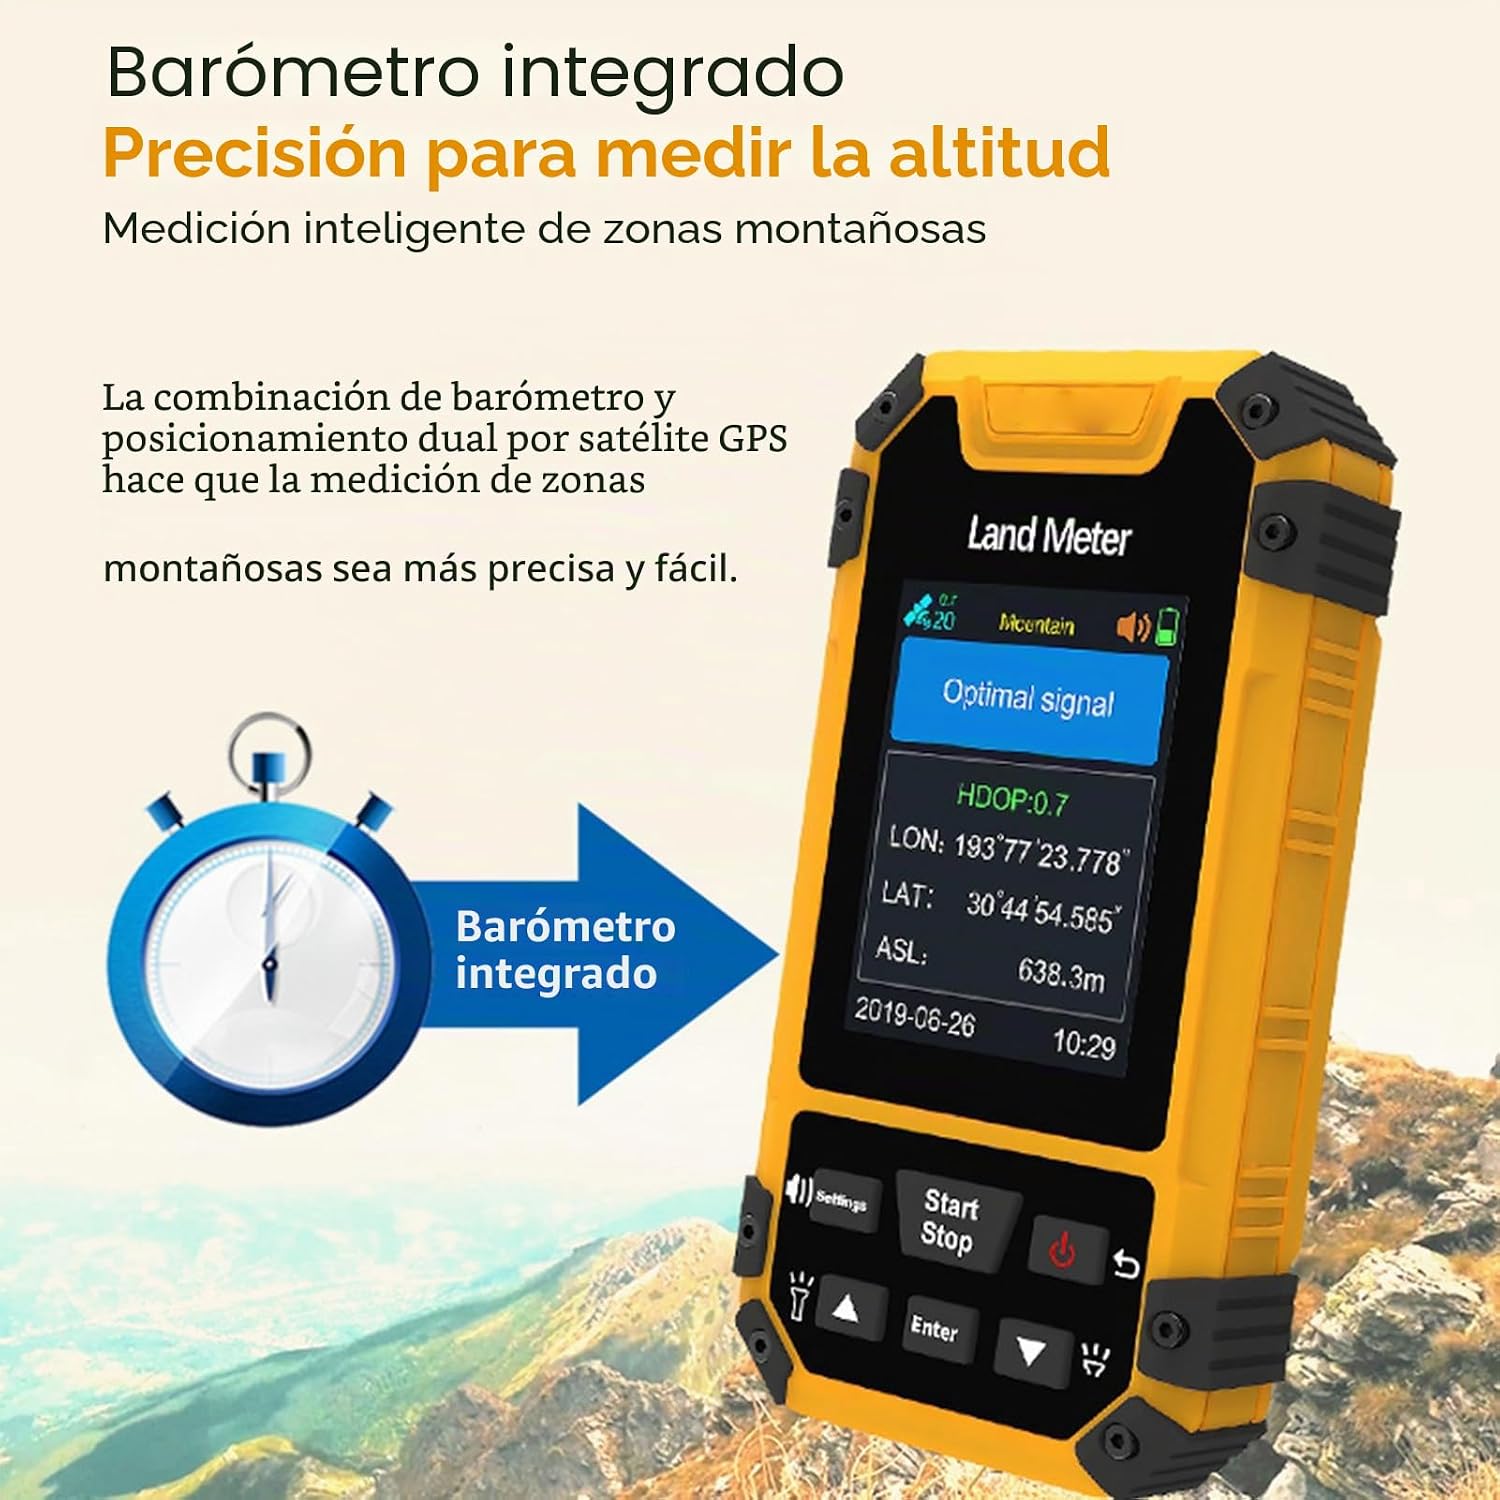
Image: Detailed instructions for performing round-trip machine load measurement. The text explains how to set the width, switch to the measurement function, start the measurement at the beginning of work, pause to view data, and save the data upon completion.
- At the Round-trip machine load in parameter setting, press the ▲▼ button to set the width.
- After setting is completed, press the power button to return to the main interface.
- Press the ▲▼ button to switch function to "Round-trip machine load" in the main interface.
- Press [Start] button at the starting point to start the measurement at the beginning of the work.
- Press the [Stop] button to pause measurement and view data after agricultural machinery work is completed. If the measurement is not completed, press the [Start] button again to continue the measurement. If the measurement is completed, press the power button to save the data.
Voice-Assisted Operation
The device provides clear English audio prompts to guide you through operations, which is particularly useful in noisy outdoor environments where visual cues might be difficult to follow.
Data Export
The device supports data export, allowing you to transfer your measurement records to a computer for further analysis or archiving. Refer to the device's on-screen menu for specific data export options and connection instructions via USB.
4. Care and Maintenance
Cleaning
- Wipe the device with a soft, damp cloth. Do not use harsh chemicals or abrasive cleaners.
- Ensure the USB port cover is securely closed to maintain water and dust resistance.
Storage
- Store the device in a cool, dry place away from direct sunlight and extreme temperatures.
- If storing for an extended period, ensure the battery is partially charged (around 50%) to prolong its lifespan.
Battery Care
- Avoid fully discharging the battery frequently.
- Do not expose the device to temperatures below -20°C or above 70°C, as this can damage the battery.
5. Troubleshooting
Device Not Powering On
- Ensure the battery is sufficiently charged. Connect the device to a power source and try again.
- Perform a soft reset by holding the power button for an extended period (e.g., 10-15 seconds).
Inaccurate Readings / No GPS Signal
- Ensure you are in an open area with a clear view of the sky, away from tall buildings or dense foliage.
- Wait for the device to acquire an "Optimal signal" before starting measurements. This may take a few minutes.
- Check for any obstructions blocking the GPS antenna.
Screen Issues

Image: The Fafeicy GPS Land Meter highlighting its integrated barometer for altitude measurement and its large, clear color screen. The screen displays GPS data and is shown to function well in both sunlight and at night.
- If the screen is unresponsive, try restarting the device.
- Ensure the screen is clean and free from dirt or moisture.
6. Technical Specifications
| Feature | Specification |
|---|---|
| Brand | Fafeicy |
| Model Number | Fafeicygbp8yohmdx |
| Dimensions | 14 x 7 x 6 cm |
| Weight | 255 g |
| Screen Size | 2.4 Inches |
| Screen Type | Color Display |
| Special Feature | Voice-Assisted Operation |
| Connectivity Technology | USB |
| Mounting Type | Handheld |
| Control Method | Buttons, Voice |
| Compatible Satellite Navigation Systems | BeiDou, GLONASS, GPS, Galileo |
| Area Measurement Accuracy | ± 0.005 acres (0.5 acres) |
| Distance Measurement Accuracy | ± 1m (within 100m) |
| Positioning Accuracy | 2.5m |
| Hot Start Time | 1 second |
| Cold Start Time | 30 seconds |
| Battery | 1800mAh Li-ion (rechargeable) |
| Operating Temperature | -20°C to 70°C |
| Storage Capacity | 200 record storage |
7. Warranty and Support
Warranty Information
This product comes with a manufacturer's warranty for 90 days after sale. Please retain your proof of purchase for warranty claims. The warranty covers defects in materials and workmanship under normal use.
Customer Support
For technical assistance, troubleshooting, or warranty inquiries, please contact your retailer or the manufacturer directly. Refer to the product packaging or the manufacturer's official website for contact details.