
1. Introduction
The Janome Memory Craft 1000 is a versatile combination sewing and embroidery machine designed for creative projects. It offers a wide range of features for both sewing and embroidery, making it suitable for various crafting needs. This manual provides essential information for setting up, operating, and maintaining your machine.
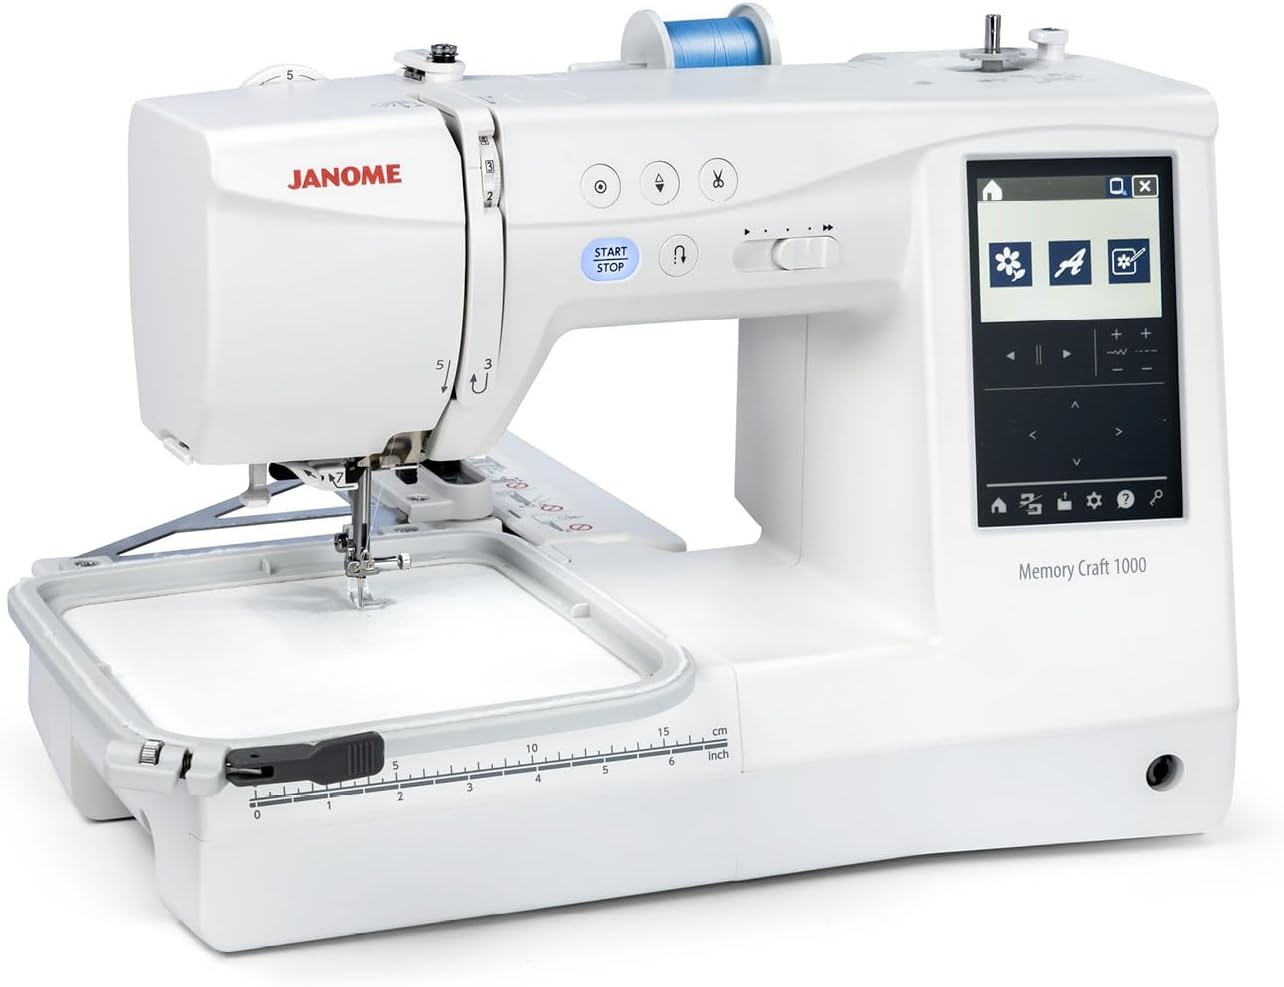
Figure 1: Janome Memory Craft 1000 Combination Sewing & Embroidery Machine with embroidery unit attached.
2. Safety Information
Please read all instructions before using this machine to prevent accidents. Keep this manual for future reference.
- Always disconnect the machine from the power supply before cleaning, servicing, or when not in use.
- Keep fingers away from all moving parts, especially the needle.
- Use only accessories recommended by the manufacturer.
- Do not operate the machine if it has a damaged cord or plug, or if it is not working properly.
- Keep the machine dry and away from heat sources.
3. Included Components
Your Janome Memory Craft 1000 comes with the following items:
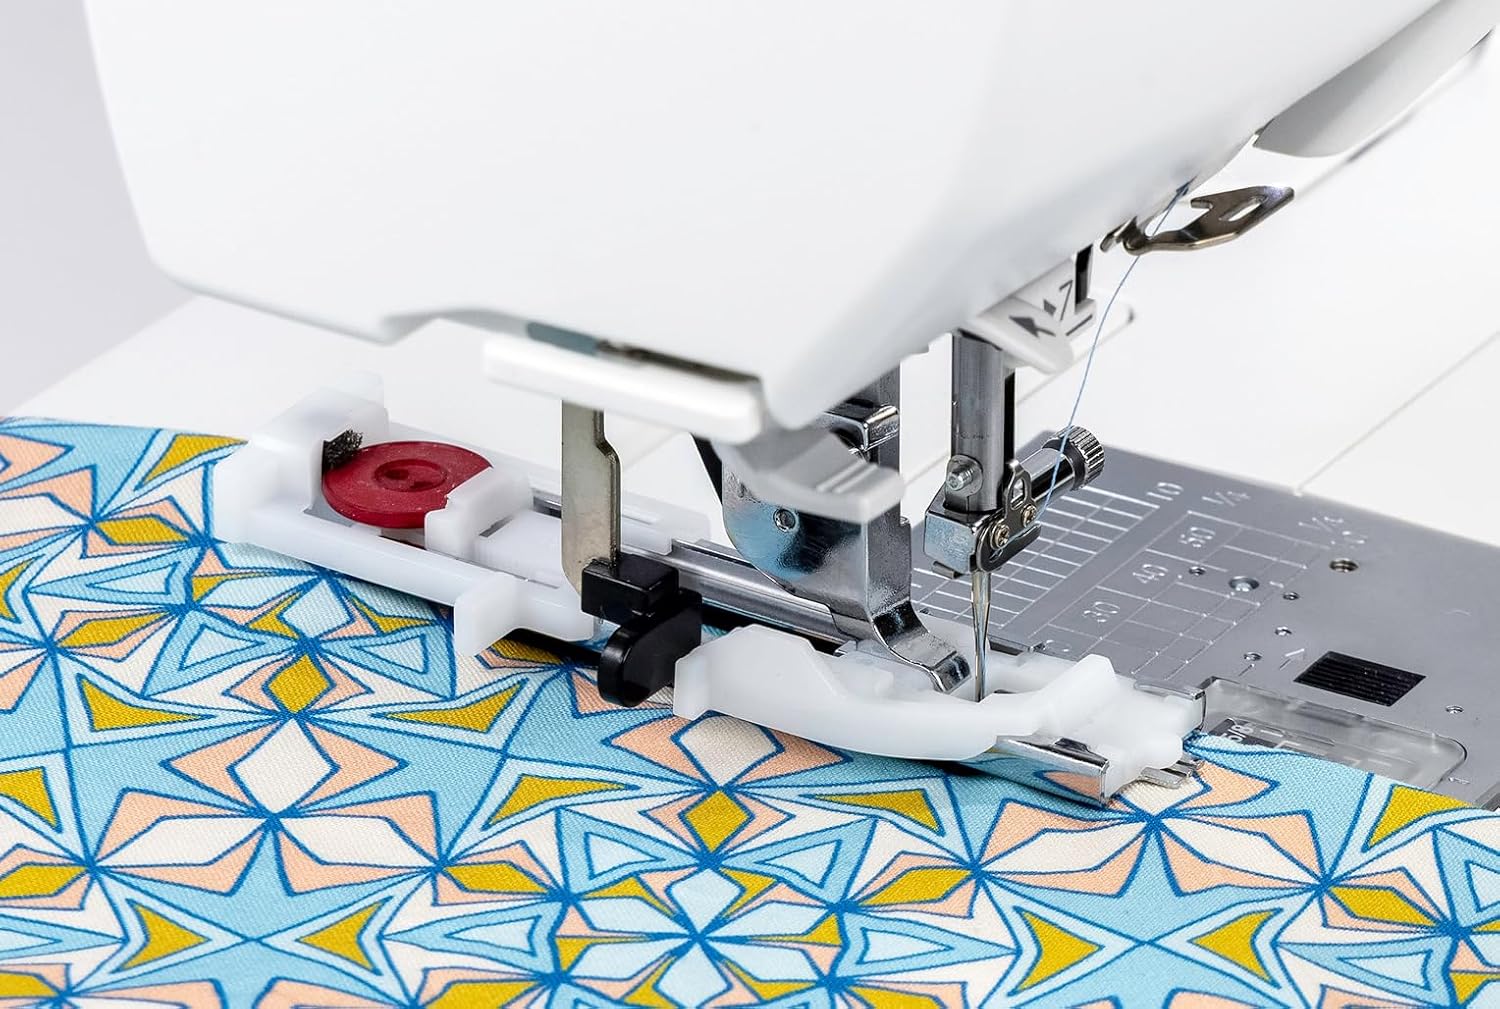
Figure 2: A selection of accessories included with the machine.
- Instruction Book (includes QR codes for additional resources)
- Soft Cover
- Foot Pedal
- Power Cord
- SQ14e Square Hoop (5.5" x 5.5" / 140mm x 140mm)
- Stitch Reference Chart
- Straight Stitch Plate
- Stylus (for touchscreen)
- Needle Set
- Spool Holders (2 large, 2 small)
- Extra Spool Pin
- Embroidery Bobbin Case
- Presser Feet:
- Zig zag foot A (pre-attached)
- Overedge foot M
- Overcast foot C
- Satin stitch foot F
- Blind hemming foot G
- Zipper foot E
- Automatic buttonhole foot R
- 1/4 seam foot O
- Embroidery foot P
- Snips (scissors)
- Screwdriver
- Lint Brush
- Seam Ripper
- Cleaning Liquid
- Bobbins
4. Machine Overview
Familiarize yourself with the main components of your machine.

Figure 3: Front view of the machine in sewing configuration.
- Presser Foot Pressure Adjustment: Located on top of the machine.
- Side Door: Opens for clear visibility during threading.
- Superior Needle Threader 2: Simplifies needle threading.
- Thread Tension Dial: Adjusts thread tension for various fabrics and stitches.
- Locking Stitch Button: Creates a secure locking stitch at the beginning and end of seams.
- Needle Up/Down Button: Positions the needle up or down.
- Scissor Button: Automatically cuts upper and bobbin threads.
- Speed Control Slider: Adjusts sewing speed for both start/stop button and foot control.
- Reverse Button: For reverse stitching.
- Start/Stop Button: Operates the machine without the foot pedal.
- Presser Foot Lifter: Allows for extra high lift to accommodate thick materials.
- 3.5" Color Touchscreen: For stitch and design selection, and machine settings.
- Onboard Storage: Compartments for accessories and the straight stitch plate.
- Free Arm: Removable accessory box for sewing cuffs, sleeves, and other small circular items.
- Embroidery Unit: Attaches to the back for embroidery functions.
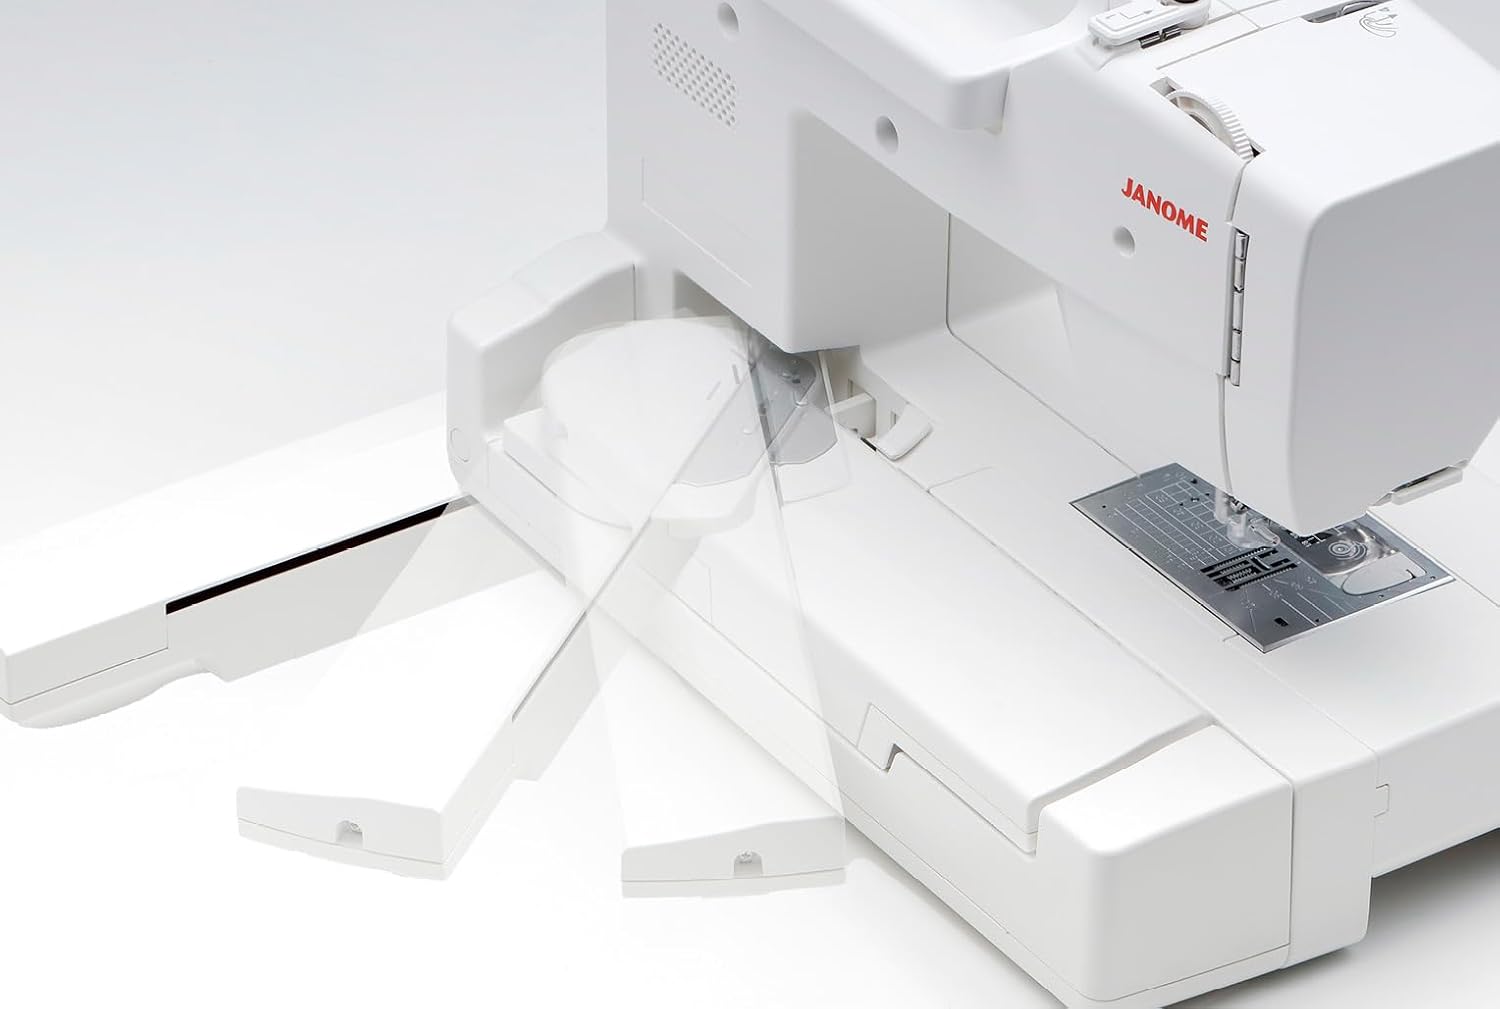
Figure 4: Rear view highlighting the embroidery unit attachment area.
5. Setup
5.1 Power Connection
- Ensure the machine's power switch is OFF.
- Connect the power cord to the machine and then to a suitable electrical outlet.
- Connect the foot pedal to the machine if you intend to use it.
5.2 Threading the Machine
Proper threading is crucial for optimal stitch quality.
- Place your spool of thread on the spool pin with the appropriate spool cap.
- Follow the numbered threading path indicated on the machine.
- Use the Superior Needle Threader 2 to easily thread the needle.

Figure 5: Demonstrating the easy threading process with the Superior Needle Threader 2.
5.3 Winding the Bobbin
Refer to your instruction book for detailed steps on winding the bobbin. Ensure the bobbin is wound evenly for best results.
5.4 Installing the Bobbin
The machine features a top-loading bobbin system. Place the wound bobbin into the bobbin case as directed in the manual, ensuring the thread is correctly routed.

Figure 6: The bobbin area with thread monitoring capability.
6. Operation - Sewing
The Memory Craft 1000 offers 300 built-in stitches for various sewing applications.
6.1 Selecting Stitches
- Turn on the machine. The LCD screen will display utility stitches by default.
- Use the stylus to navigate the 3.5" Color Touchscreen.
- Select from Utility, Decorative, or Lettering stitch categories.
- Adjust stitch width and length as needed directly on the screen.

Figure 7: Interacting with the 3.5" LCD Color Touchscreen to select stitches.
6.2 Basic Sewing Functions
- Start/Stop: Press the Start/Stop button to begin and end sewing without the foot pedal.
- Speed Control: Adjust the slider to control sewing speed.
- Reverse: Press the Reverse button for backstitching.
- Automatic Thread Cutting: Press the Scissor button to automatically cut threads.
- Needle Up/Down: Use this button to precisely position the needle.

Figure 8: The automatic buttonhole foot creating a buttonhole.
6.3 Free Arm Sewing
Remove the accessory box to utilize the free arm for sewing smaller, tubular items like sleeves and pant hems.

Figure 9: The machine configured for free arm sewing.
6.4 Changing the Stitch Plate
The machine allows for easy changing of the stitch plate, for example, to switch to the straight stitch plate for precise straight stitching.

Figure 10: Removing the stitch plate for cleaning or replacement.

Figure 11: The machine with the stitch plate removed.
7. Operation - Embroidery
The Memory Craft 1000 features 241 built-in embroidery designs and 11 fonts.
7.1 Switching to Embroidery Mode
- Ensure the embroidery unit is properly attached to the back of the machine.
- On the touchscreen, select the embroidery mode icon (typically represented by two machines).
- The machine will prompt you to open the embroidery arm.

Figure 12: The embroidery hoop ready for use.
7.2 Selecting and Editing Designs
- Browse the built-in designs and fonts on the touchscreen.
- Use the editing functions (resize, rotate, combine, duplicate, flip, arc, group, zoom, user color choice, single color stitching) to customize your designs.
- You can also import additional designs via the USB port.
- For advanced editing, download the Embroidery Editor software using the QR code in your instruction book.

Figure 13: An embroidery design being stitched on the machine.
7.3 Embroidery Process
Once your design is selected and edited, attach your hooped fabric to the embroidery unit and follow the on-screen prompts to begin stitching. The machine automatically cuts jump threads and features auto return post thread break.
8. Maintenance
Regular maintenance ensures the longevity and optimal performance of your machine.
- Cleaning: Use the provided lint brush to remove lint and dust from the bobbin area and feed dogs. Apply cleaning liquid as instructed in the manual.
- Needle Replacement: Replace needles regularly, especially when working with different fabrics or if the needle becomes dull or bent.
- General Care: Keep the machine covered with the soft cover when not in use to protect it from dust.
9. Troubleshooting
If you encounter any issues, refer to the troubleshooting section in your instruction book. Common issues often relate to incorrect threading, needle problems, or bobbin installation.
- Skipped Stitches: Check needle installation, ensure the correct needle type for your fabric, and re-thread the machine.
- Thread Breakage: Verify proper threading, check for burrs on the needle or bobbin case, and ensure correct thread tension.
- Poor Stitch Quality: Adjust thread tension, use appropriate needle and thread for your fabric, and clean the bobbin area.
For persistent problems, contact Janome customer support or an authorized service center.
10. Specifications
| Feature | Specification |
|---|---|
| Product Dimensions | 10.63"D x 17"W x 11.85"H (27 x 43.2 x 30.1 cm) |
| Item Weight | 22 pounds (10 kg) |
| Built-in Stitches | 300 (including 12 buttonholes with 3 fonts) |
| Built-in Embroidery Designs | 241 (and 11 fonts) |
| Maximum Sewing Speed | 860 stitches per minute (SPM) |
| Embroidery Sewing Speed | 400-660 stitches per minute (SPM) |
| Maximum Embroidery Size | 5.5" x 5.5" (140mm x 140mm) |
| Touchscreen | 3.5" Color LCD |
| Lighting | 2 LEDs in 2 locations |
| UPC | 732212492297 |
| Item Model Number | 0011000 |
11. Official Product Videos
Watch these official videos for additional guidance and product overview.
Janome Memory Craft 1000 Unboxing Video
This video provides an unboxing experience for the Janome Memory Craft 1000, showcasing the machine and its included accessories. It offers a visual guide to what you can expect to find in the box and a brief introduction to the machine's features.
Janome Memory Craft 100E & Memory Craft 1000 Commercial
This commercial highlights the creative possibilities and key features of both the Janome Memory Craft 100E and the Memory Craft 1000, demonstrating their use in various sewing and embroidery projects.
12. Warranty and Support
For warranty information, product registration, or technical support, please refer to the warranty card included with your machine or visit the official Janome website. Contact your local Janome dealer for service and current promotions.