
1. Introduction and Overview
This manual provides detailed instructions for the assembly, operation, maintenance, and troubleshooting of your Benass 20x20 Heavy Duty Carport Canopy Garage. This structure is designed to provide reliable protection for vehicles and other equipment from various weather conditions. It features a robust galvanized steel frame, a durable PE canopy, and convenient removable sidewalls with roll-up zipper doors.

Image 1.1: The Benass 20x20 Carport providing shelter for two vehicles.
2. Important Safety Information
Please read and understand all safety warnings and instructions before assembly and use. Failure to follow these instructions may result in injury or damage to the product.
- Always secure the carport to a stable foundation using the provided wind ropes and sandbags. Additional anchoring may be required in areas prone to high winds.
- Do not assemble or disassemble the carport in windy conditions. Strong winds can cause components to become airborne, leading to injury.
- Keep children and pets away from the carport during assembly, disassembly, and while it is in use to prevent accidents.
- Always follow the assembly instructions carefully to avoid structural instability and potential injury.
- Regularly inspect the carport for any signs of wear, damage, or loose connections. Address any issues promptly.
- Remove heavy snow accumulation from the canopy to prevent collapse.
3. Package Contents
Verify that all components listed below are present before beginning assembly. If any parts are missing or damaged, contact Benass customer support.
- Galvanized Steel Frame Components (1.5" diameter)
- 170gms PE Canopy Top
- Removable Sidewalls (with 4 mesh roll-up windows)
- Drive-Through Roll-Up Zipper Doors
- Wind Ropes (2 units)
- Binding Straps (2 units)
- Sandbags (4 units)
- Solar Light (1 unit)
- Light Strip (1 unit)
- Ground Nails and Screwed Base Nails
- Assembly Hardware and Tools (if included)

Image 3.1: Included accessories for stability and securing the carport.
4. Setup Instructions
Assembly typically requires two or more people. Ensure you have adequate space and clear weather conditions for assembly.
4.1 Site Preparation
- Choose a level surface for installation.
- Clear the area of any debris, sharp objects, or obstructions.
- Ensure adequate clearance around the carport for assembly and future use.
4.2 Frame Assembly
- Unpack all steel frame components and lay them out according to the included diagram.
- Connect the horizontal and vertical poles to form the base frame. Ensure all connections are secure.
- Assemble the roof truss sections, connecting them to the vertical poles.
- Secure all frame joints with the provided hardware. Do not overtighten until the entire frame is loosely assembled.
4.3 Canopy and Sidewall Installation
- Carefully unfold the PE canopy top and drape it over the assembled frame. Ensure it is centered and evenly distributed.
- Secure the canopy to the frame using the provided binding straps or bungee cords, starting from the corners and working towards the center.
- Attach the removable sidewalls to the frame. The sidewalls include roll-up zipper doors and mesh windows.
- Ensure all zippers are functional and the sidewalls are properly aligned.
4.4 Securing the Carport
- Once the frame and canopy are in place, fully tighten all frame connections.
- Use the provided ground nails and screwed base nails to anchor the carport legs firmly to the ground.
- Attach the wind ropes to the designated points on the frame and secure them to the ground using additional anchors or stakes, ensuring proper tension.
- Fill the sandbags with sand and place them at the base of the carport legs or other designated points for added stability.

Image 4.1: Carport dimensions for planning your setup location.
5. Operating Instructions
5.1 Using the Roll-Up Zipper Doors
The carport features large roll-up zipper doors at both ends, allowing for drive-through access. To open, unzip the door completely and roll it up, securing it with the attached fasteners. To close, unfasten and unroll the door, then zip it securely.
5.2 Utilizing Mesh Roll-Up Windows
The sidewalls are equipped with four mesh roll-up windows to ensure air circulation. Unzip the window covers and roll them up to allow airflow. Close them during adverse weather conditions or when additional protection is needed.
5.3 Solar Light and Light Strip
The included solar light and light strip provide illumination. Position the solar panel in an area that receives direct sunlight for optimal charging. Refer to the individual instructions for the solar light and light strip for specific operation details.

Image 5.1: The carport with integrated solar lighting for nighttime visibility.
6. Maintenance
Regular maintenance will extend the lifespan of your carport.
- Cleaning: Clean the canopy and sidewalls periodically with mild soap and water. Avoid harsh chemicals or abrasive brushes that could damage the PE material. Rinse thoroughly and allow to air dry.
- Frame Inspection: Annually inspect the galvanized steel frame for rust, bends, or loose connections. Tighten any loose bolts and apply rust-preventative paint to any exposed metal if necessary.
- Canopy and Sidewall Inspection: Check the canopy and sidewalls for tears, punctures, or excessive wear. Small repairs can often be made with repair kits designed for PE materials.
- Anchoring System: Regularly check the tension of wind ropes, the stability of ground anchors, and the integrity of sandbags, especially after strong winds or storms.
- Snow Removal: In areas with snowfall, promptly remove accumulated snow from the canopy to prevent excessive weight and potential collapse. Use a soft broom or brush to avoid damaging the fabric.
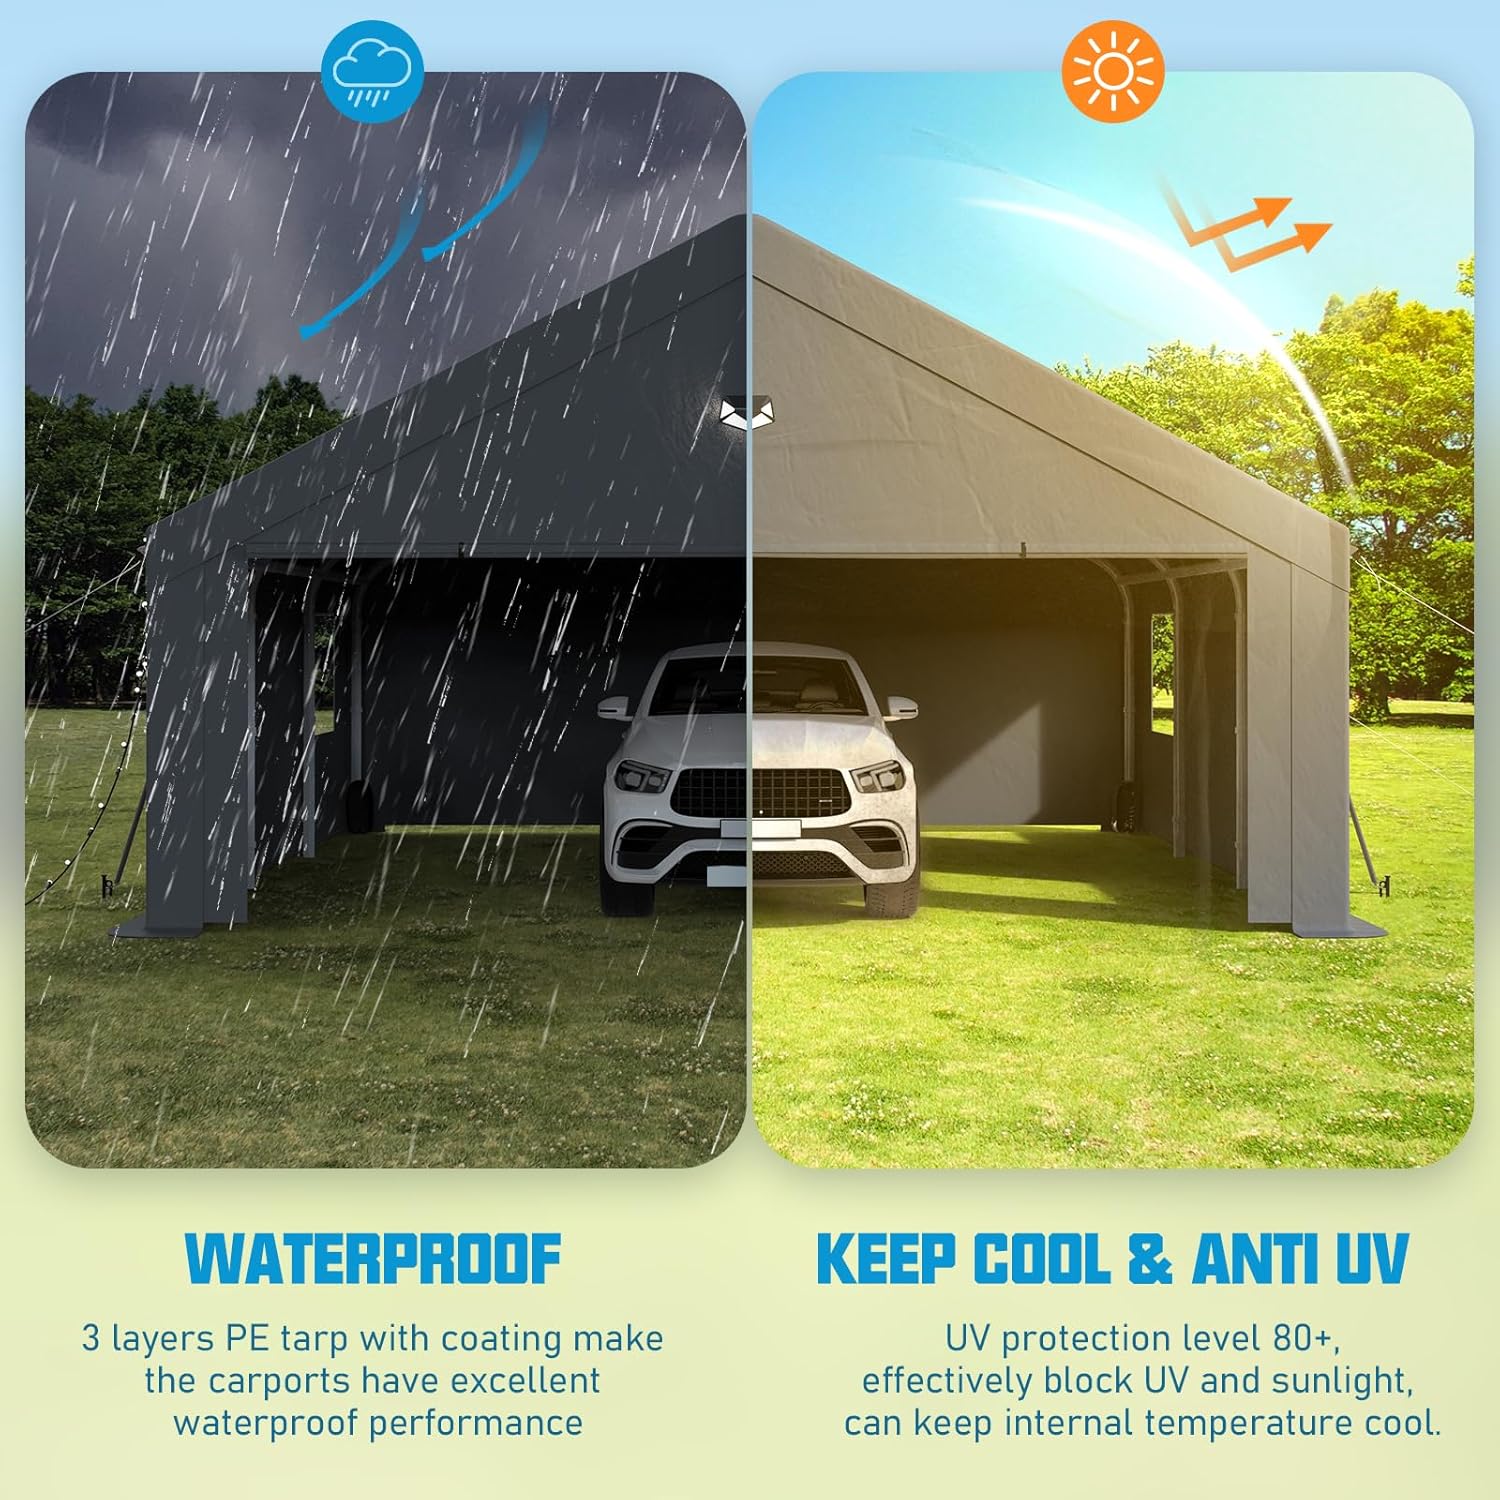
Image 6.1: The carport canopy is designed to be waterproof and UV resistant.
7. Troubleshooting
This section addresses common issues you might encounter with your carport.
- Issue: Carport feels unstable or sways in light wind.
Solution: Ensure all frame connections are fully tightened. Verify that ground anchors are securely installed and wind ropes are properly tensioned. Check if sandbags are adequately filled and positioned. - Issue: Water pooling on the canopy.
Solution: Ensure the canopy is taut and evenly distributed over the frame. Adjust tensioning straps if necessary. Check for any sagging frame components that might be causing depressions. - Issue: Zippers on doors or windows are sticking.
Solution: Clean the zipper teeth with a small brush to remove dirt or debris. Apply a silicone-based lubricant or zipper wax to improve smooth operation. - Issue: Minor tears or holes in the canopy/sidewalls.
Solution: For small damages, use a specialized PE repair kit. For larger damages, contact Benass customer support for replacement parts.
8. Specifications
Key technical details for the Benass 20x20 Heavy Duty Carport Canopy Garage.
- Model: 2020pe-1
- Product Dimensions: 240"L x 240"W x 145"H (20'L x 20'W x 12.14'H)
- Frame Material: 1.5" Galvanized Alloy Steel
- Canopy Material: 170gms PE (Polyethylene)
- Water Resistance Level: Water Resistant
- Color: Grey
- Assembly Required: Yes

Image 8.1: Material comparison highlighting the robust construction of Benass carports.
9. Warranty and Support
9.1 Warranty Information
Benass offers a one-year 100% satisfactory after-sales service for this product. This warranty covers manufacturing defects and issues arising from normal use. Please retain your proof of purchase for warranty claims.
9.2 Customer Support
If you encounter any problems during the receipt or use of your Benass carport, or if you have questions regarding assembly, parts, or warranty, please contact Benass customer service. Refer to the contact information provided with your purchase or visit the official Benass website for support.


