
1. Introduction
The AOOCOO 8K HDMI DP Dual Monitor KVM Switch (Model AO-302DH-DE) is designed to provide seamless control of up to three computers using a single set of keyboard, mouse, and two monitors. This device supports high-resolution video output up to 8K, making it ideal for professional and high-performance computing environments. It also features four USB 3.0 ports for sharing peripherals across connected systems. This manual provides detailed instructions for setup, operation, maintenance, and troubleshooting to ensure optimal performance and user experience.
2. Package Contents
Please verify that all items listed below are included in your package:
- 1x USB 3.0 HDMI+DP Dual Monitor KVM Switch
- 3x USB 3.0 Cables (1.5m / 4.92ft)
- 1x Wired Controller (1.52m / 4.98ft)
- 1x DC 12V Power Adapter (1.5m / 4.92ft)
- 1x User Manual

Image: Contents of the AOOCOO KVM Switch package.
3. Product Features
- Dual Monitor KVM Switch: Control three computers using a single keyboard, mouse, and two monitors. Supports both extended and duplicate display modes.
- High Resolution Support: Supports resolutions up to 8K@60Hz or 4K@144Hz. Specifically, the DisplayPort (DP) input supports 8K@30Hz/4K@144Hz, and the HDMI input supports 8K@60Hz/4K@120Hz. For optimal performance, use HDMI 2.1 and DP 1.4 cables.
- 4x USB 3.0 Ports: Share a keyboard, mouse, printer, scanner, and other USB 3.0 devices across all connected computers. USB 3.0 offers data transfer speeds up to 5 Gbps.
- Two Switching Methods: Easily switch between connected computers using either the physical button on the KVM unit or the included wired remote controller.
- Display Modes: Supports both Extended Mode (Main Screen + Extend Screen) and Duplicate Mode (Main Screen + Mirror Screen) for versatile multi-monitor setups.
- Plug-and-Play: Driver-free operation ensures easy setup and immediate use.
- Compatibility: Each connected computer must have both an HDMI and a DisplayPort (DP) output. Not recommended for devices with VGA or DVI ports. For computers with both discrete and integrated graphics, ensure both HDMI and DP ports used belong to the discrete graphics card.
4. Setup Instructions
Follow these steps to connect your KVM switch and computers:
- Power Off Devices: Ensure all computers and monitors are powered off before making any connections.
- Connect Monitors: Connect your two monitors to the KVM switch's "HD OUT B" (HDMI) and "DP OUT A" (DisplayPort) ports.
- Connect Computers (PC 1, PC 2, PC 3):
- For each PC, connect its HDMI output to the corresponding "HD INPUT B" port on the KVM (e.g., PC1 HDMI to HD INPUT B1).
- For each PC, connect its DisplayPort output to the corresponding "DP INPUT A" port on the KVM (e.g., PC1 DP to DP INPUT A1).
- For each PC, connect one of the included USB 3.0 cables from the PC's USB 3.0 port to the corresponding "USB 3.0" input port on the KVM (e.g., PC1 USB to USB 3.0 input for PC1). This connection is crucial for keyboard, mouse, and other USB peripheral sharing.
- Connect Peripherals: Connect your keyboard, mouse, and other USB 3.0 devices (e.g., U disk, printer) to the four "USB 3.0" ports on the front panel of the KVM switch.
- Connect Wired Remote: If desired, connect the wired remote controller to the "Wired Remote" port on the KVM switch.
- Power On: Connect the DC 12V power adapter to the KVM switch and then plug it into a power outlet. Turn on the KVM switch using the ON/OFF switch.
- Power On Computers and Monitors: Power on your monitors and then your computers.
Important Cable Note: Please use DP1.4 and HDMI2.1 cables. Keep cable lengths as short as possible to ensure a stable signal, especially for high resolutions.

Image: Connection diagram for the KVM switch.
5. Operating Instructions
5.1 Switching Between Computers
The KVM switch offers two convenient methods to switch between your connected computers:
- Physical Button Switch: Press the designated PC selection buttons (PC1, PC2, PC3) on the front panel of the KVM switch to switch to the desired computer.
- Wired Remote: Use the included wired remote controller to switch between computers. Simply press the button on the remote.
A two-color indicator light on the KVM unit will illuminate to show which computer is currently active.

Image: Two methods for switching between computers.
5.2 Display Modes
The KVM switch supports two primary display modes for your dual monitor setup:
- Extend Mode: This mode allows you to extend your desktop across two monitors, providing more screen real estate for multitasking. (Main Screen + Extend Screen)
- Duplicate Mode: This mode mirrors the content of your main screen onto the second monitor. (Main Screen + Mirror Screen)

Image: Extend Mode and Duplicate Mode for dual monitors.
5.3 USB 3.0 Device Sharing
The four USB 3.0 ports on the KVM switch allow you to share USB peripherals like keyboards, mice, printers, and USB drives among all connected computers. When you switch to a different PC, the connected USB devices will automatically switch to that PC.
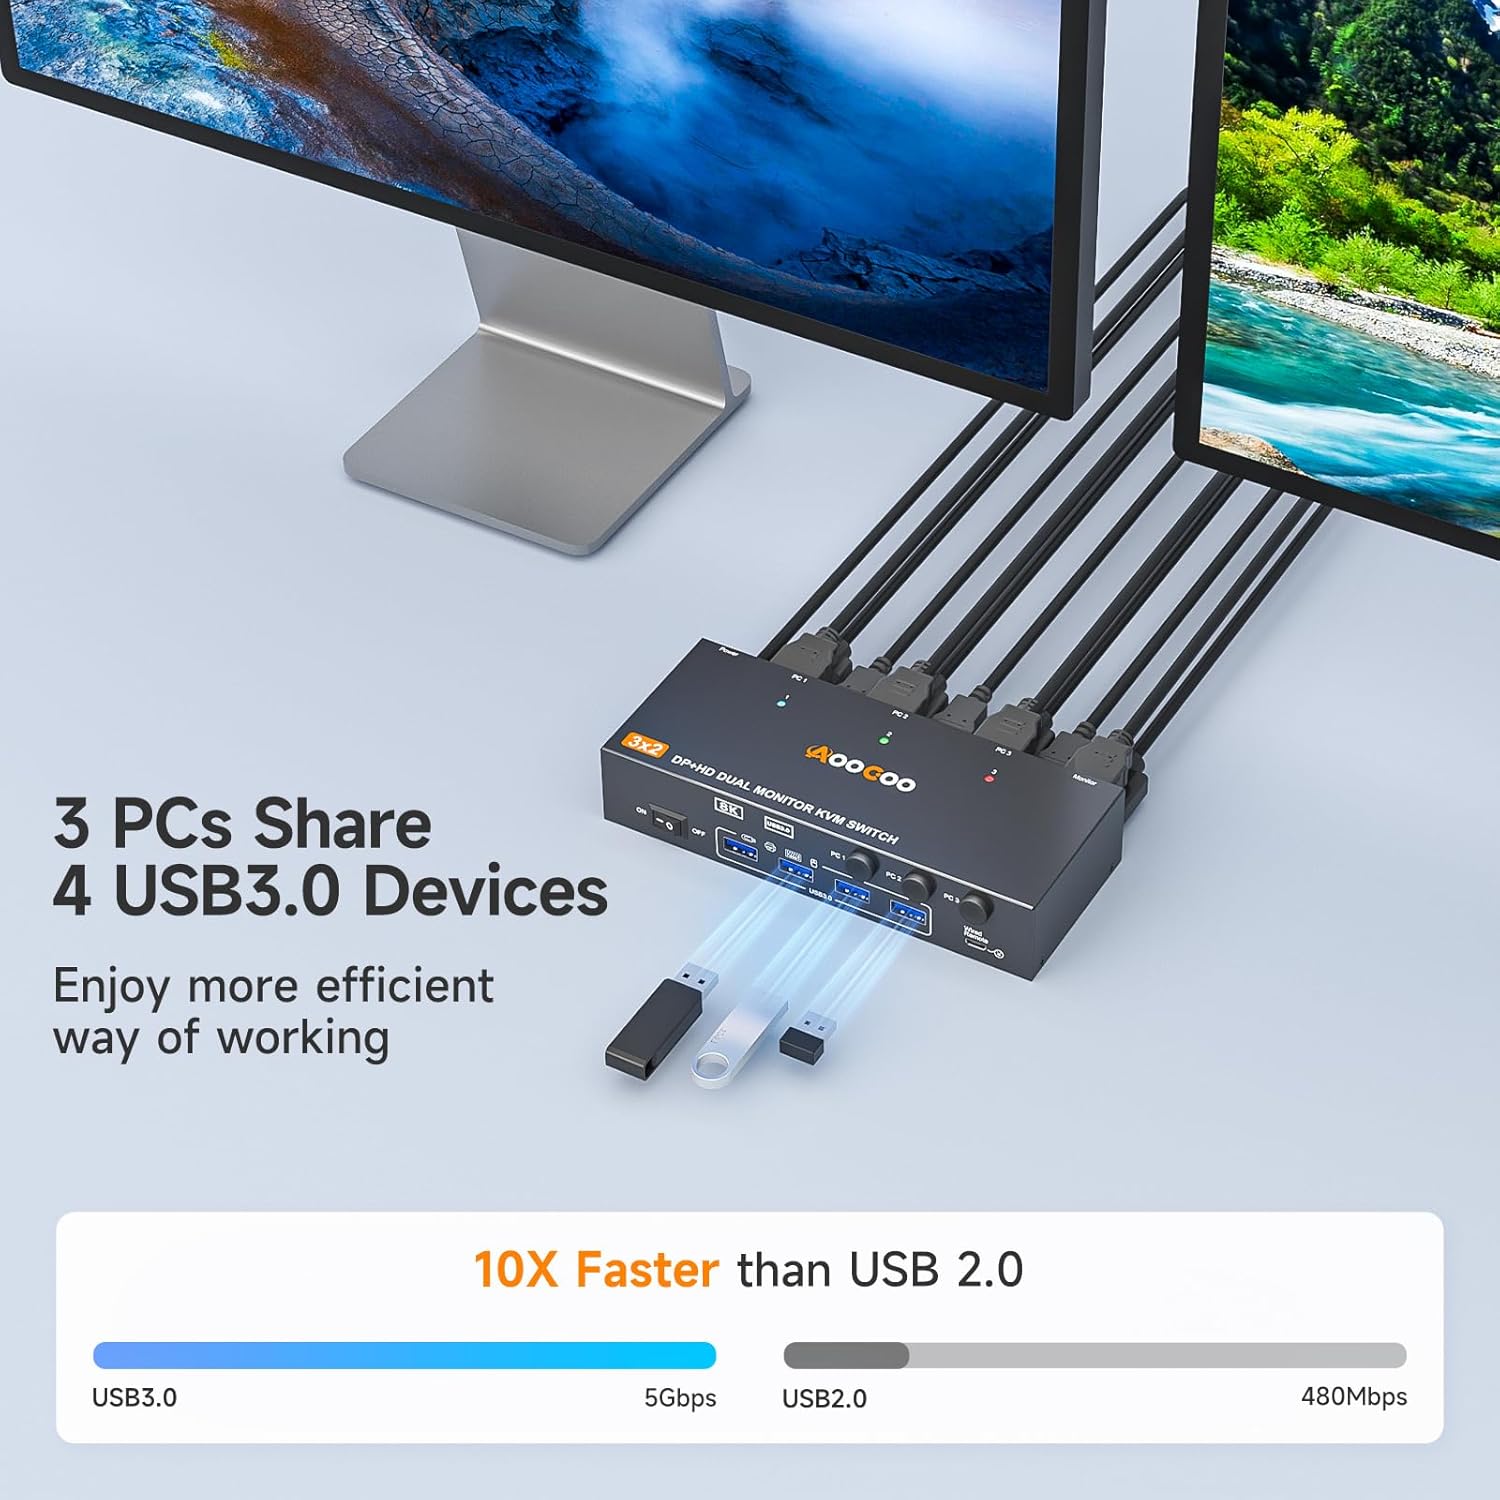
Image: Sharing USB 3.0 devices across multiple PCs.
6. Maintenance
- Cleaning: Use a soft, dry cloth to clean the KVM switch. Do not use liquid or aerosol cleaners.
- Environment: Keep the device in a cool, dry place, away from direct sunlight, heat sources, and moisture.
- Handling: Avoid dropping or subjecting the device to strong impacts.
- Power: Always use the provided DC 12V power adapter. Disconnect power when the device is not in use for extended periods.
7. Troubleshooting
If you encounter issues with your KVM switch, please refer to the following common solutions:
- No Display on Monitors:
- Ensure all HDMI and DisplayPort cables are securely connected between the KVM, monitors, and PCs.
- Verify that the KVM switch is powered on and the correct PC is selected.
- Check if your monitors are set to the correct input source (HDMI/DP).
- Confirm that your PCs have both HDMI and DP outputs and that they belong to the same graphics card (especially for discrete GPUs).
- Try using shorter, high-quality HDMI 2.1 and DP 1.4 cables.
- USB Devices (Keyboard/Mouse) Not Working:
- Ensure the USB 3.0 input cables are correctly connected from each PC to the KVM switch. If these are not connected or are poorly connected, USB output devices will not be recognized.
- Try connecting the USB devices directly to the PC to confirm they are functional.
- Restart the KVM switch and the connected PCs.
- Resolution or Refresh Rate Issues:
- Verify that your monitors and graphics cards support the desired resolution and refresh rate.
- Ensure you are using high-quality HDMI 2.1 and DP 1.4 cables, as older or lower-quality cables may not support 8K or high refresh rates.
- Check your PC's display settings to ensure the correct resolution and refresh rate are selected.
- Switching Delays:
- Ensure all cables are securely connected.
- Some monitors may take a few seconds to detect the new signal after switching. This is normal behavior.
8. Specifications
| Feature | Description |
|---|---|
| Model Number | AO-302DH-DE |
| Brand | AOOCOO |
| Video Inputs | 3x HDMI, 3x DisplayPort |
| Video Outputs | 1x HDMI, 1x DisplayPort |
| USB Input Ports | 3x USB 3.0 (Type-B for PC connection) |
| USB Output Ports | 4x USB 3.0 (Type-A for peripherals) |
| DisplayPort Resolution | Up to 8K@30Hz, 4K@144Hz |
| HDMI Resolution | Up to 8K@60Hz, 4K@120Hz |
| USB Data Transfer Rate | Up to 5 Gbps (USB 3.0) |
| Control Method | Physical Button, Wired Remote |
| Operating Voltage | 12 Volts DC |
| Current Rating | 2 A |
| Material | Copper (contact material) |
| Mounting Type | Rack Mount (general type, device is desktop) |
| GTIN/UPC | 679070076682 |

Image: Visual experience and resolution capabilities.
9. Warranty and Support
AOOCOO products are designed for reliability and performance. For warranty information, please refer to the documentation provided with your purchase or contact your retailer. If you require technical assistance or have questions regarding the setup or operation of your KVM switch, please contact AOOCOO customer support through the contact information provided on our official website or your purchase platform.