
Introduction
This manual provides comprehensive instructions for the assembly, operation, and maintenance of your FEZIBO Electric Standing Desk, model 40x24 Black. Please read this manual thoroughly before assembly and use to ensure proper function and safety.
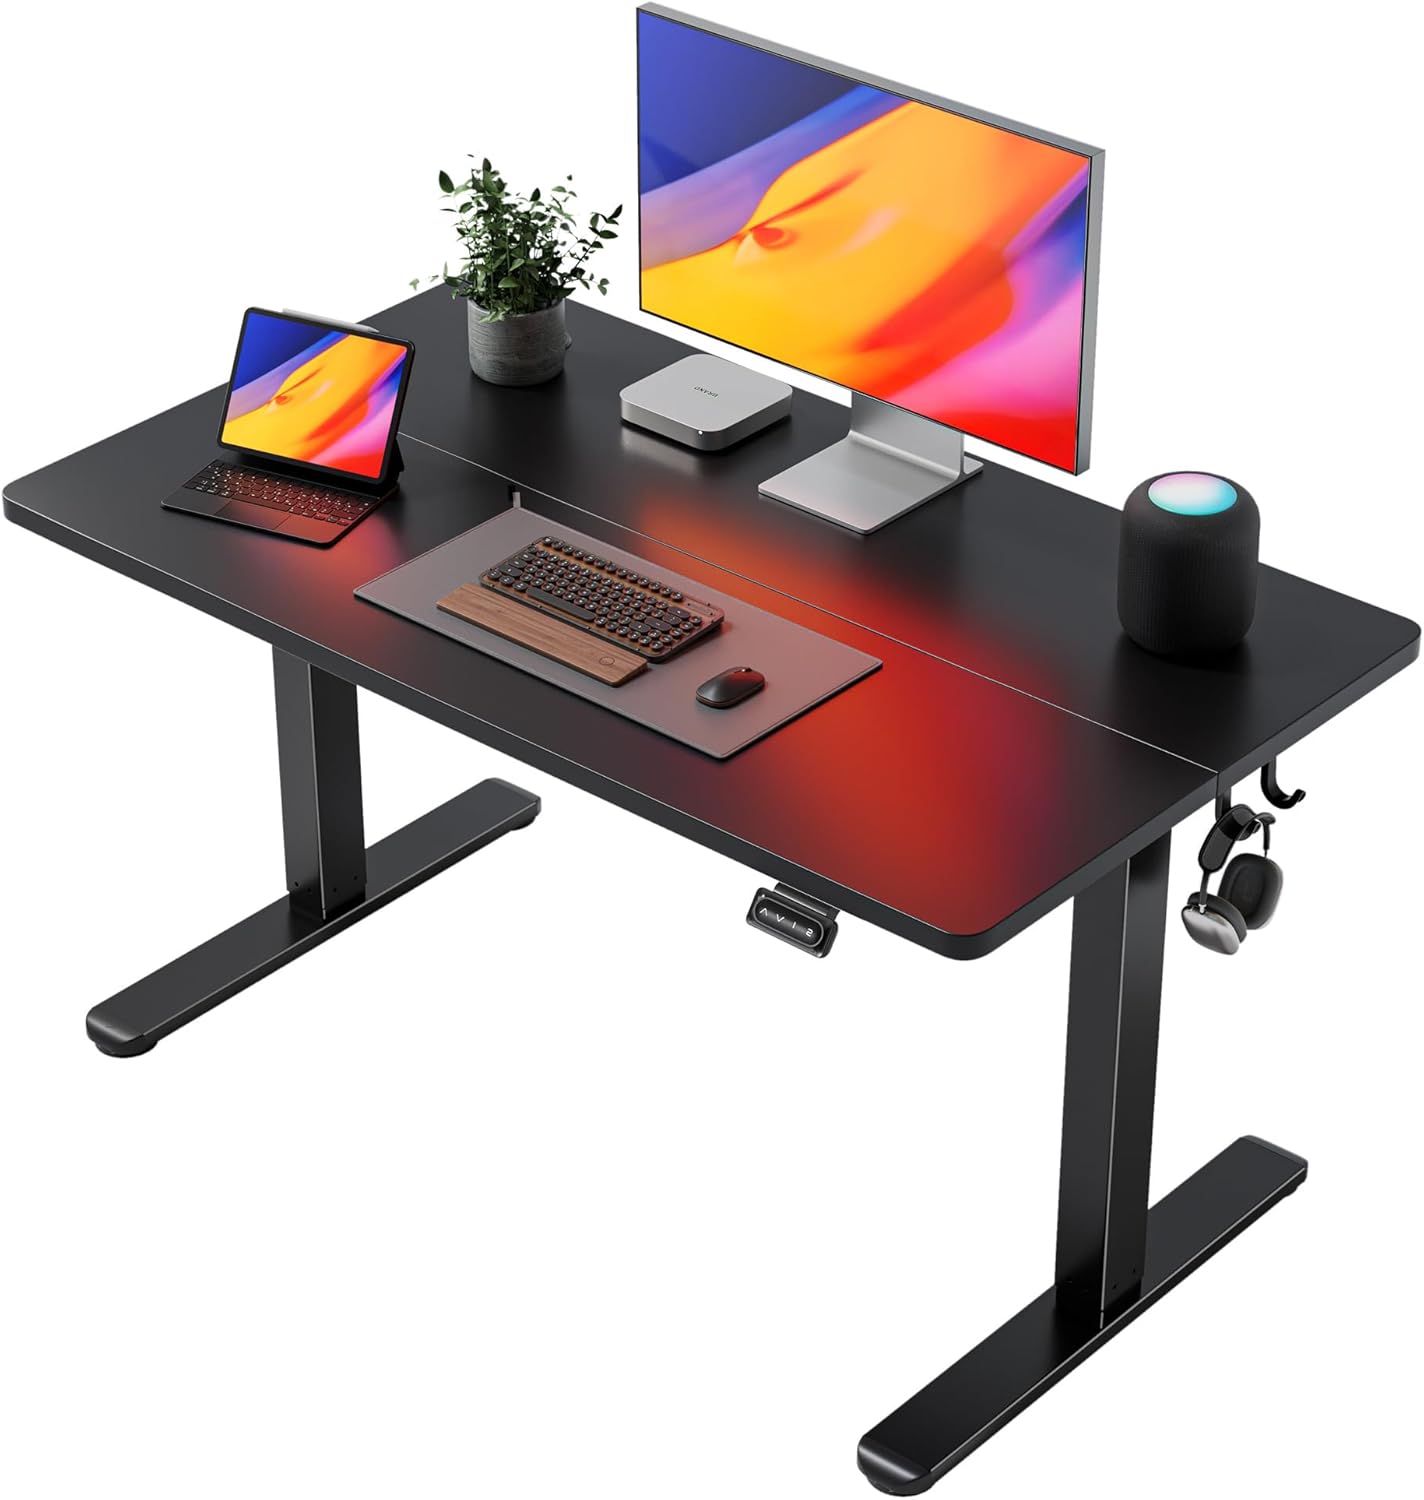
Image: FEZIBO Electric Standing Desk, 40x24 Black.
Safety Information
- Ensure all components are present and undamaged before assembly.
- Follow assembly instructions carefully. Incorrect assembly can lead to instability or injury.
- Keep children and pets away from the desk during operation to prevent accidents.
- Do not overload the desk. Refer to the specifications for maximum weight capacity.
- Ensure there are no obstructions in the desk's path during height adjustment to prevent damage or injury. The desk features an anti-collision system, but manual checks are recommended.
- Only use the provided power adapter and cable.
- Disconnect power before cleaning or maintenance.
Package Contents
Verify that all parts are included in your package. The desk platform is typically packaged in two sections. Assembly tools and detailed instructions are provided.
- Desktop sections (2)
- Desk frame components (legs, crossbar, feet)
- Control panel
- Power adapter and cable
- Assembly hardware (screws, bolts, etc.)
- Assembly tools
- Desk hooks (optional installation)
Assembly Instructions
Assembly is required for this product. A detailed installation video may be available from the manufacturer. The process typically takes approximately 1.5 hours for one person.
- Unpack Components: Carefully remove all parts from the packaging and lay them out on a clean, soft surface to prevent scratches. Verify all components against the package contents list.
- Assemble the Frame: Attach the desk legs to the crossbar using the provided hardware. Ensure all connections are secure.
- Attach Feet: Secure the feet to the bottom of the desk legs. These provide stability.
- Assemble Desktop: Join the two desktop sections together using the precise screws and accessories. Ensure the seam is aligned and secure.
- Attach Desktop to Frame: Carefully place the assembled desktop onto the frame and secure it using the designated screws.
- Install Control Panel: Mount the control panel to the underside of the desktop in the desired location. Connect the necessary cables to the motor and power supply.
- Optional: Install Desk Hooks: Attach the provided desk hooks to the underside of the desktop if desired. These are suitable for hanging headphones or bags.
- Connect Power: Plug the power cable into the desk's control box and then into a wall outlet.

Image: Steel frame components before desktop attachment.

Image: Detail of the frame base for enhanced stability.

Image: Desktop attachment to the frame.

Image: Optional desk hooks for accessories.
Operating Instructions
Height Adjustment
The desk's electric lifting system allows for smooth height adjustments between 27.3 inches and 45.5 inches.
- Raise Desk: Press and hold the Up arrow (^) button on the control panel.
- Lower Desk: Press and hold the Down arrow (v) button on the control panel.

Image: Desk height adjustment range from sitting to standing.
Memory Presets
The control panel features two programmable memory height buttons to save your preferred sitting and standing heights.

Image: Control panel with up/down and memory buttons.
- Set a Memory Position:
- Adjust the desk to your desired height using the Up/Down buttons.
- Press and hold one of the memory buttons (1 or 2) until the display flashes or a beep is heard, indicating the position is saved.
- Recall a Memory Position: Press the corresponding memory button (1 or 2) once. The desk will automatically move to the saved height.
Anti-Collision Technology
The desk is equipped with an anti-collision system. If the desk encounters an obstacle during height adjustment, it will automatically stop and move approximately 2 cm in the opposite direction to prevent potential damage or injury.

Image: Anti-collision system detecting an obstacle.
Maintenance
Regular maintenance ensures the longevity and optimal performance of your desk.
- Cleaning: The desktop surface is scratch-proof and waterproof. Use a soft, damp cloth with mild soap to clean the surface. Avoid abrasive cleaners or harsh chemicals.
- Inspections: Periodically check all screws and connections to ensure they remain tight. Retighten if necessary.
- Cable Management: Ensure power cables and other cords are neatly managed to prevent entanglement or damage during height adjustments.

Image: Desktop surface demonstrating water resistance.
Troubleshooting
If you encounter issues with your FEZIBO Electric Standing Desk, consider the following common solutions:
- Desk Not Moving: Check if the power cable is securely plugged into both the desk and the wall outlet. Ensure the outlet is functional.
- Uneven Movement: Ensure the desk is not overloaded and that weight is distributed evenly. Check for any obstructions.
- Error Codes: If the control panel displays an error code, refer to the manufacturer's online resources or contact customer support for specific guidance.
- Reset Procedure: Some issues can be resolved by performing a reset. Consult the manufacturer's website or support for the specific reset procedure for your model.
If problems persist, please contact FEZIBO customer support for assistance.
Specifications
| Feature | Detail |
|---|---|
| Model | 40x24 Black |
| Product Dimensions (D x W x H) | 24"D x 40"W x 28.3"H (minimum height) |
| Height Adjustment Range | 27.3" - 45.5" |
| Top Material | Engineered Wood (Laminated) |
| Base Material | Alloy Steel |
| Noise Level | Under 50 dB |
| Lift Test Durability | 50,000 cycles with full load |
| Special Features | Electric Height Adjustment, 2 Memory Presets, Anti-Collision Technology, Scratch-proof & Waterproof Top |
| Assembly Required | Yes |

Image: Detailed product dimensions.

Image: Noise level comparison during desk operation.
Warranty and Support
For any questions, warranty concerns, or technical support regarding your FEZIBO Electric Standing Desk, please contact FEZIBO customer service. Contact information can typically be found on the manufacturer's official website or through your purchase platform.
Please retain your proof of purchase for warranty claims.


