
1. Introduction
This manual provides detailed instructions for the safe and efficient operation, maintenance, and troubleshooting of your QIQIAOB 95kpa Commercial Vacuum Sealer Machine, Model SV608. Please read this manual thoroughly before first use and retain it for future reference.
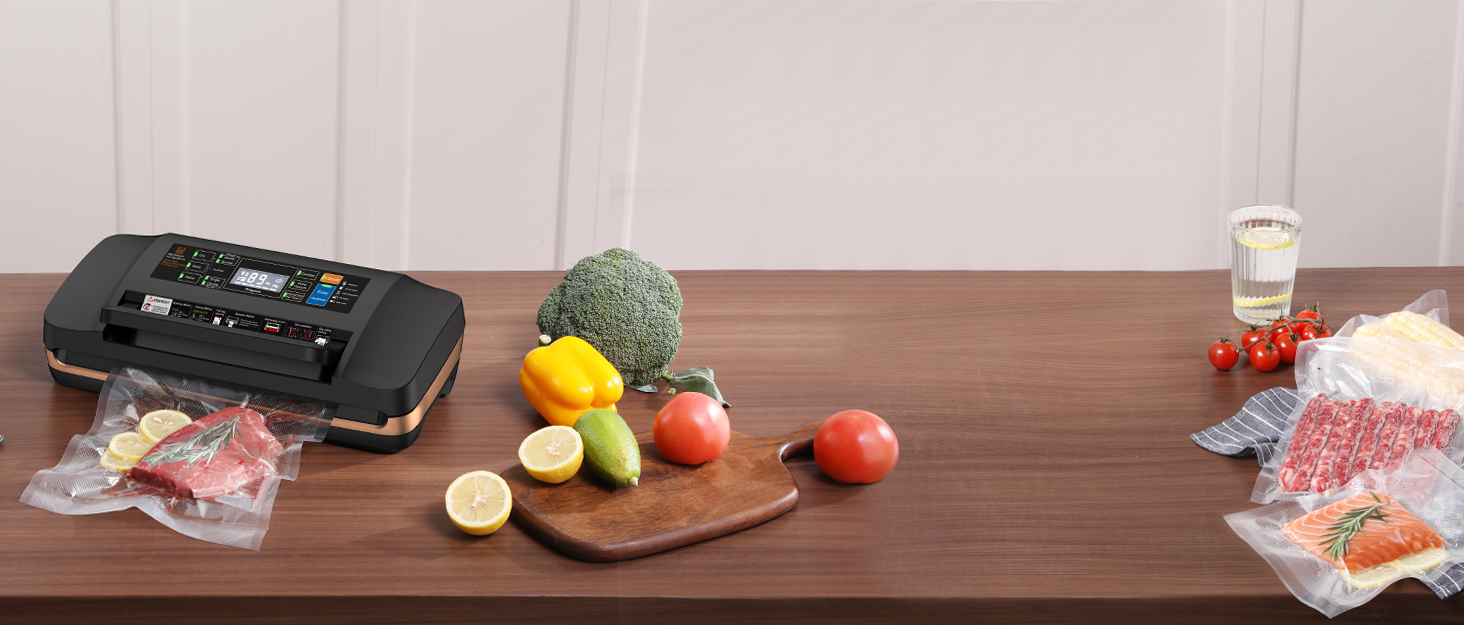
Figure 1.1: QIQIAOB 95kpa Commercial Vacuum Sealer Machine in operation, highlighting its multi-function control panel.
2. Safety Instructions
To ensure safe operation and prevent damage to the appliance or injury to yourself, always adhere to the following safety precautions:
- Read all instructions before using the appliance.
- Do not immerse the appliance, power cord, or plug in water or other liquids.
- Keep the appliance out of reach of children. Close supervision is necessary when used near children.
- Unplug from the outlet when not in use and before cleaning.
- Do not operate any appliance with a damaged cord or plug, or after the appliance malfunctions or has been damaged in any manner.
- Use only manufacturer-recommended attachments.
- Do not use outdoors.
- Do not place on or near a hot gas or electric burner, or in a heated oven.
- Always ensure the lid is properly closed and latched before operating.
- Avoid contact with moving parts.
- This appliance is for household use only.

Figure 2.1: Emphasizing safety to prevent food contamination during the vacuum sealing process.
3. Product Overview and Components
Familiarize yourself with the various parts of your vacuum sealer for optimal use.
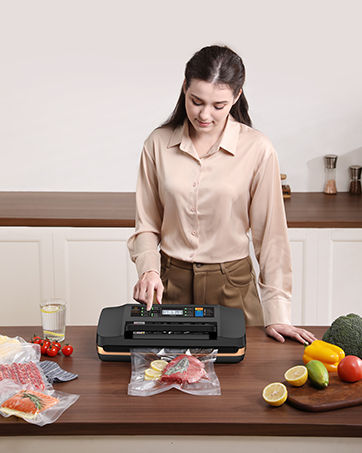
Figure 3.1: Exploded view of the vacuum sealer, detailing its internal structure.
Main Components:
- Countdown Display: Shows remaining time for vacuuming or sealing.
- Built-in Cutter: For custom bag sizing from a roll.
- Built-in Bag Storage: Conveniently stores vacuum sealer rolls.
- Durable Silicone Gasket: Ensures an airtight seal during vacuuming.
- Bag Positioning Clamp: Holds the bag securely in place.
- Vacuum Chamber: Area where air is removed from the bag.

Figure 3.2: Illustration of the internal components, including the pure copper double pump and motor, contributing to 95kpa suction.
4. Setup
Before using your vacuum sealer for the first time, follow these steps:
- Unpack: Carefully remove the vacuum sealer and all accessories from the packaging.
- Inspect: Check the appliance for any signs of damage. Do not use if damaged.
- Clean: Wipe down the exterior of the unit with a damp cloth. Ensure the sealing strip and vacuum chamber are clean and dry.
- Placement: Place the vacuum sealer on a flat, stable, and dry surface. Ensure there is enough space around the unit for proper ventilation.
- Power Connection: Plug the power cord into a grounded electrical outlet.

Figure 4.1: Initial setup of the vacuum sealer on a kitchen counter, ready for use.
5. Operating Instructions
5.1 Basic Vacuum Sealing
Follow these steps for vacuum sealing food items in bags:
- Prepare the Bag: Place the food item into a vacuum sealer bag, leaving at least 2-3 inches of space between the food and the top edge of the bag. Ensure the open end of the bag is clean and dry.
- Position the Bag: Open the lid of the vacuum sealer. Insert the open end of the bag into the vacuum chamber, ensuring it lies flat over the sealing strip and under the bag positioning clamp.
- Close the Lid: Firmly press down on the lid until both sides click into place, indicating it is securely locked.
- Select Mode: Choose the appropriate mode on the control panel (e.g., 'Dry' for dry foods, 'Moist' for moist foods). For a stronger seal, select 'Double Seal'.
- Start Process: Press the 'Vac&Seal' button. The machine will automatically vacuum the air out of the bag and then seal it. The countdown display will show the progress.
- Release and Remove: Once the countdown ends and the process is complete, the lid will unlock automatically. Open the lid and remove the sealed bag.

Figure 5.1: Step-by-step guide for basic vacuum sealing operations.
5.2 Canister Sealing
To vacuum seal food in compatible canisters (sold separately):
- Connect Hose: Insert the smaller end of the vacuum hose into the accessory port on the side of the vacuum sealer.
- Connect to Canister: Connect the other end of the hose to the vacuum port on your canister. Ensure a tight fit.
- Start Process: Press the 'Canister' button on the control panel. The machine will begin to remove air from the canister.
- Disconnect: Once the vacuum process is complete, the machine will stop automatically. Disconnect the hose from both the sealer and the canister.

Figure 5.2: Step-by-step guide for vacuum sealing with an external canister.
5.3 Control Panel Functions
The control panel offers various functions for different food types and sealing needs:
- Dry Mode: Ideal for dry food items like nuts, grains, and crackers.
- Moist Mode: Suitable for moist or juicy foods such as raw meats, fruits, and vegetables.
- Pulse Vacuum: Allows manual control over the vacuum process, perfect for delicate foods like bread or pastries to prevent crushing. Press and hold to vacuum, release to stop, then press 'Seal' to seal.
- Vac&Seal: Initiates automatic vacuuming and sealing.
- Seal: Seals a bag without vacuuming, useful for making custom-sized bags from a roll or resealing snack bags.
- Single/Double Seal: Select for a standard single seal or a more robust double seal for added security.
- Canister: Activates the vacuum function for external canisters.
- Cancel: Stops the current operation.

Figure 5.3: Detailed view of the control panel and its functions.
5.4 Using the Built-in Cutter
The built-in cutter allows you to create custom-sized bags from a roll:
- Pull out the desired length of vacuum sealer roll.
- Place the roll across the cutter groove.
- Slide the cutter blade across the roll to cut a straight line.
- Use the 'Seal' function to seal one end of the cut bag, creating a custom-sized pouch.

Figure 5.4: Demonstrating the use of the built-in cutter for custom bag sizing.
5.5 Pulse Function for Soft Foods
For delicate items that could be crushed by full vacuum pressure, the Pulse function provides manual control:
- Place the delicate food item in the bag and position it in the vacuum chamber.
- Close and lock the lid.
- Press and hold the 'Pulse Vacuum' button. Observe the bag and the food item.
- Release the 'Pulse Vacuum' button when the desired amount of air has been removed.
- Immediately press the 'Seal' button to seal the bag.

Figure 5.5: Using the Pulse function to prevent crushing delicate foods.
5.6 Official Product Video
Video 5.1: Official product demonstration video for the QIQIAOB Vacuum Sealer Machine, showcasing its features and operation.
6. Maintenance
6.1 Cleaning the Vacuum Sealer
Regular cleaning ensures optimal performance and hygiene:
- Always unplug the appliance before cleaning.
- Wipe the exterior with a damp cloth and mild soap. Do not use abrasive cleaners.
- Clean the vacuum chamber and sealing strip with a damp cloth. Ensure they are completely dry before next use.
- The sealing strip can be gently wiped to remove any food residue.
6.2 Emptying the Water Sink
If sealing moist foods, condensation may collect in the water sink. The 'Full Water Alert' indicator will illuminate when the sink needs emptying.
- Ensure the appliance is unplugged.
- Locate the water sink (often beneath the vacuum chamber).
- Gently pull out the sink in the direction of the arrow.
- Lift the sink upwards to remove it.
- Pour out any collected water and clean the sink with mild soap and water.
- Ensure the sink is completely dry before reinserting it into the appliance.
Figure 6.1: Instructions for removing and cleaning the water sink, indicated by the 'Full Water Alert'.
7. Troubleshooting
If you encounter issues with your vacuum sealer, refer to the following common problems and solutions:
- Appliance does not turn on: Ensure the power cord is securely plugged into a working electrical outlet. Check if the power switch is in the 'On' position.
- No vacuum or poor vacuum:
- Ensure the lid is fully closed and locked on both sides.
- Check that the open end of the bag is placed correctly within the vacuum chamber and over the sealing strip.
- Inspect the sealing strip and gaskets for any food particles or damage. Clean or replace if necessary.
- Ensure the vacuum bag is specifically designed for vacuum sealing and is free of holes or tears.
- Bag does not seal properly:
- Ensure the sealing strip is clean and free of moisture or food debris.
- Allow the sealing strip to cool down between uses if performing multiple seals in quick succession (Overheat Protection will activate if necessary).
- Check for wrinkles in the bag material over the sealing strip. Smooth out any wrinkles before sealing.
- 'Full Water Alert' indicator is on: Refer to Section 6.2 for instructions on emptying the water sink.
If problems persist after attempting these solutions, please contact customer support.
8. Specifications
| Feature | Specification |
|---|---|
| Brand | QIQIAOB |
| Model Number | SV608 |
| Material | Acrylonitrile Butadiene Styrene (ABS) |
| Color | Gold |
| Product Dimensions | 16.1"L x 8.7"W x 4.65"H |
| Item Weight | 4.9 Pounds |
| Power Source | Corded Electric |
| Operation Mode | Automatic |
| Wattage | 130 watts |
| Voltage | 120.0 V |
| Vacuum Pressure | 95 kPa |
| Vacuum Speed | 12 L/min |
| UPC | 780748508371 |
9. Warranty and Support
QIQIAOB is committed to providing high-quality products and excellent customer service.
- 30-Day Free Replacement: We offer a 30-day free replacement for quality issues. Please contact our support team if you experience any defects or malfunctions within this period.
- 24/7 Professional Support: Our customer service team is available 24/7 to assist you with any questions or concerns regarding your product.
- VIP Service: Register your product for VIP service and additional benefits.
For support, please visit our official website or contact us directly:
Website: www.qiqiaob.com

Figure 9.1: QIQIAOB customer support and warranty information.