
Ameta S50 Lite
Ameta S50 Lite GPS Drone User Manual
Model: S50 Lite
1. Introduction
This manual provides essential information for the safe and effective operation of your Ameta S50 Lite GPS Drone. Please read this manual thoroughly before operating the drone and retain it for future reference. The Ameta S50 Lite is designed for both beginners and experienced pilots, featuring advanced GPS capabilities, a 4K camera, and extended flight time.
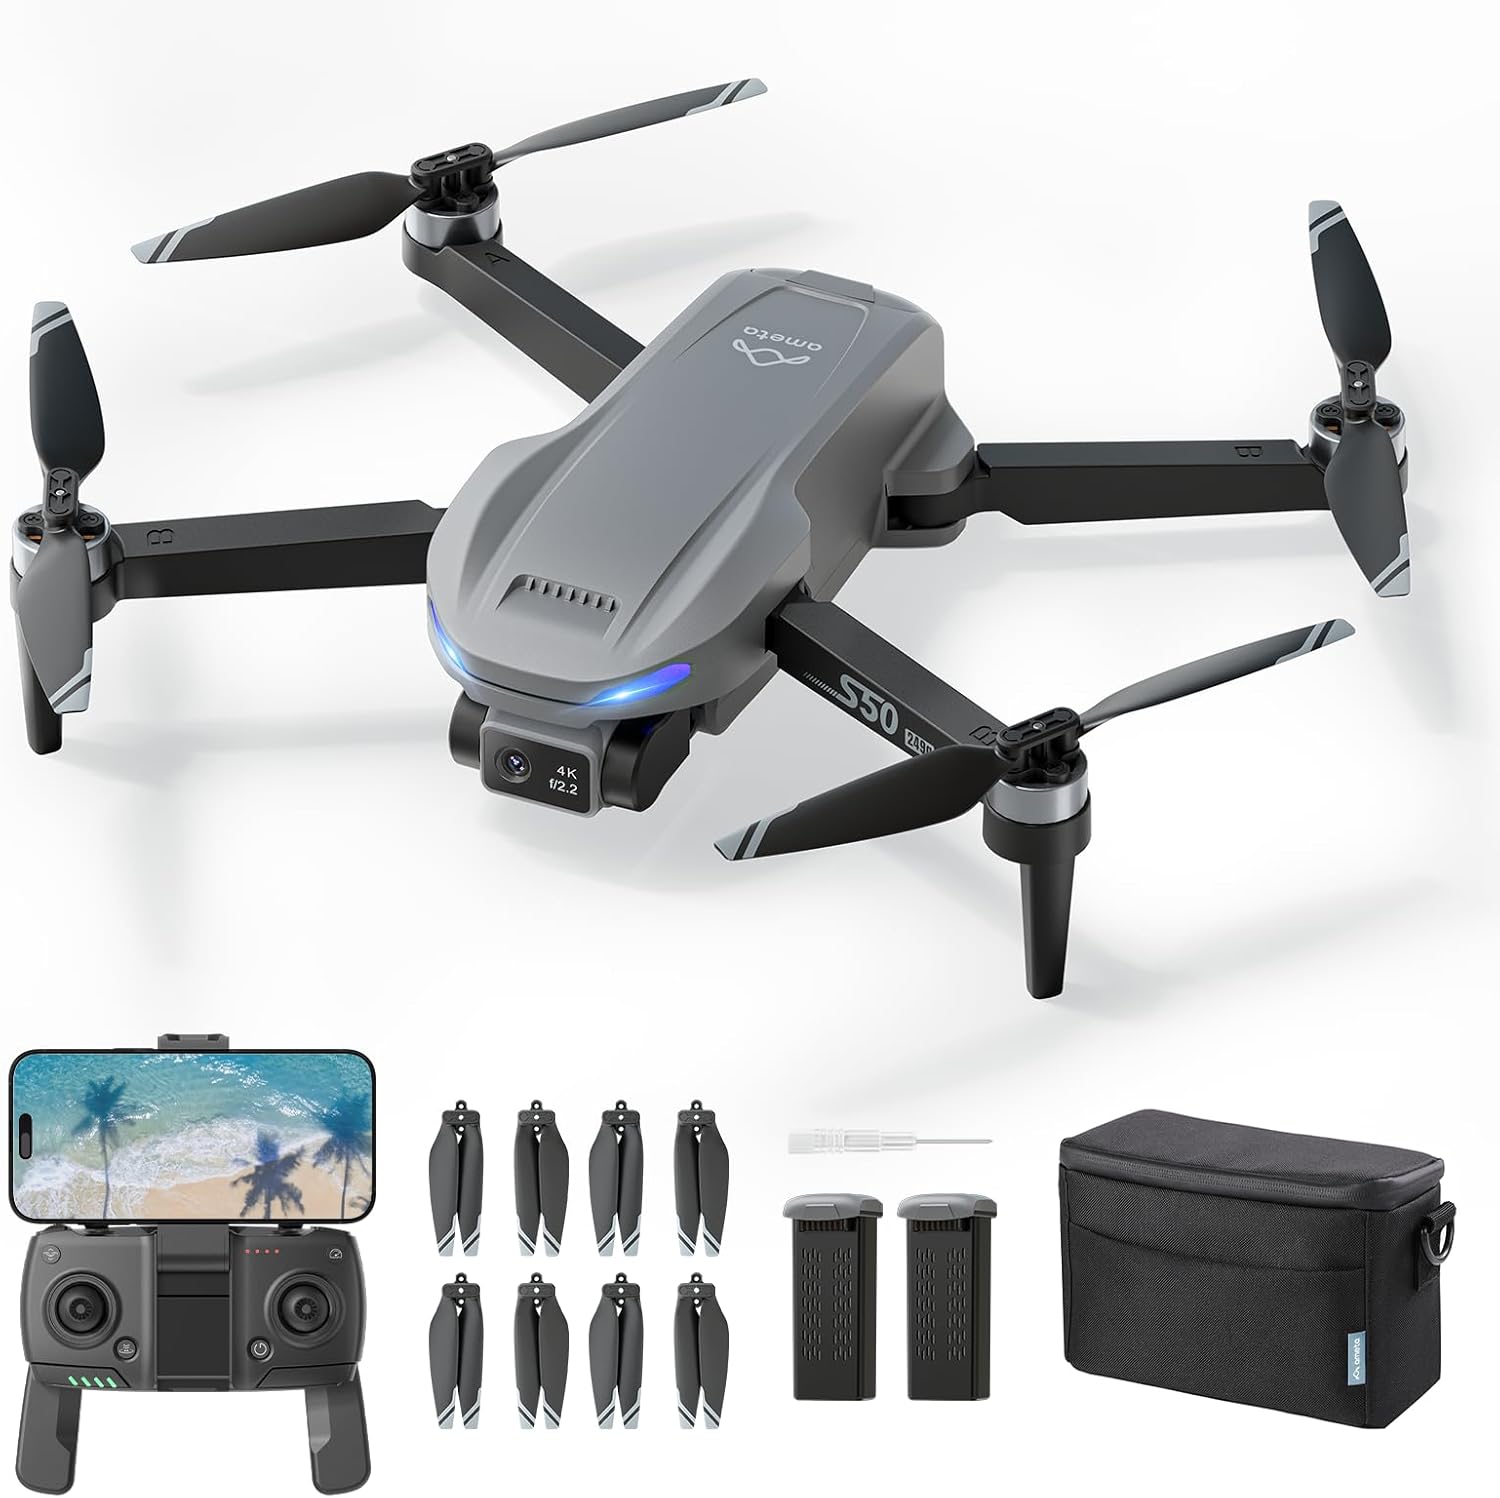
Image 1.1: The Ameta S50 Lite GPS Drone package contents, including the drone, remote controller, spare propellers, two batteries, a screwdriver, and a carrying bag.
2. Package Contents
Verify that all items listed below are included in your package. If any items are missing or damaged, please contact customer support.
- Ameta S50 Lite GPS Drone (x1)
- Remote Controller (x1)
- 2000mAh Flight Battery (x2)
- Spare Propellers (x4 pairs, 8 individual propellers)
- Propeller Screws (x8)
- Screwdriver (x1)
- USB Charging Cable (x1)
- Carrying Bag (x1)
- User Manual (x1)

Image 2.1: Detailed view of spare propellers, eight screws, and the included screwdriver, which are part of the package contents.
3. Product Features
The Ameta S50 Lite GPS Drone incorporates several advanced features for an enhanced flying and photography experience:
- 4K Professional Camera: Equipped with a Sony IMX258 Sensor and a 90° adjustable lens, capable of capturing ultra-clear 4K videos and 13MP photos.
- 5G WiFi FPV Transmission: Supports real-time first-person view (FPV) transmission up to 500m range.
- Reliable GPS Positioning: Features a highly accurate GPS system for stable flight and intelligent return-to-home functions.
- Extended Flight Time: Two 2000mAh batteries provide up to 50 minutes of total flight time (25 minutes per battery).
- Beginner-Friendly Controls: One-key take-off/landing, optical flow and GPS altitude hold, and three adjustable speed levels.
- Smart Flight Modes: Includes Rocket, Circle Fly, Far Away, Panorama, Time-lapse, and Gesture Selfie for creative shots.
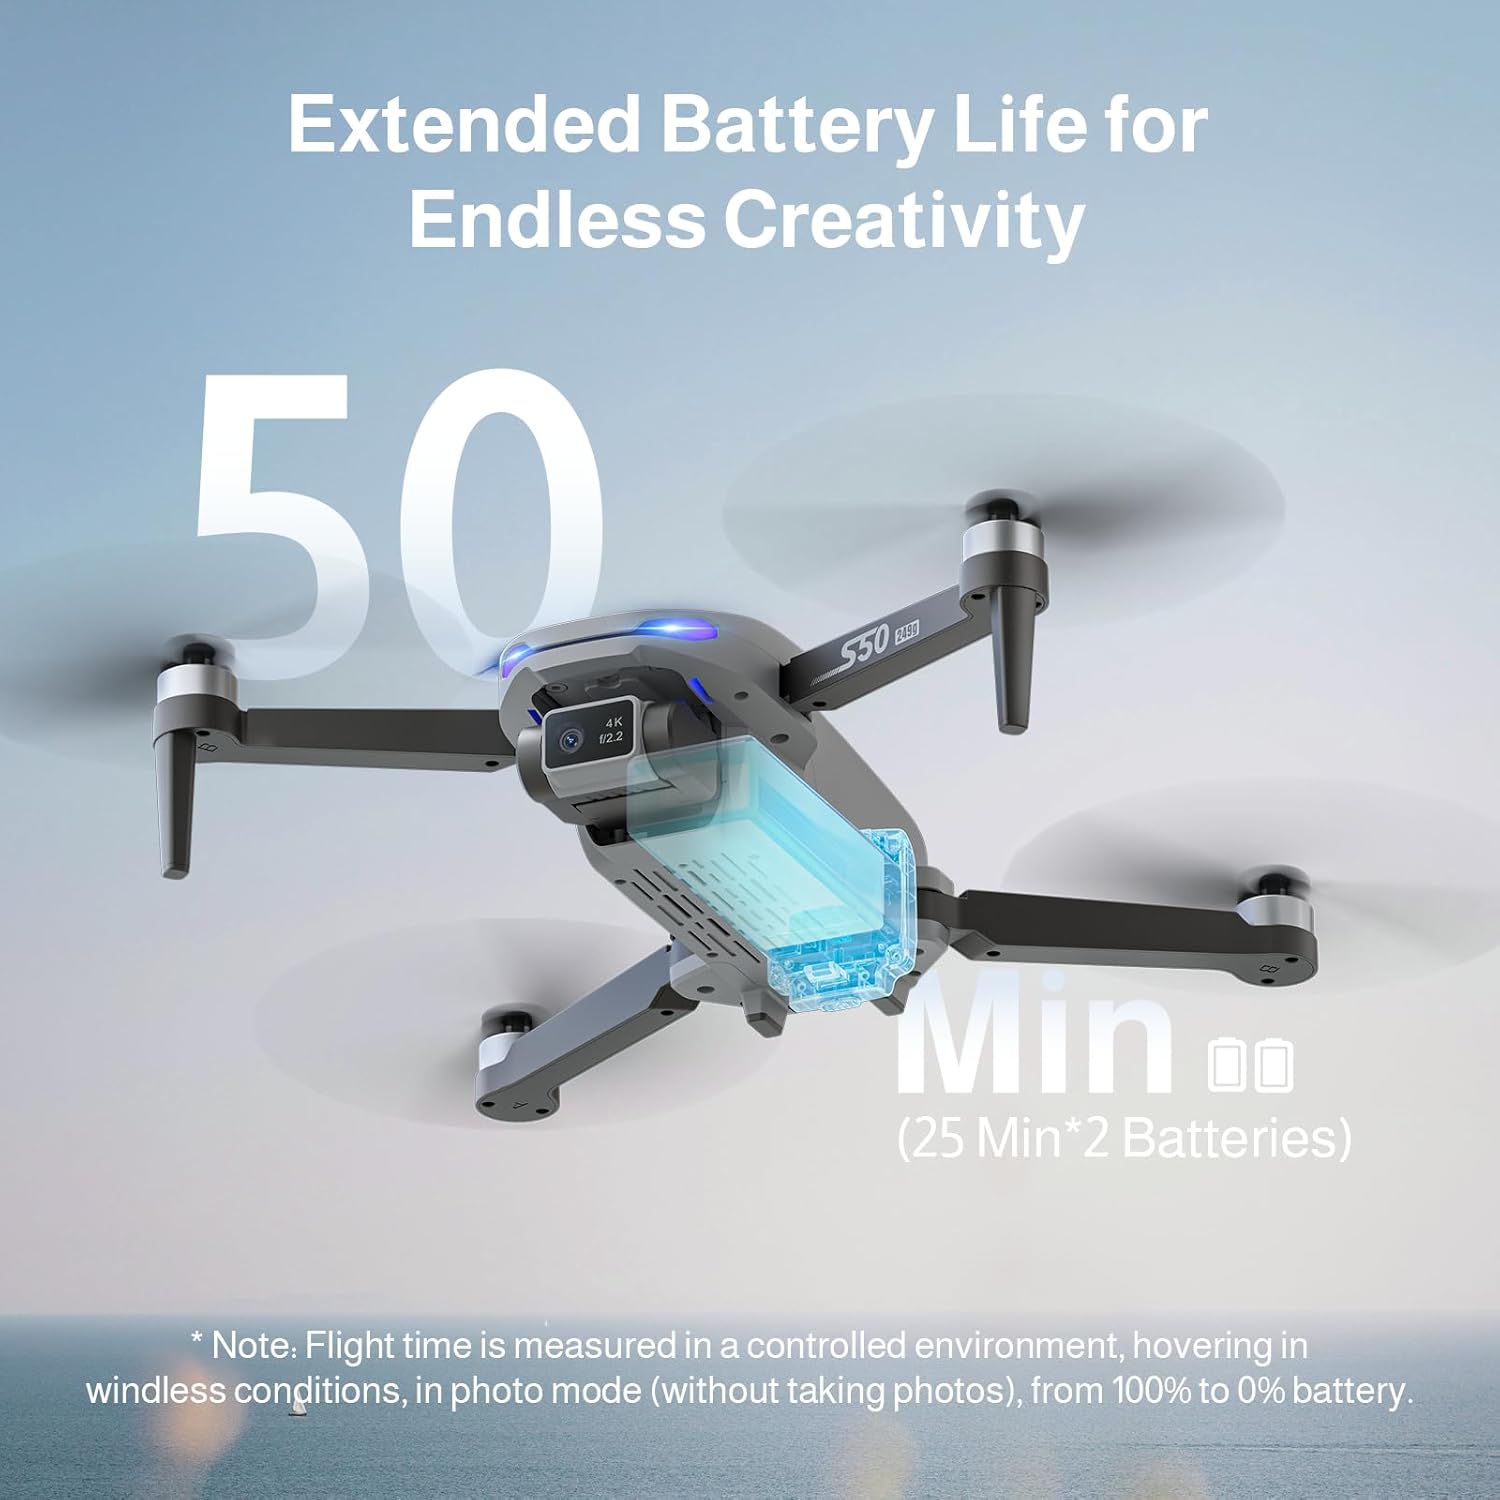
Image 3.1: The drone's 4K camera with a 90° adjustable lens, featuring a 13MP IMX258 sensor for high-resolution imaging and 5G WiFi transmission.

Image 3.2: Illustration of the drone's extended flight capability, offering up to 50 minutes of flight time with two 25-minute batteries.
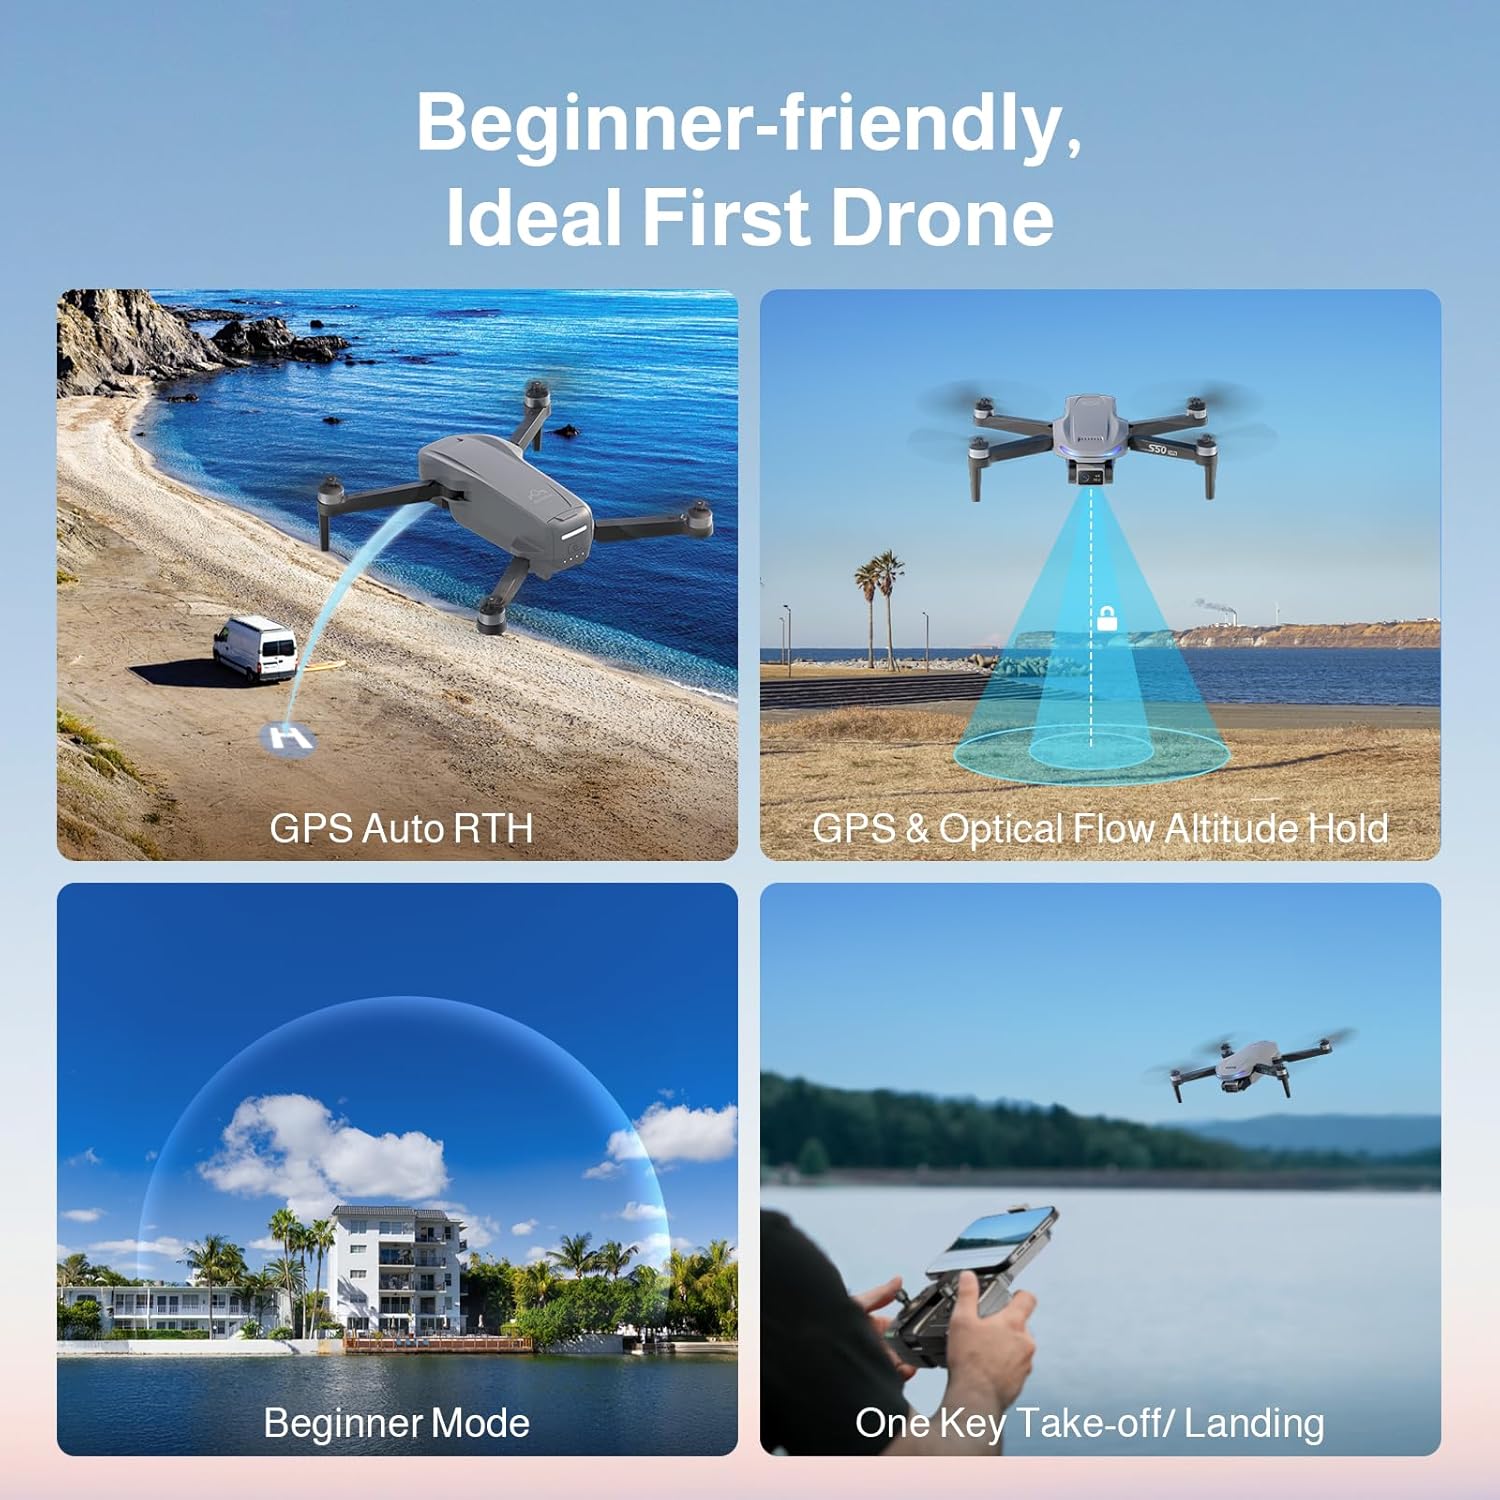
Image 3.3: Visual representation of the drone's precise GPS control features, including Return to Home, Waypoints Flight, Circle Fly, and GPS Follow modes.

Image 3.4: Depiction of the drone's ease-of-use features, such as GPS Auto Return to Home, GPS and Optical Flow Altitude Hold, a dedicated Beginner Mode, and one-key take-off/landing.
4. Setup
4.1 Propeller Installation
The drone comes with propellers that need to be installed. Ensure correct propeller type (A or B) is matched to the corresponding motor arm.
- Identify Propeller A and Propeller B. Propellers are typically marked.
- Match Propeller A to motor arms marked 'A' and Propeller B to motor arms marked 'B'.
- Place the propeller onto the motor shaft, aligning the screw holes.
- Secure the propeller with the provided screws using the screwdriver. Do not overtighten.

Image 4.1: Close-up view of Propeller A and Propeller B, showing their distinct shapes and markings for correct installation.

Image 4.2: An example of a propeller correctly installed on the drone's motor arm, demonstrating the alignment and secure fastening.
Image 4.3: A visual guide indicating the correct placement of propellers on each motor arm, ensuring the drone is ready for flight.
4.2 Battery Charging and Installation
Charge both flight batteries fully before first use. Use the provided USB charging cable.
- Connect the USB charging cable to the battery and a suitable USB power adapter (not included).
- The battery indicator lights will show charging status. Charge until all lights are solid.
- To install the battery, slide it into the battery compartment on the drone until it clicks securely into place.
- To remove, press the release button(s) and slide the battery out.
4.3 Remote Controller Setup
Install batteries into the remote controller (typically AA batteries, not included unless specified). Extend the phone holder and secure your smartphone.
- Open the battery compartment on the back of the remote controller and insert the required batteries.
- Extend the phone holder and securely mount your smartphone.
- Download and install the Ameta flight control application from your smartphone's app store.
- Power on the remote controller.
4.4 App Connection
Connect your smartphone to the drone's Wi-Fi network via the Ameta application.
- Power on the drone.
- On your smartphone, go to Wi-Fi settings and connect to the drone's Wi-Fi network (e.g., "Ameta_S50Lite_XXXX").
- Open the Ameta flight control application. The app should automatically connect to the drone and display the FPV feed.
5. Operating Instructions
5.1 Pre-Flight Checklist
- Ensure drone and remote controller batteries are fully charged.
- Propellers are correctly installed and secure.
- Fly in an open area, away from obstacles, people, and animals.
- Check local regulations for drone operation.
- Ensure GPS signal is strong before take-off for stable flight and RTH functions.
5.2 Take-off and Landing
The Ameta S50 Lite features one-key take-off and landing for ease of use.
- One-Key Take-off: After calibration and GPS lock, press the one-key take-off button on the remote controller or in the app. The drone will automatically ascend to a safe altitude and hover.
- One-Key Landing: Press the one-key landing button. The drone will slowly descend and land automatically.
- Manual Take-off/Landing: Refer to the app's detailed instructions for manual control stick movements for take-off and landing.
5.3 Flight Controls
The remote controller uses standard drone control stick configurations. Familiarize yourself with these before flight.
- Left Stick: Controls altitude (up/down) and yaw (rotate left/right).
- Right Stick: Controls forward/backward movement (pitch) and left/right movement (roll).
- Speed Adjustment: The drone offers three adjustable speed levels. Select the appropriate speed for your skill level and flying conditions.
5.4 GPS Functions
Ensure GPS mode is active for these functions to operate. A strong GPS signal is crucial.
- Return to Home (RTH):
- One-Key RTH: Press the RTH button on the controller or in the app. The drone will return to its take-off point.
- Low Battery RTH: The drone will automatically initiate RTH when the battery level is critically low.
- Lost Signal RTH: If the connection between the drone and controller is lost, the drone will automatically return to its take-off point.
- GPS Follow (Follow Me): The drone will automatically follow the remote controller (and thus the pilot's smartphone) at a set distance and altitude.
- Waypoints Flight: Plan a flight path by tapping desired waypoints on the map in the app. The drone will fly along the specified route.
- Circle Fly: The drone will orbit around a designated point of interest, maintaining a set radius and altitude.
5.5 Camera Operation and Smart Modes
Utilize the 4K camera and various smart shooting modes for professional-quality aerial photography and videography.
- Photo/Video Capture: Use the dedicated buttons on the remote controller or the app interface to take photos or start/stop video recording.
- Adjustable Lens: The 90° adjustable lens allows you to change the camera angle during flight via the remote controller or app.
- FPV (First-Person View): View the live camera feed on your smartphone through the Ameta app for real-time flight and framing.
- Smart Shooting Modes:
- Rocket: The drone ascends vertically while recording.
- Far Away: The drone flies backward and upward, capturing a wide shot.
- Panorama: Captures multiple images to stitch into a panoramic view.
- Time-lapse: Records a series of photos over time to create a time-lapse video.
- Gesture Selfie: Perform specific hand gestures to trigger photo or video capture.

Image 5.1: The drone in flight, with the remote controller and a smartphone showing the live FPV feed, demonstrating real-time camera view during operation.
6. Maintenance
Regular maintenance ensures the longevity and optimal performance of your Ameta S50 Lite drone.
- Cleaning: Use a soft, dry cloth to clean the drone body and camera lens. Avoid using harsh chemicals.
- Propeller Inspection: Regularly check propellers for cracks, bends, or damage. Replace damaged propellers immediately using the spare parts provided.
- Battery Care: Store batteries in a cool, dry place. Do not overcharge or over-discharge. If storing for extended periods, charge to approximately 50-60%.
- Storage: Store the drone and accessories in the provided carrying bag to protect them from dust and physical damage.
7. Troubleshooting
This section addresses common issues you might encounter with your Ameta S50 Lite drone.
| Problem | Possible Cause | Solution |
|---|---|---|
| Drone does not power on. | Battery not charged or incorrectly installed. | Ensure battery is fully charged and securely inserted. |
| No FPV feed in the app. | Wi-Fi not connected or app not launched correctly. | Verify smartphone is connected to the drone's Wi-Fi. Restart the app and drone. |
| Drone drifts during flight. | Improper calibration or weak GPS signal. | Perform compass and gyroscope calibration. Fly in an open area with strong GPS. |
| Remote controller not connecting. | Controller batteries low or pairing issue. | Replace controller batteries. Re-pair the controller with the drone (refer to app for pairing instructions). |
| Poor image/video quality. | Dirty camera lens or insufficient lighting. | Clean the camera lens. Ensure adequate lighting conditions for optimal capture. |
8. Specifications
| Feature | Detail |
|---|---|
| Model | Ameta S50 Lite |
| Camera Resolution | 4K Video, 13MP Photos (Sony IMX258 Sensor) |
| Lens Adjustment | 90° Adjustable |
| FPV Transmission | 5G WiFi, up to 500m range |
| Flight Time | Up to 25 minutes per battery (50 minutes total with 2 batteries) |
| Battery Capacity | 2000mAh (x2 included) |
| Positioning System | GPS, Optical Flow |
| ASIN | B0FJXCLW81 |
| Date First Available | May 8, 2025 |
9. Warranty and Support
Ameta provides customer support for its products. For warranty information, technical assistance, or to report issues, please refer to the contact information provided with your purchase or visit the official Ameta website.
For further assistance, you may visit the Ameta Store on Amazon.
Related documentsS50 Lite


Ask a question about this manual
Ask about setup, troubleshooting, compatibility, parts, safety, or missing instructions. Manuals+ will review the question and use this page’s manual context to help answer it.