
1. Introduction
Thank you for choosing the HAPPRUN K7 2500 ANSI Outdoor Projector. This manual provides essential information for the safe and efficient operation of your device. Please read it thoroughly before using the projector and retain it for future reference.
Safety Information
- Do not look directly into the projector lens when the lamp is on.
- Ensure proper ventilation around the projector to prevent overheating.
- Keep the projector away from water or other liquids.
- Use only the power adapter supplied with the projector.
- Do not attempt to repair the projector yourself. Contact qualified service personnel.
2. What's in the Box
Carefully unpack the box and ensure all items are present:
- HAPPRUN K7 Google TV Projector
- User Manual
- Remote Control
- HDMI Cable
- Power Cord
- Cleaning Kit

Figure 2.1: HAPPRUN K7 Projector and its standard accessories.
3. Product Overview
The HAPPRUN K7 is a smart outdoor projector featuring official Google TV, 4K decoding, 2500 ANSI lumens brightness, AI auto-focus, and a 270° adjustable stand. It is designed for versatile indoor and outdoor entertainment.
Projector Front View

Figure 3.1: Front view of the HAPPRUN K7 projector, highlighting the projection lens and sensor array.
Connectivity Ports
The projector offers multiple ports for connecting various devices:
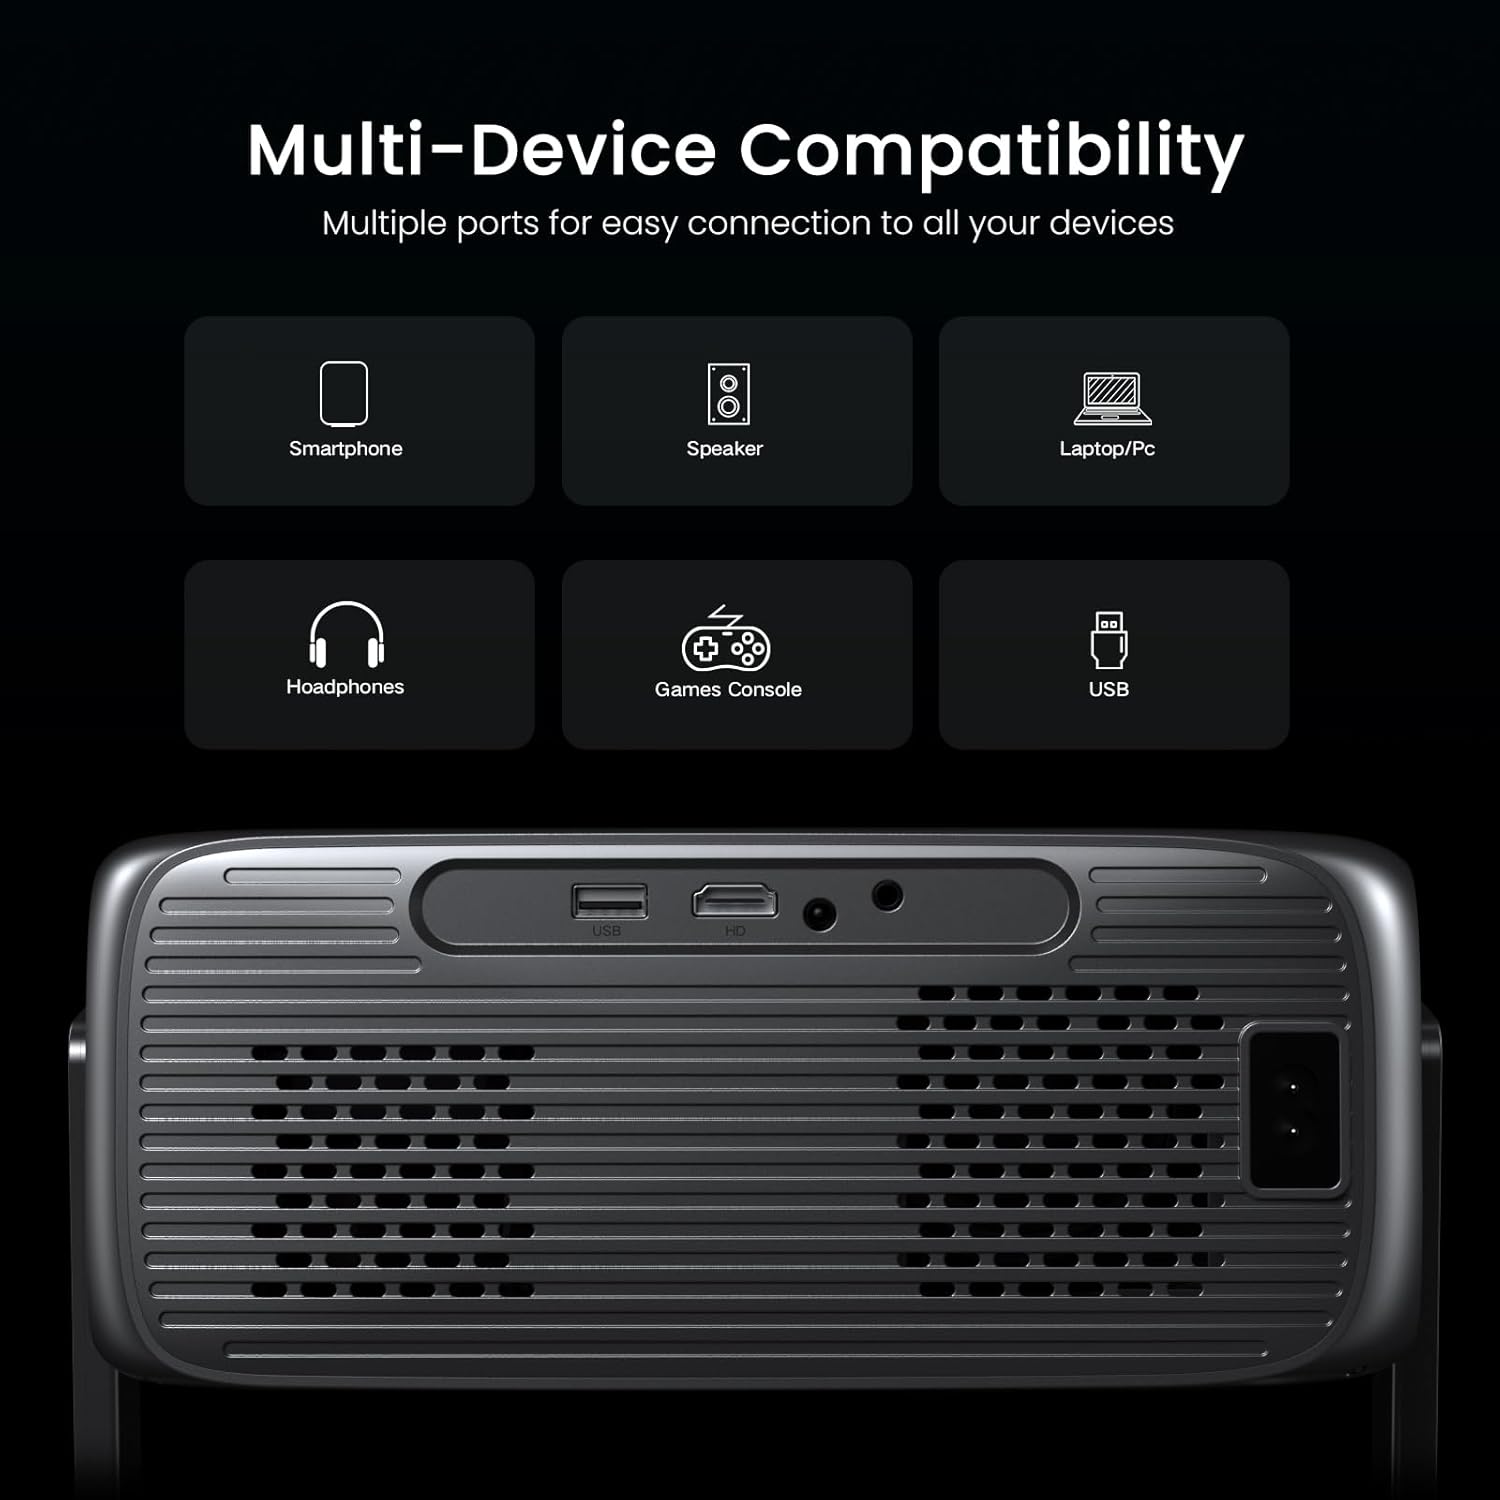
Figure 3.2: Rear panel of the projector with USB, HDMI, and 3.5mm audio output ports.
- USB Port: For connecting USB storage devices.
- HDMI Port: For connecting external video sources like laptops, gaming consoles, or Blu-ray players.
- 3.5mm Audio Jack: For connecting external speakers or headphones.
- Power Input: For connecting the power adapter.
4. Setup
4.1 Placement
Position the projector on a stable, flat surface. Ensure there are no obstructions to the lens or ventilation vents. The optimal projection distance ranges from 4.72 feet (for a 30-inch image) to 28.4 feet (for a 300-inch image).
4.2 Power Connection
- Connect the power cord to the projector's power input port.
- Plug the other end of the power cord into a power outlet.
4.3 Initial Setup (Google TV)
Upon first power-on, the projector will guide you through the Google TV setup process:
- Select your preferred language.
- Connect to your Wi-Fi network by selecting it from the list and entering the password.
- Sign in with your Google account to access Google TV features, apps, and personalization.
- Follow on-screen prompts to complete the setup.

Figure 4.1: The Google TV home screen, providing access to various streaming applications and content.
4.4 Automatic Adjustments
The HAPPRUN K7 features AI auto-focus and 6D auto-keystone correction for a clear, rectangular image within seconds of startup.
- Auto Focus: The projector automatically adjusts the lens for the sharpest image.
- Auto Keystone Correction: The projector automatically corrects image distortion to ensure a perfectly rectangular display, even if placed at an angle.

Figure 4.2: Visual representation of the projector's auto-focus feature ensuring image clarity.
4.5 Adjustable Stand
The integrated 270° adjustable stand allows you to easily project images onto walls, ceilings, or screens without needing an additional tripod. Simply adjust the stand to achieve your desired projection angle.
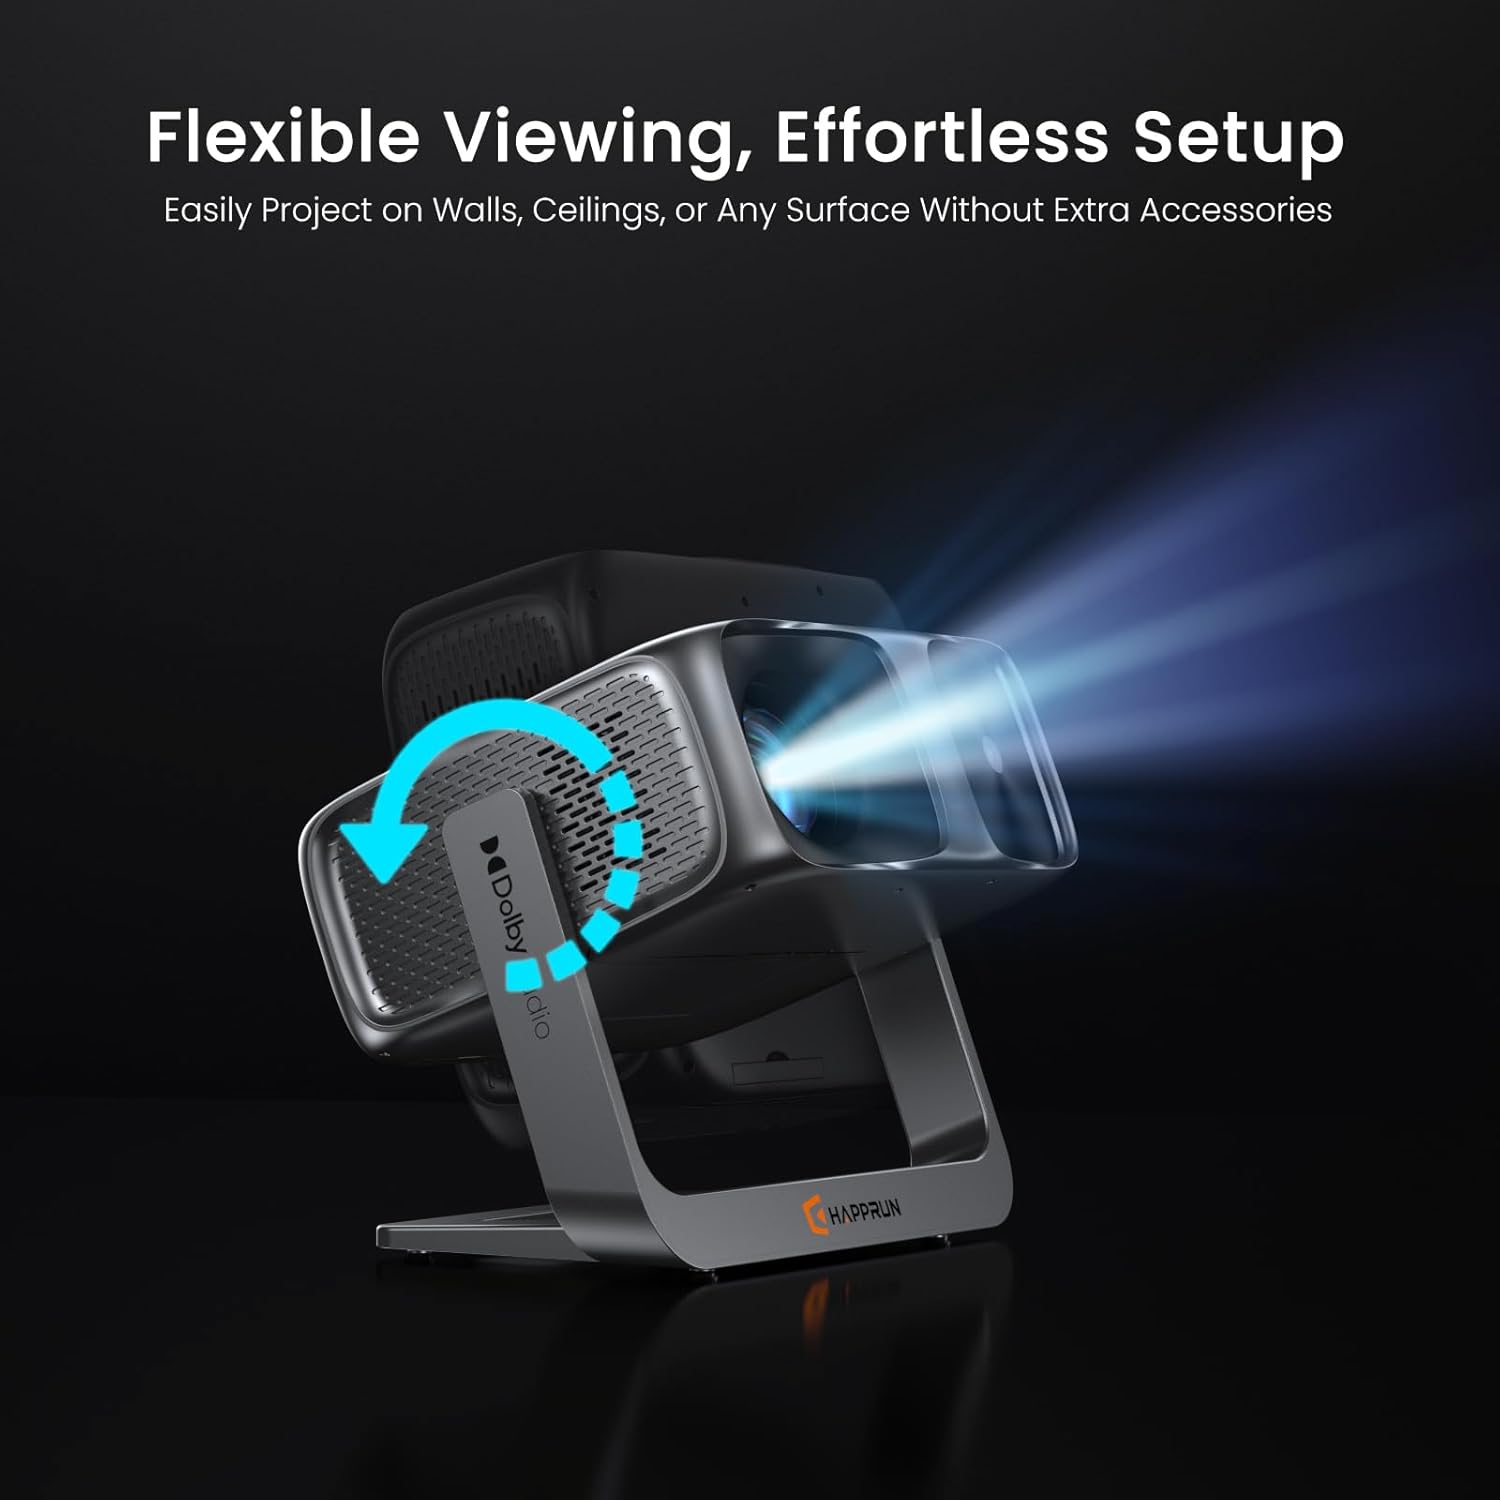
Figure 4.3: The projector's flexible stand allows for projection onto various surfaces, including ceilings.
Note: For ceiling projection, manual focus and keystone adjustment may be required for optimal clarity.
5. Operating Instructions
5.1 Power On/Off
- Power On: Press the power button on the projector or the remote control.
- Power Off: Press the power button again. A confirmation message may appear; select 'Power Off'.
5.2 Google TV Interface
Navigate the Google TV interface using the remote control's directional buttons and 'OK' button. The home screen provides access to installed apps, recommended content, and settings.
5.3 Streaming Applications
With official Google TV built-in, you can access a wide range of streaming services directly. Popular apps like Netflix, Prime Video, YouTube, and Hulu are available. Download additional apps from the Google Play Store.
5.4 Input Sources
To switch to an external input source (e.g., HDMI, USB):
- Connect your device to the appropriate port (HDMI or USB).
- On the Google TV home screen, navigate to the 'Inputs' section or use the dedicated input button on the remote control to select the desired source.
5.5 Bluetooth Connectivity
Connect external Bluetooth speakers or headphones for an enhanced audio experience.
- Go to 'Settings' on the Google TV interface.
- Select 'Remotes & Accessories' and then 'Pair new device'.
- Put your Bluetooth device into pairing mode.
- Select your device from the list on the projector screen to pair.
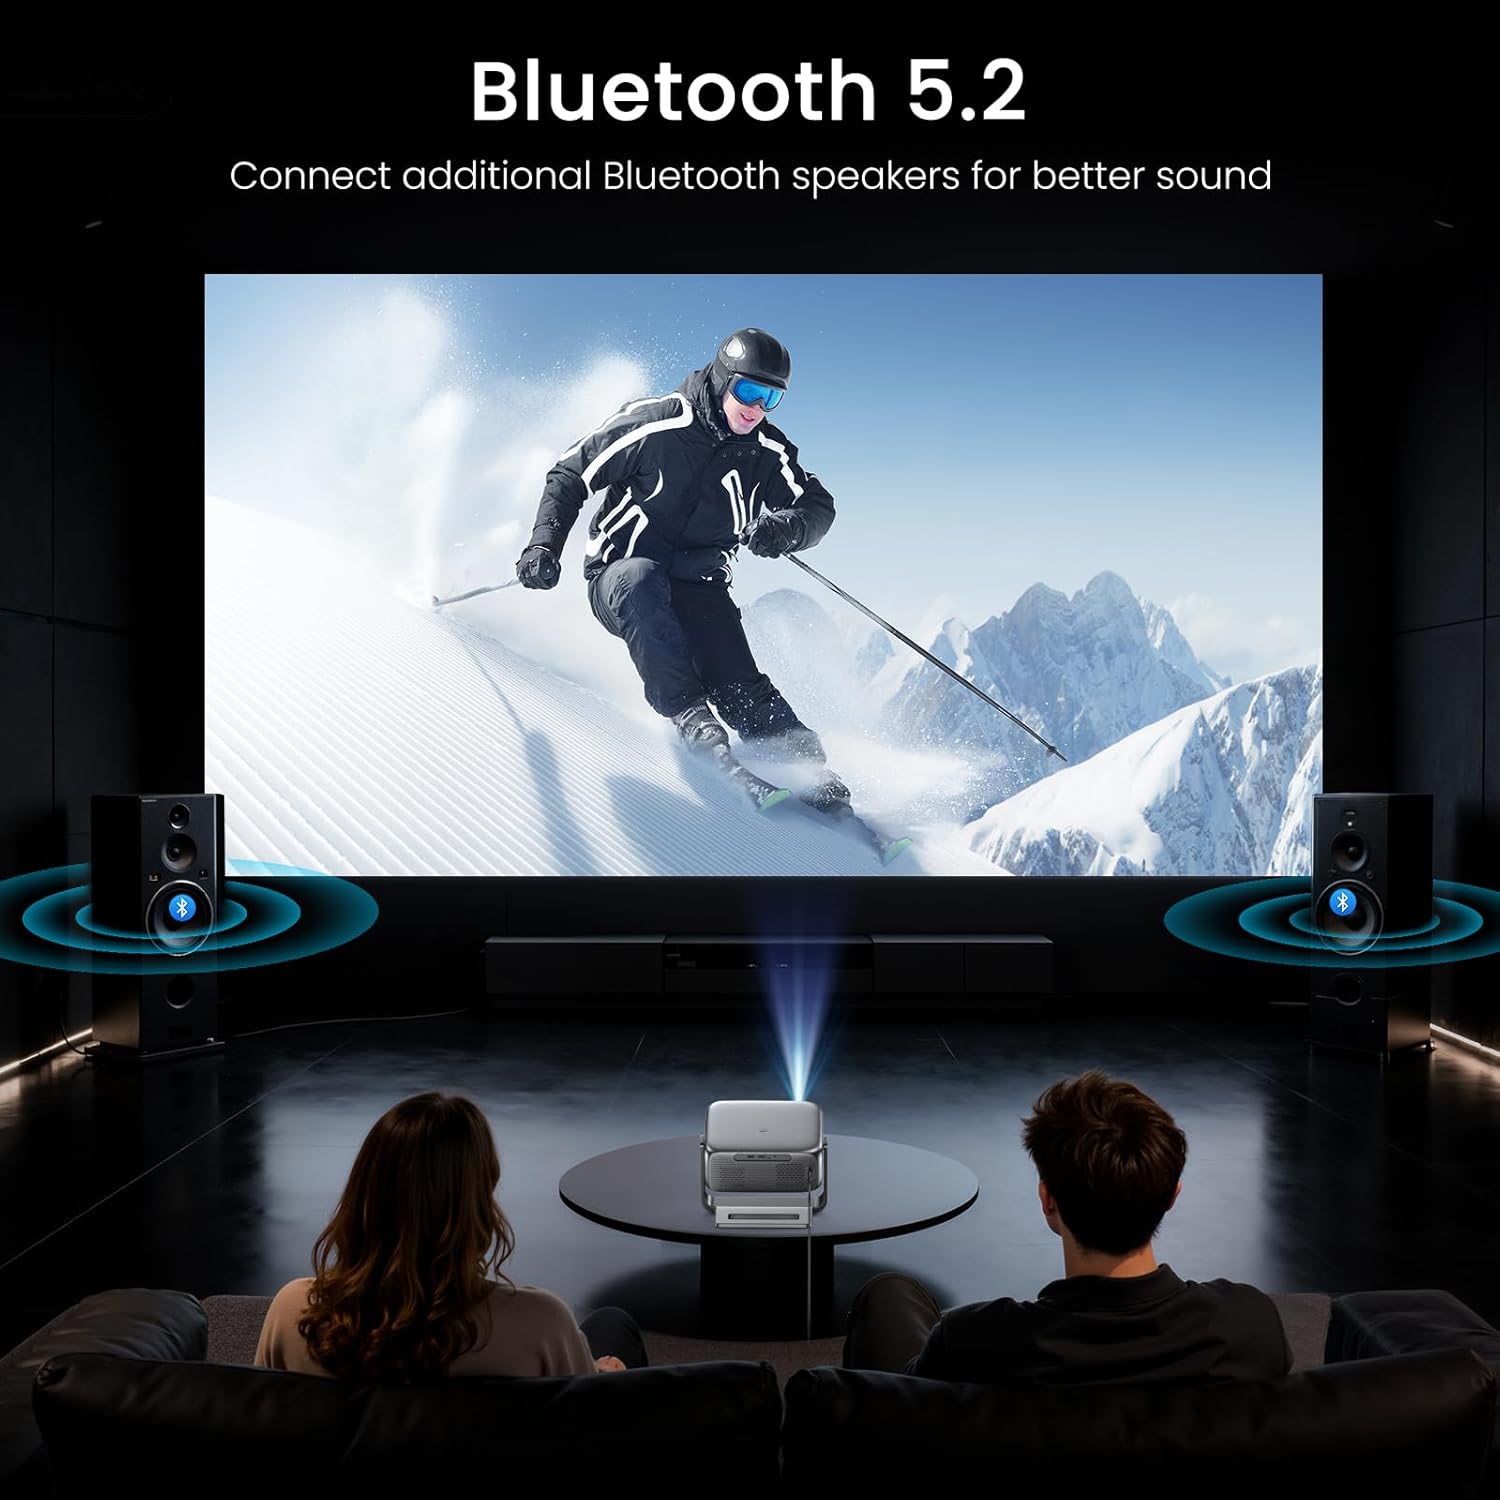
Figure 5.1: The projector connected wirelessly to external Bluetooth speakers for an immersive audio experience.
5.6 Screen Mirroring (Google Cast)
The projector supports Google Cast and Wi-Fi 6 for seamless screen mirroring from compatible smartphones, tablets, and computers.
- Ensure your device and the projector are connected to the same Wi-Fi network.
- On your mobile device, open an app that supports casting (e.g., YouTube, Netflix) or use your device's screen mirroring function.
- Select the Cast icon and choose your HAPPRUN K7 projector from the list.
5.7 Google Voice Assistant
Use the Google Voice Assistant for hands-free control. Press the Google Assistant button on your remote and speak your command.