
1. Introduction
This manual provides comprehensive instructions for the safe and effective setup, operation, and maintenance of your Quictent 20x20 Heavy Duty High Peak Frame Party Tent, Model QT1510NSW02. Please read all instructions carefully before assembly and retain this manual for future reference.
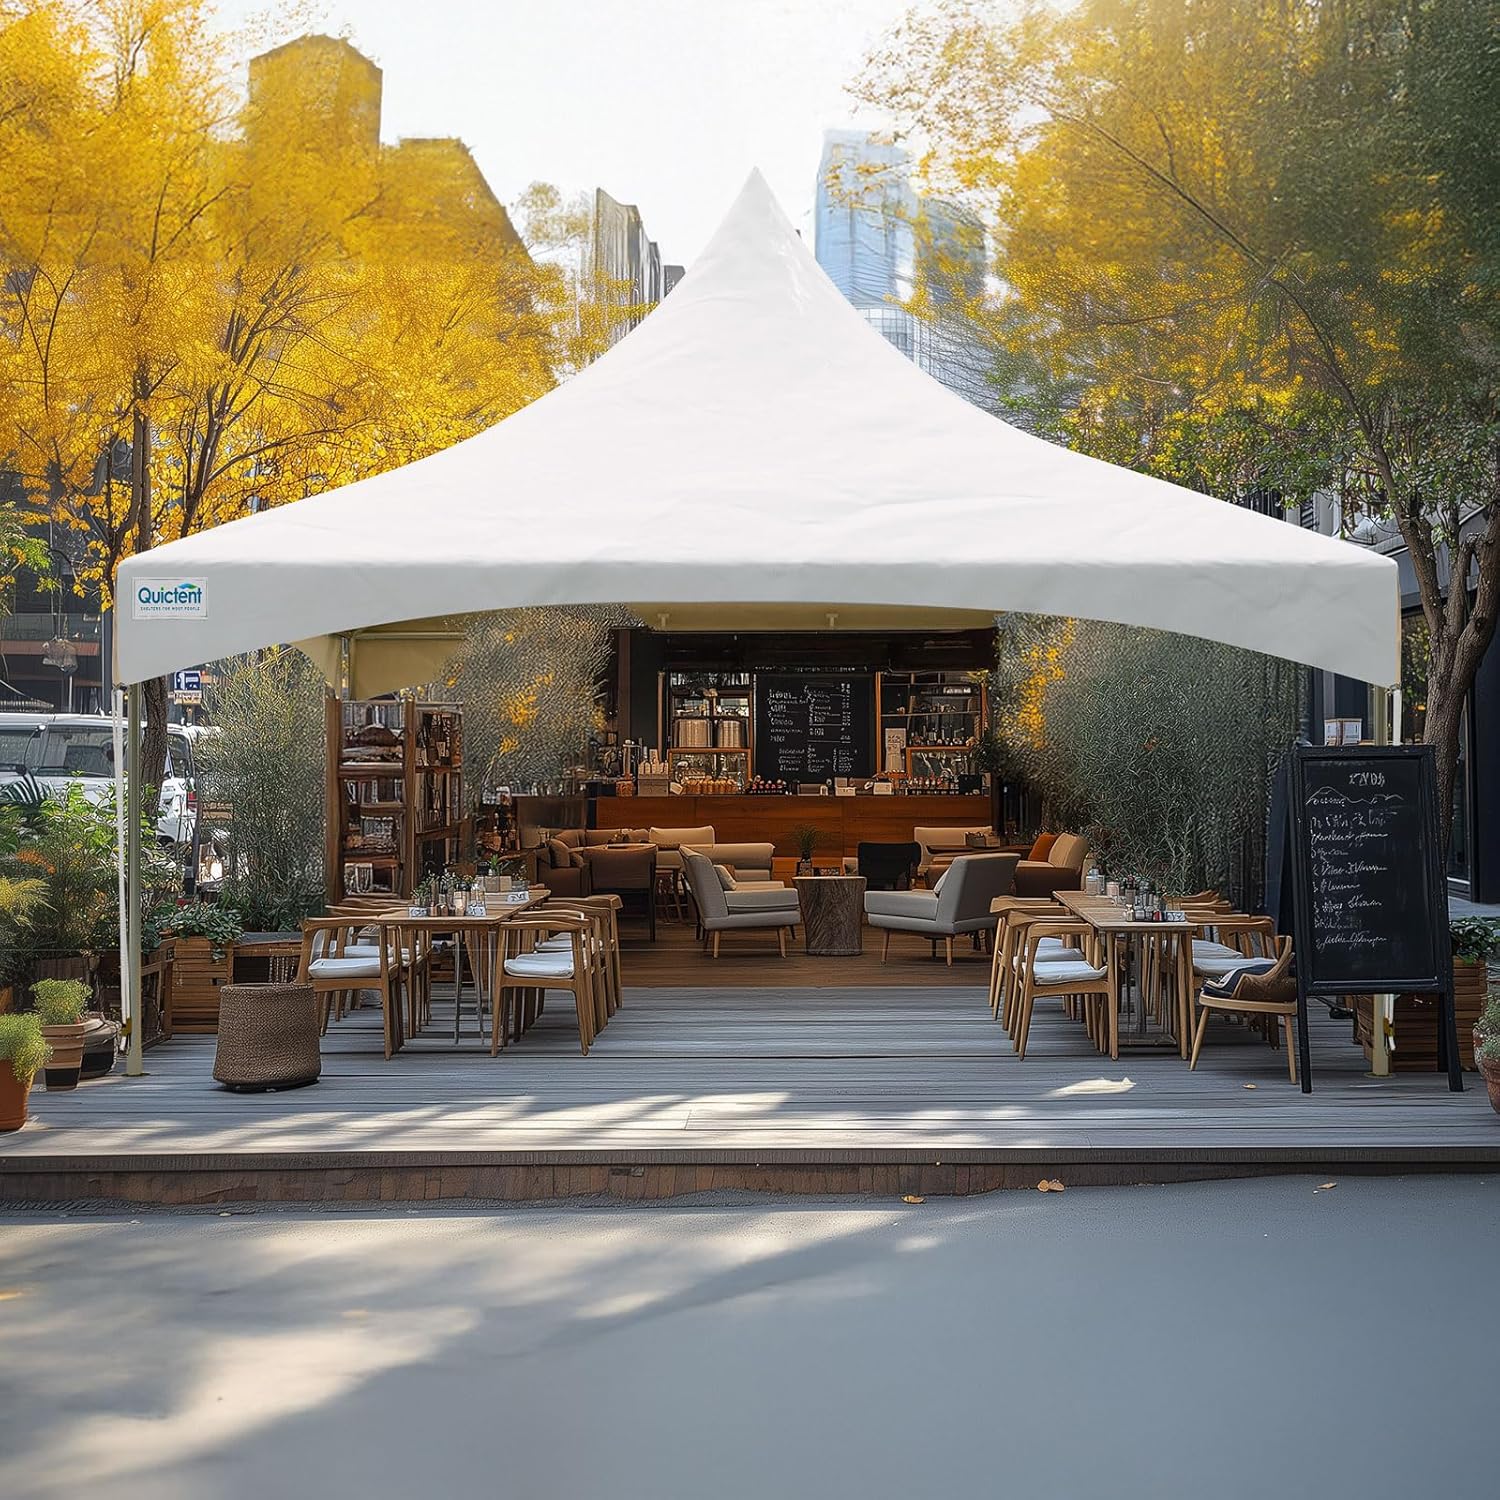
Image 1.1: Quictent 20x20 High Peak Frame Party Tent in an outdoor setting.
The Quictent 20x20 High Peak Frame Party Tent is designed for various outdoor events, offering a spacious and reliable shelter. Its unique frame design maximizes interior space, making it suitable for parties, weddings, commercial, and residential use. The tent features a durable, fire-retardant PVC vinyl canopy and a robust metal frame.
2. Safety Information
WARNING: Failure to follow these safety instructions may result in serious injury or property damage.
- Always ensure the tent is properly secured to the ground using stakes and ropes.
- Never leave the tent unattended while in use.
- Keep flammable materials away from the tent.
- Always follow the assembly and disassembly instructions carefully to avoid injury.
- This tent is not intended for use in high winds or severe weather conditions. Disassemble the tent immediately if strong winds, heavy rain, or snow are forecast.
- Do not use open flames or heating appliances inside or near the tent.
- Ensure adequate ventilation if using any electrical equipment inside the tent.
3. Product Features
- CPAI-84 Certified Fabric: The 620g PVC fabric meets CPAI-84 fire retardant standards, suitable for long-term outdoor use. An electronic PDF certificate is available upon request from customer support.
- Super Thick PVC Fabric: The tent top is constructed from high-quality 21-ounce block out PVC Vinyl coated material, ensuring 100% waterproofing and resistance. All panels feature 1-inch heat-sealed, overlapping seams for enhanced strength and durability.
- Unique Frame Design: This frame tent minimizes fittings and parts compared to traditional pole tents. It features no center poles or obstructions, maximizing usable interior space thanks to its adjustable frame tension design.
- Spacious Interior: Offers a generous interior usable height of 12.5 feet.

Image 3.1: Comparison of interior usable height.

Image 3.2: CPAI-84 certificate and flame retardant fabric test.
Video 3.1: Demonstration of Quictent's fire resistance test. This video shows a comparison between traditional PE fabric and Quictent's PVC fire-resistant fabric when exposed to a flame, highlighting the PVC fabric's ability to stop burning within three seconds.
4. Components List
Before beginning assembly, ensure all components are present and undamaged. Refer to the packing list included with your tent for exact quantities. Typical components include:
- Frame Poles: Various lengths and types for the roof and legs.
- Connectors: Metal joints to connect frame poles.
- Canopy Fabric: Main roof cover (620g PVC Vinyl).
- Stakes/Anchors: For securing the tent to the ground.
- Ropes/Guy Lines: For additional stability.
- Elastic Ropes: For securing the canopy to the frame.

Image 4.1: Detail of heavy-duty frame poles and connectors.
5. Setup Instructions
Assembly typically requires 2-4 people. Follow these general steps. Refer to the detailed diagram provided in your packaging for specific pole and connector configurations.
- Step 1: Unpack and Verify Components
Lay out all frame poles, connectors, and fabric parts on a clean, flat surface. Compare them against the packing list to ensure all pieces are present.
- Step 2: Assemble the Roof Frame
Begin by connecting the roof poles using the appropriate connectors. Work from the center outwards, gradually building the high peak structure. Ensure all connections are secure.

Image 5.1: High peak roof frame design.
- Step 3: Attach the Canopy Fabric
Carefully drape the canopy fabric over the assembled roof frame. Ensure the fabric is centered and aligned correctly. Secure the canopy to the frame using the provided elastic ropes or ties, starting from the corners and working towards the sides. Ensure the fabric is taut to prevent water pooling.

Image 5.2: Canopy fabric detail.
- Step 4: Install Leg Poles and Secure the Tent
Attach the leg poles to the roof frame connectors. With assistance, carefully lift the tent structure and insert the remaining leg poles. Once the frame is fully upright, secure the tent to the ground using the provided stakes and guy ropes. Ensure all anchor points are firmly in place to prevent movement.
6. Operating Guidelines
The Quictent 20x20 High Peak Frame Party Tent is designed for temporary outdoor shelter. Observe the following guidelines for optimal use:
- Weather Conditions: This tent is suitable for fair weather conditions. It is not designed for use in heavy rain, strong winds, hail, or snow. Disassemble the tent if adverse weather is expected.
- Anchoring: Always ensure the tent is securely anchored to the ground. Additional anchoring may be required in moderately windy conditions.
- Capacity: The tent can accommodate approximately 60 people standing or various seating arrangements (e.g., 4-6' tables with 32 chairs, 6-6' tables with 36 chairs, or 4-60" round tables with 32 chairs).

Image 6.1: Tent dimensions and capacity examples.
7. Maintenance and Care
- Cleaning: Clean the PVC canopy with mild soap and water. Do not use harsh chemicals or abrasive cleaners, as these can damage the fabric's fire-retardant and waterproof properties. Rinse thoroughly and allow to air dry completely before storage.
- Frame Care: Inspect the metal frame for any signs of rust or damage before and after each use. Clean any dirt or debris from the poles and connectors.
- Storage: Ensure the canopy fabric and all frame components are completely dry before storing. Store in a cool, dry place away from direct sunlight and extreme temperatures to prolong the tent's lifespan.
- Regular Inspection: Periodically check all ropes, stakes, and connectors for wear and tear. Replace any damaged parts immediately.
8. Troubleshooting
- Water Pooling on Roof: Ensure the canopy fabric is stretched taut and evenly distributed over the frame. Adjust the frame tension if necessary. Verify that the high peak design is correctly assembled to facilitate water runoff.
- Tent Instability: Check that all stakes are fully driven into the ground and guy ropes are properly tensioned. Ensure the tent is set up on level ground. In windy conditions, consider using additional weights or anchors.
- Difficulty Assembling Frame: Double-check the instruction diagrams for correct pole and connector orientation. Ensure no parts are forced, as this can cause damage. Lubricate connectors lightly if they are stiff.
- Fabric Tears/Punctures: Small tears can often be repaired with a PVC repair kit. For significant damage, contact customer support for replacement parts.
9. Specifications
| Specification | Detail |
|---|---|
| Brand | Quictent |
| Model Number | QT1510NSW02 |
| Product Dimensions | 240"L x 240"W x 118"H (20'L x 20'W x 9.8'H side height, 16.1' peak height) |
| Item Weight | 309 Pounds |
| Material | Vinyl (Canopy), Metal (Frame) |
| Color | White |
| Water Resistance Level | Waterproof |
| Ultraviolet Light Protection | Yes |
| Assembly Required | Yes |
| Fabric Type | 21-ounce (620g) Block Out PVC Vinyl |
| Fire Retardancy | CPAI-84 Certified |
10. Warranty and Support
Quictent offers comprehensive coverage for your peace of mind:
- Lifetime Replacement Guarantee: For connectors, pegs, ropes, and elastic ropes.
- 1-Year Coverage: For covers and poles.
- Lifetime 50% Parts Supply: Beyond the standard 1-year coverage, ensuring long-term availability of replacement parts.
For any questions, support, or to request a CPAI-84 fire certificate, please contact Quictent customer support.